Croque Monsieur Handpies

Croque Monsieur Handpies v1.png

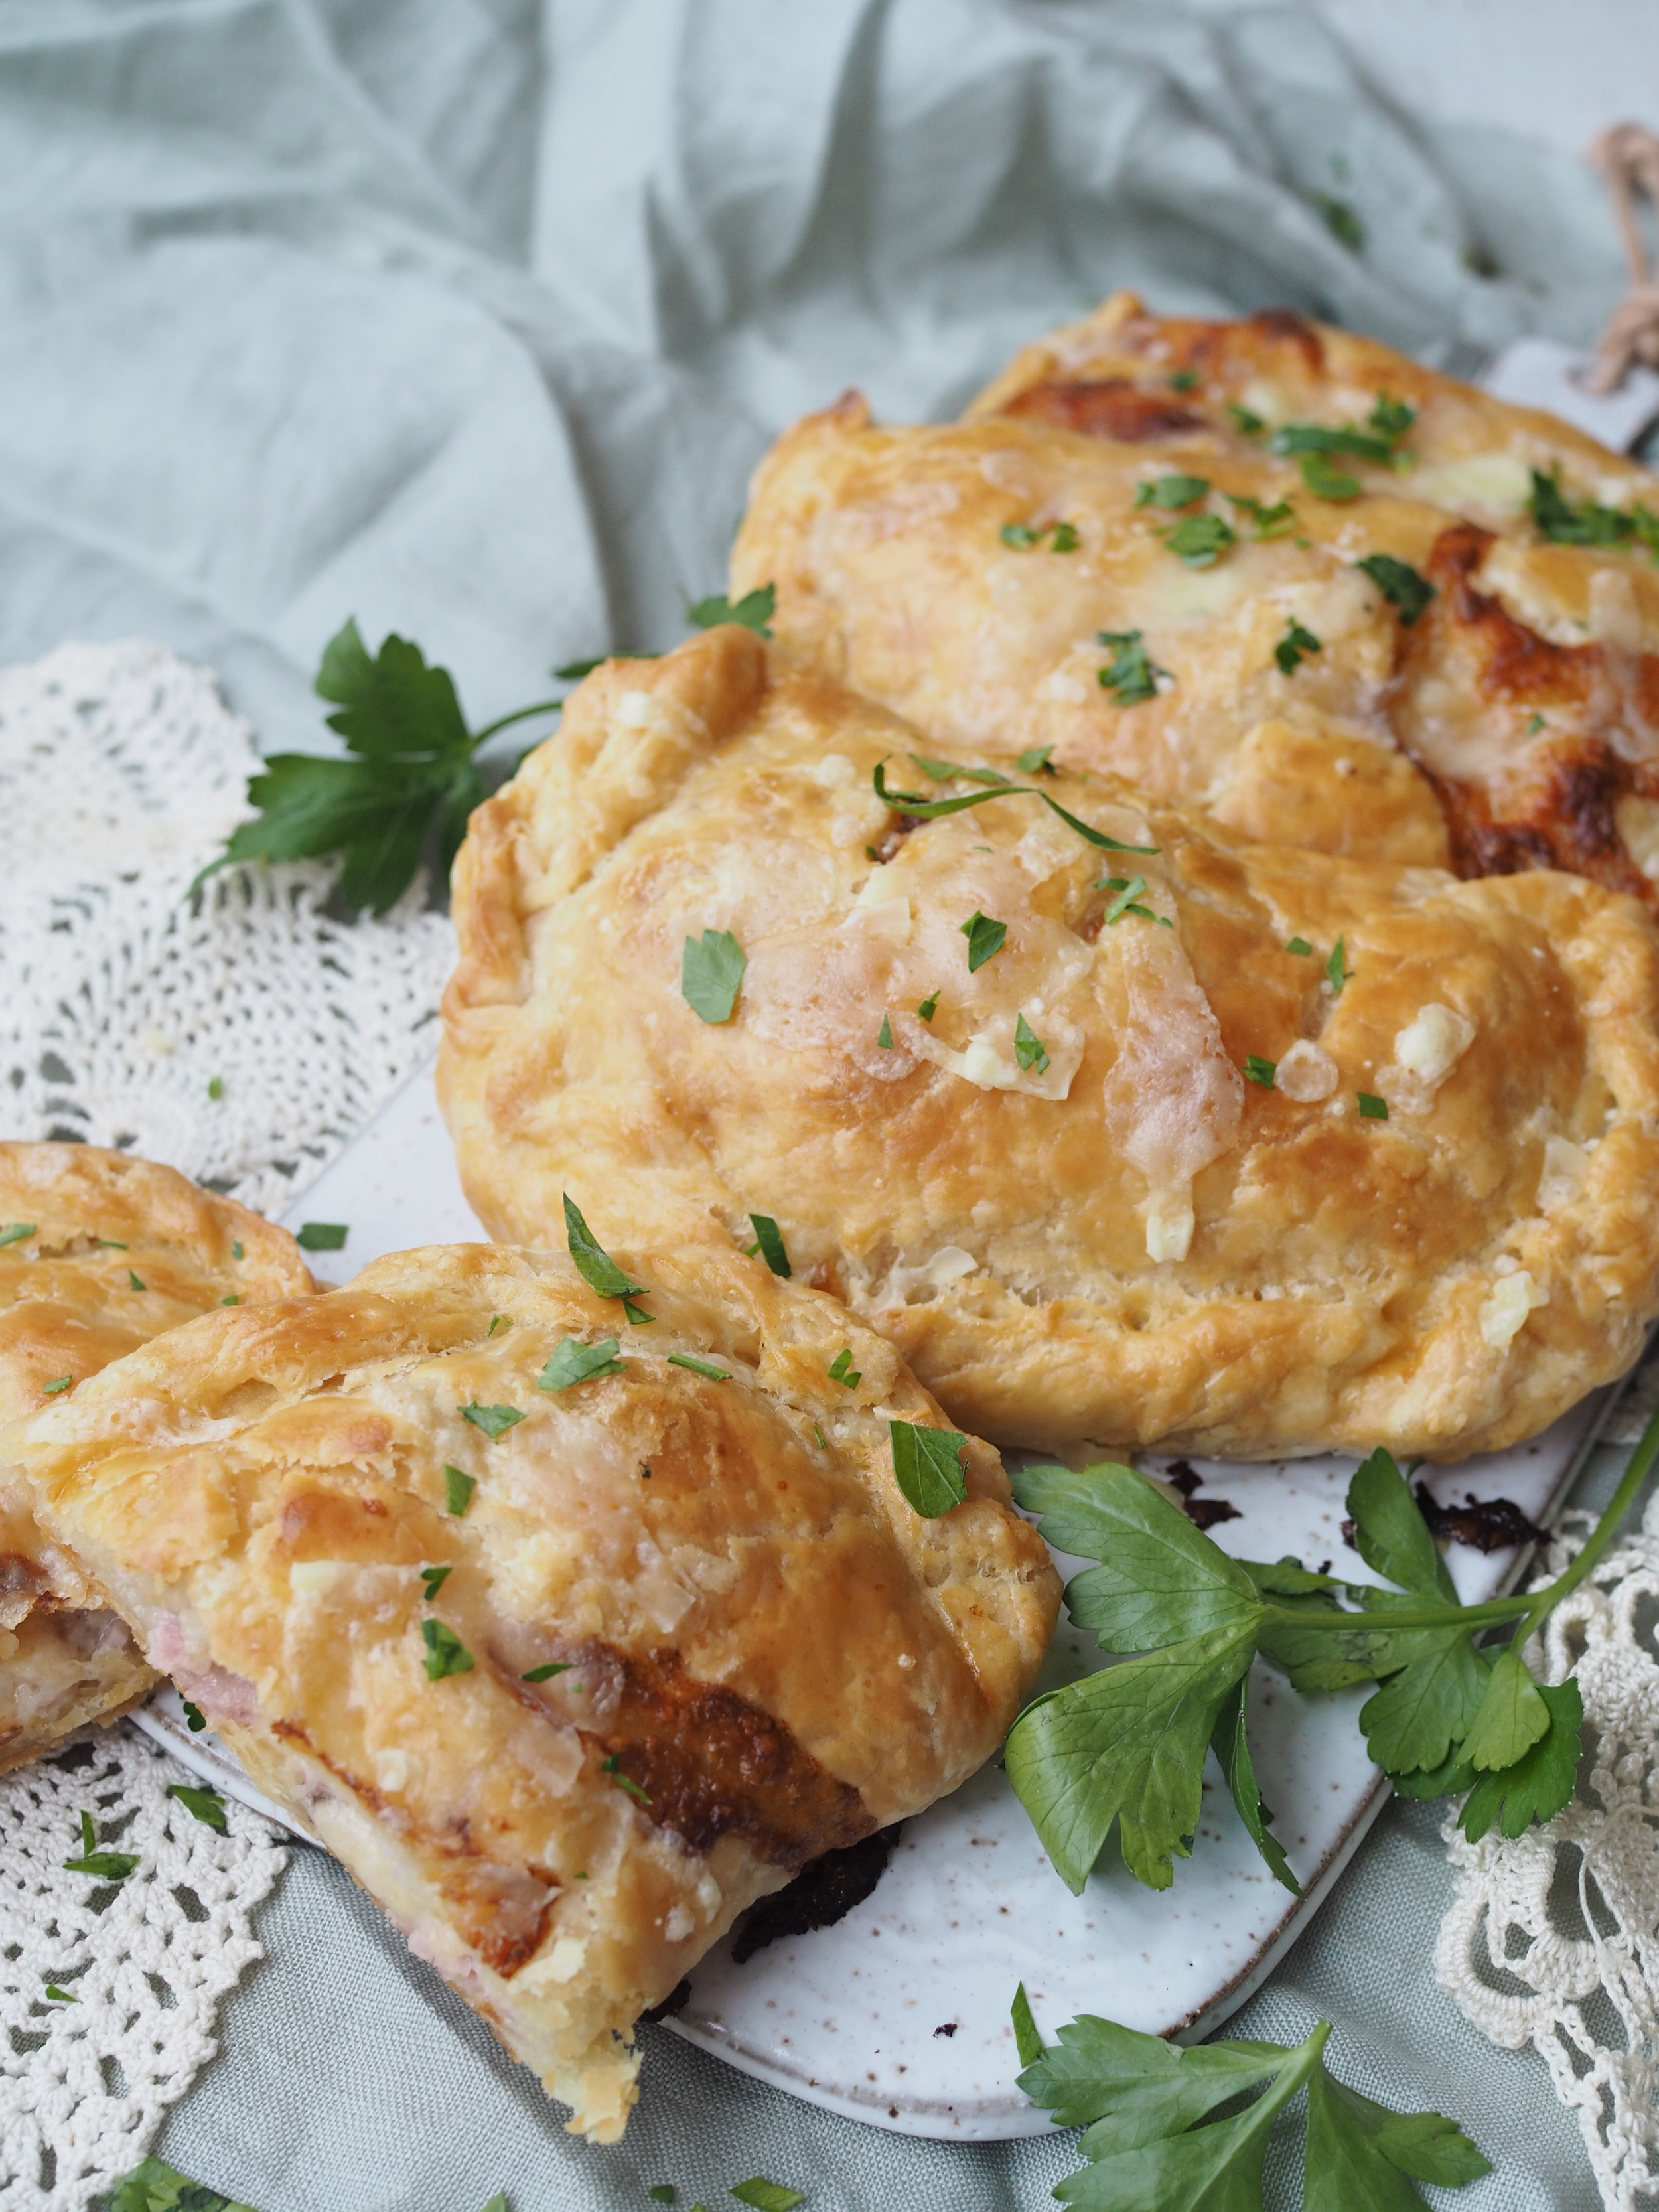
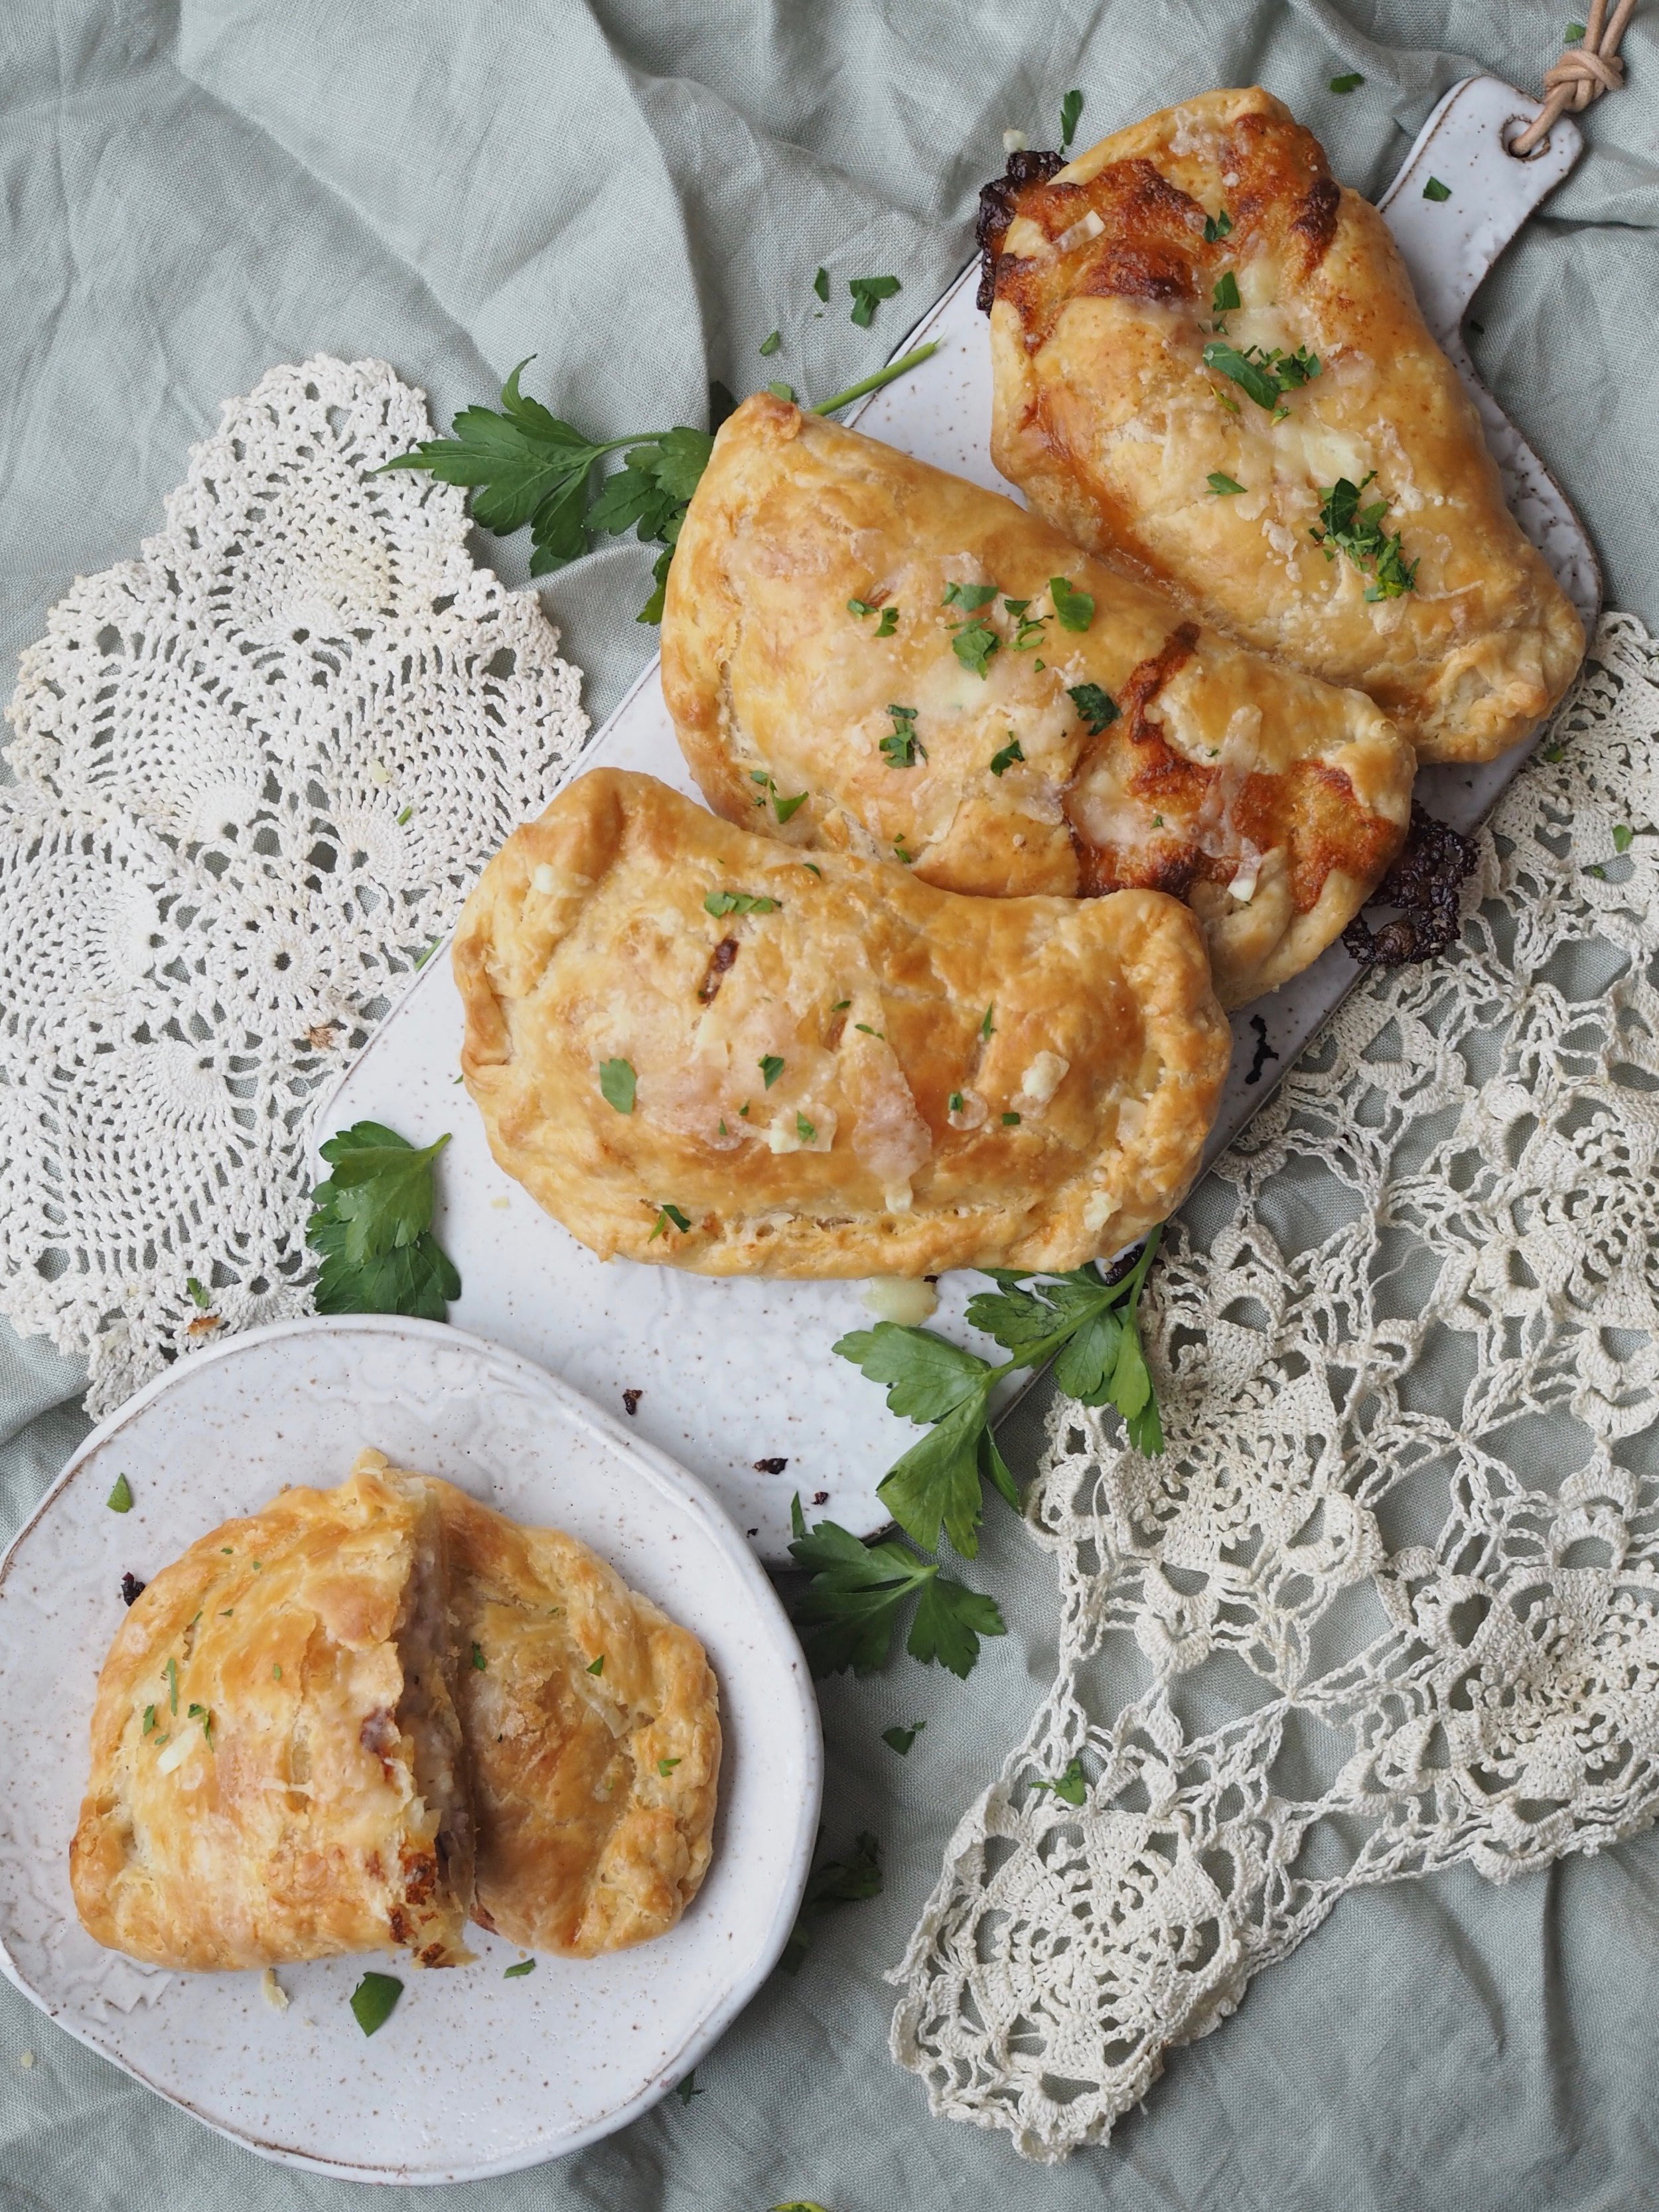
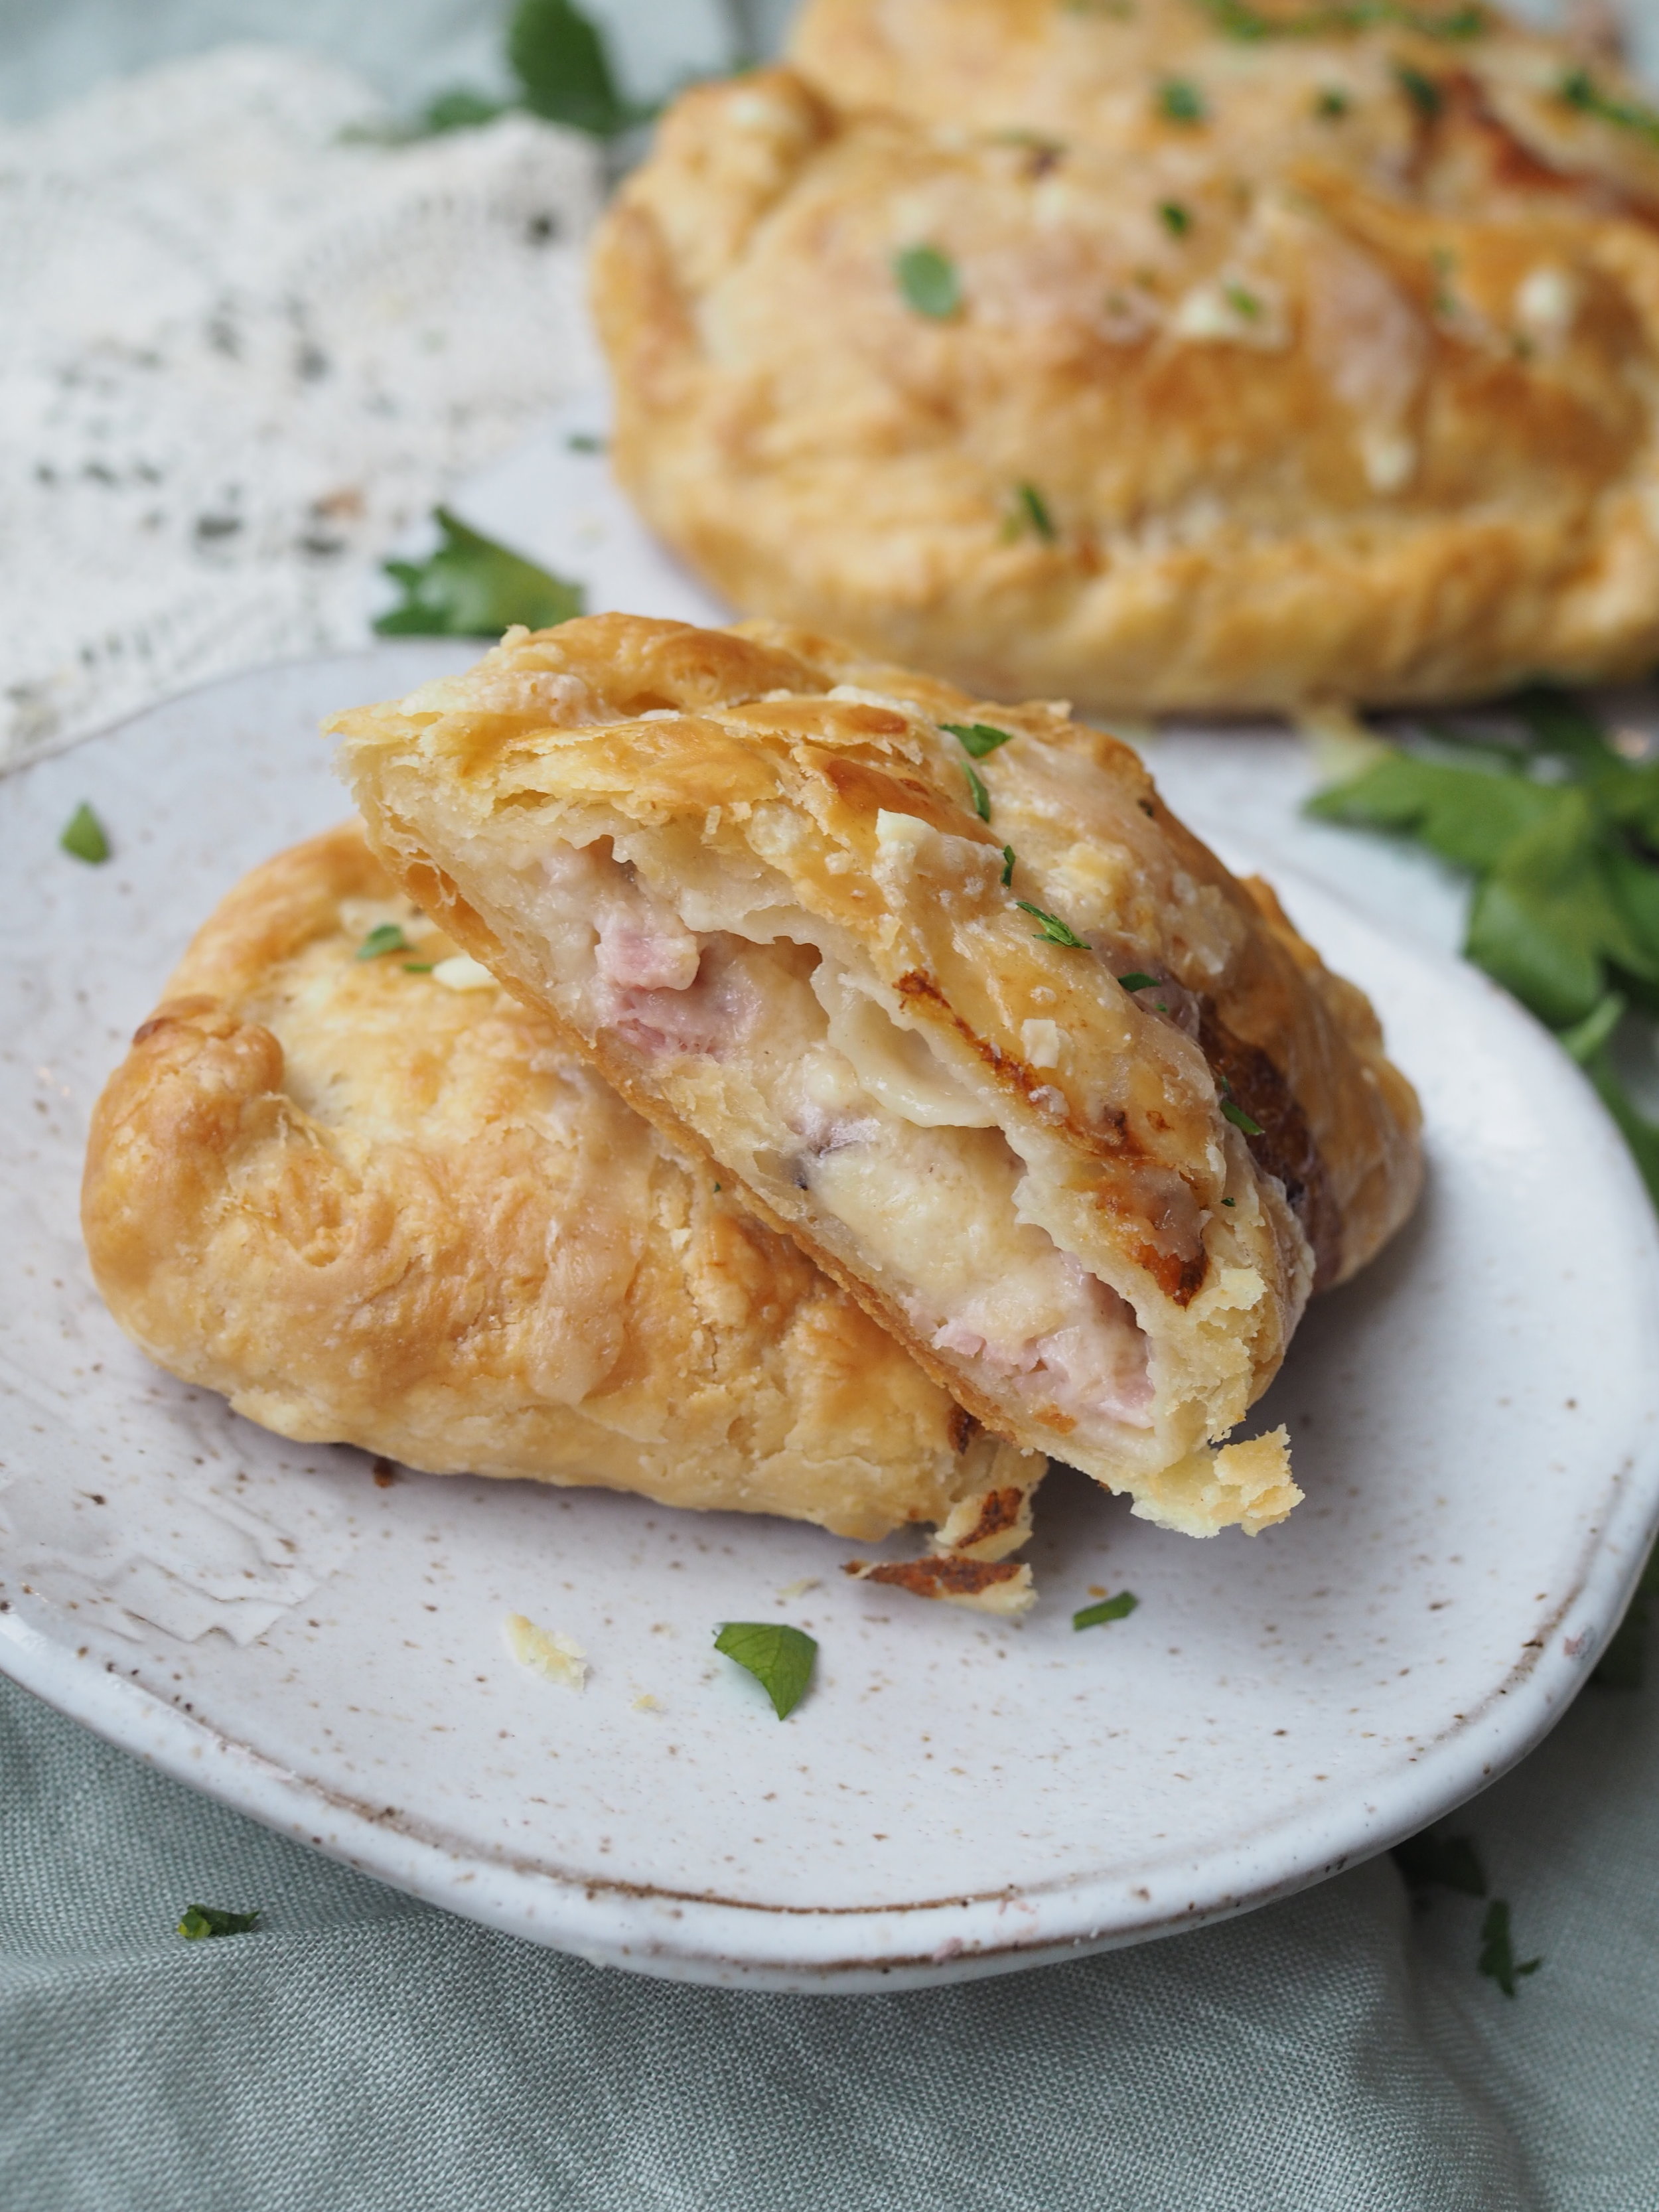
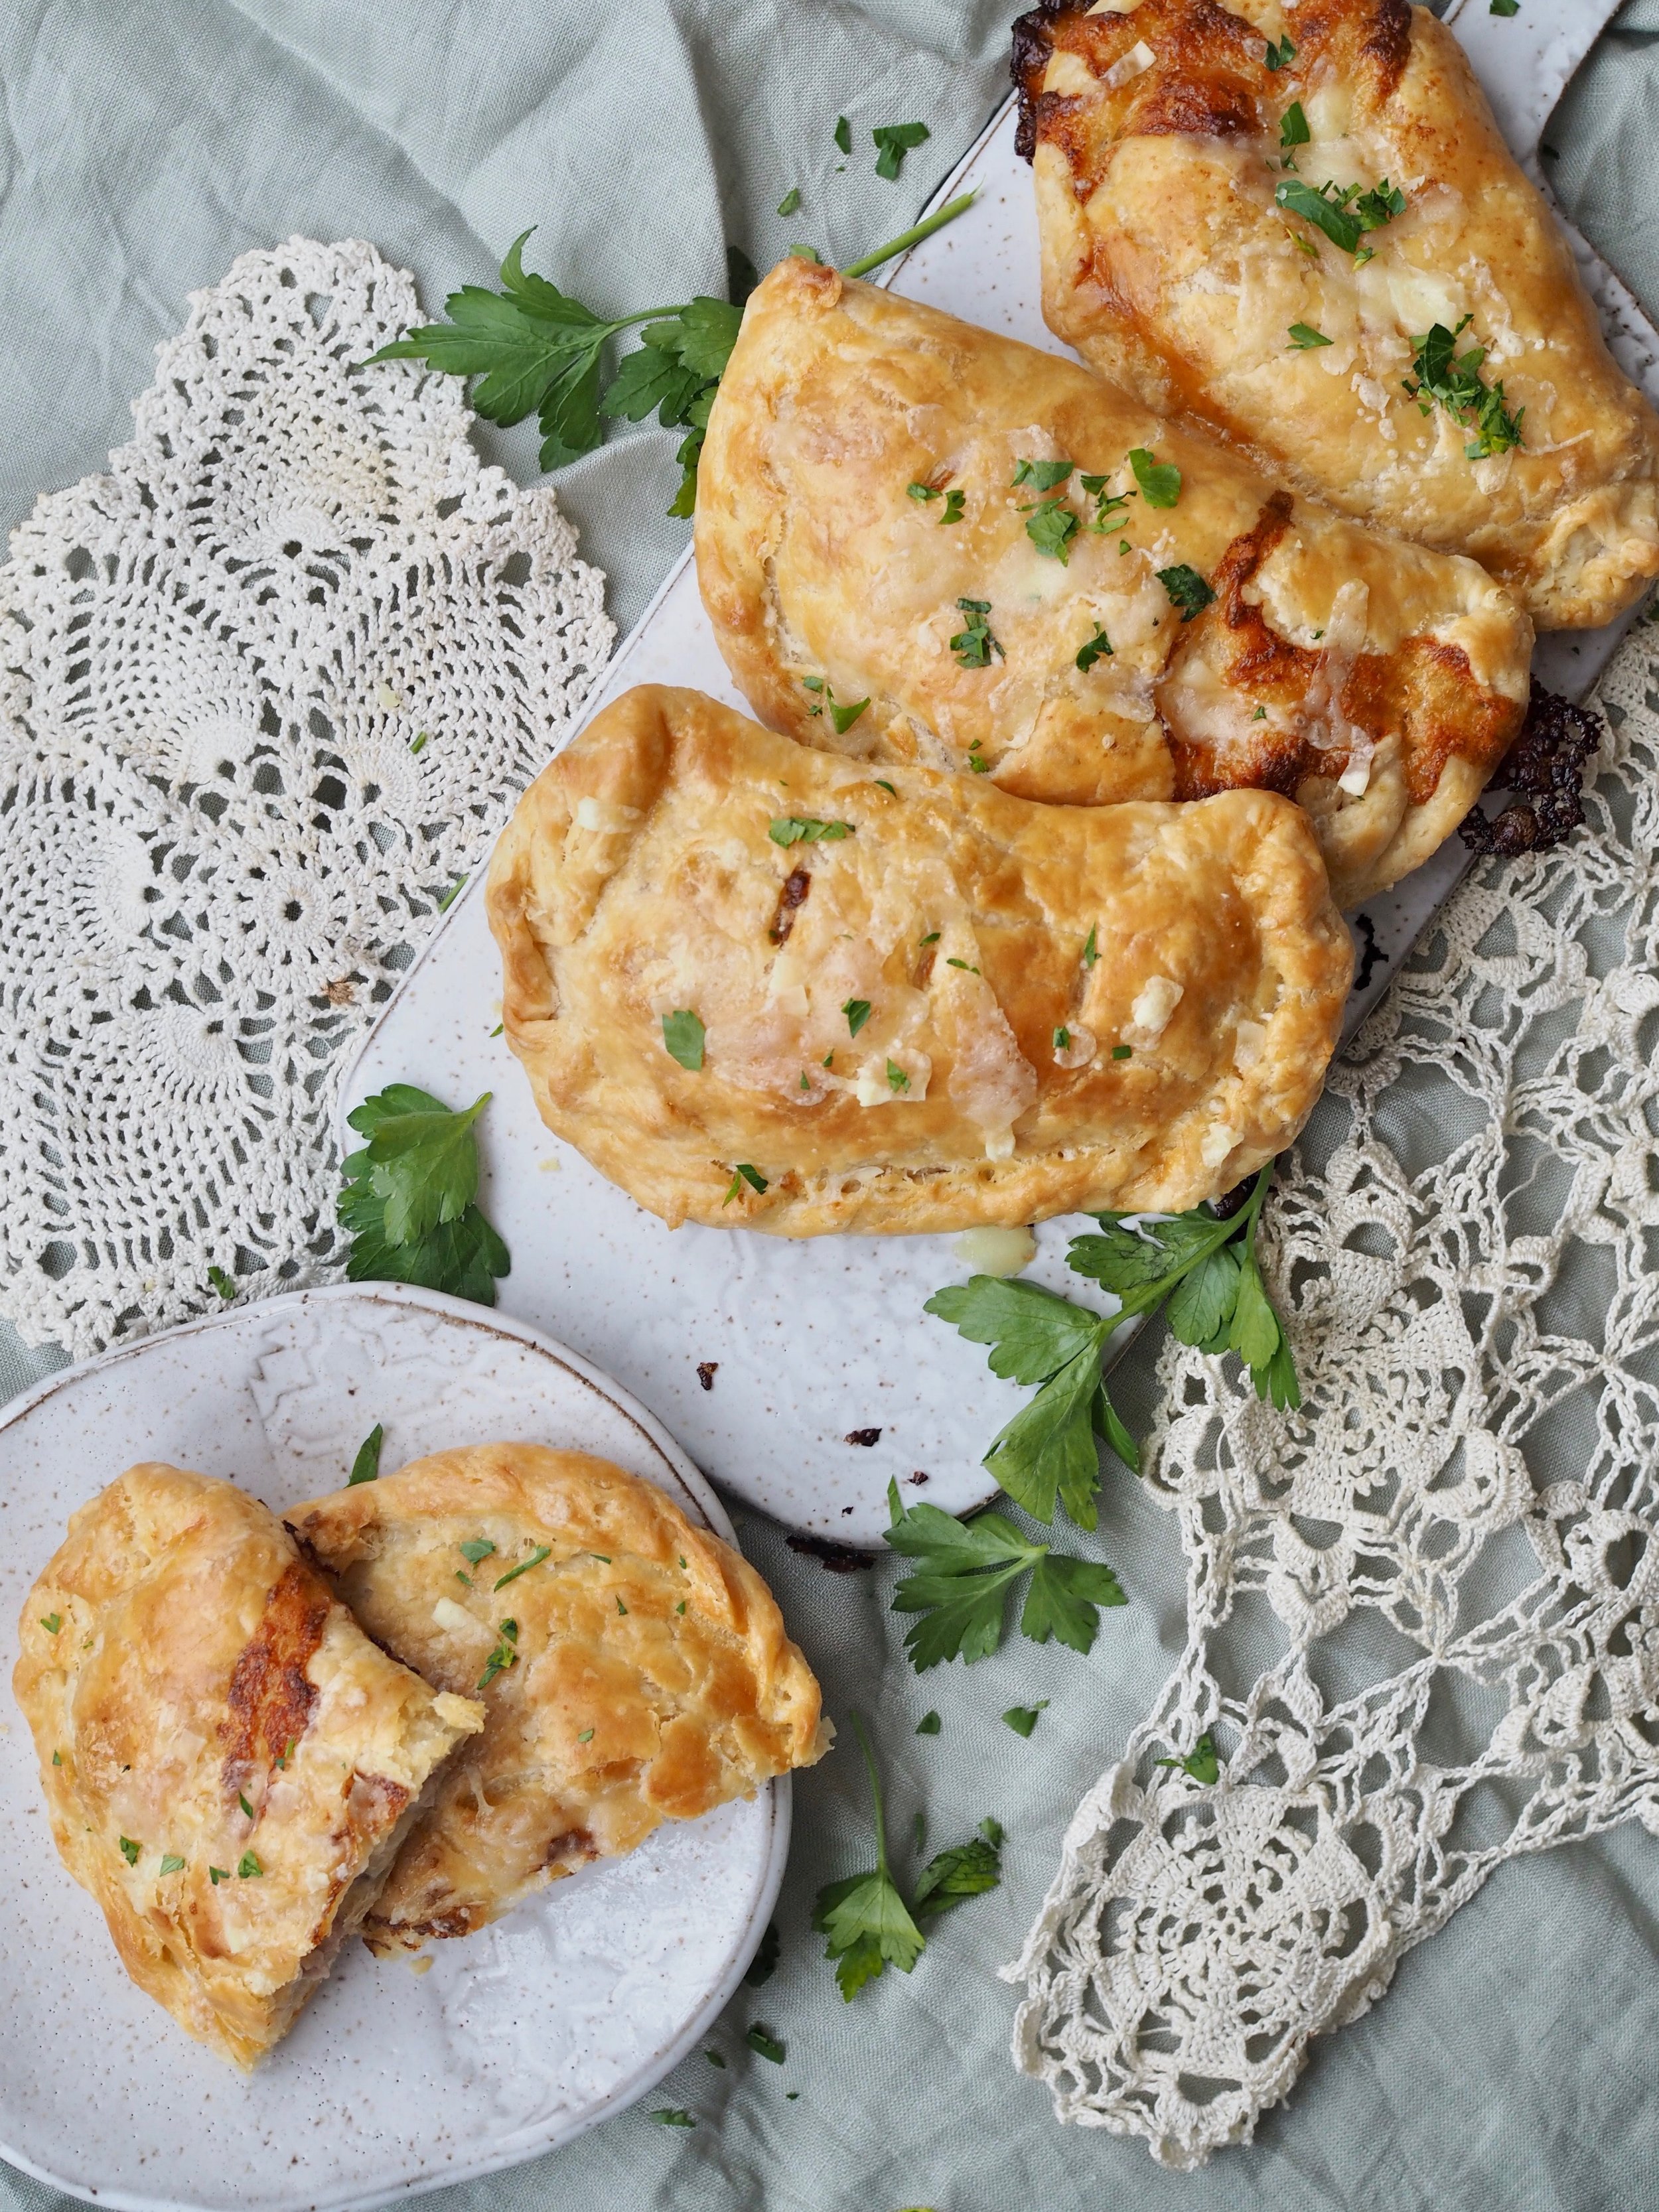
We've fallen in love with the croque monsieur in our household. The croque monsieur, a grilled sandwich featuring ham, Gruyere cheese and béchamel sauce originated in the brasseries of France as a hearty snack or light meal. You can turn the sandwich into a croque madame with the addition of a fired egg on top (health food, this is not). For the Cleaver family, the addition of ham and sauce take the grilled cheese to a dinner-worthy level, so when it came time to come up with a savory pie for my annual pie-luck, rec-creating this sandwich in pie form seemed like a no-brainer.

Typically, I use shortening in my pie crusts for it's ease of use, but for a French inspired recipe, I had to use butter. Instead of fully incorporating the butter into the dough ("the damp sand" look), I suggest leaving a few beads of butter intact, which, when rolled flat into the rounds, leaves pockets of butter to create an almost puff-pastry like crust. Make sure to chill the dough before rolling for maximum flakiness.

Since I originated this recipe for an event were there was 11 pies for 7 people, I went light on the filling. To use as a main dish, simply double the ham and cheese. The béchamel sauce should be sufficient to cover both amounts. 

Croque Monsieur Handpies

Crust

  • 3 cups all-purpose flour
  •  1 1/2 teaspoons salt
  •  2 sticks unsalted butter (cold)
  •  2/3 to 3/4 cup cold water

Filling*

  • 6 oz sliced ham, diced into small pieces*
  • 6 oz Gruyere cheese, shredded*
  • Fresh parsley (optional)

*filling sized for appetizer portions, for a meal-sized pie, double the filling

Béchamel Sauce

  •  1 1/4 cup milk
  • 3 Tablespoons all-purpose flour
  • 2 Tablespoons butter
  • 1 pinch nutmeg
  • 1 pinch pepper
  • salt to taste

Directions

Preheat oven to 350 Degrees F.

Make crust. In a large mixing bowl, combine flour and salt. Using a pastry cutter or food processor, cut in shortening until mixture mostly resembles damp sand, leaving a few small pea-sized chunks of butter. Add water, a little bit at a time, until dough sticks together. You will want it slightly more elastic than crust for a pan pie. Break dough into two evenly sized pieces, wrap in plastic wrap, and place in refrigerator up to a day in advance.

Make béchamel sauce. Melt butter in a saucepan over medium heat. When butter starts to bubble, add flour and whisk until combined, mixture will be clumpy. Cook flour mixture (roux) for 2 minutes. Slowly add milk, whisking constantly to break up any clumps and prevent scalding for approximately 8 minutes, or until sauce is a thick consistency. Pour into a bowl and set aside to cool.

Make filling. IN a bowl, combine 3/4 of the shredded cheese, the diced ham, and enough béchamel sauce to thoroughly coat the filling. 

Line two rimmed cookie sheets with parchment paper.

Remove crust from refrigerator. Cut each ball of dough into four equal pieces. On a well-floured surface, roll each piece of dough into a 7 to 8 inch square. Place dough on cookie sheet. Scoop filling into the center of the square making sure to avoid the edges.

Fold dough over filling, so top portion of crust is about 1/4 inch shy of the edge of the bottom. Fold up bottom crust to meet top crust and pinch/crimp to seal. Slice a few holes in the top to let steam escape. Repeat for remaining pies.

Whisk together 1 egg with 1 Tablespoon water. Brush egg wash generously over pies.

Place cookie sheets in oven and bake for 45-50 minutes, until filling bubbles and crust is golden brown, rotating pans halfway through cooking time.

To serve, sprinkle on remaining shredded cheese. Broil briefly to melt cheese. Sprinkle finely chopped parsley on top (optional) and eat warm.

To store, cool completely on a wire rack, wrap in tin foil and place in refrigerator for up to one week. To reheat for 10-15 minutes in a 350 degree F oven.

To print, see button at bottom of post.

Croque Monsieur Handpies v2.png

Croque Monsieur Handpies

Serves 8 Ingredients: 3 cups all-purpose flour, melted 1 1/2 teaspoons salt, 2 sticks unsalted butter, 6 oz sliced ham, 6 ox gruyere cheese, 1 1/4 cup milk, 2 tablespoons flour 2 tablespoons butter nutmeg pepper parsley
Print Friendly and PDF Follow
follow us in feedly

Gluten Free White Chocolate Raspberry Tart with Coconut and Lime

White Chocolate Raspberry Pie v3.png

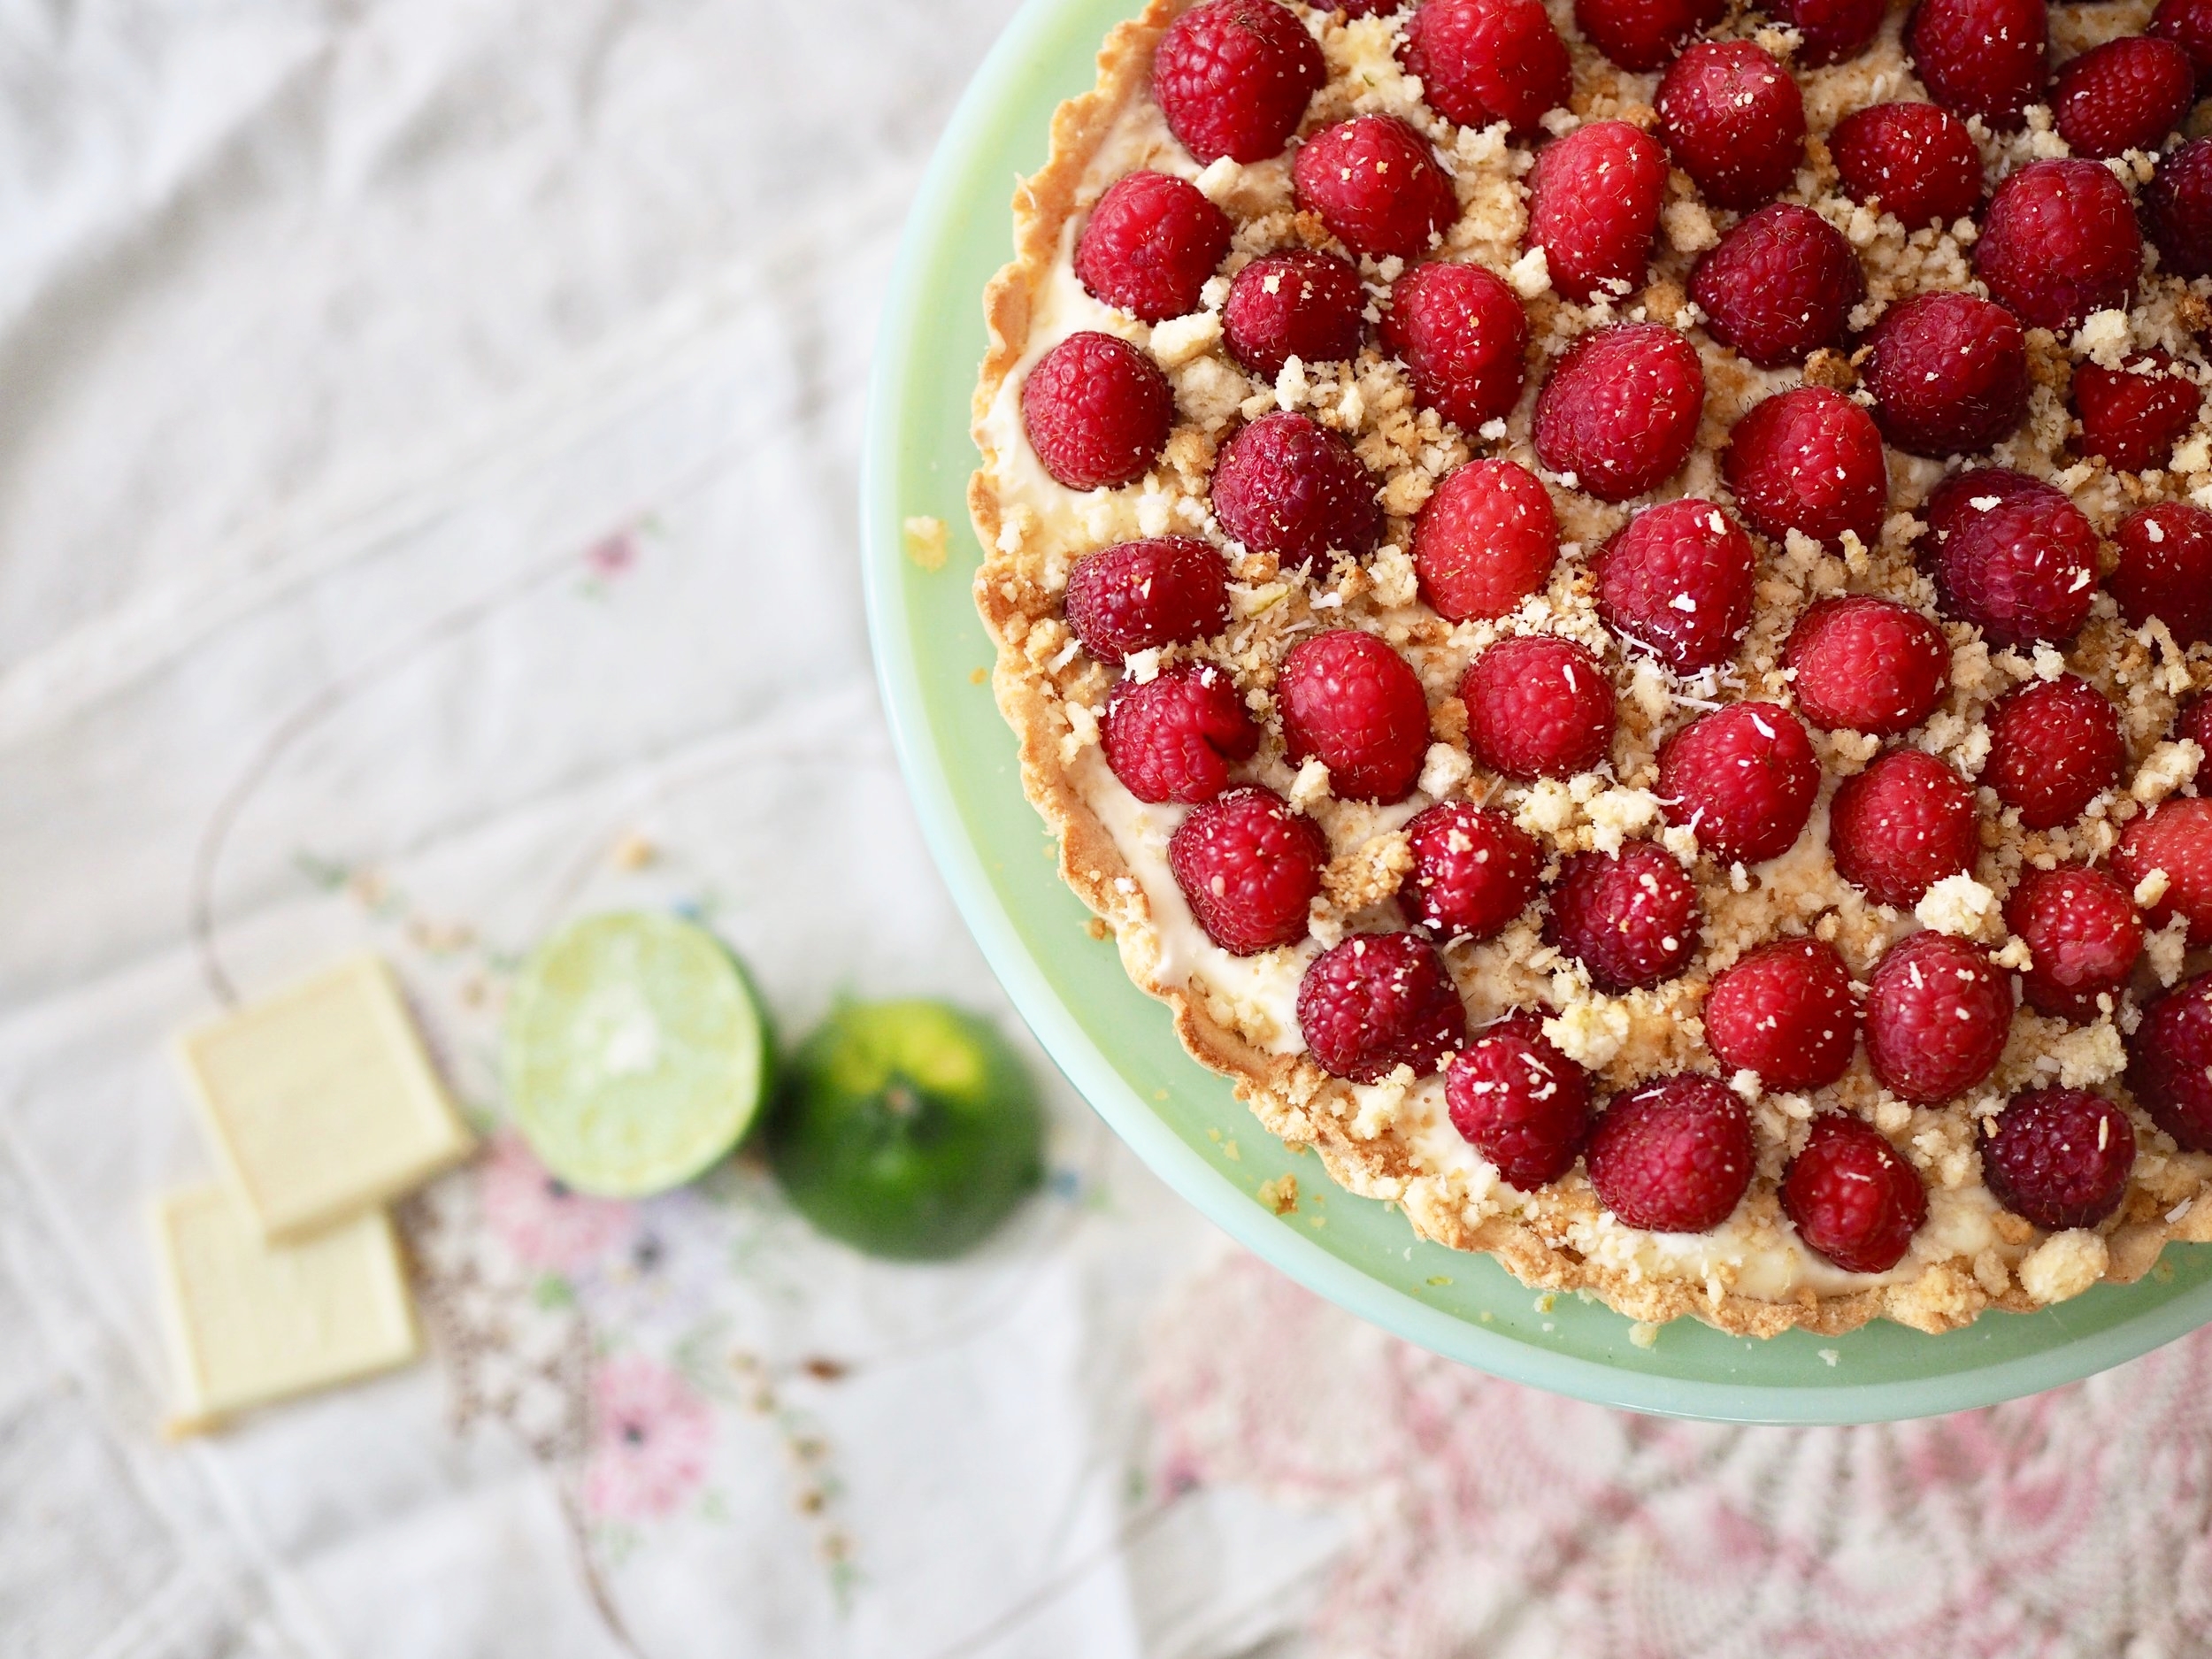
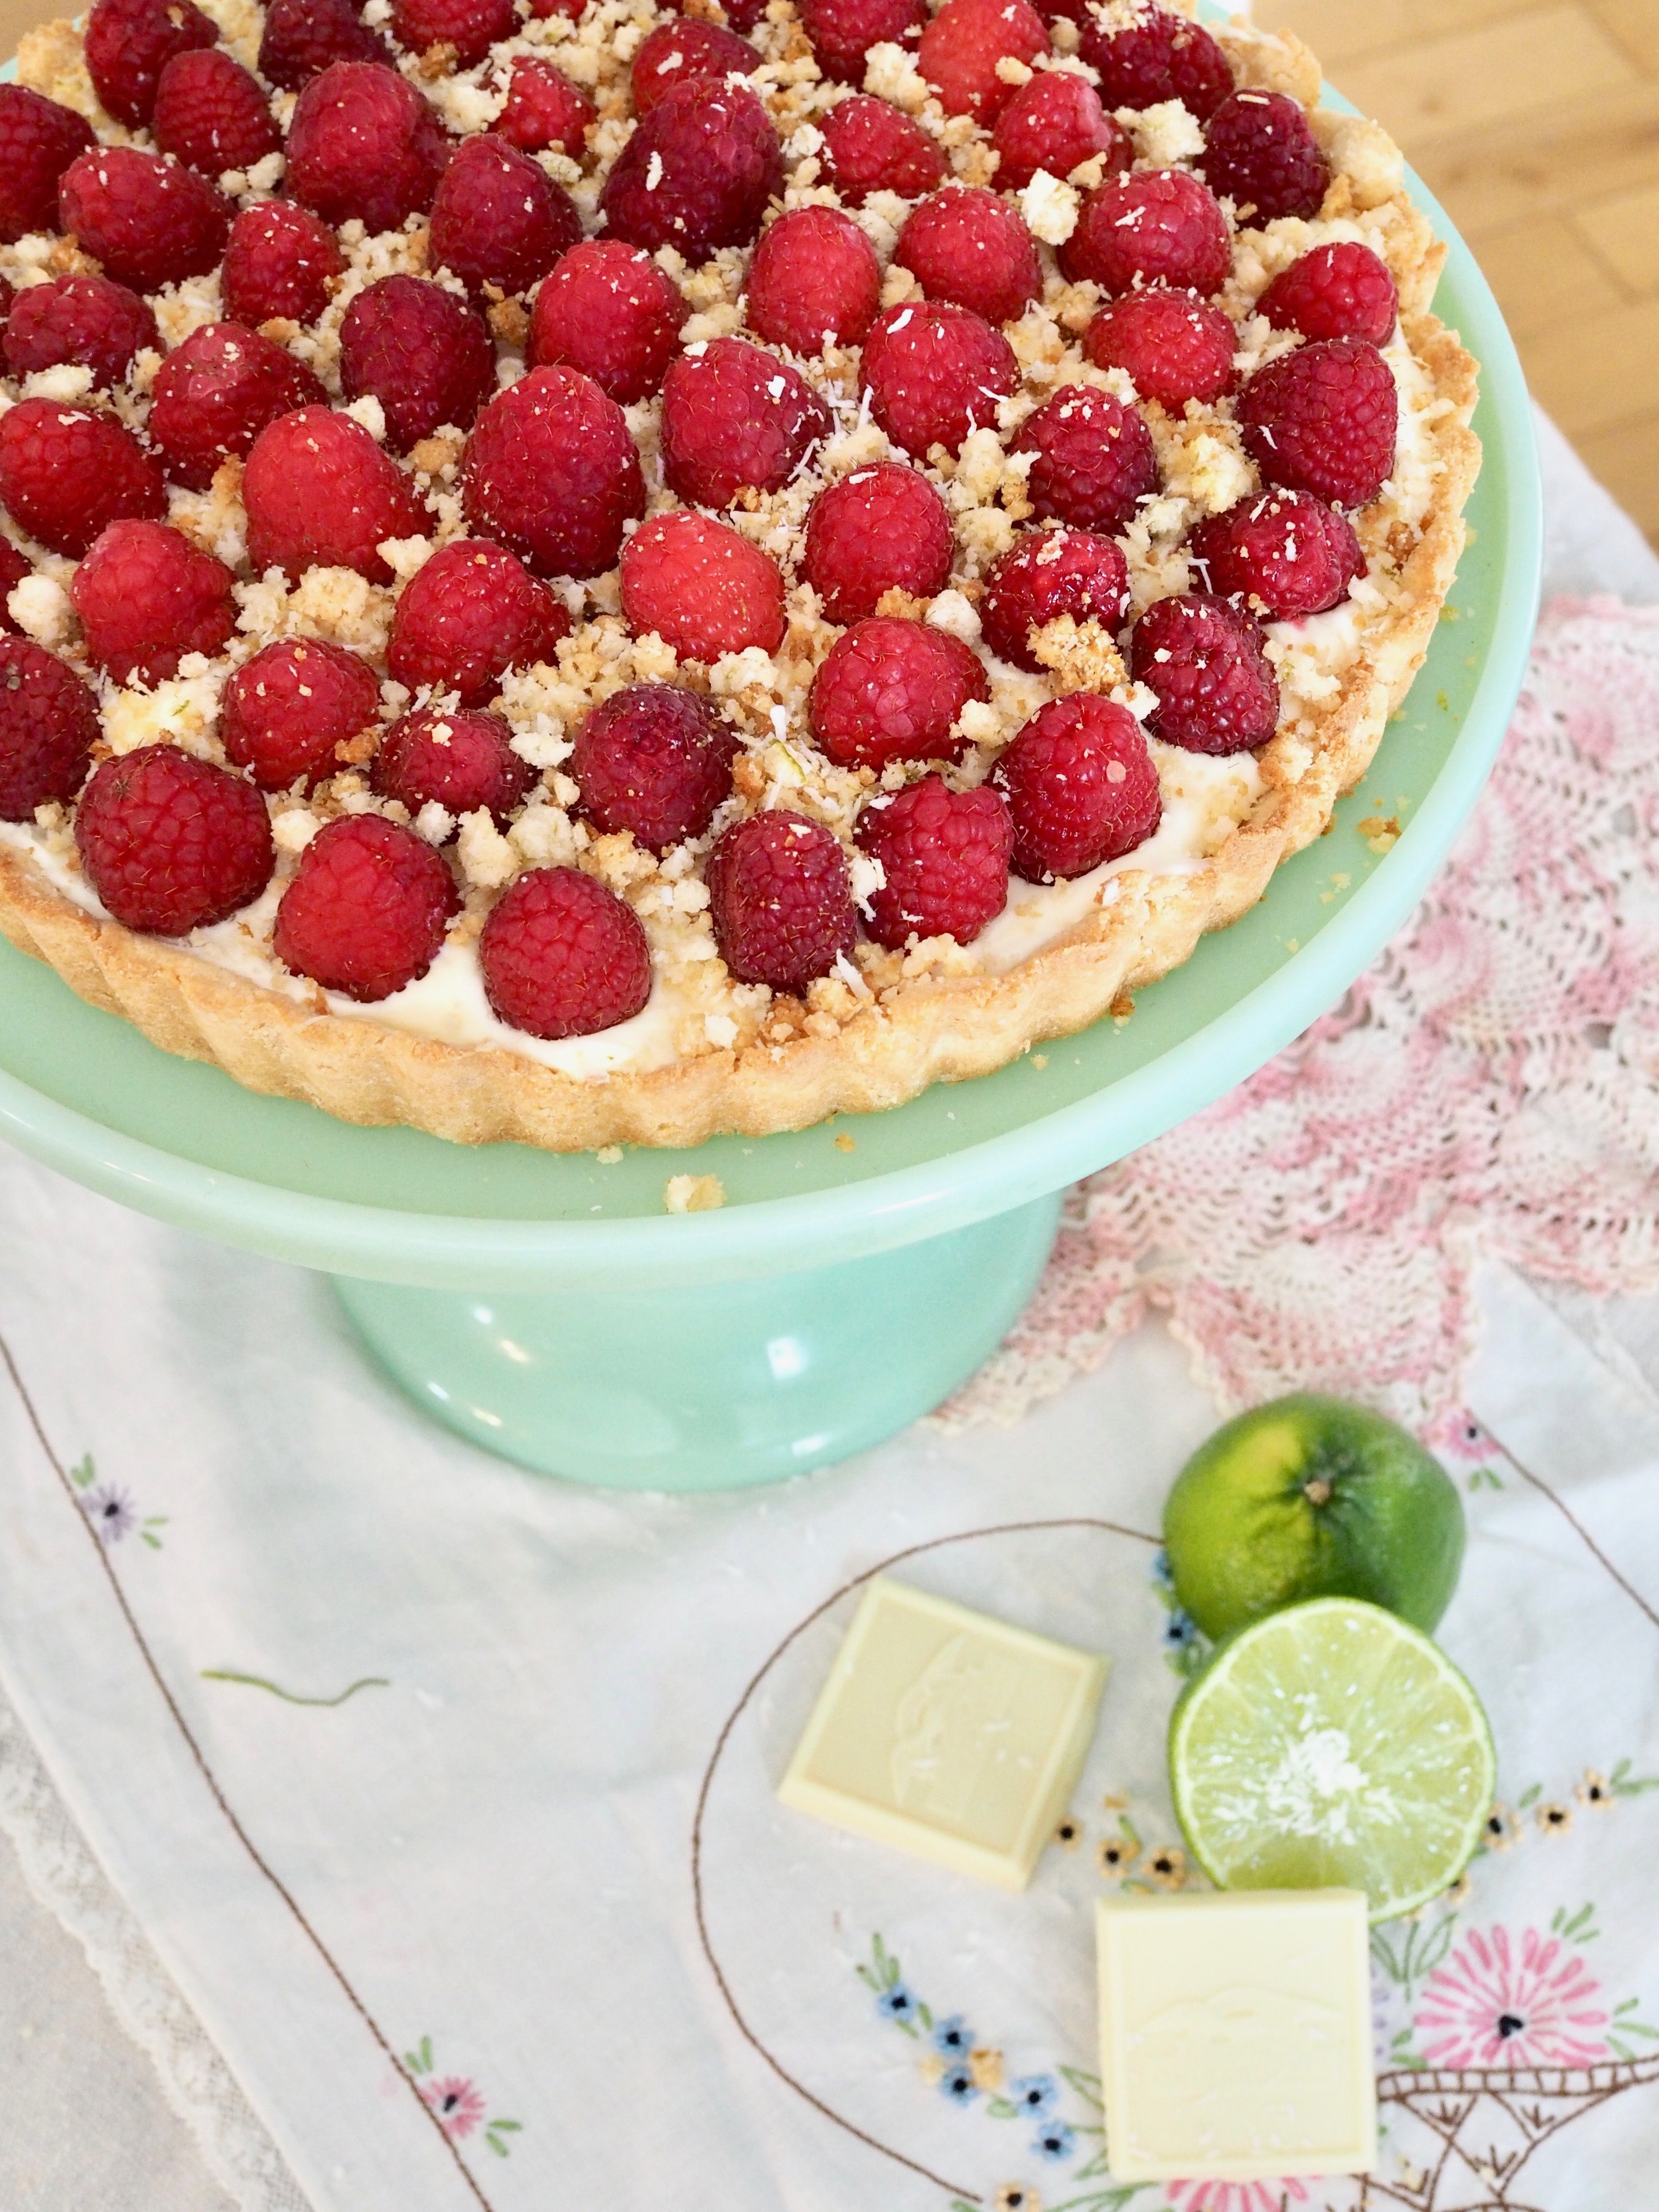
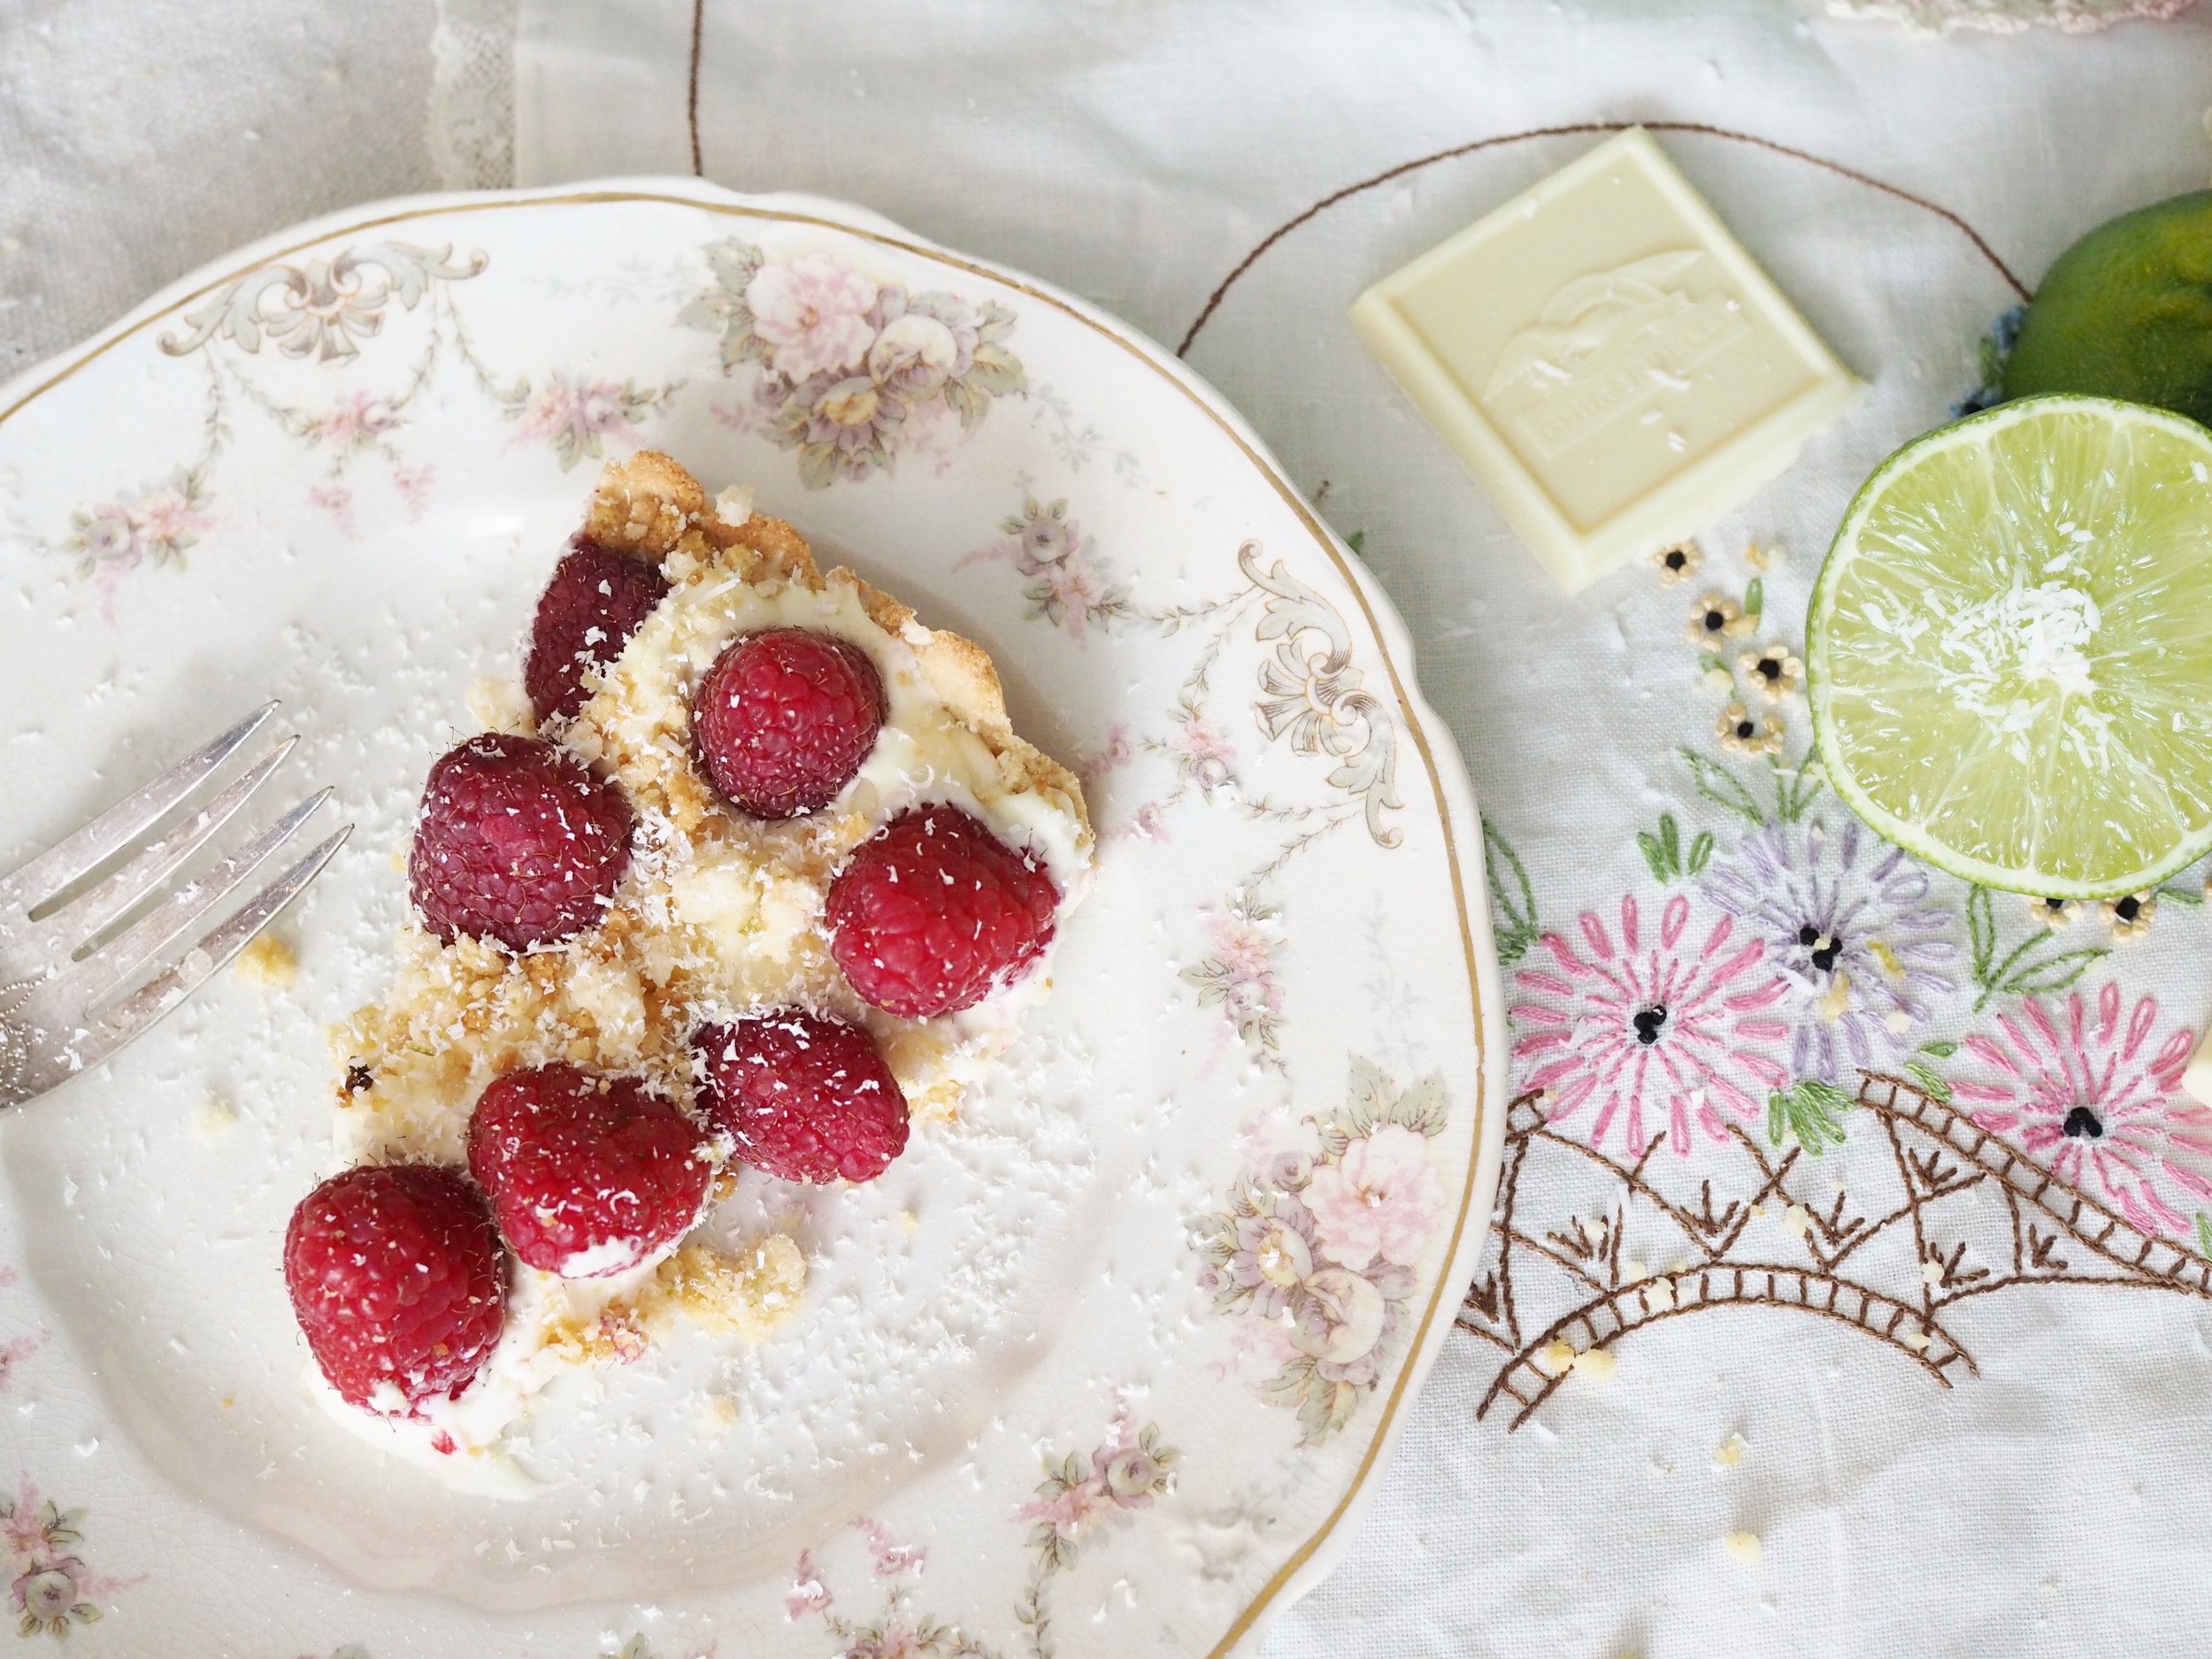
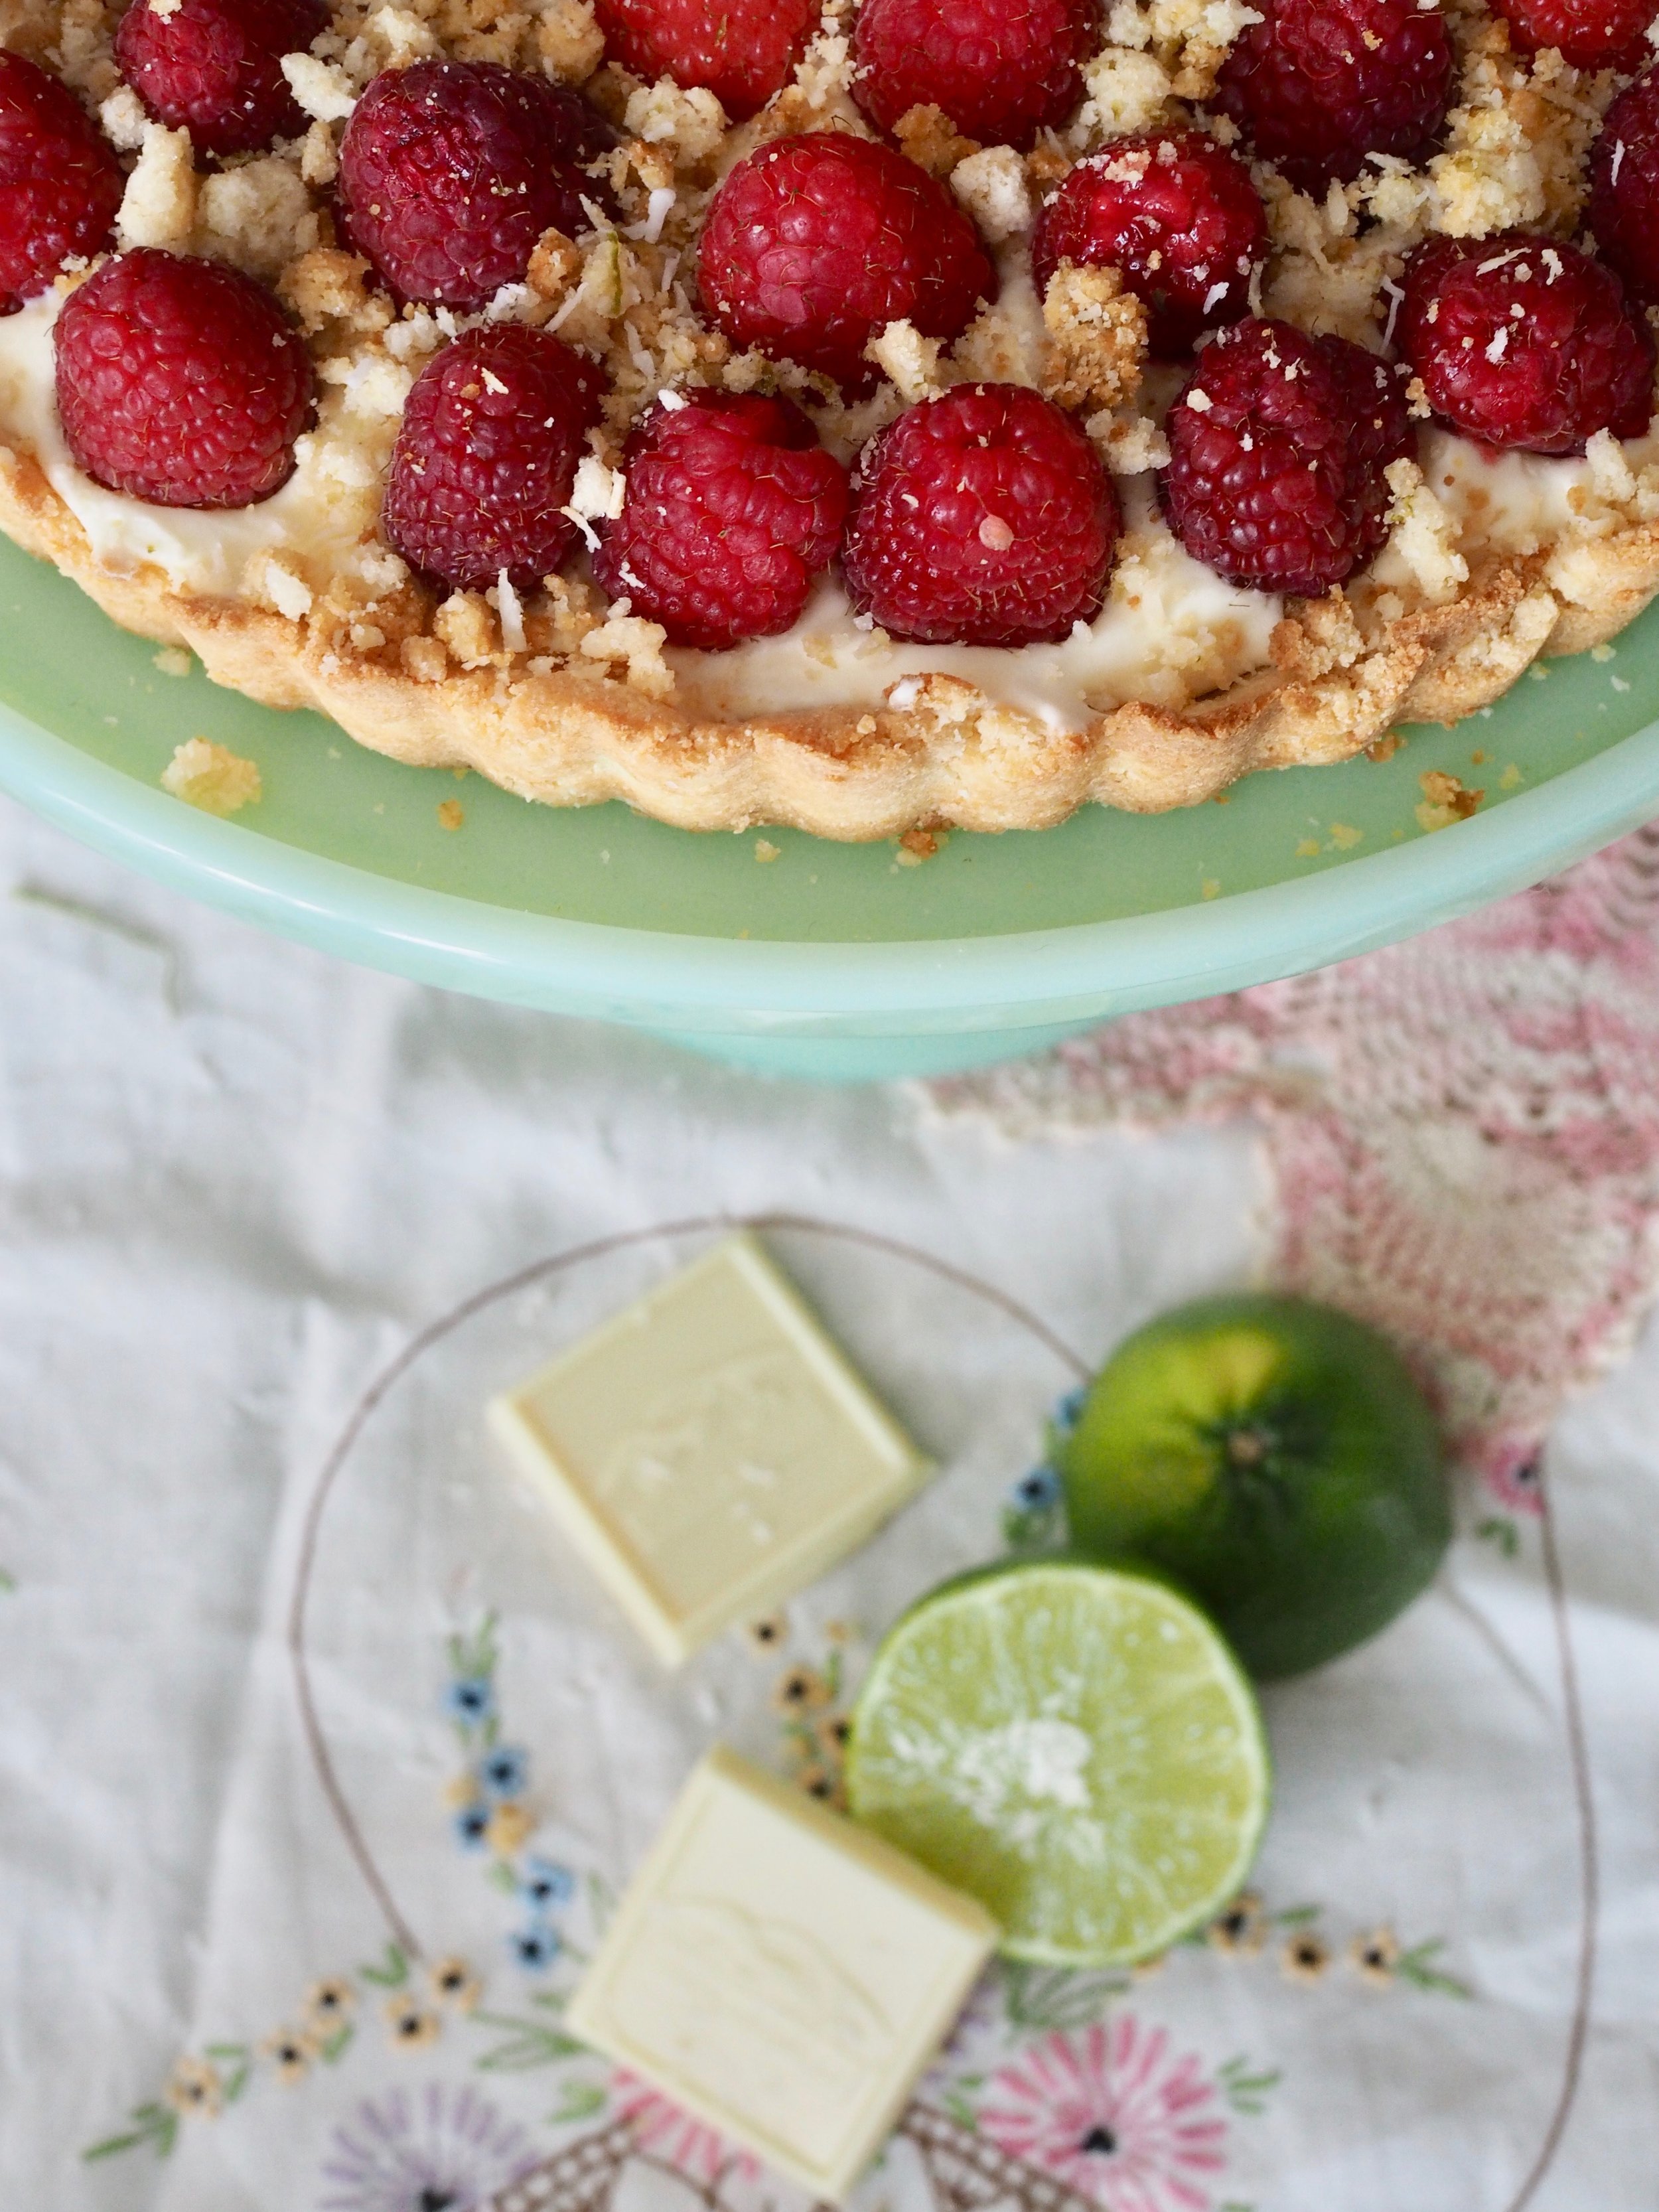
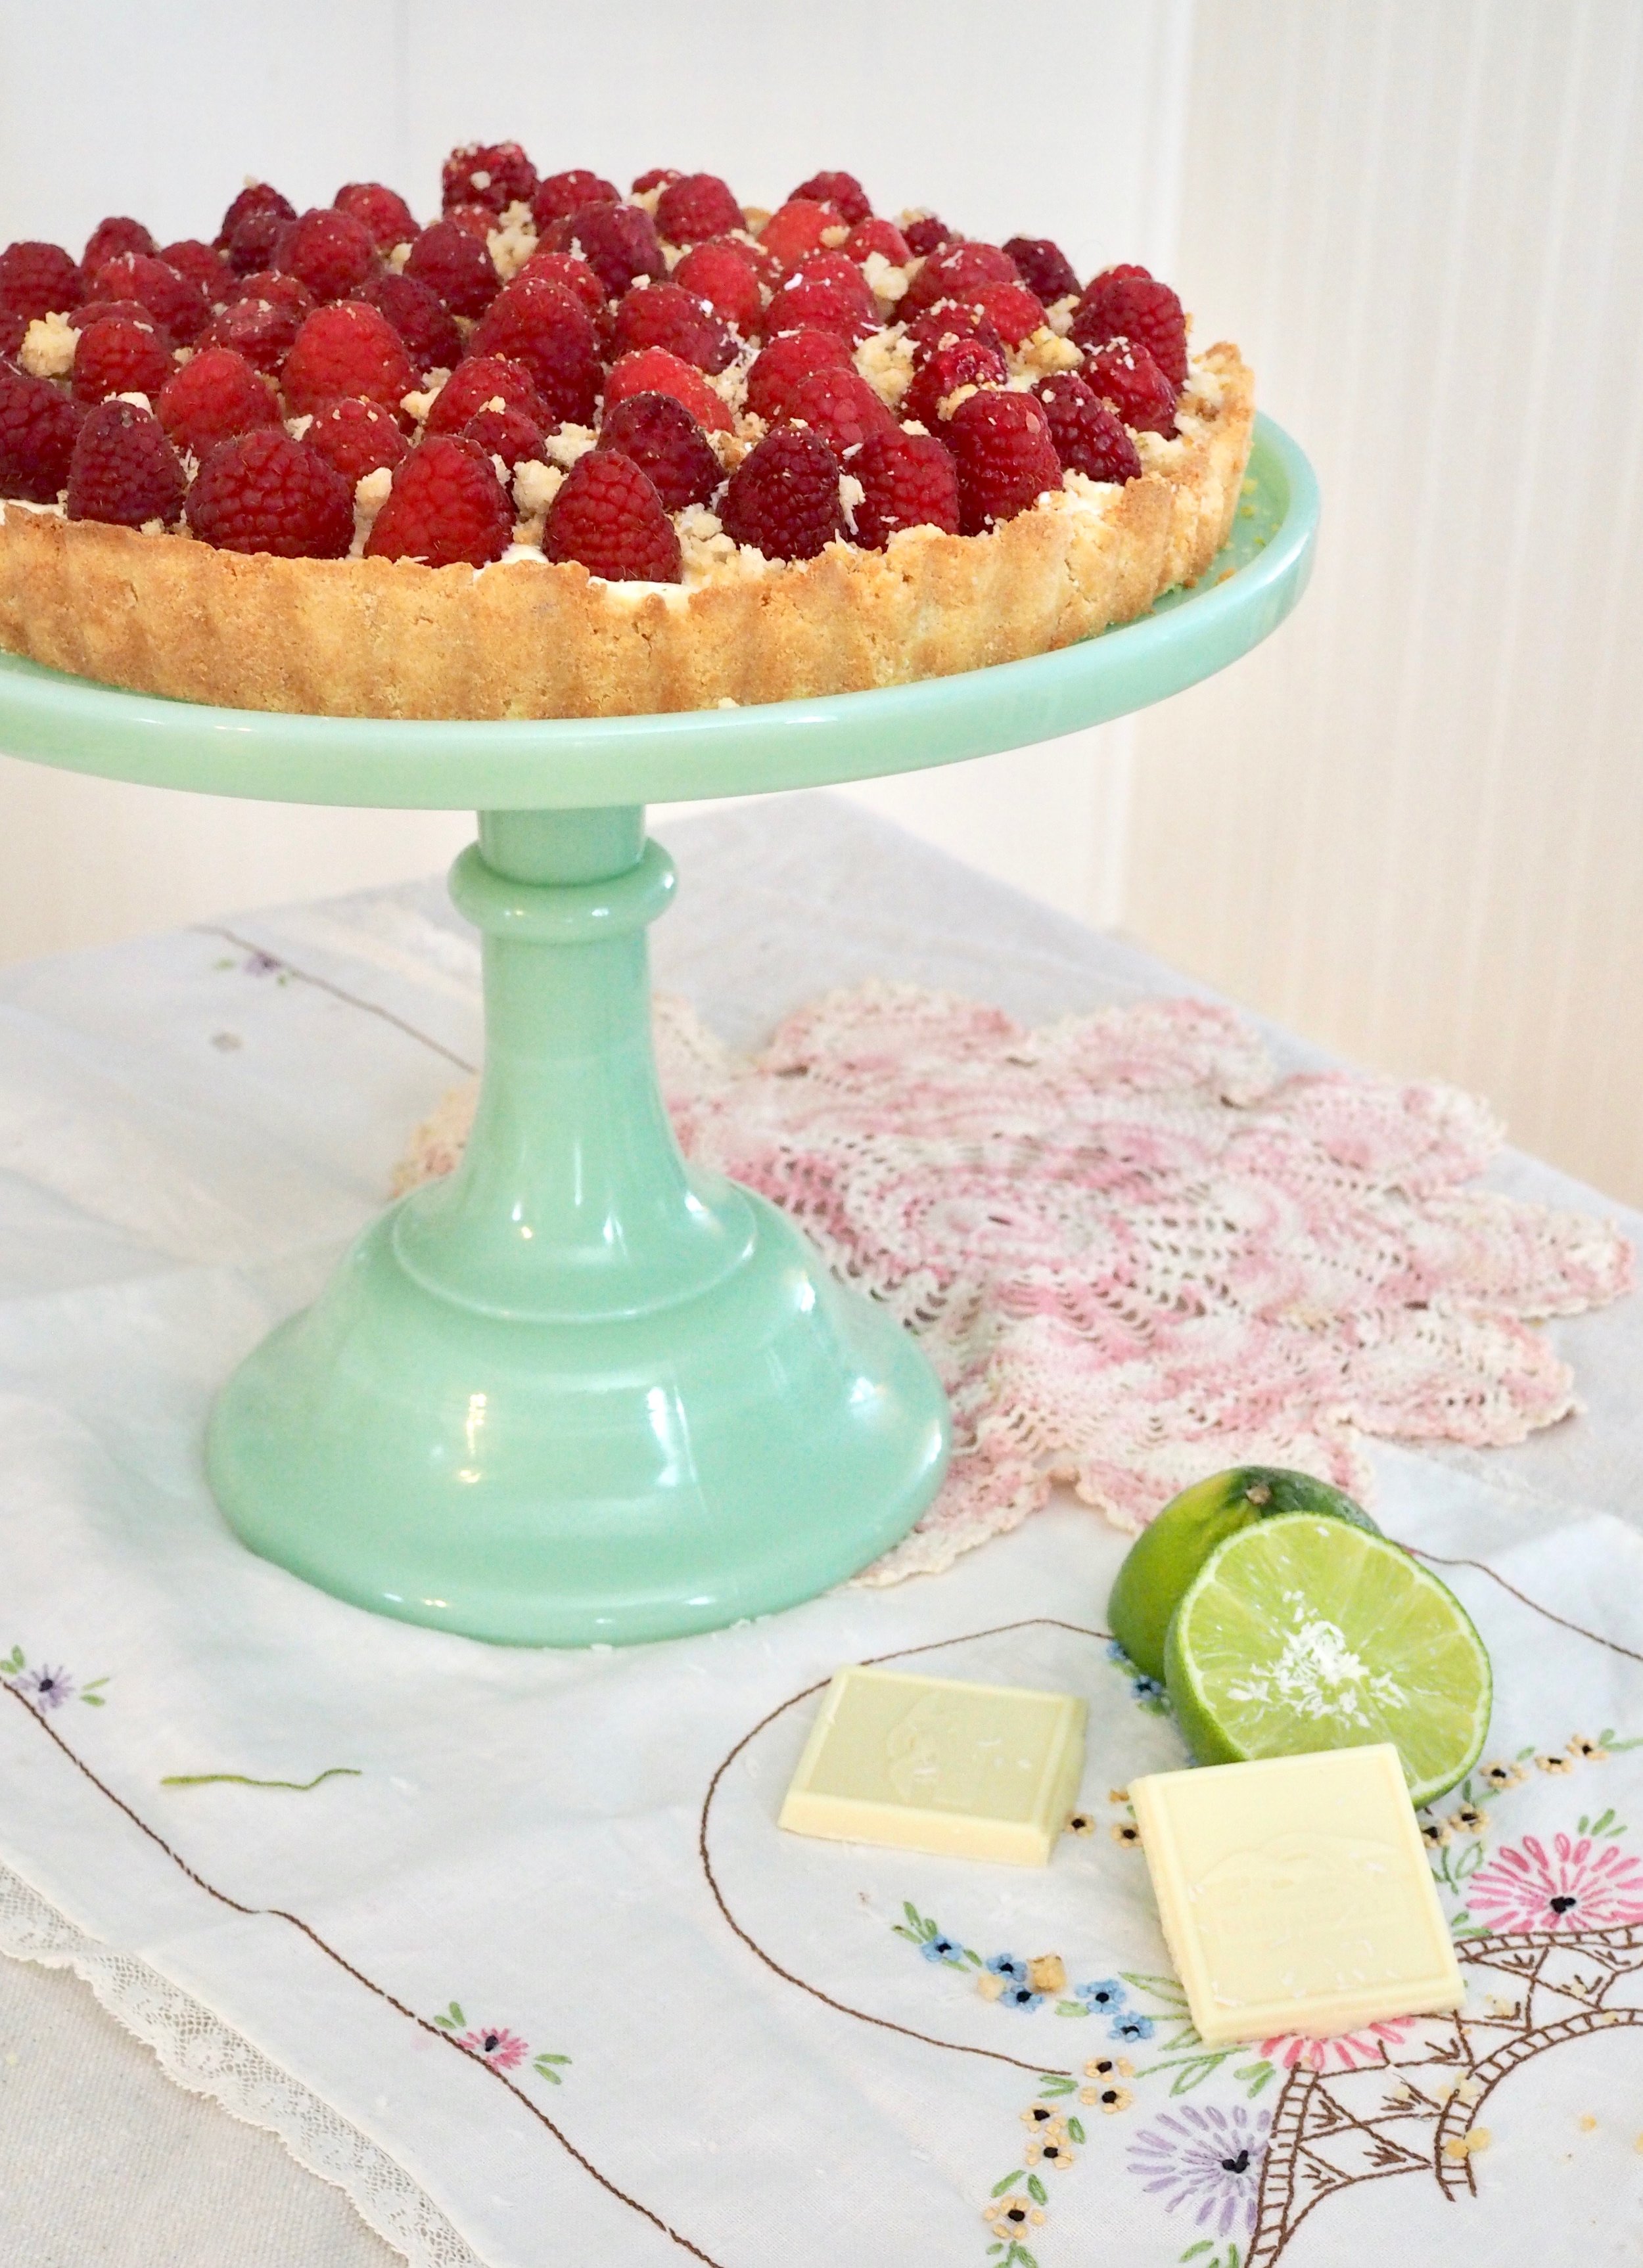
I use my annual National Pie Day potluck to expand my pie-making skills. Fueled by a desire to work with white chocolate, I came up with this show-stopping tart with a coconut flour crust, white chocolate mousse filling, and topped with fresh raspberries and a coconut lime streusel, which just happens to be gluten-free.

I'm not gluten-free myself, but I have many friends who are, and the pressed-into-the-pan crust used here is easy for a gluten-free beginner.  The coconut flour, with its subtle coconut flavor compliments the bright flavors of the lime and raspberries, even if you aren't gluten -free. 


White Chocolate Raspberry Tart with Coconut and Lime (Gluten Free)

Crust

  •  1/3 cup unsalted butter, melted
  • 2 eggs
  • 1/4 teaspoon sea salt
  • 3/4 cup coconut flour

Lime/Coconut Streusel

  •  1/2 cup coconut flour
  • 1/4 cup shredded, unsweetened coconut
  •  1/3 cup granulated sugar
  • 4 Tablespoons (1/2 stick) melted butter
  •  Zest and juice of one lime

White Chocolate Mousse

  • 7 ounces white chocolate, chopped into very small pieces
  • 2 egg yolks 
  • 2 tablespoons sugar 
  • 1 1/4 cup heavy cream 

Topping

·         12 oz Fresh Raspberries

Directions

Preheat oven to 320 Degree F.

Make crust. In a large mixing bowl, combine flour and salt. In a separate bowl, beat together eggs and melted butter. Combine wet and dry ingredients until a dough forms. Pat dough into a 9” greased pie or tart pan. Prick crust all over with a fork. 

Bake crust for 10 minutes, cover edges with foil and bake for another 10-15 minutes until golden brown. Remove crust from oven and cool completely before filling.

Make Streusel. Combine streusel ingredients, adding lime juice until mixture clumps nicely. Spread streusel on a lined cookie sheet and bake for 12-15 minutes, stirring occasionally, until evenly browned. Set aside.

Make Mousse. In a saucepan, whisk together 1/4 cup of the cream, eggs yolks and sugar. Cook over medium-low heat for 3-4 minutes, stirring constantly, until mixture is thick enough to coat the back of a spoon. Remove from heat and whisk in chopped chocolate. Strain through a sieve into a bowl and chill until cool.

Beat remaining cream until stiff peaks form. (If doing this by hand, chill your bowl, cream and whisk in the freezer before you start).  Stir half the cream into the chocolate mixture, then gently fold the remaining whipped cream in.

Scoop mousse into completely cooled pie crust, cover, and chill at least thirty minutes and up to overnight.

Bring pie out approximately 30 minutes prior to serving. Line top of pie with fresh raspberries and sprinkle  streusel on generously (you will use about half the streusel – use the rest to top yogurt, pancakes, etc.) Top pie with grated white chocolate (optional). Serve at room temperature.

To print, see button at bottom of post.

White Chocolate Raspberry Pie v2.png

White Chocolate Raspberry Tart with Coconut and Lime (Gluten Free)

Serves 8 Ingredients: 1/3 cup unsalted butter, melted 2 eggs 1/4 tsp sea salt 1 1/4 cup coconut flour 1/4 cup shredded unsweetened coconut 1/3 cup granulated sugar 4 tablespoons salted butter, melted lime 7 oz white chocolate 2 egg yolks 1 1/4 cup heavy creams 12 oz fresh raspberries
Print Friendly and PDF Follow
follow us in feedly

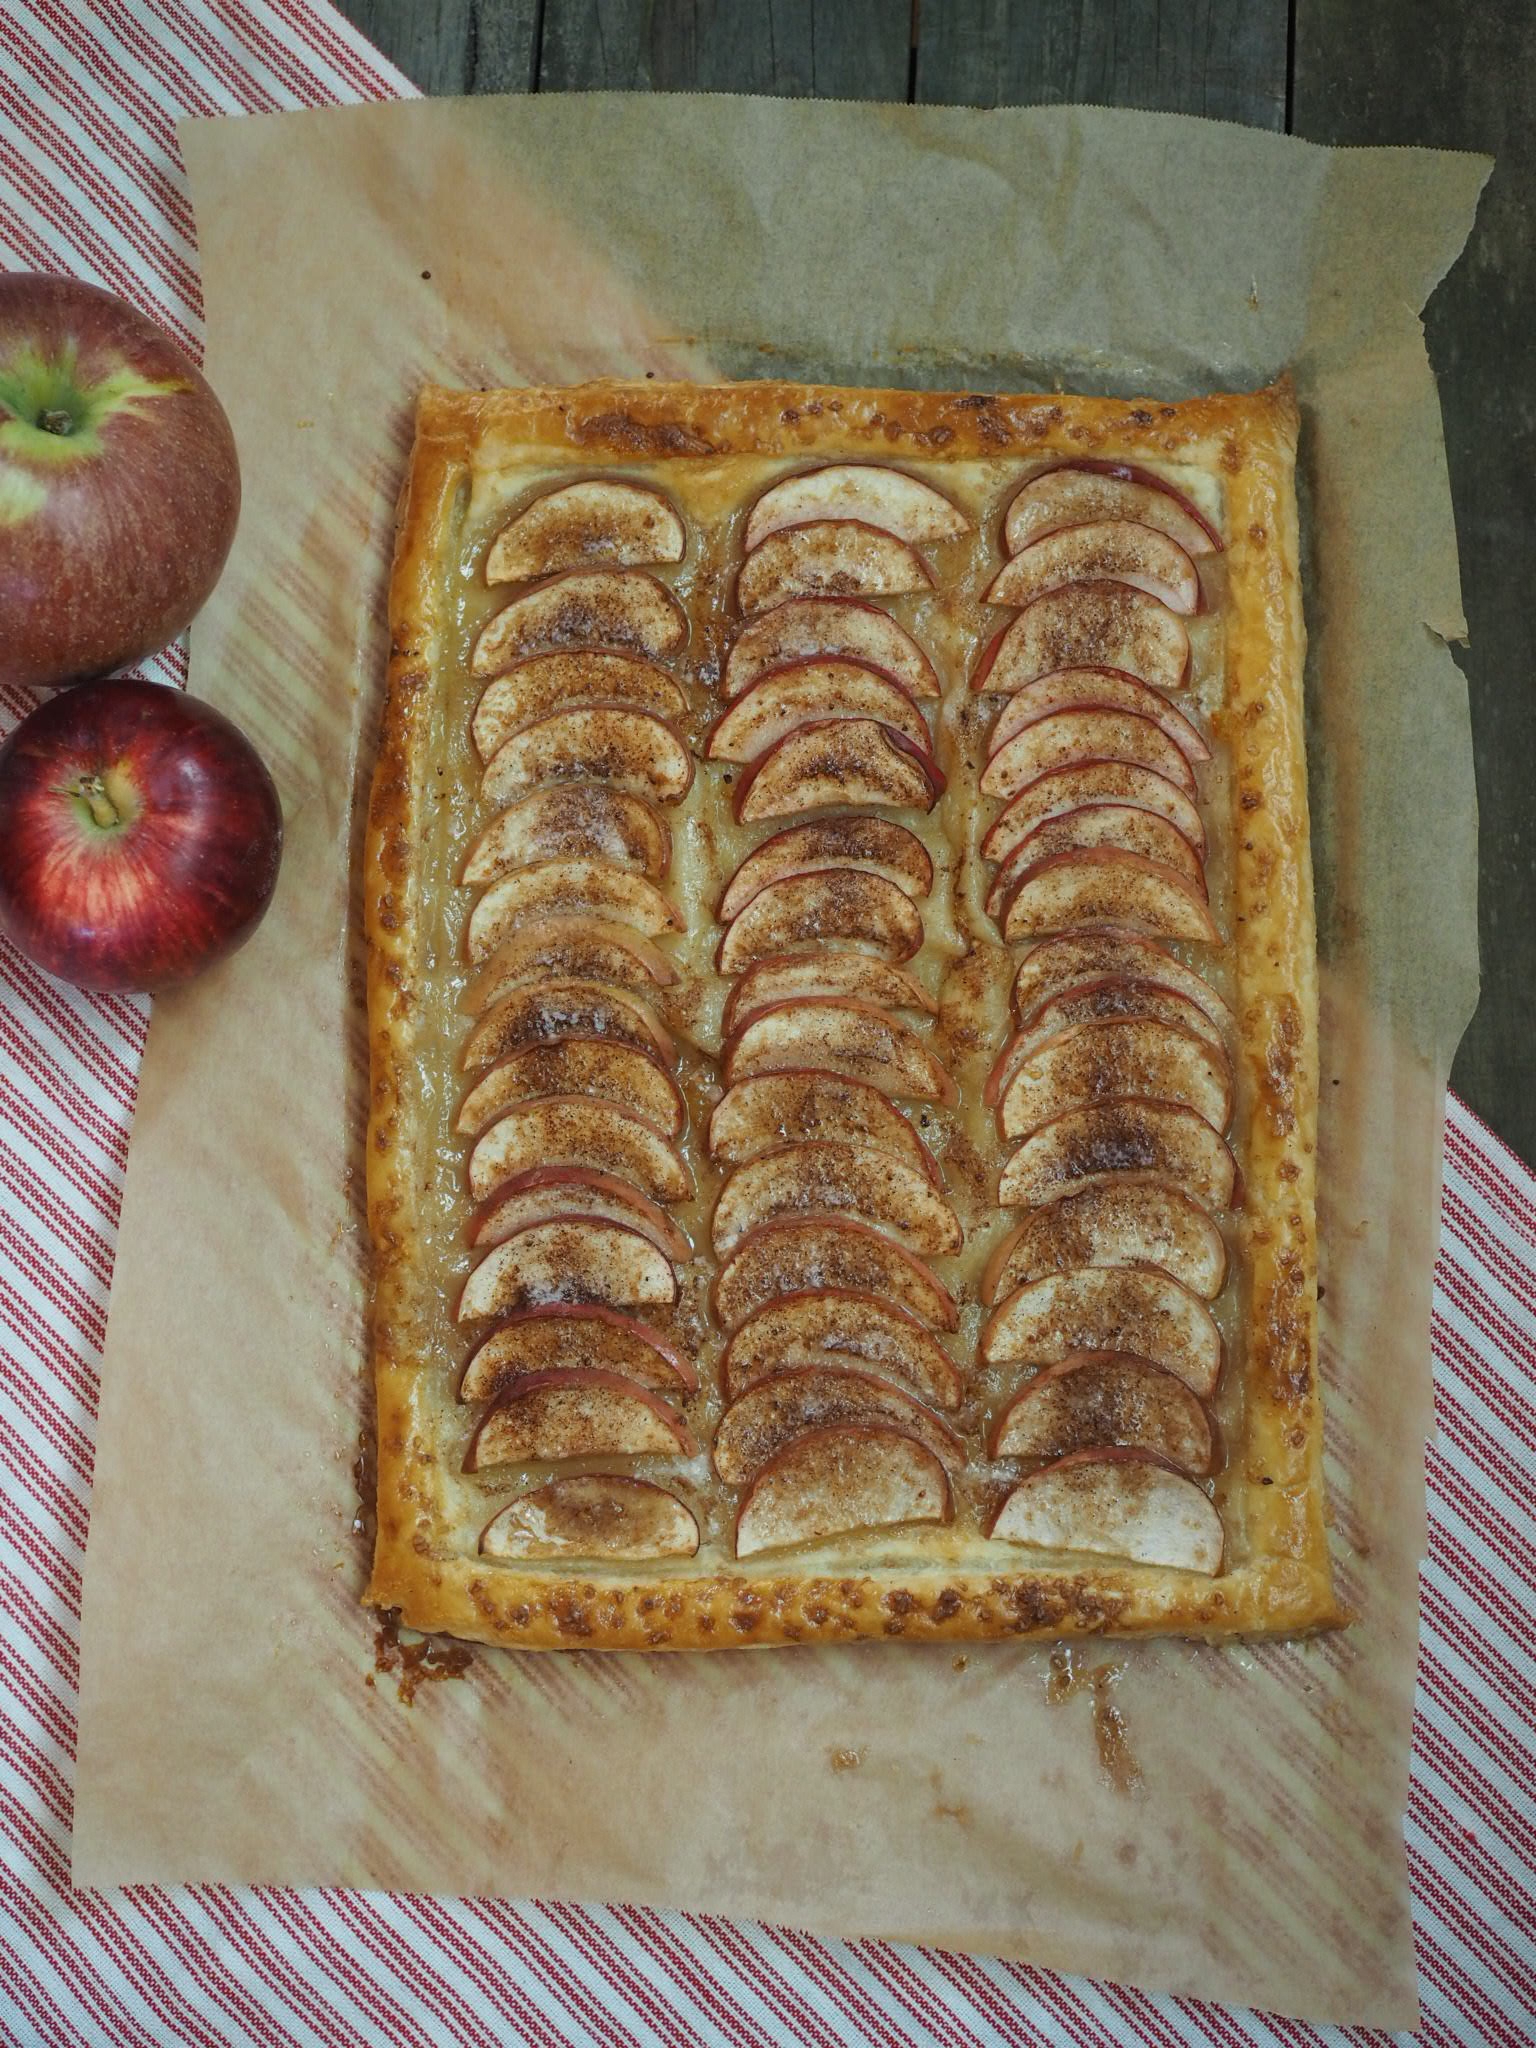
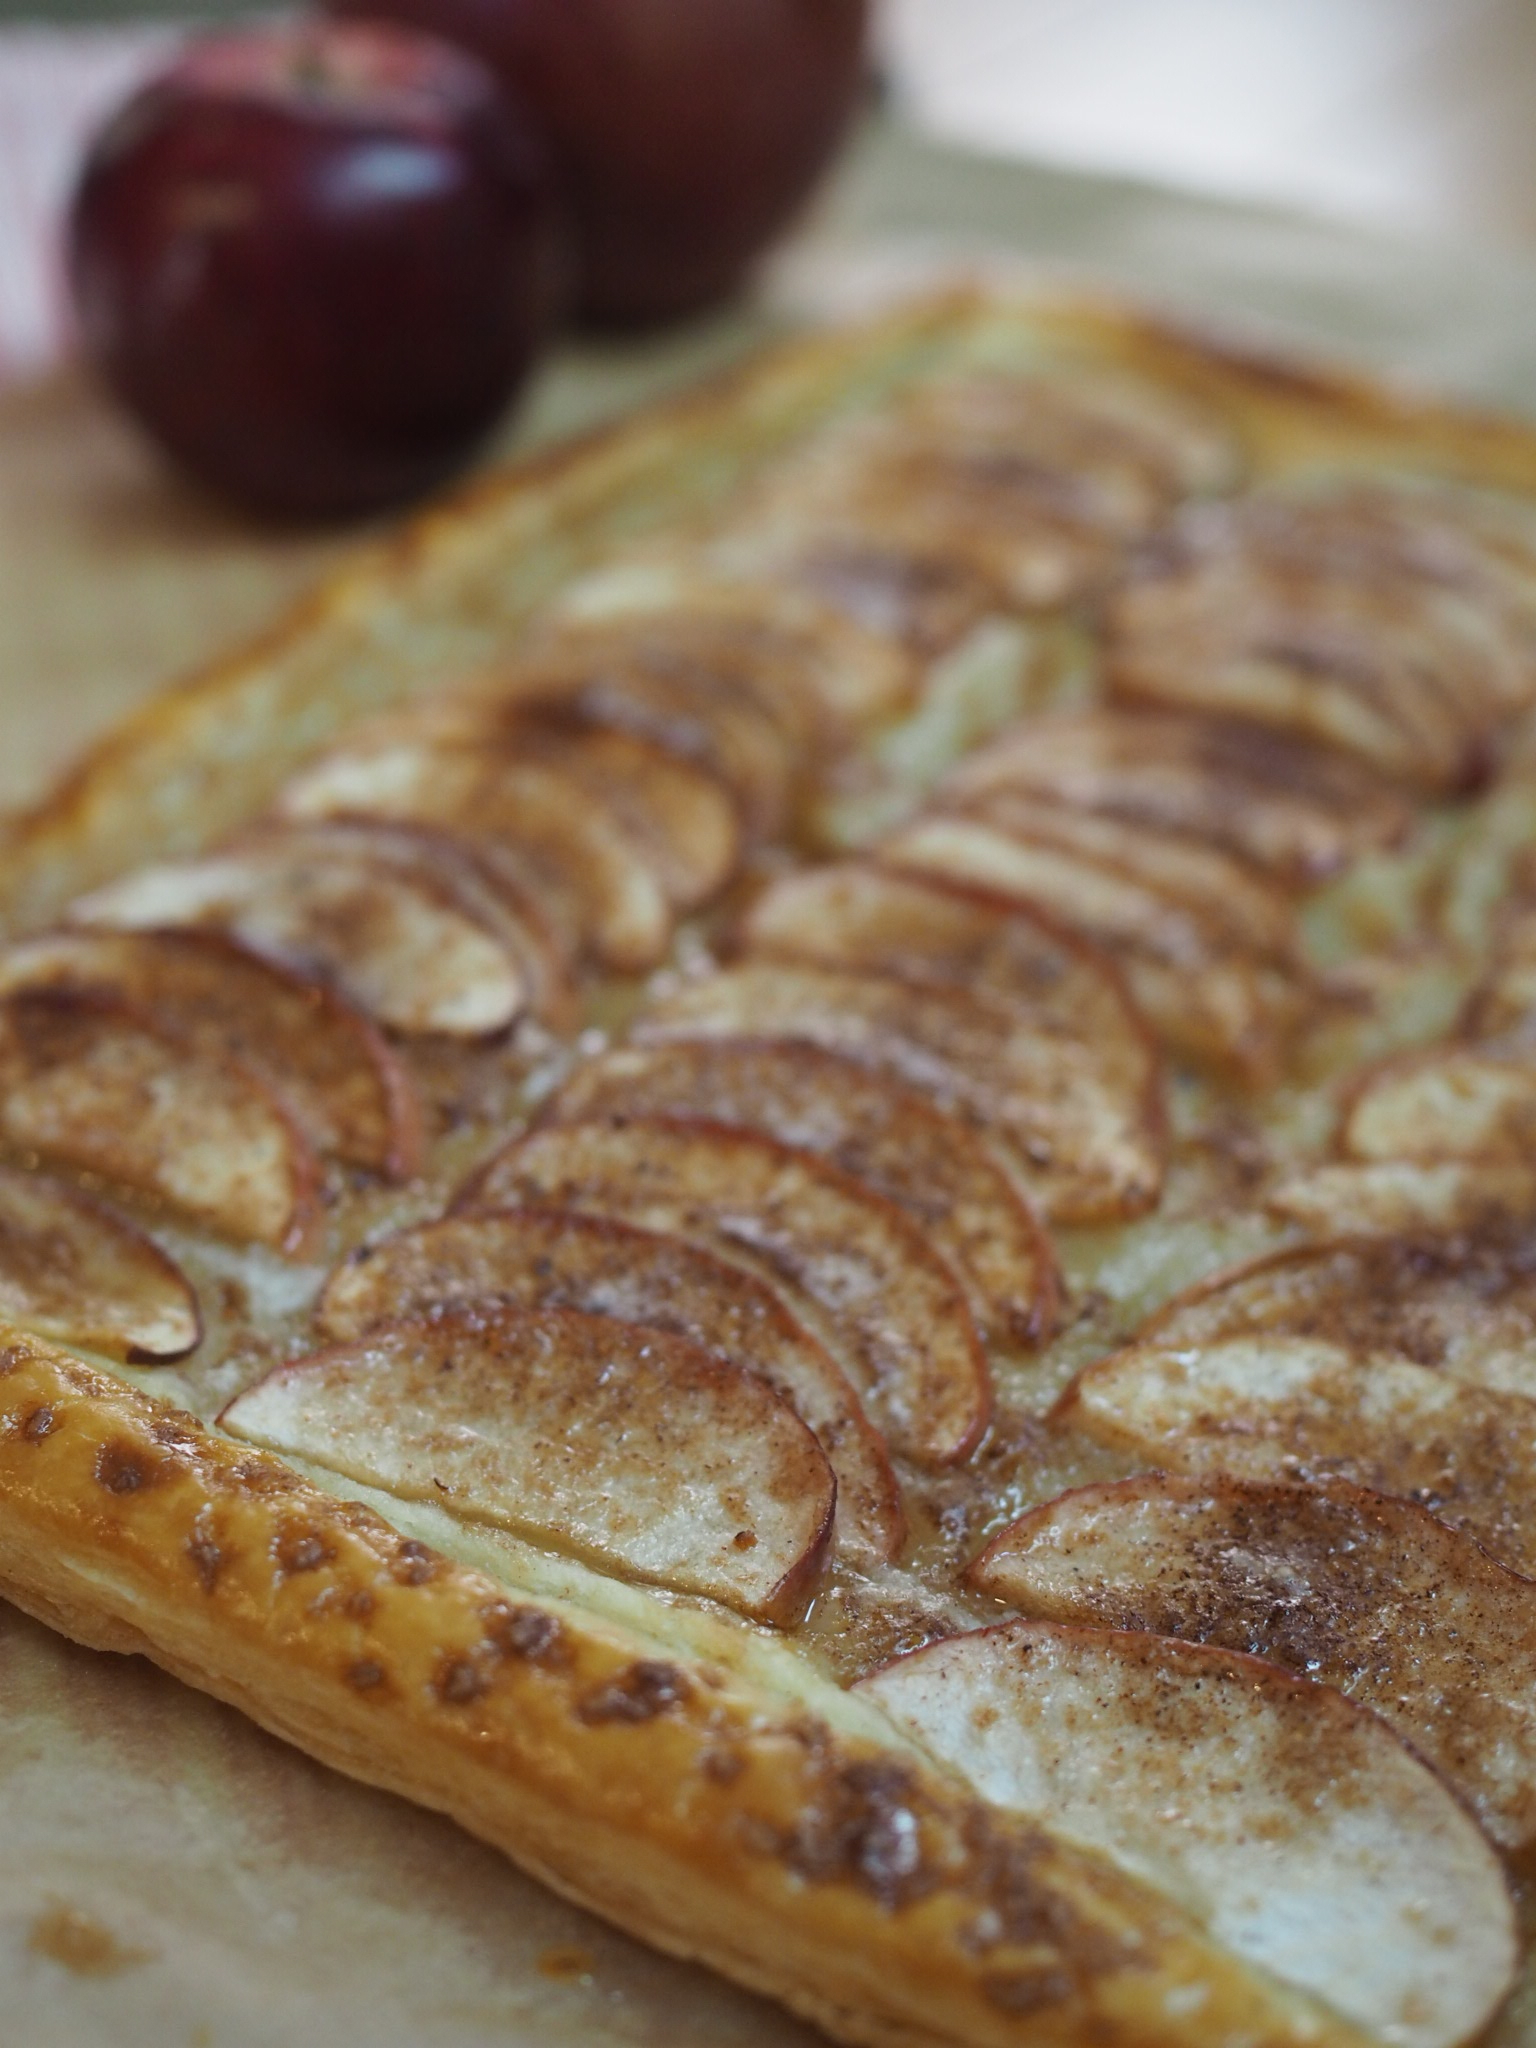
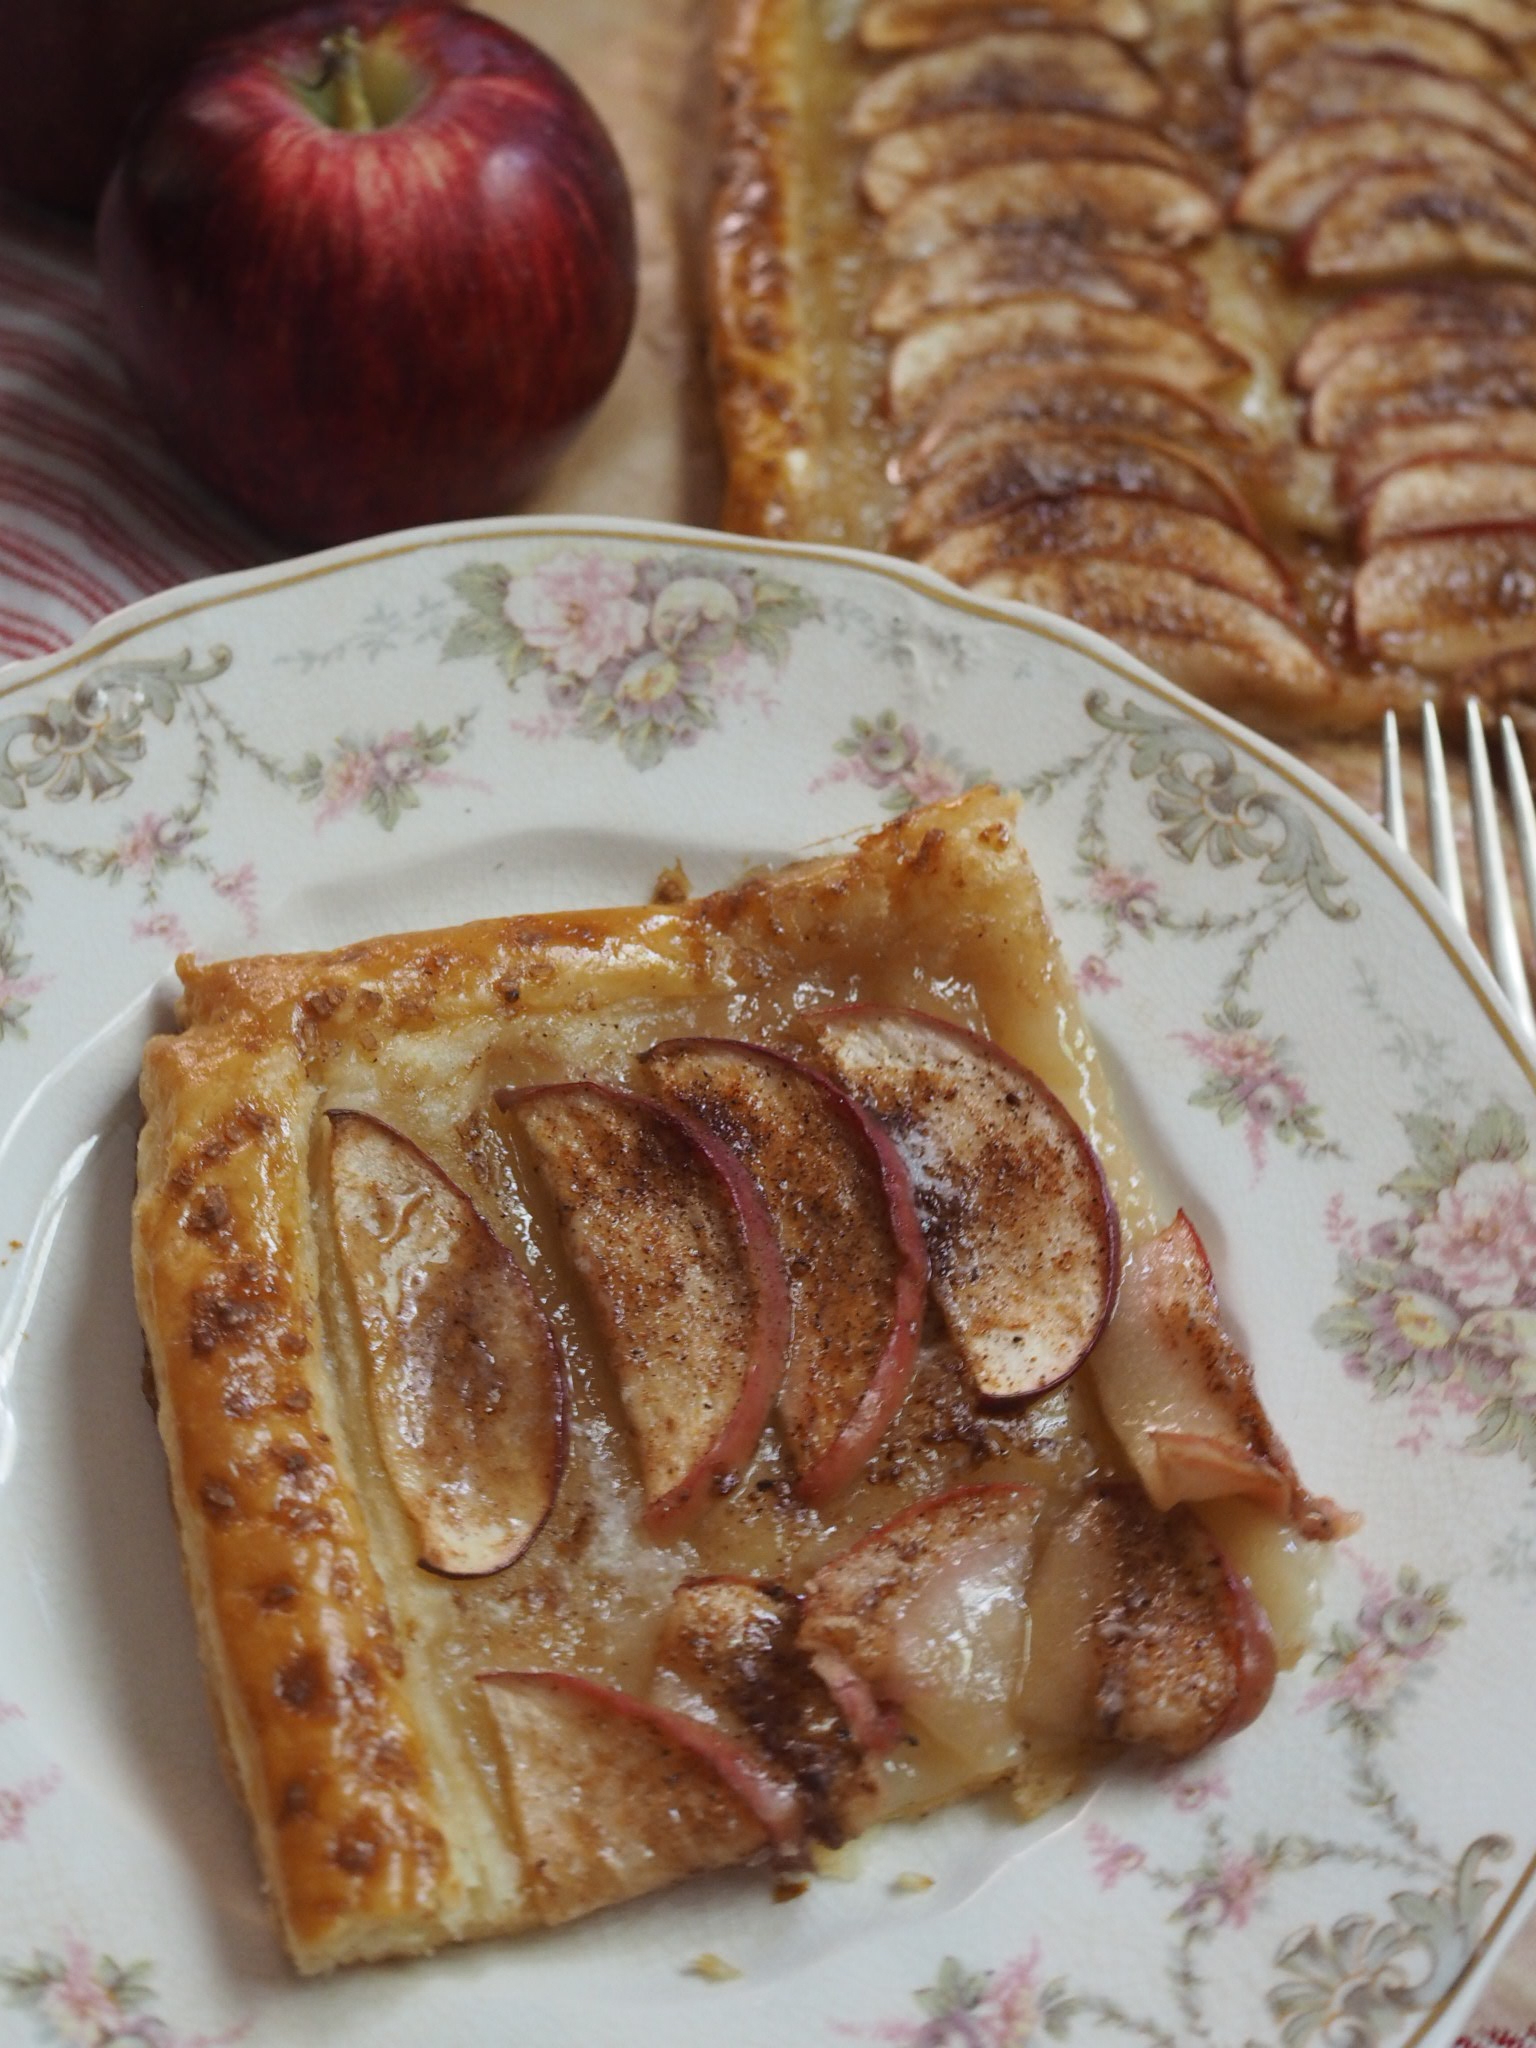
Crisp Apple Tart (Tarte Fine aux Pommes) Recipe

Tarte Fine aux Pommes.png

Ever since my trip to Quebec, I have been obsessed with puff pastry. That, and all the seasons of the Great British Bake Off, I've been watching. 

Well, rough puff pastry. I'd like to give full-on puff pastry a try but a) time and b) the pounding sounds to flatten the butter would drive my dog nuts. So to avoid extended periods of dog barking, I've turned to an easier version that uses grated frozen butter to avoid all the pounding. 

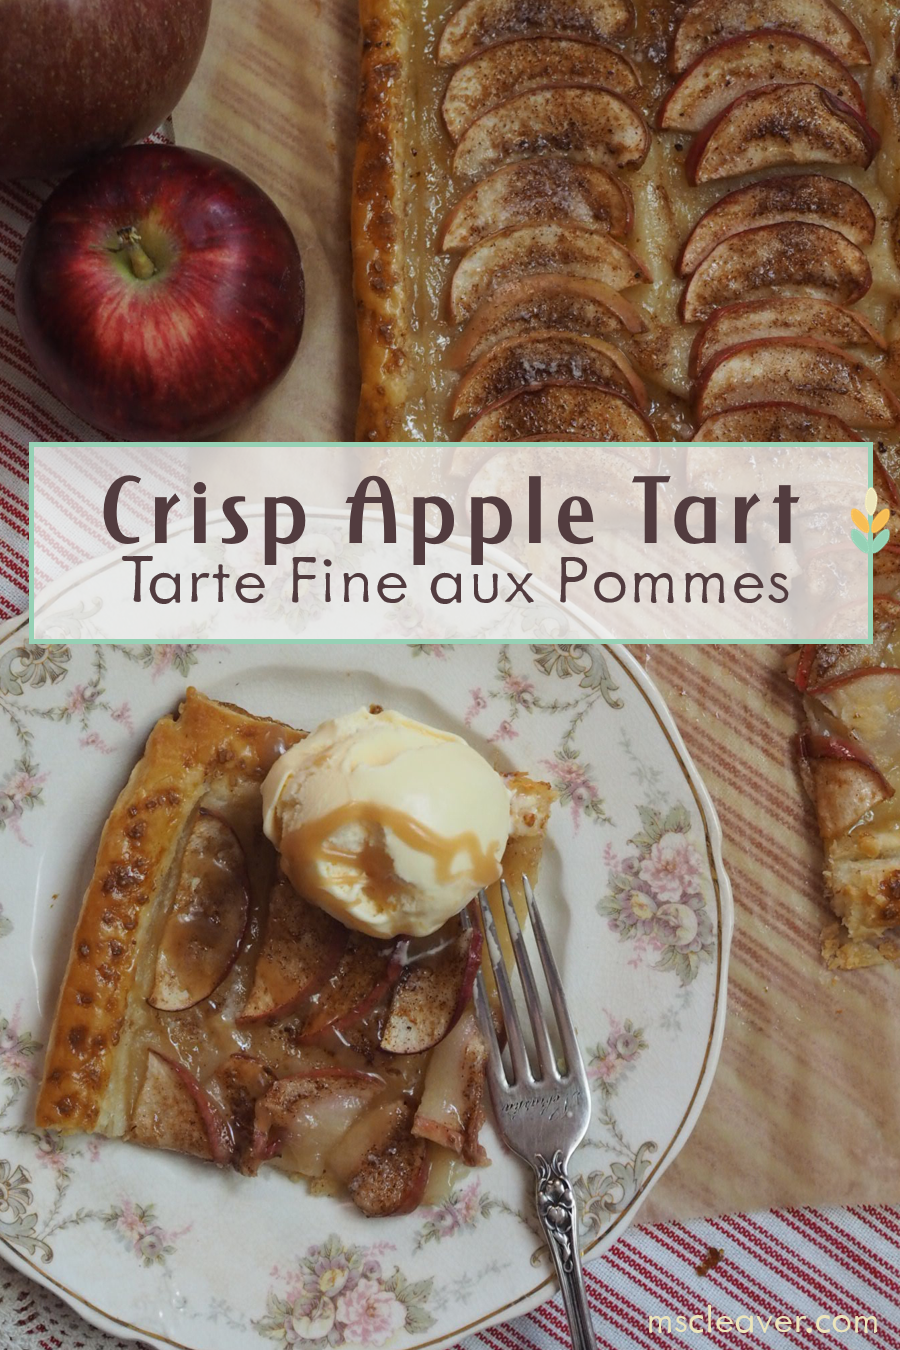
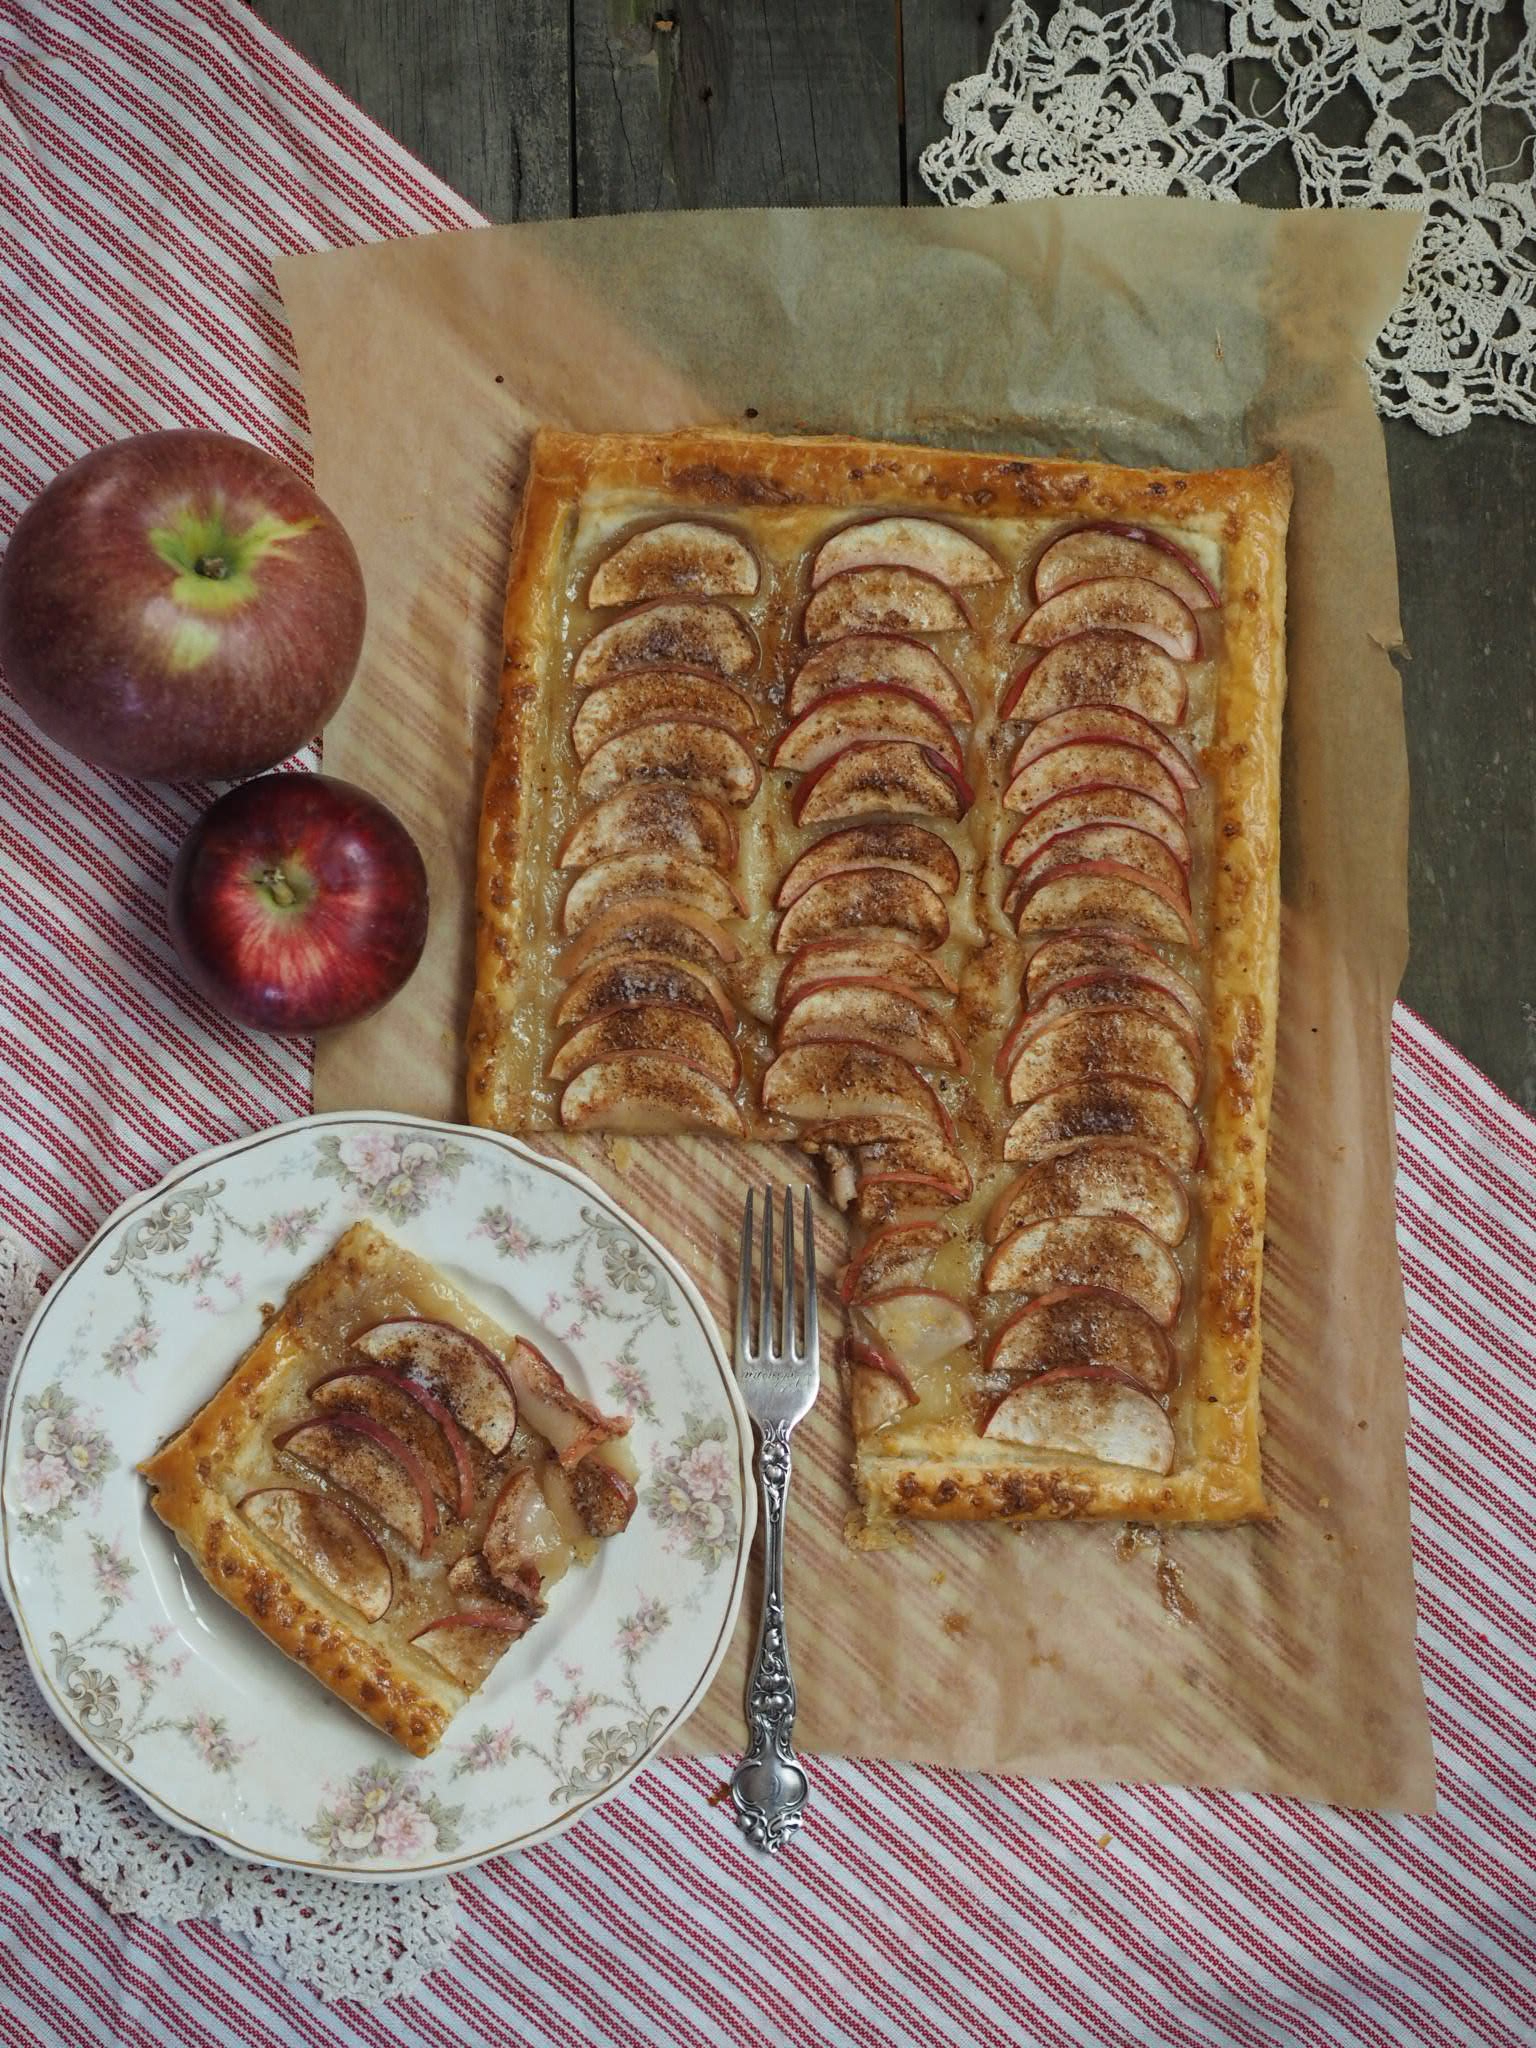
But full, rough, or store bought, puff pastry (or pâte feuilletée if you're feeling French) makes an excellent bae for this deceptively elegant, yet simple traditional crisp tart (or tarte fine). I'd suggest making the puff pastry the day before, then assembling the tart takes only 15 minutes or so. I daresay, it's easier than pie.

"Rough" Puff Pastry

  • 260 grams salted butter (about 2 1/2 sticks), grated
  • 350 grams all-purpose flour (about 2 1/4 cups)
  • 1 tsp salt
  • 1/2-2/3 cup of cold water

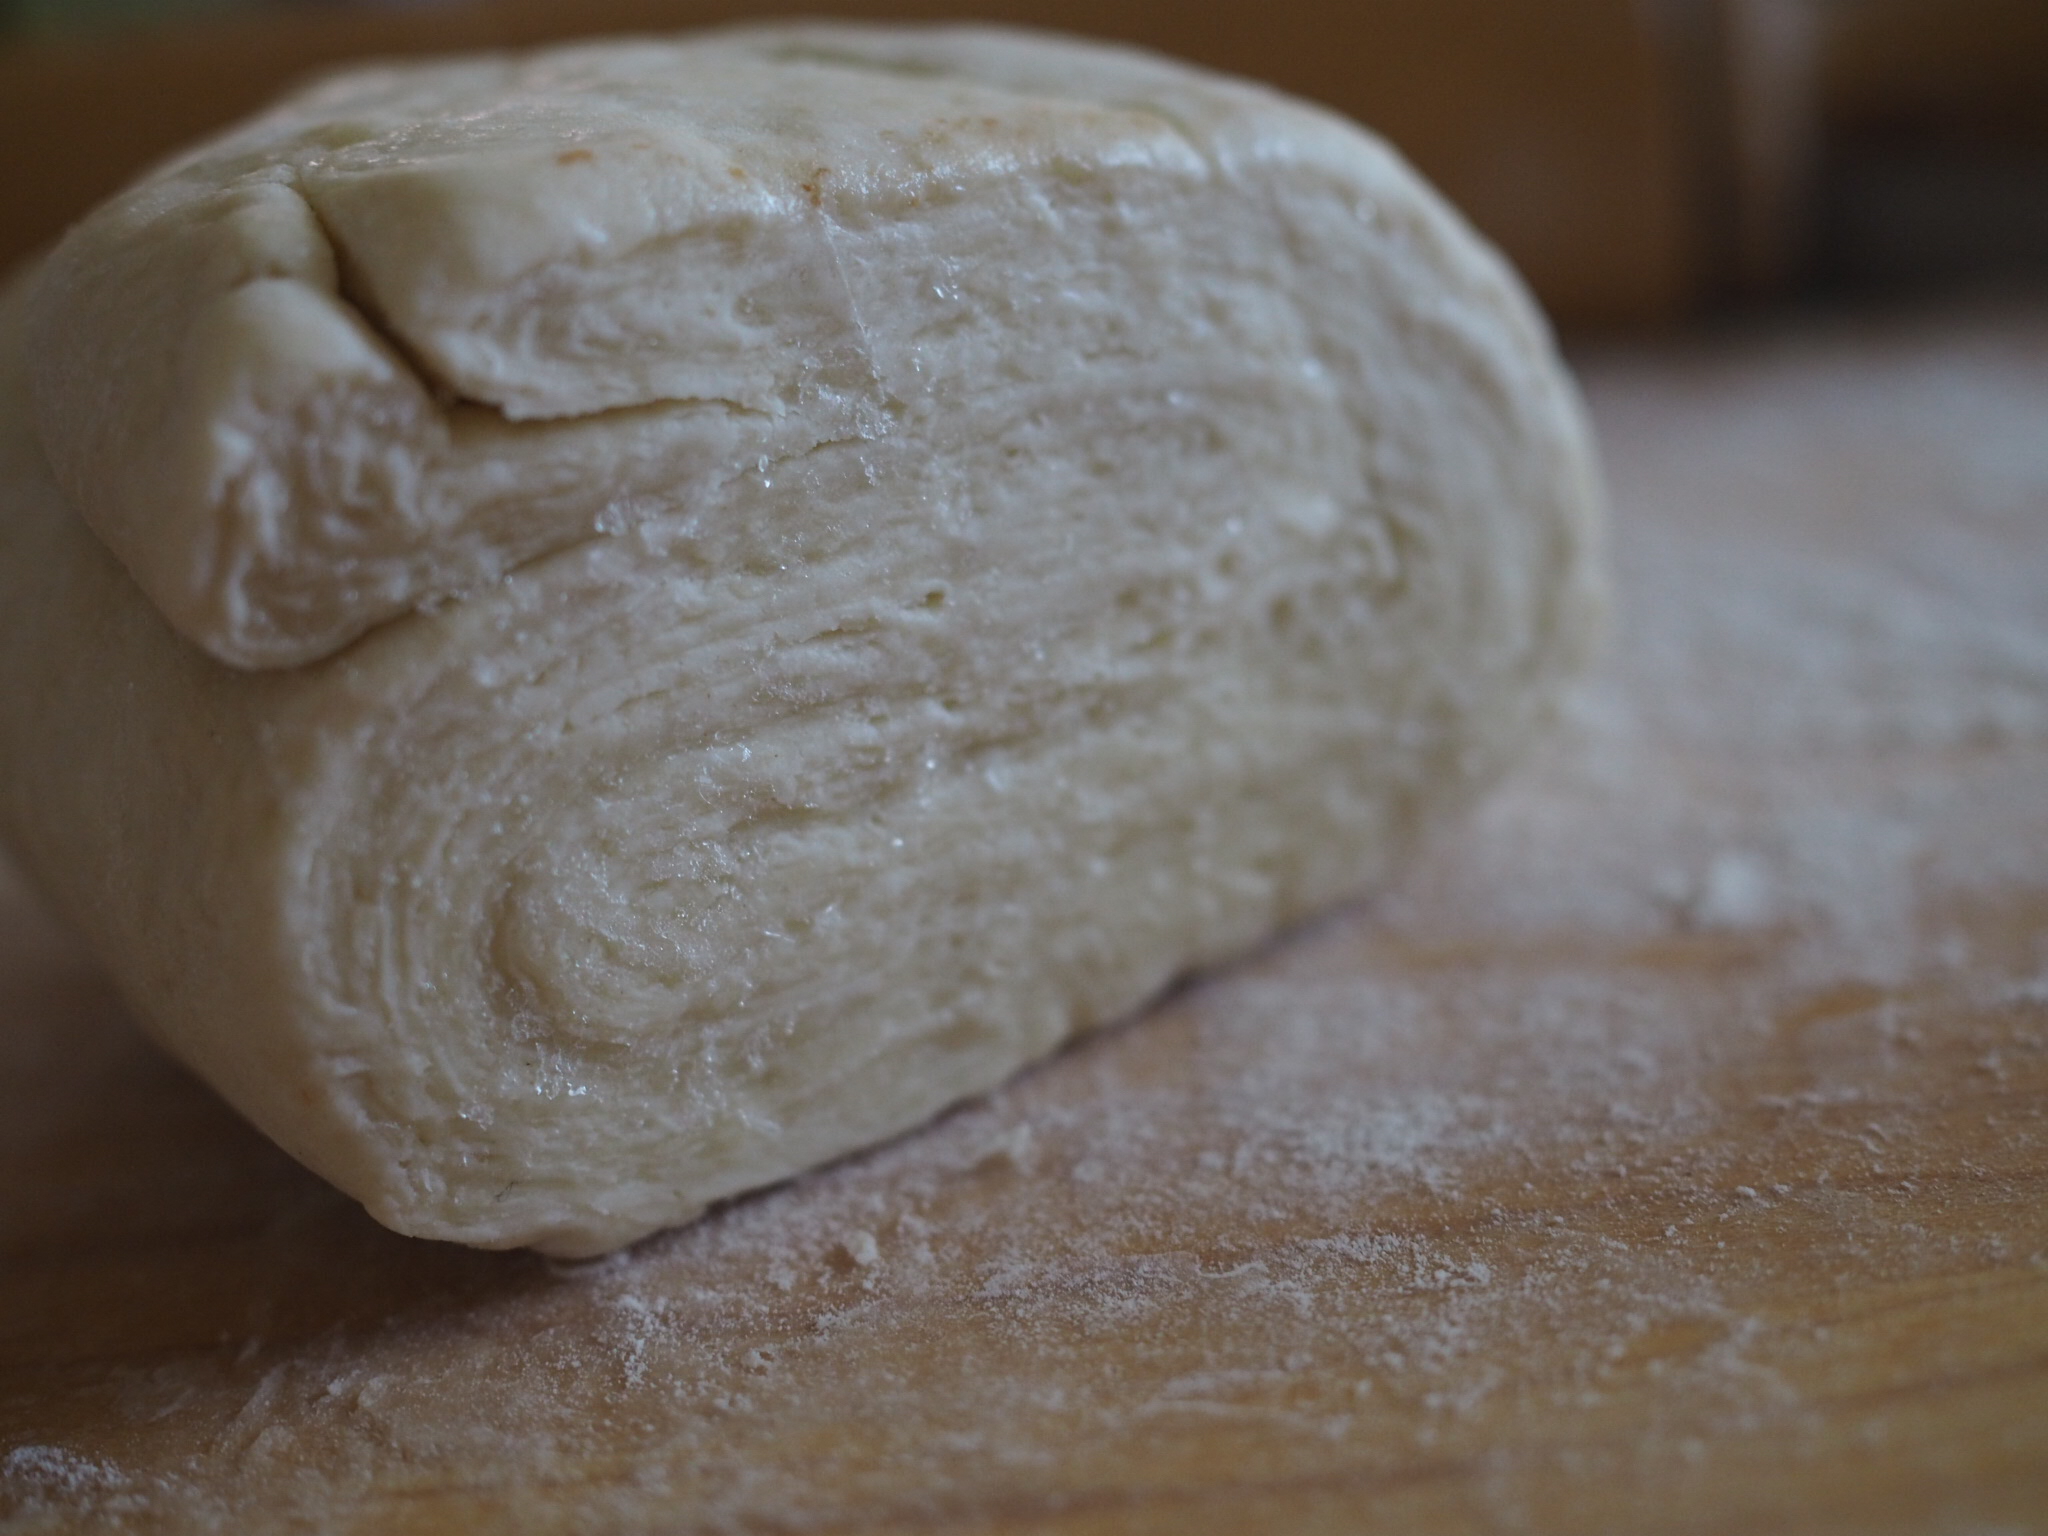
Freeze butter and grate. This is easiest if you have a food processor or a rotary grater, but can be done by hand. Place grated butter and measured flour in freezer for at least an hour.

When butter and flour are sufficiently cold,  mix together flour, salt, and 60g of the butter together with your fingers. Add water until dough just holds together, but is not sticky or wet.  The dough will be firm. Turn out onto a lightly floured surface and knead until dough feels like it's holding together well, about 1 minute. Rest dough in fridge for about 5 minutes while you prepare for next step. If you work quickly, you can do the following in one go. If the dough and particularly the butter, starts to get too warm and easy to work stop and chill in the freezer for a few minutes before continuing. 

  1. On a lightly floured surface, roll dough into a long rectangle. Sprinkle half the remaining butter on 2/3rd of the dough. Fold the rectangle in thirds, starting with the un-buttered third. 
  2. Turn the dough 90 degrees ( so the open ends are facing the side) and repeat step 1. 
  3.  Turn the dough 90 degrees and repeat folds (without the butter) as in step 1. Repeat turn/roll/fold 2 more times.
  4. Cut dough in half, wrap each half secruly in plastic wrap and store in fridge overnight. If you're making tart in less than an hour, or are planning to not use the dough for more than a day, store in the freezer and thaw in the fridge prior to use. 

Crisp Apple Tart/Tarte Fine aux Pommes

Serves 6

  • 1/2 of rough puff pastry recipe (above), or 1 sheet frozen pre-made pastry, thawed.
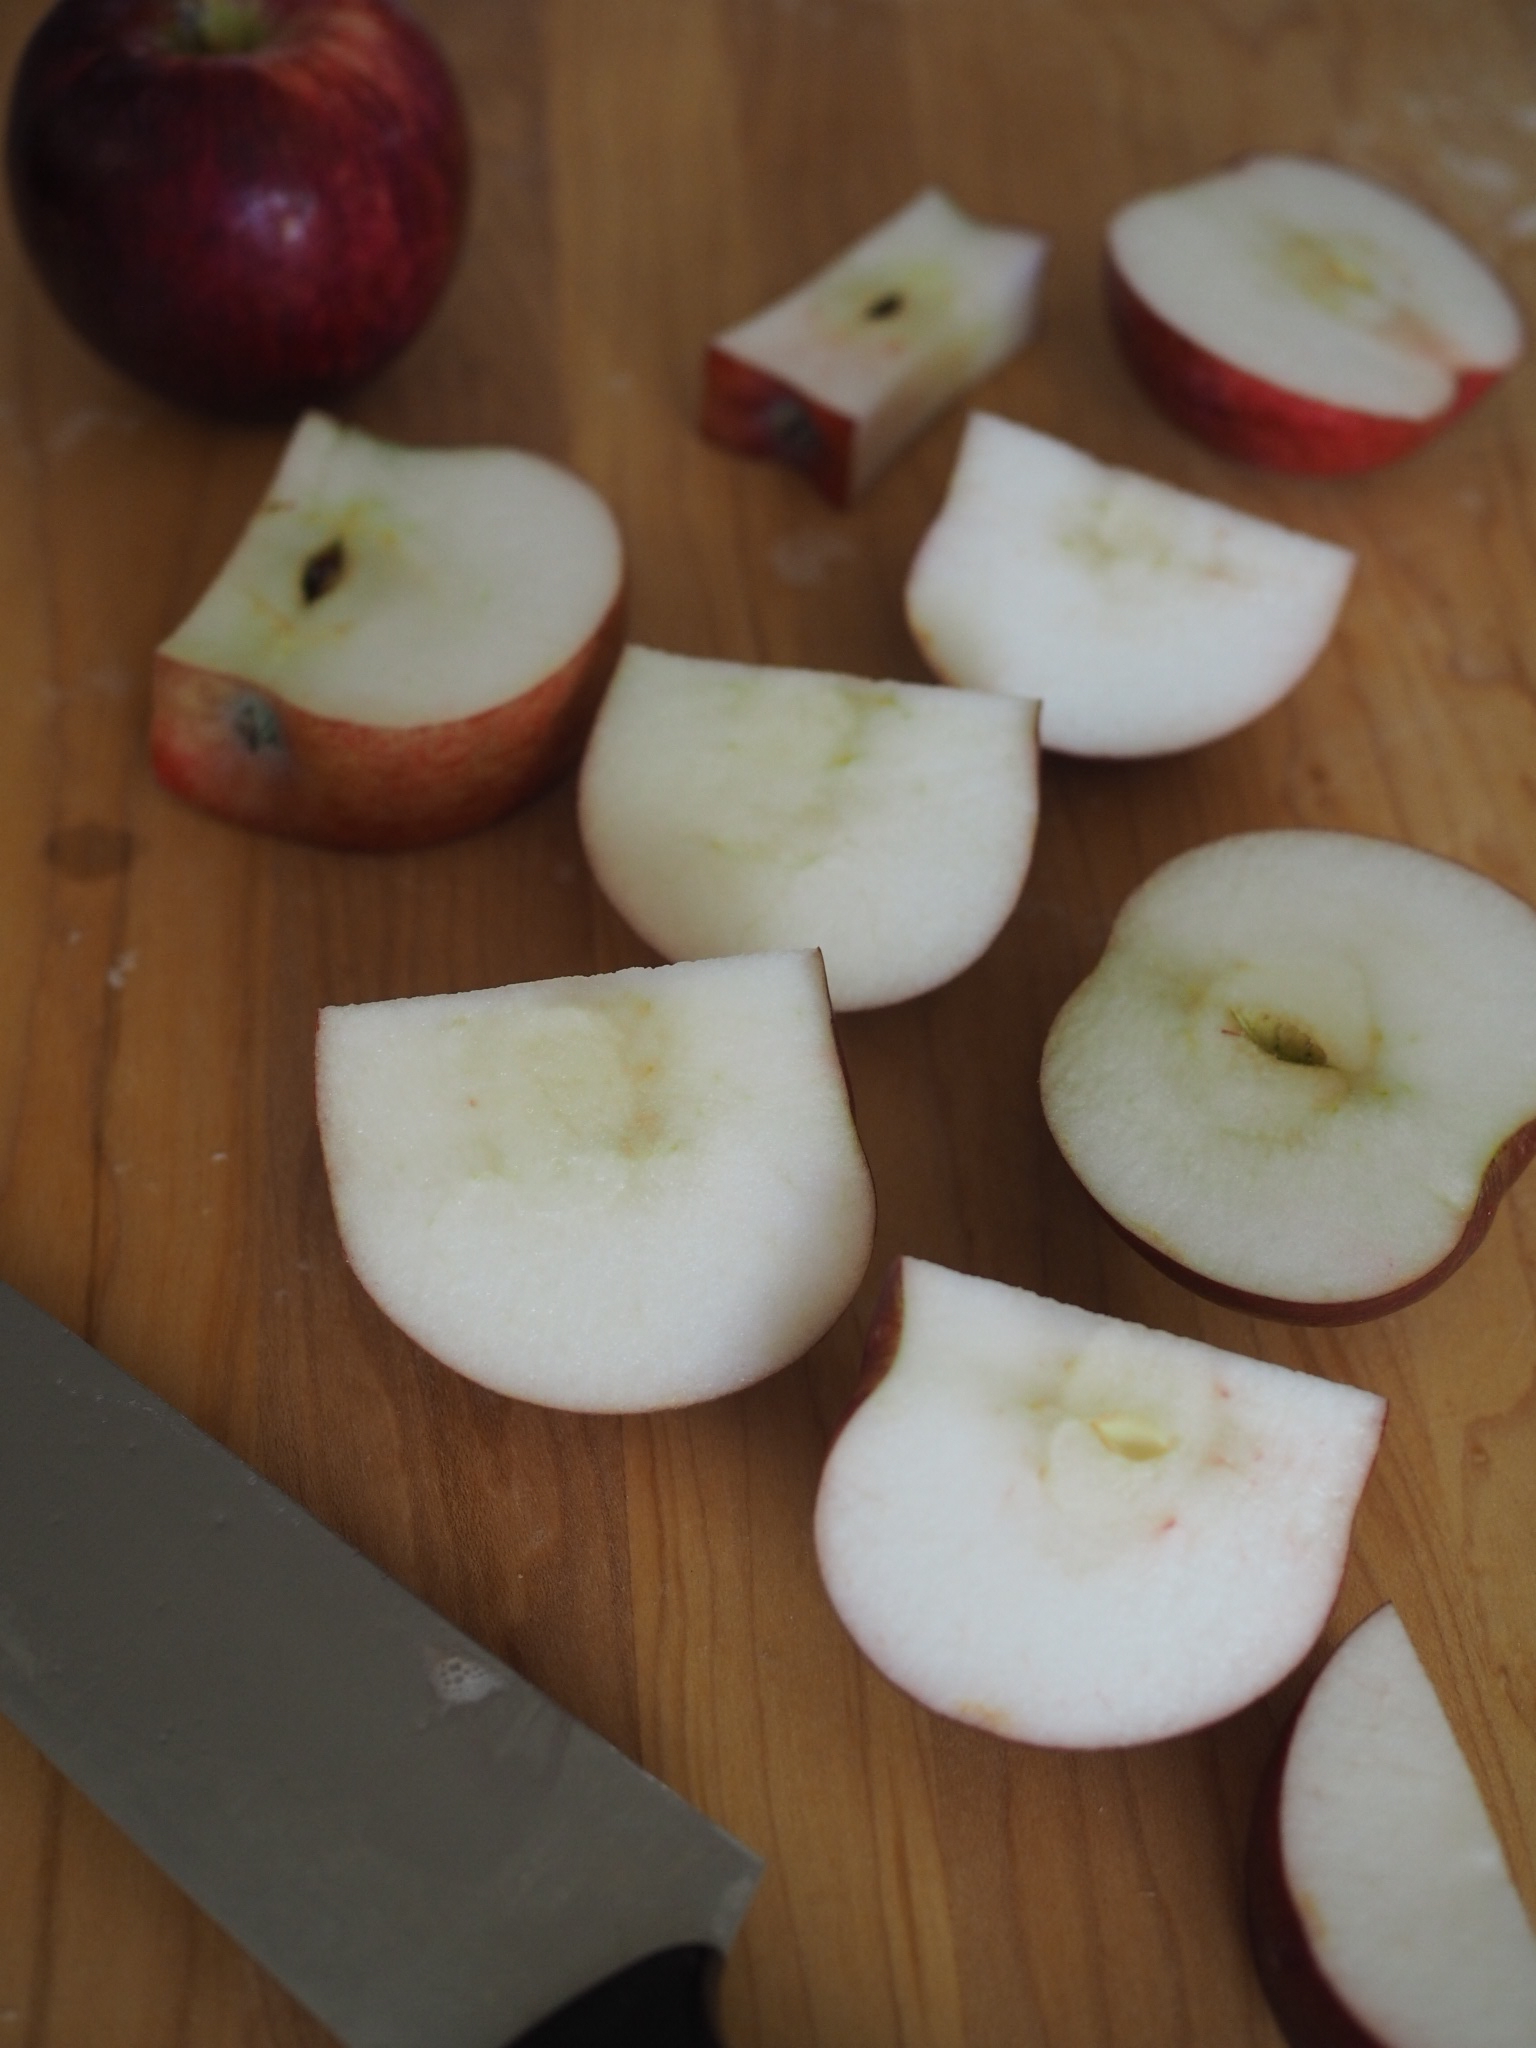
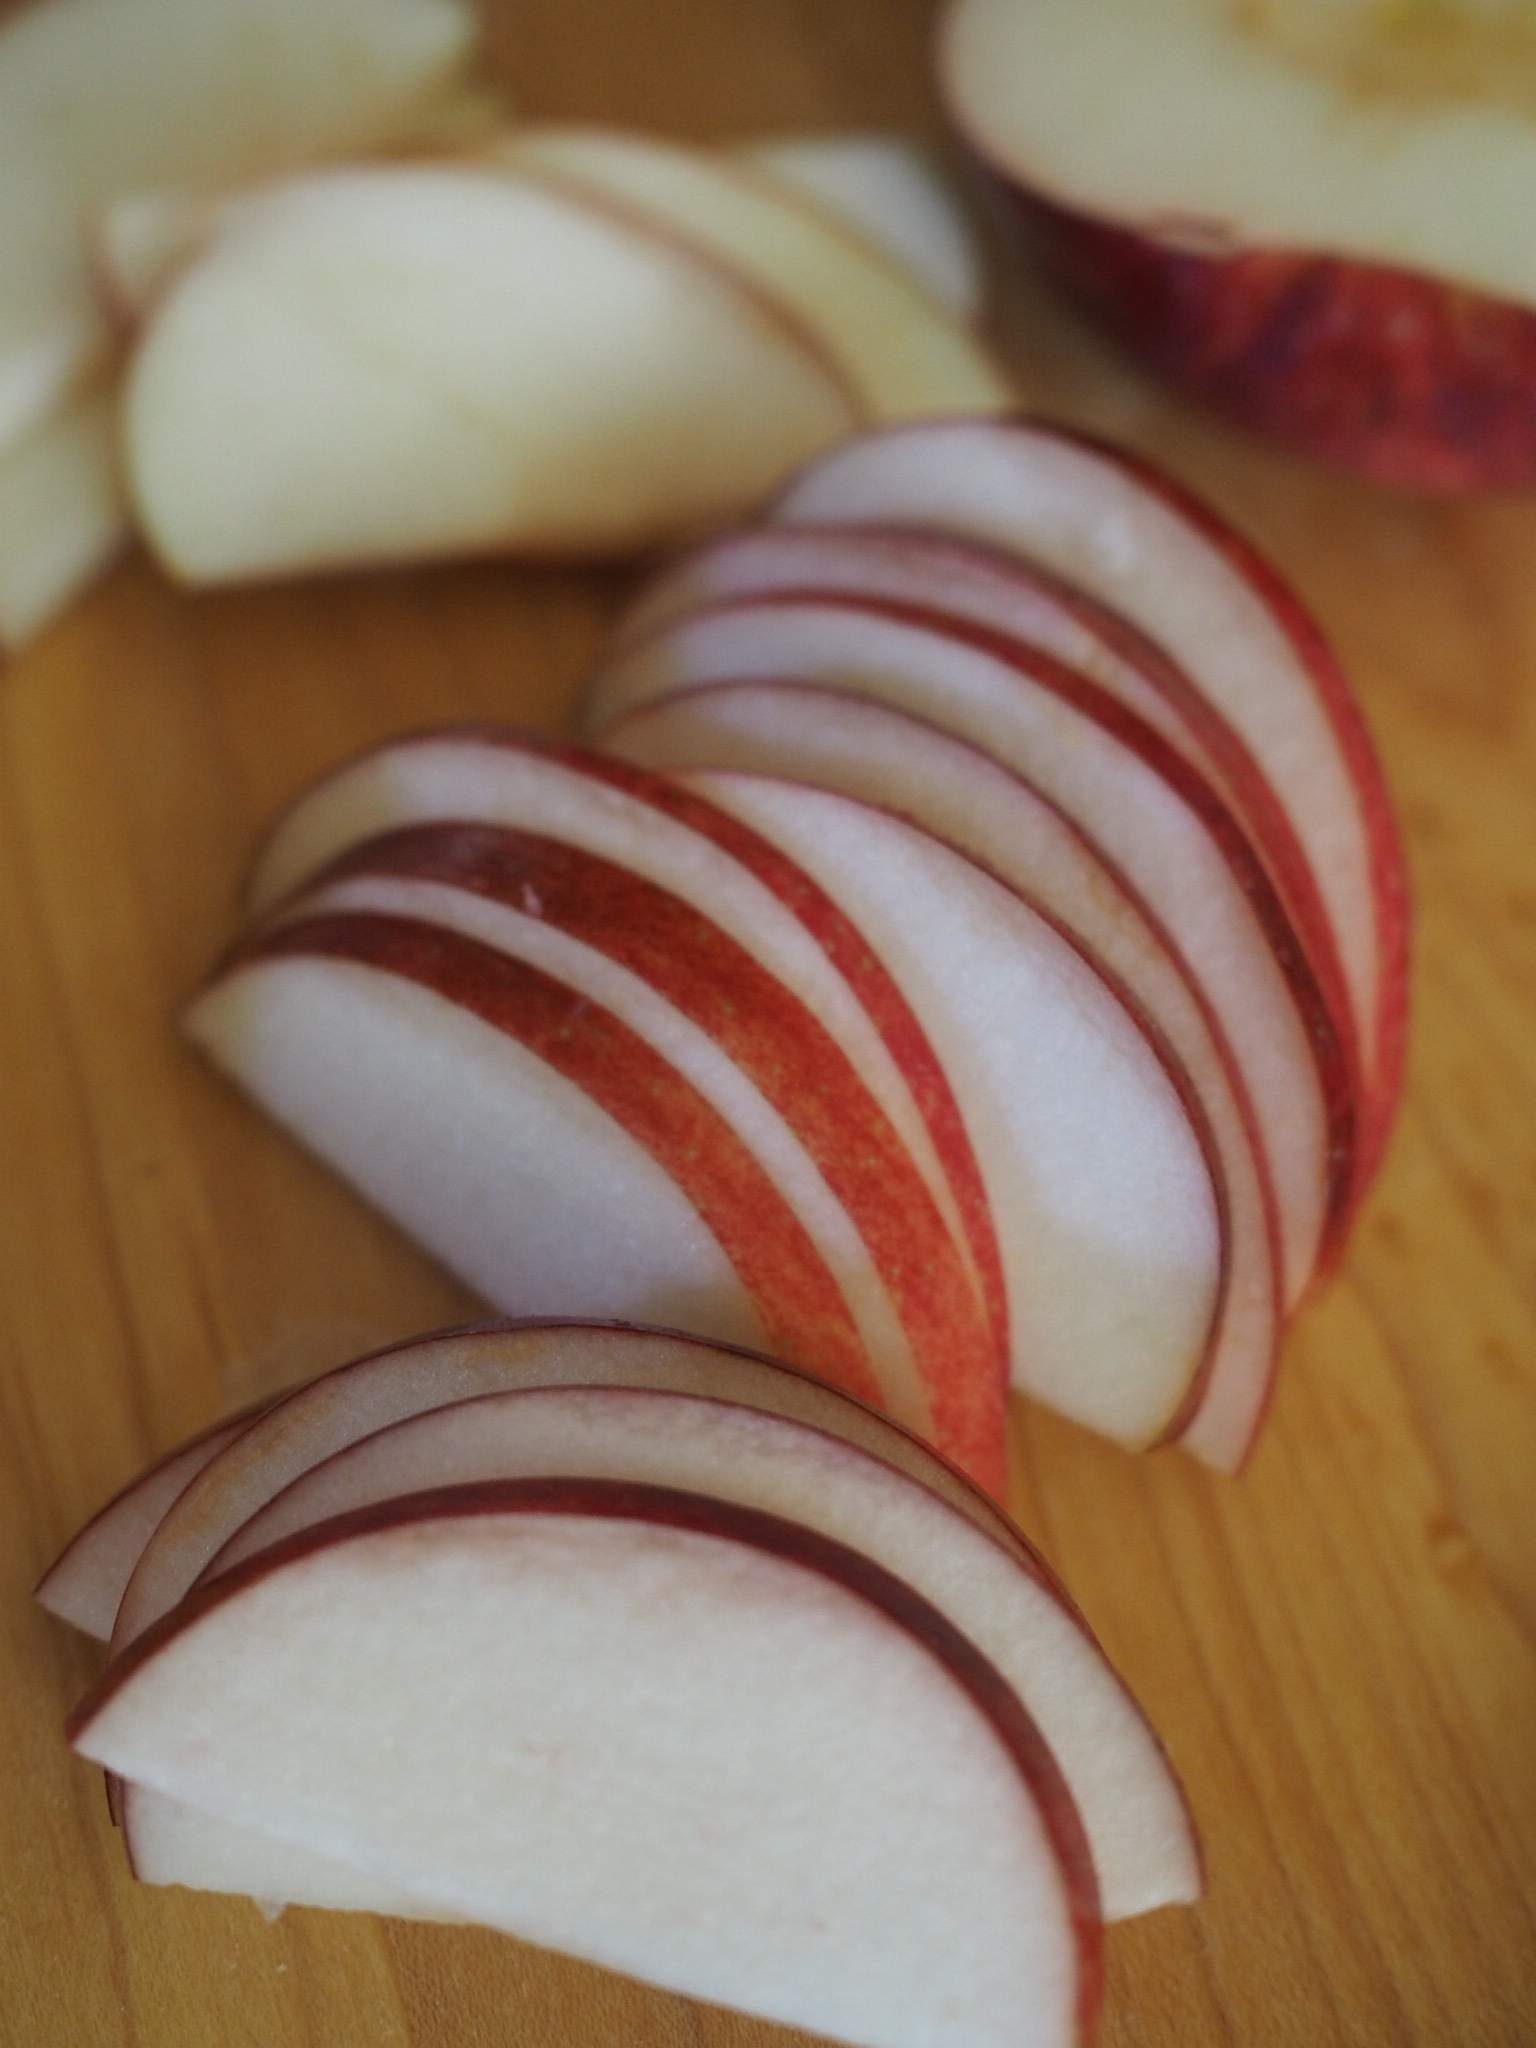
  • 2 medium apples, with peels, sliced thin
  • 1 egg
  • 2 Tablespoons orange marmalade, apricot jelly, or apple jelly
  • 2 Tablespoons Demera (raw) sugar (can subsititute granulated sugar, if desired)
  • 1/4 teaspoon cinnamon
  • Freshly grated nutmeg
  • 2 Tablespoons salted butter, diced into cubes.

Preheat oven to 425 degrees Fahrenheit. Line a large baking sheet with parchment paper.

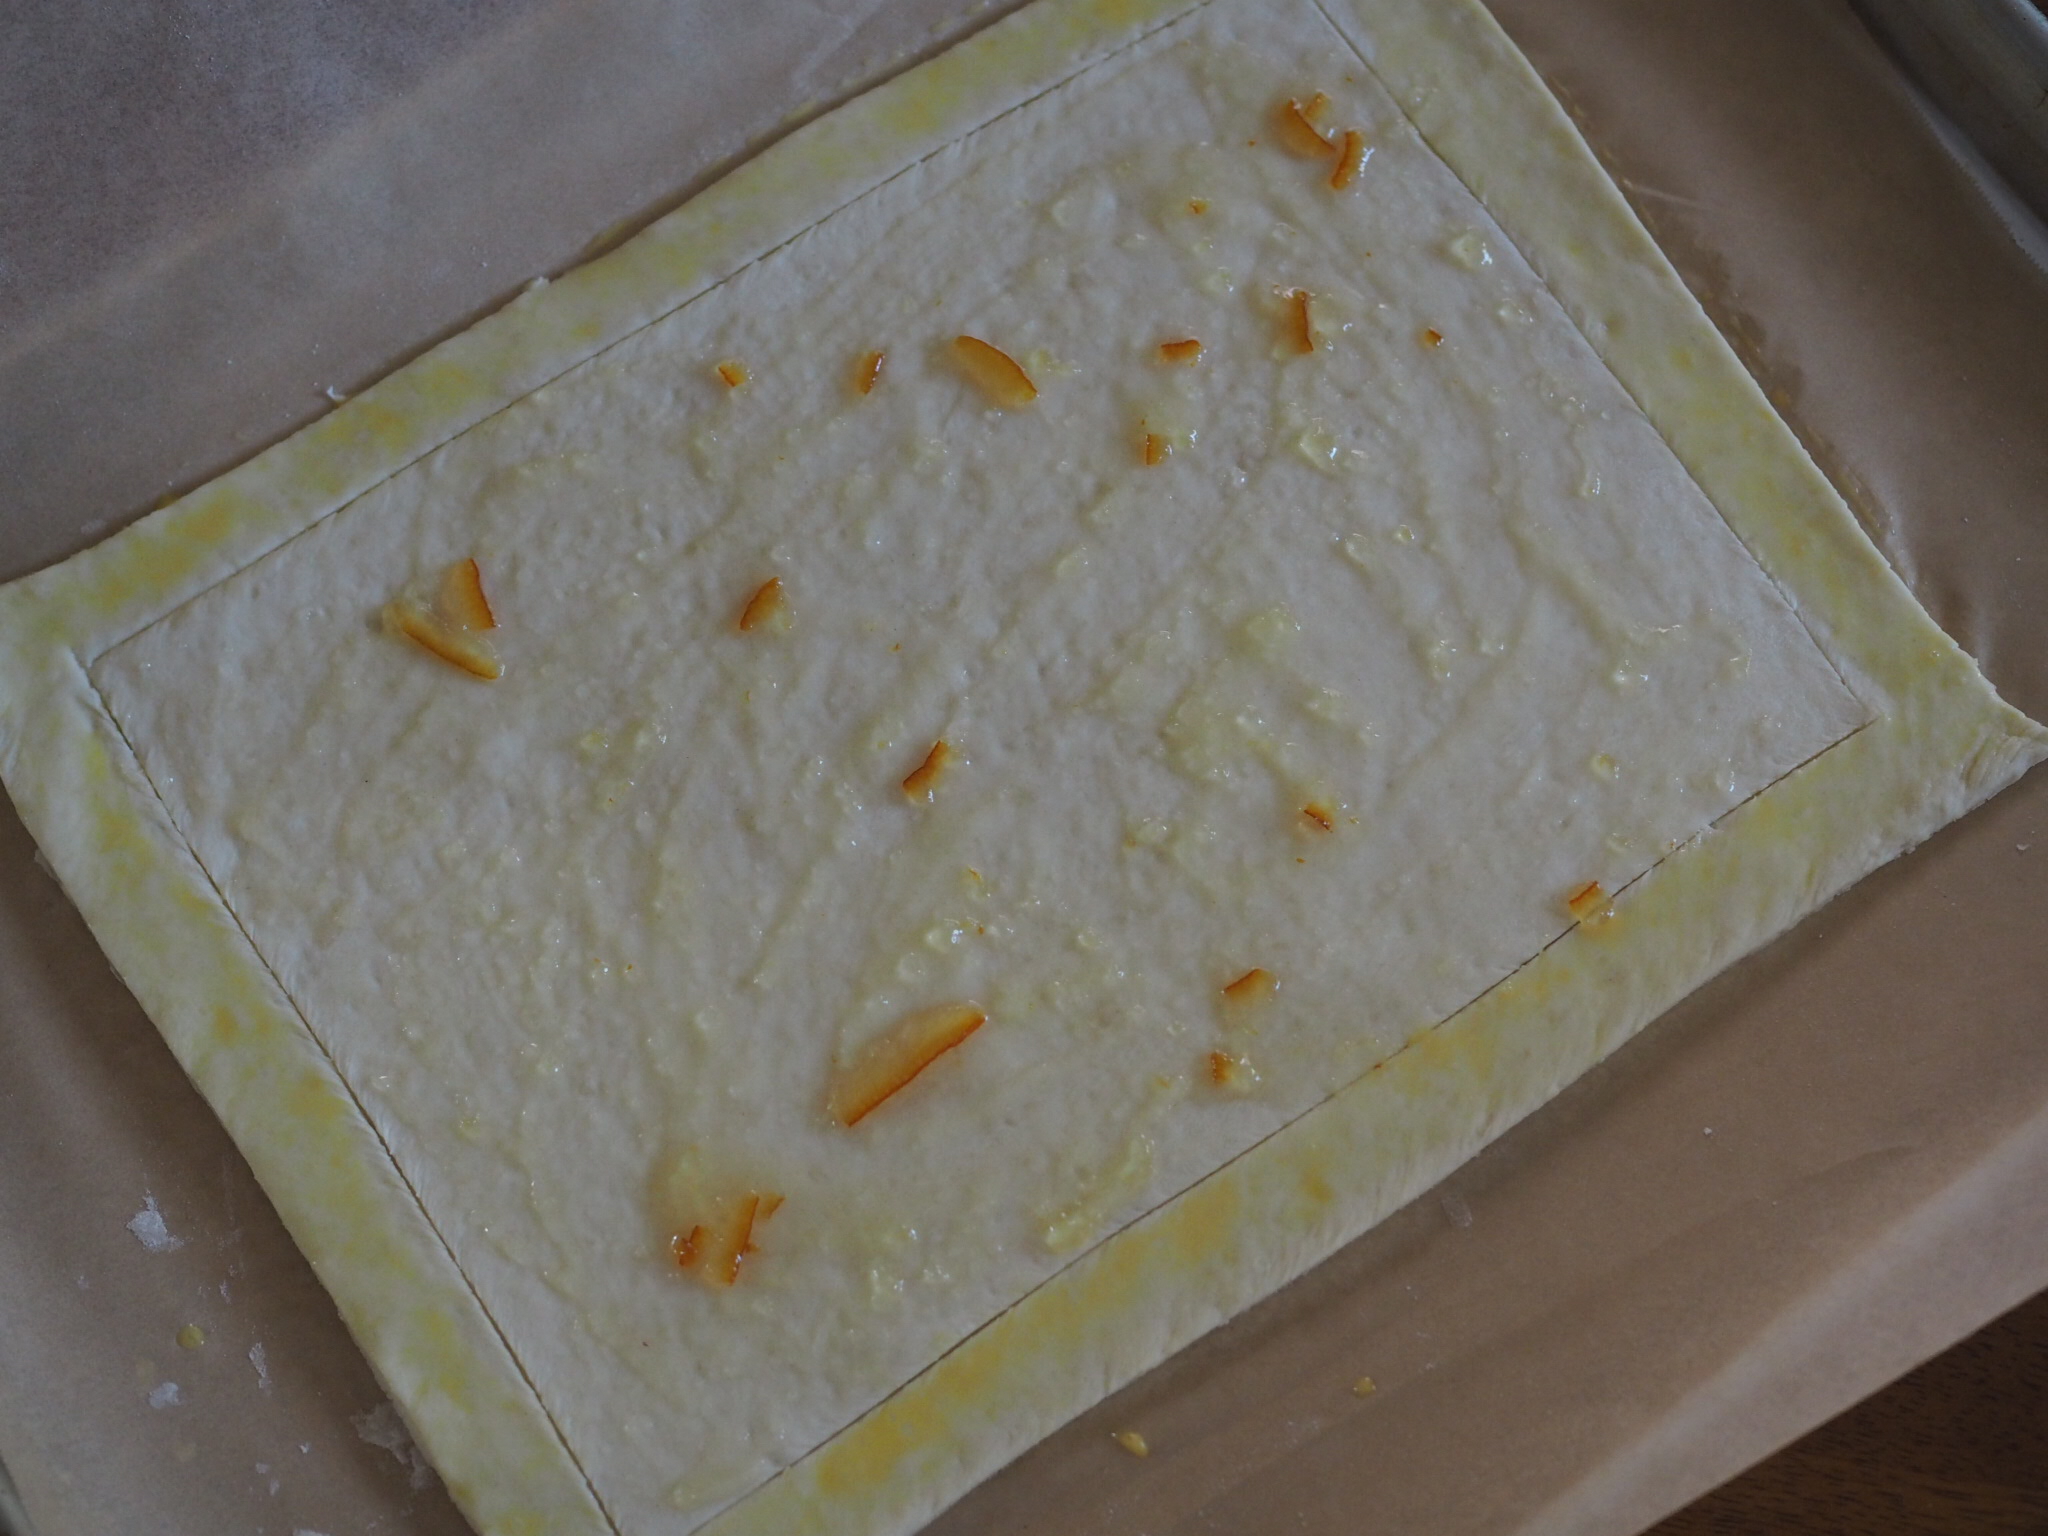
On a lightly floured surface, roll out dough into a large rectangle, about 9 x 12 inches, cut edges to be neat, if needed.  Transfer to baking tray.

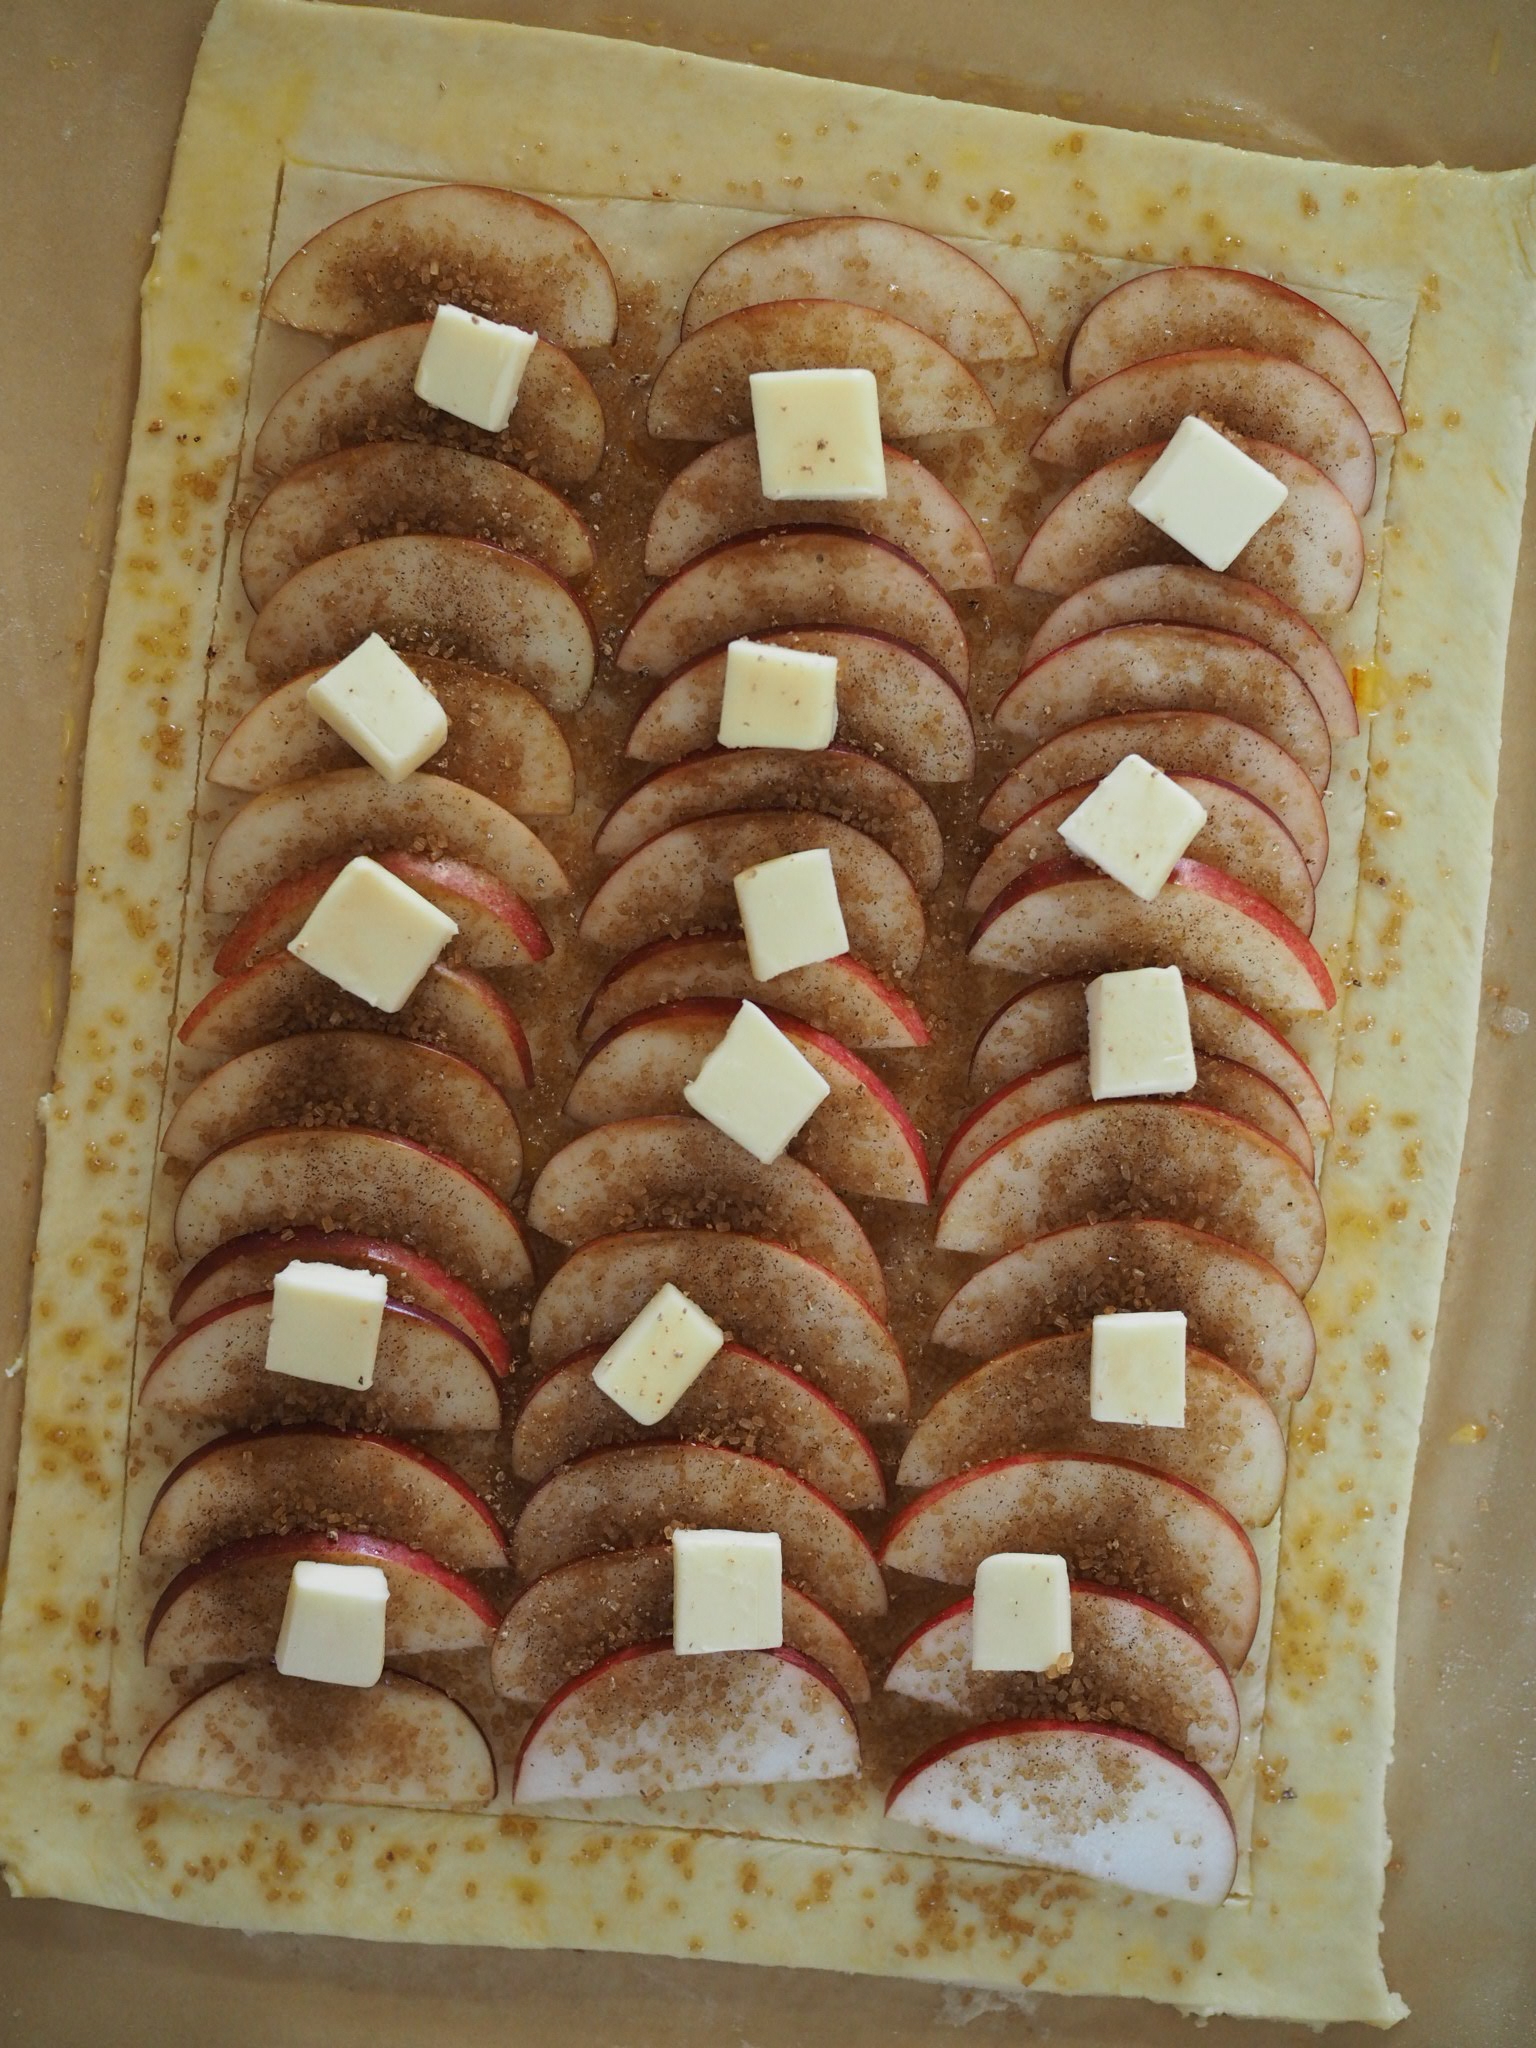
Using a sharp knife, score  a 1 inch border around the dough. Beat egg in a bowl, adding a splash of water to make an egg wash. Brush egg wash along the outside border of the tart only.  Mix jelly of your choice with a splash of water. Brush jelly mixture on center of tart.

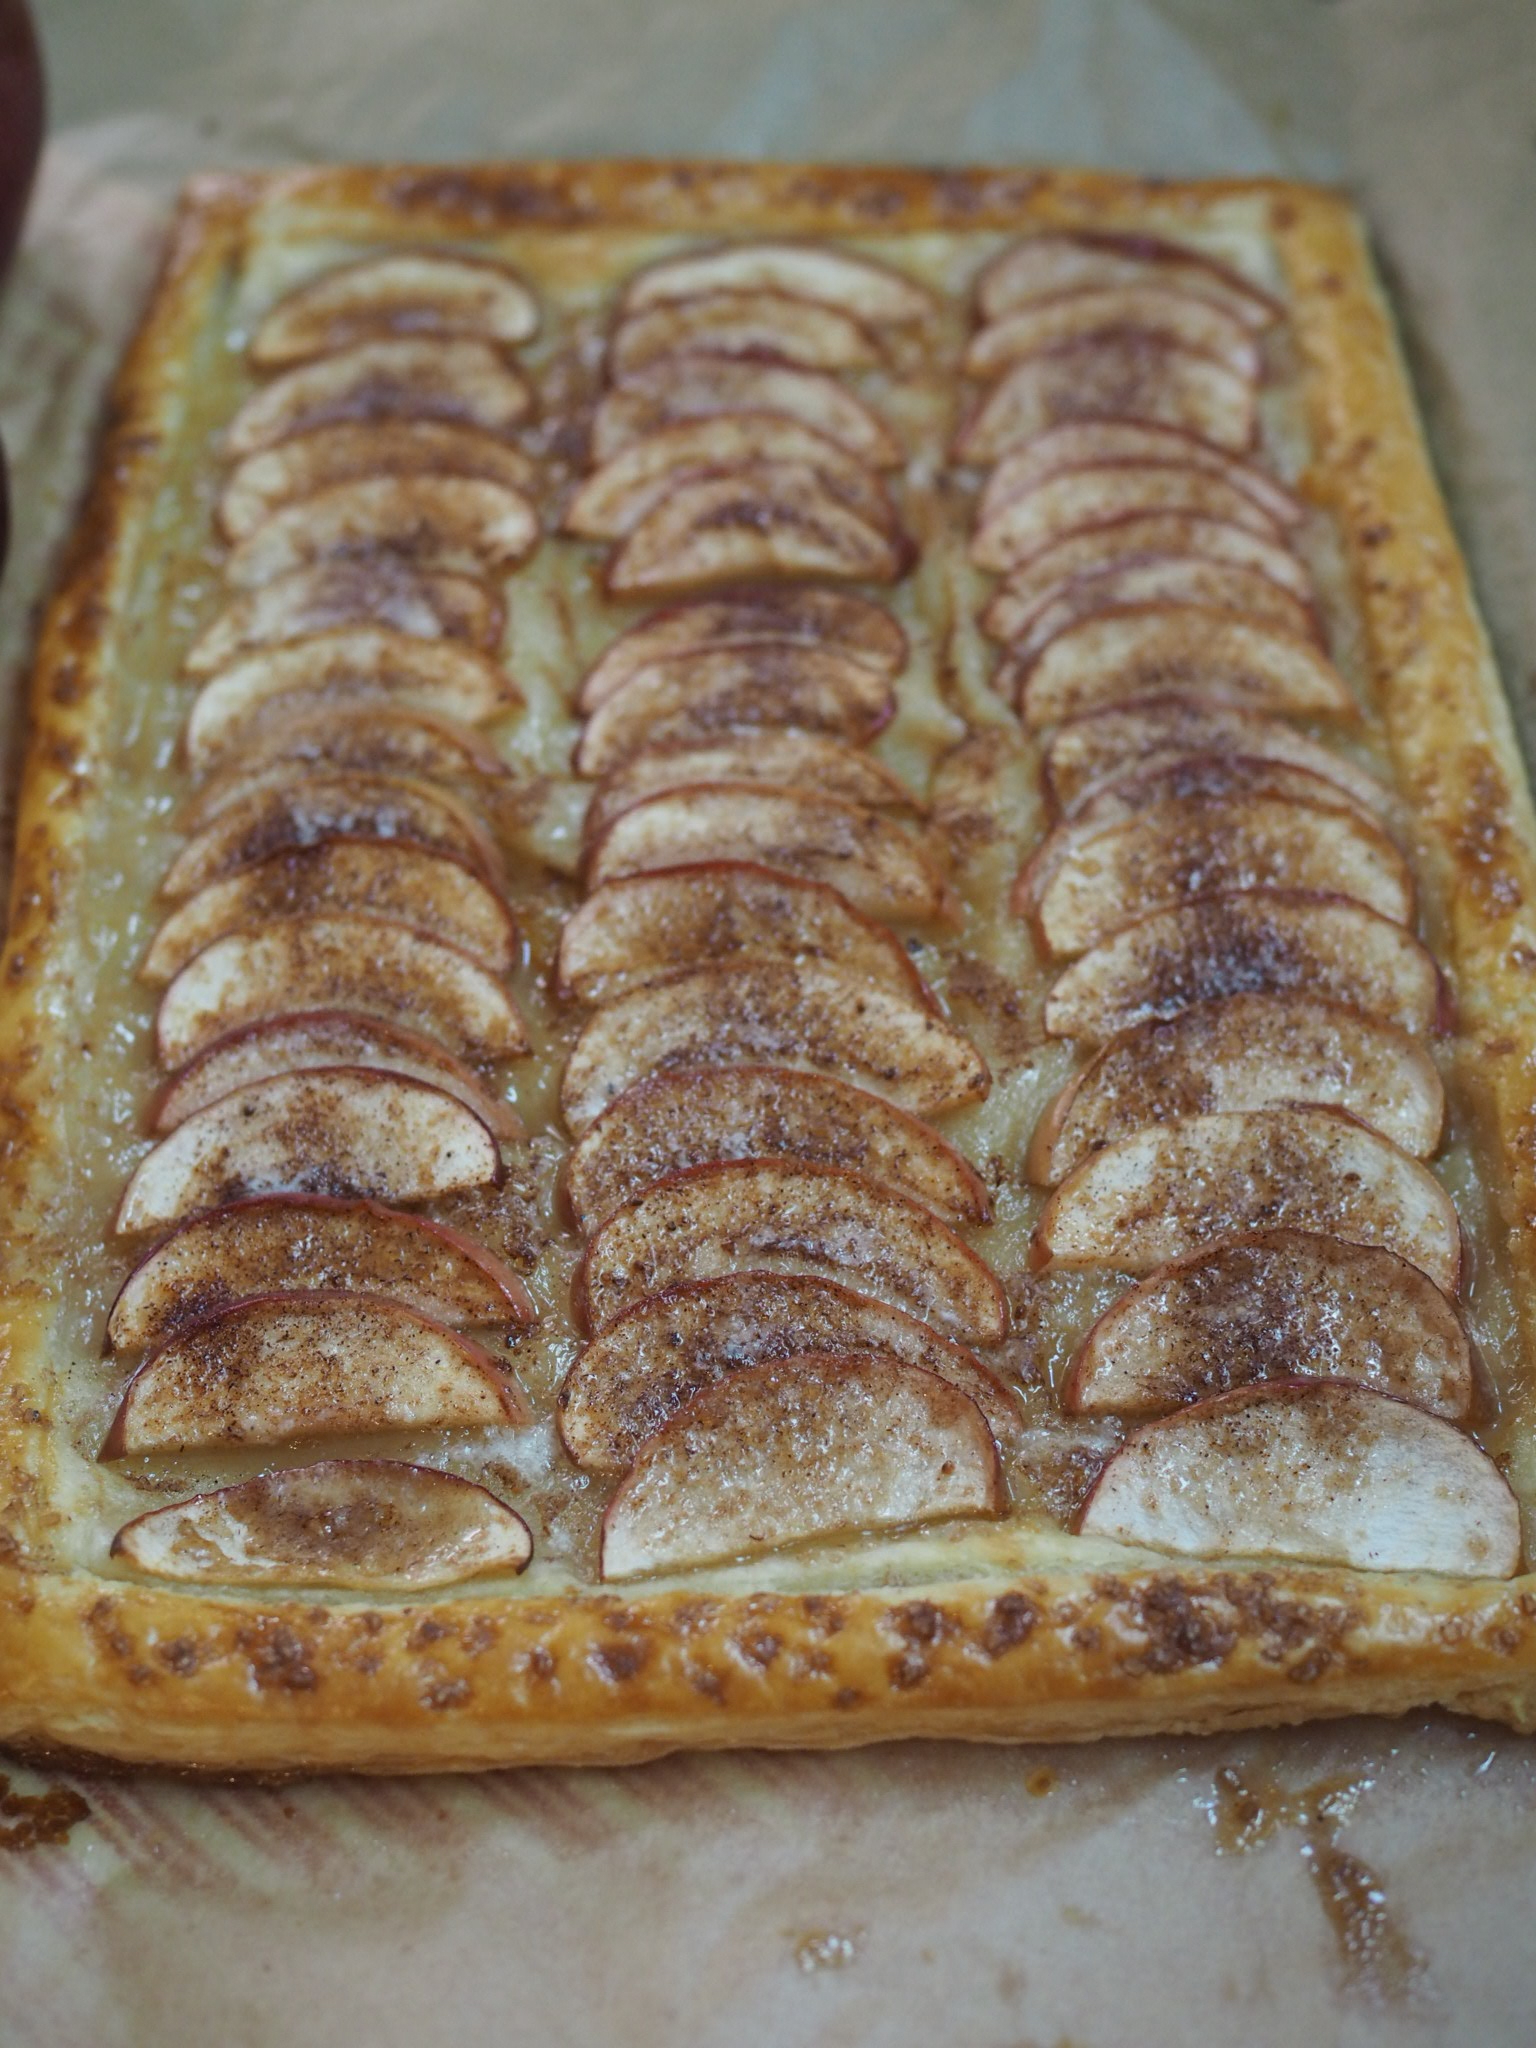
Arrange apples in three rows on center of tart, overlapping slightly. Mix together sugar, cinnamon and nutmeg in a small bowl. Sprinkle sugar and spice mixture over entire tart. 

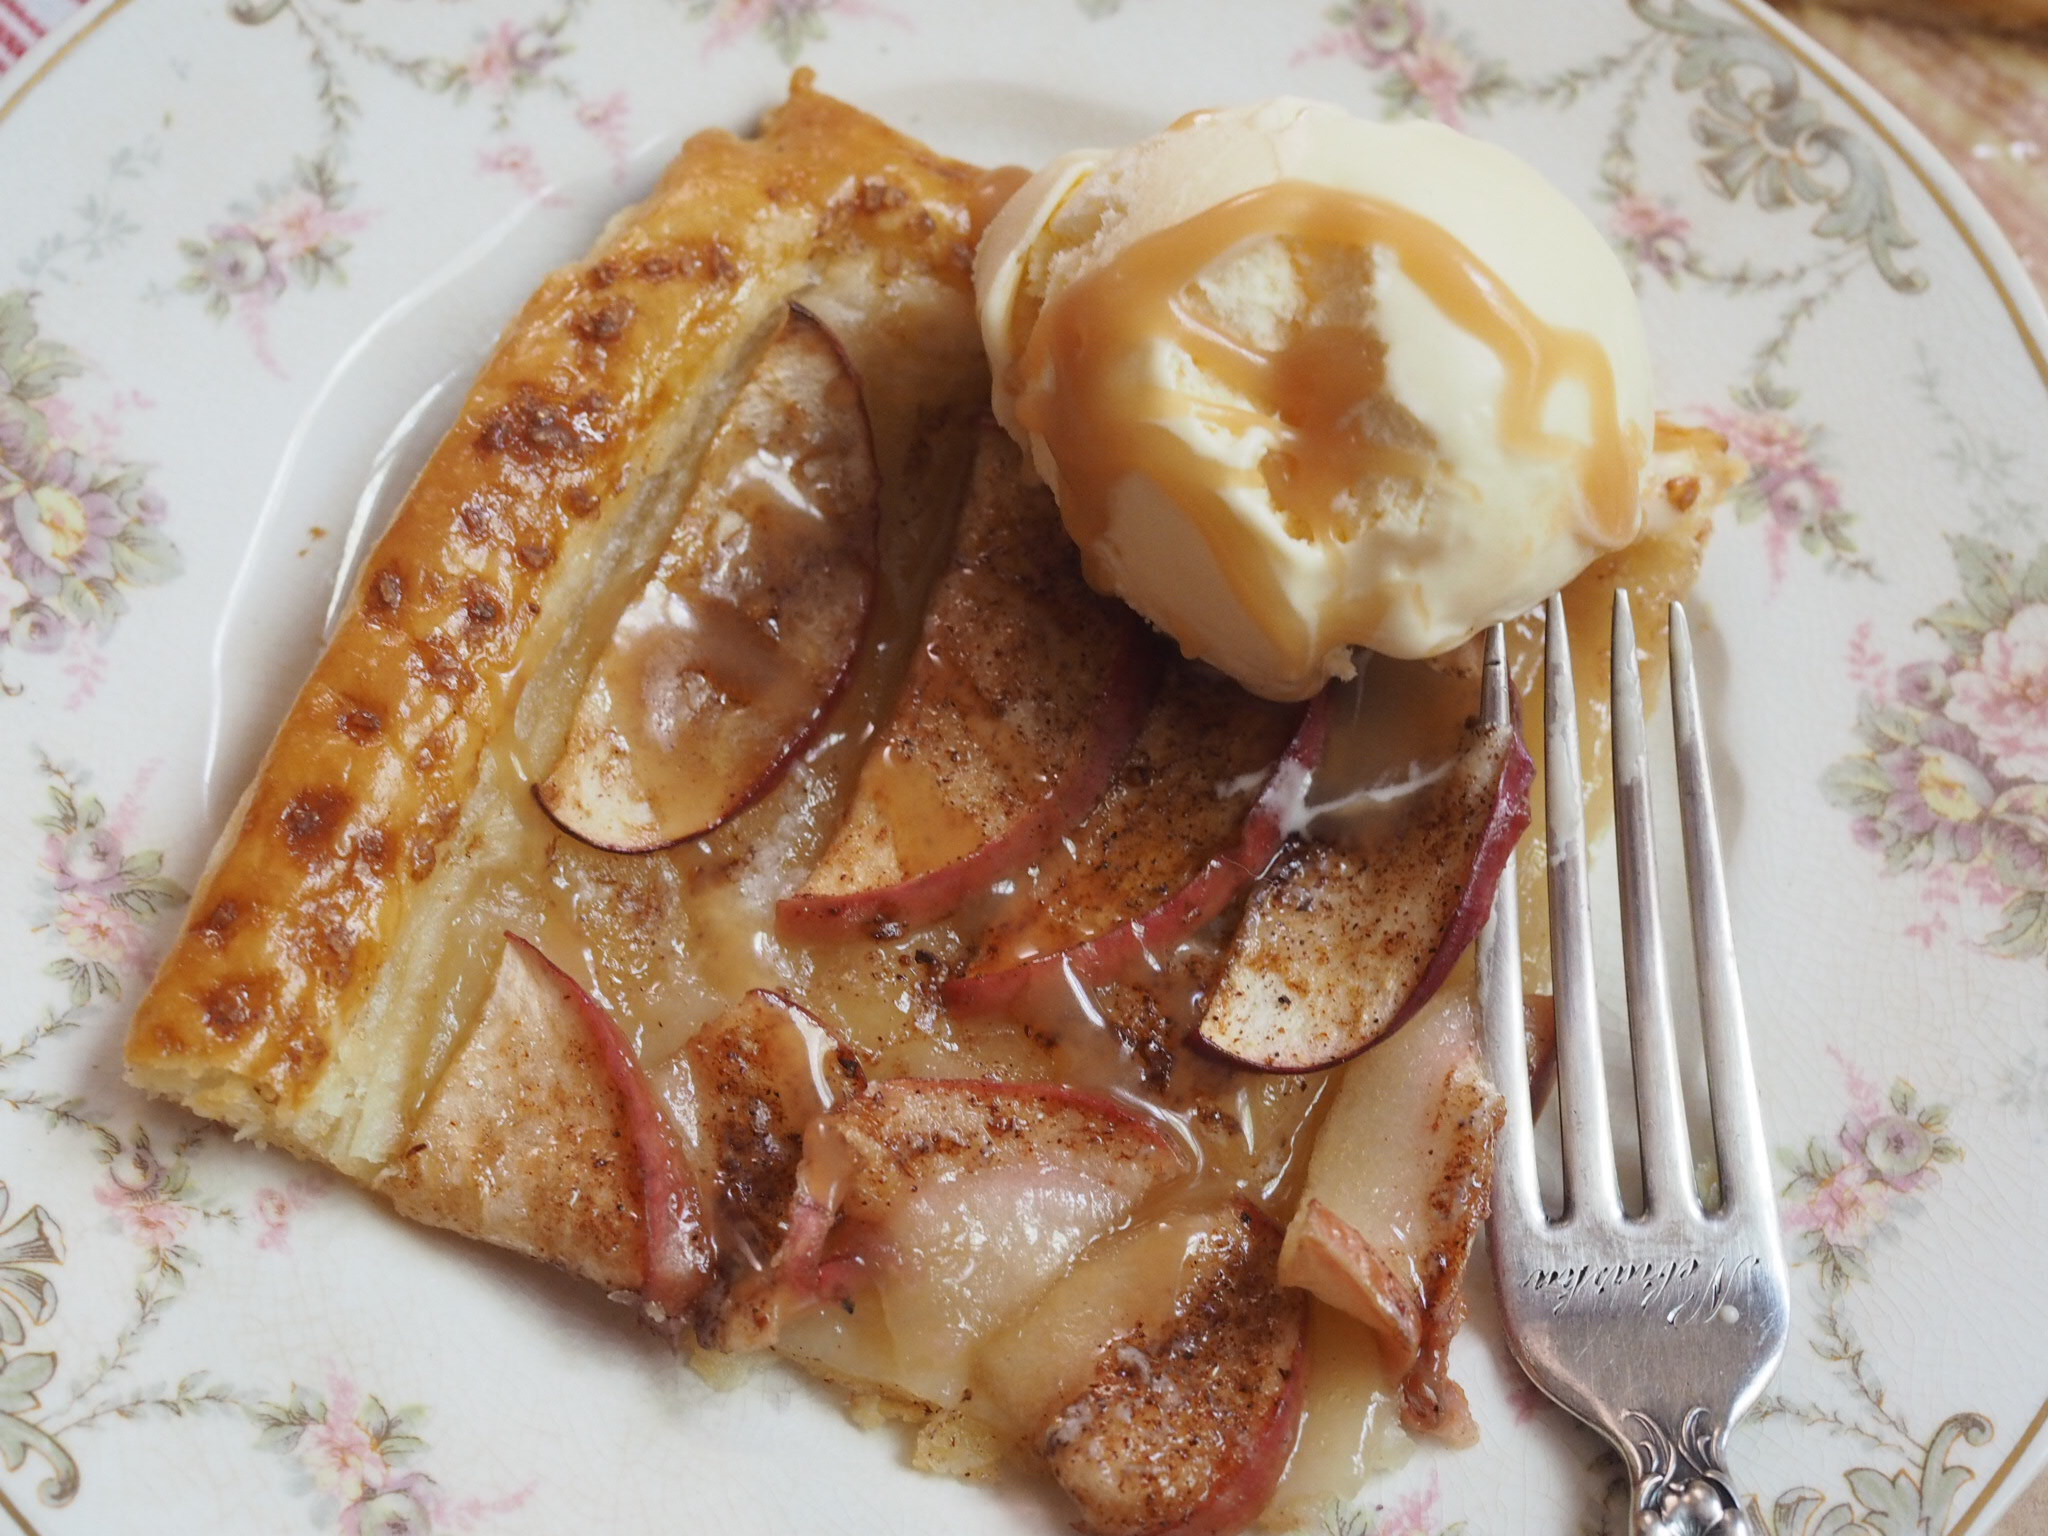
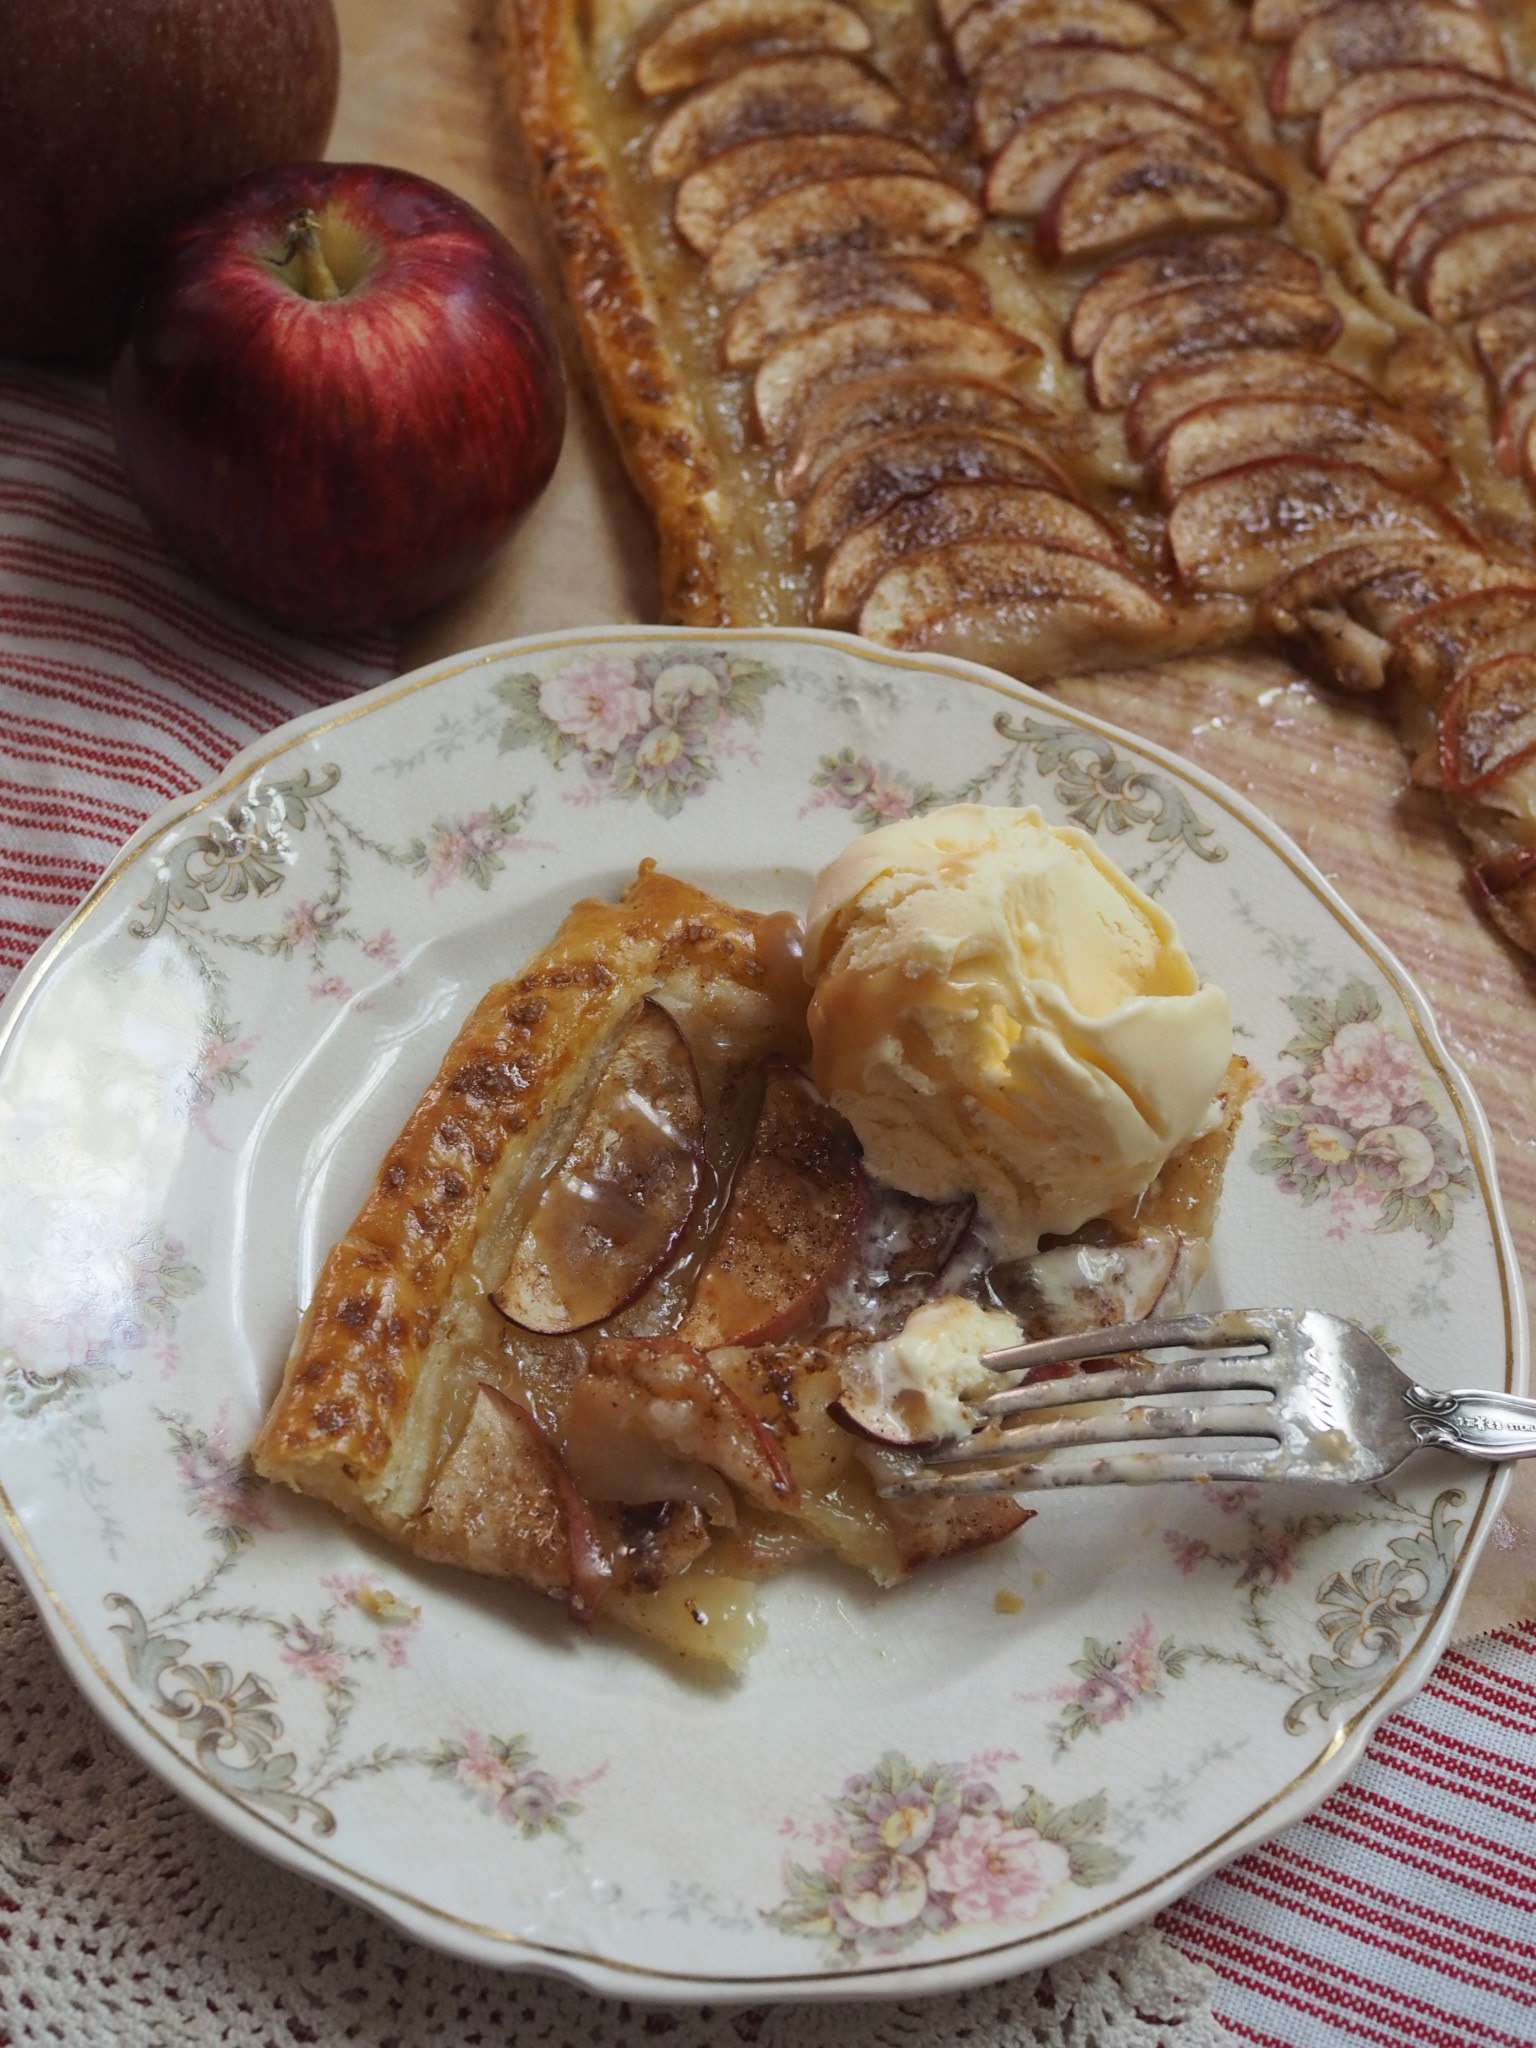
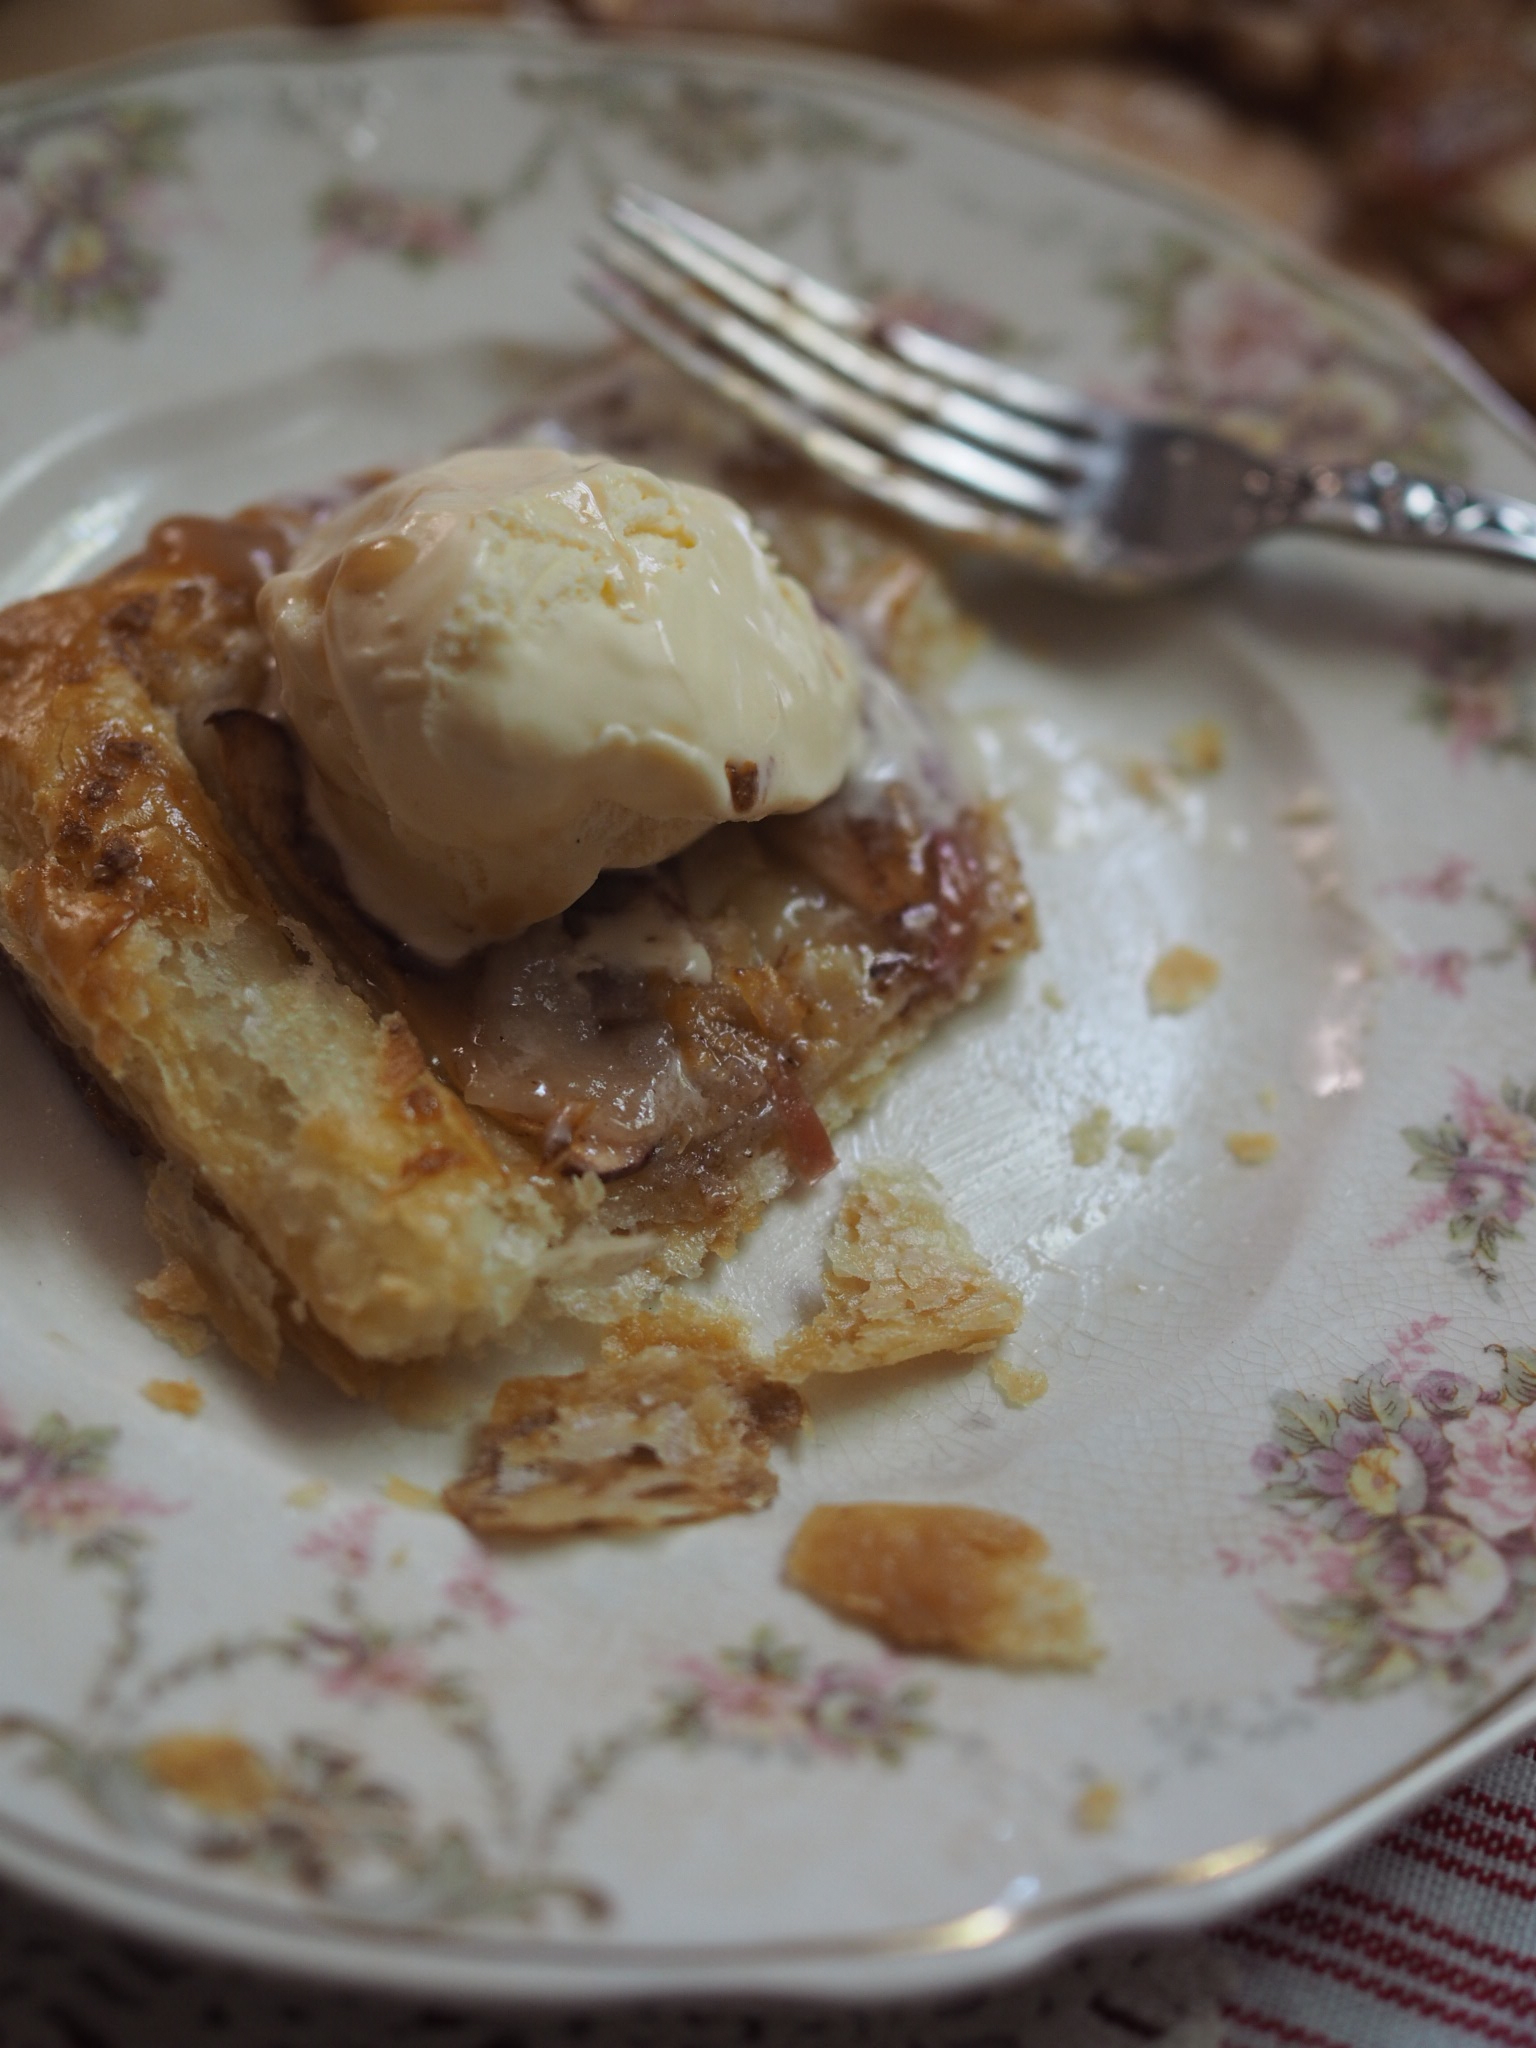
Bake for 30 minutes in the center of oven, until pastry is nicely browned.  Cut into 6 slices. Serve warm with vanilla ice cream and caramel sauce.

To Print, see button at bottom of post.


Crisp Apple Tart (Tarte Fine Aux Pommes)

            Serves 6     Ingredients:         1/2 puff pastry recipe or store bought frozen puff pastry, thawed 2 medium apples 1 egg 2 tablespoons orange marmalade 2 tablespoons demera sugar 1/4 tsp cinnamon Nutmeg 2 Tablespoons salted butter           
Print Friendly and PDF Follow
follow us in feedly

Fall-Spiced Apple Hand Pies

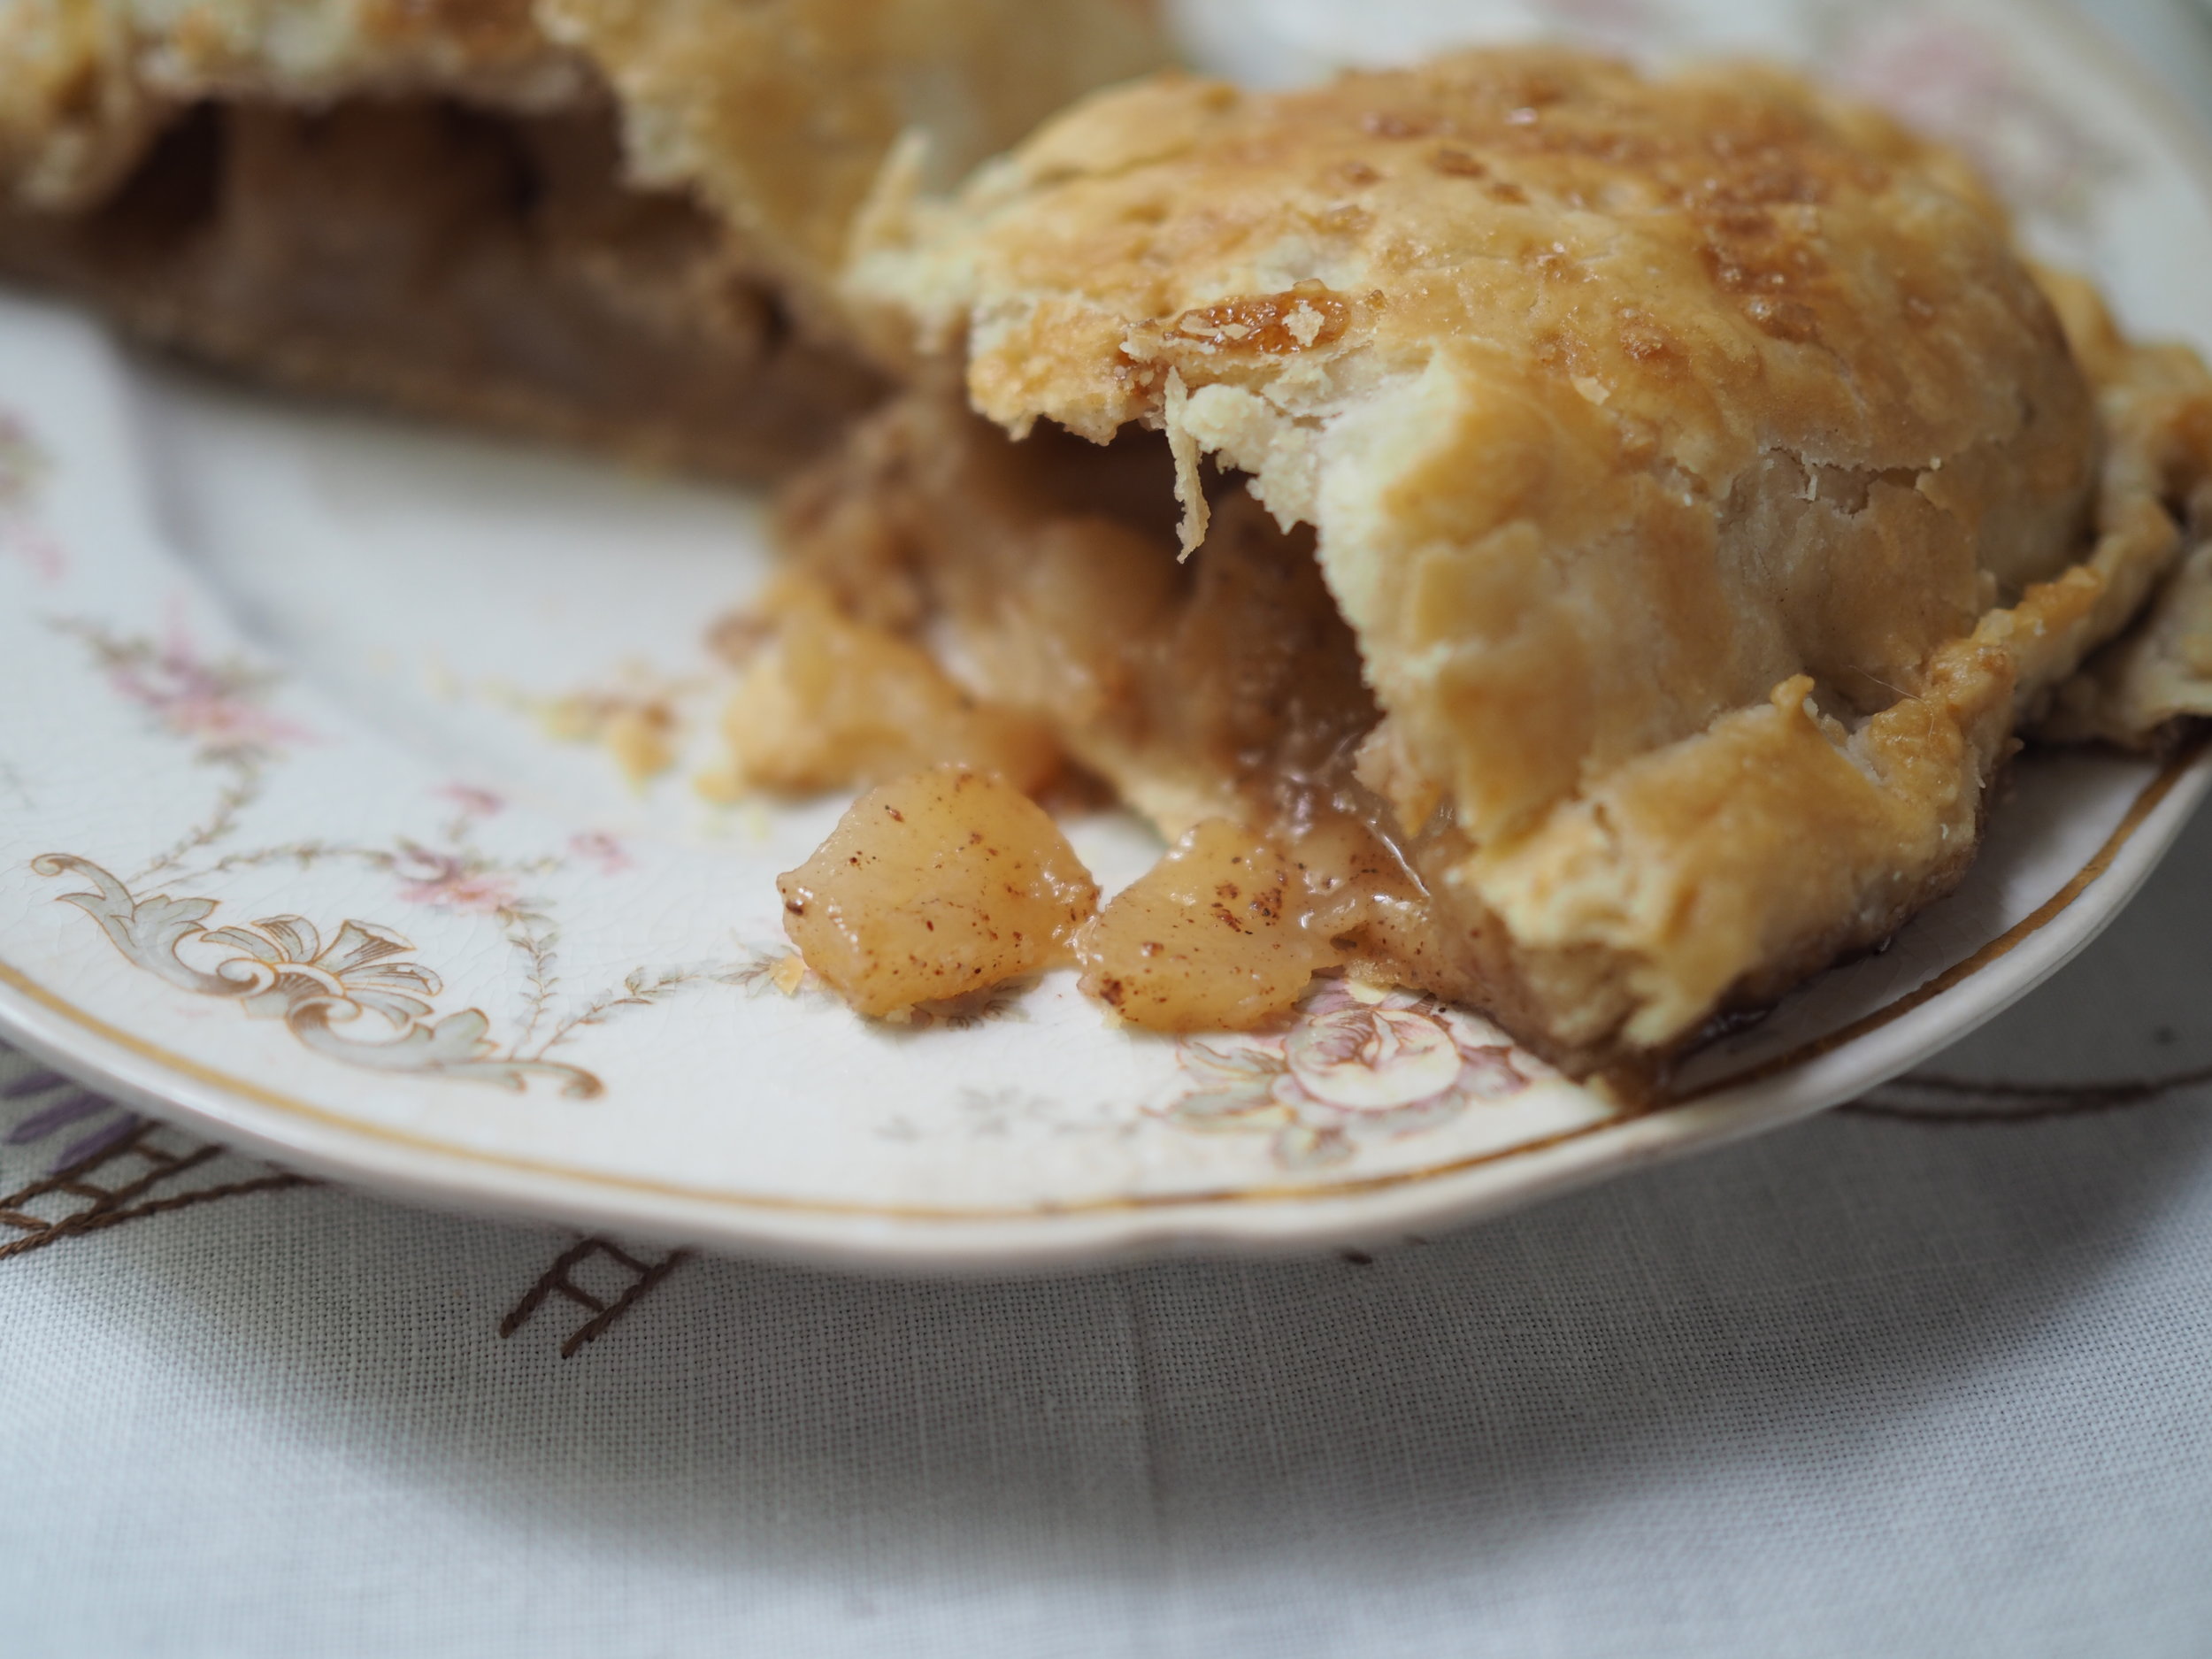
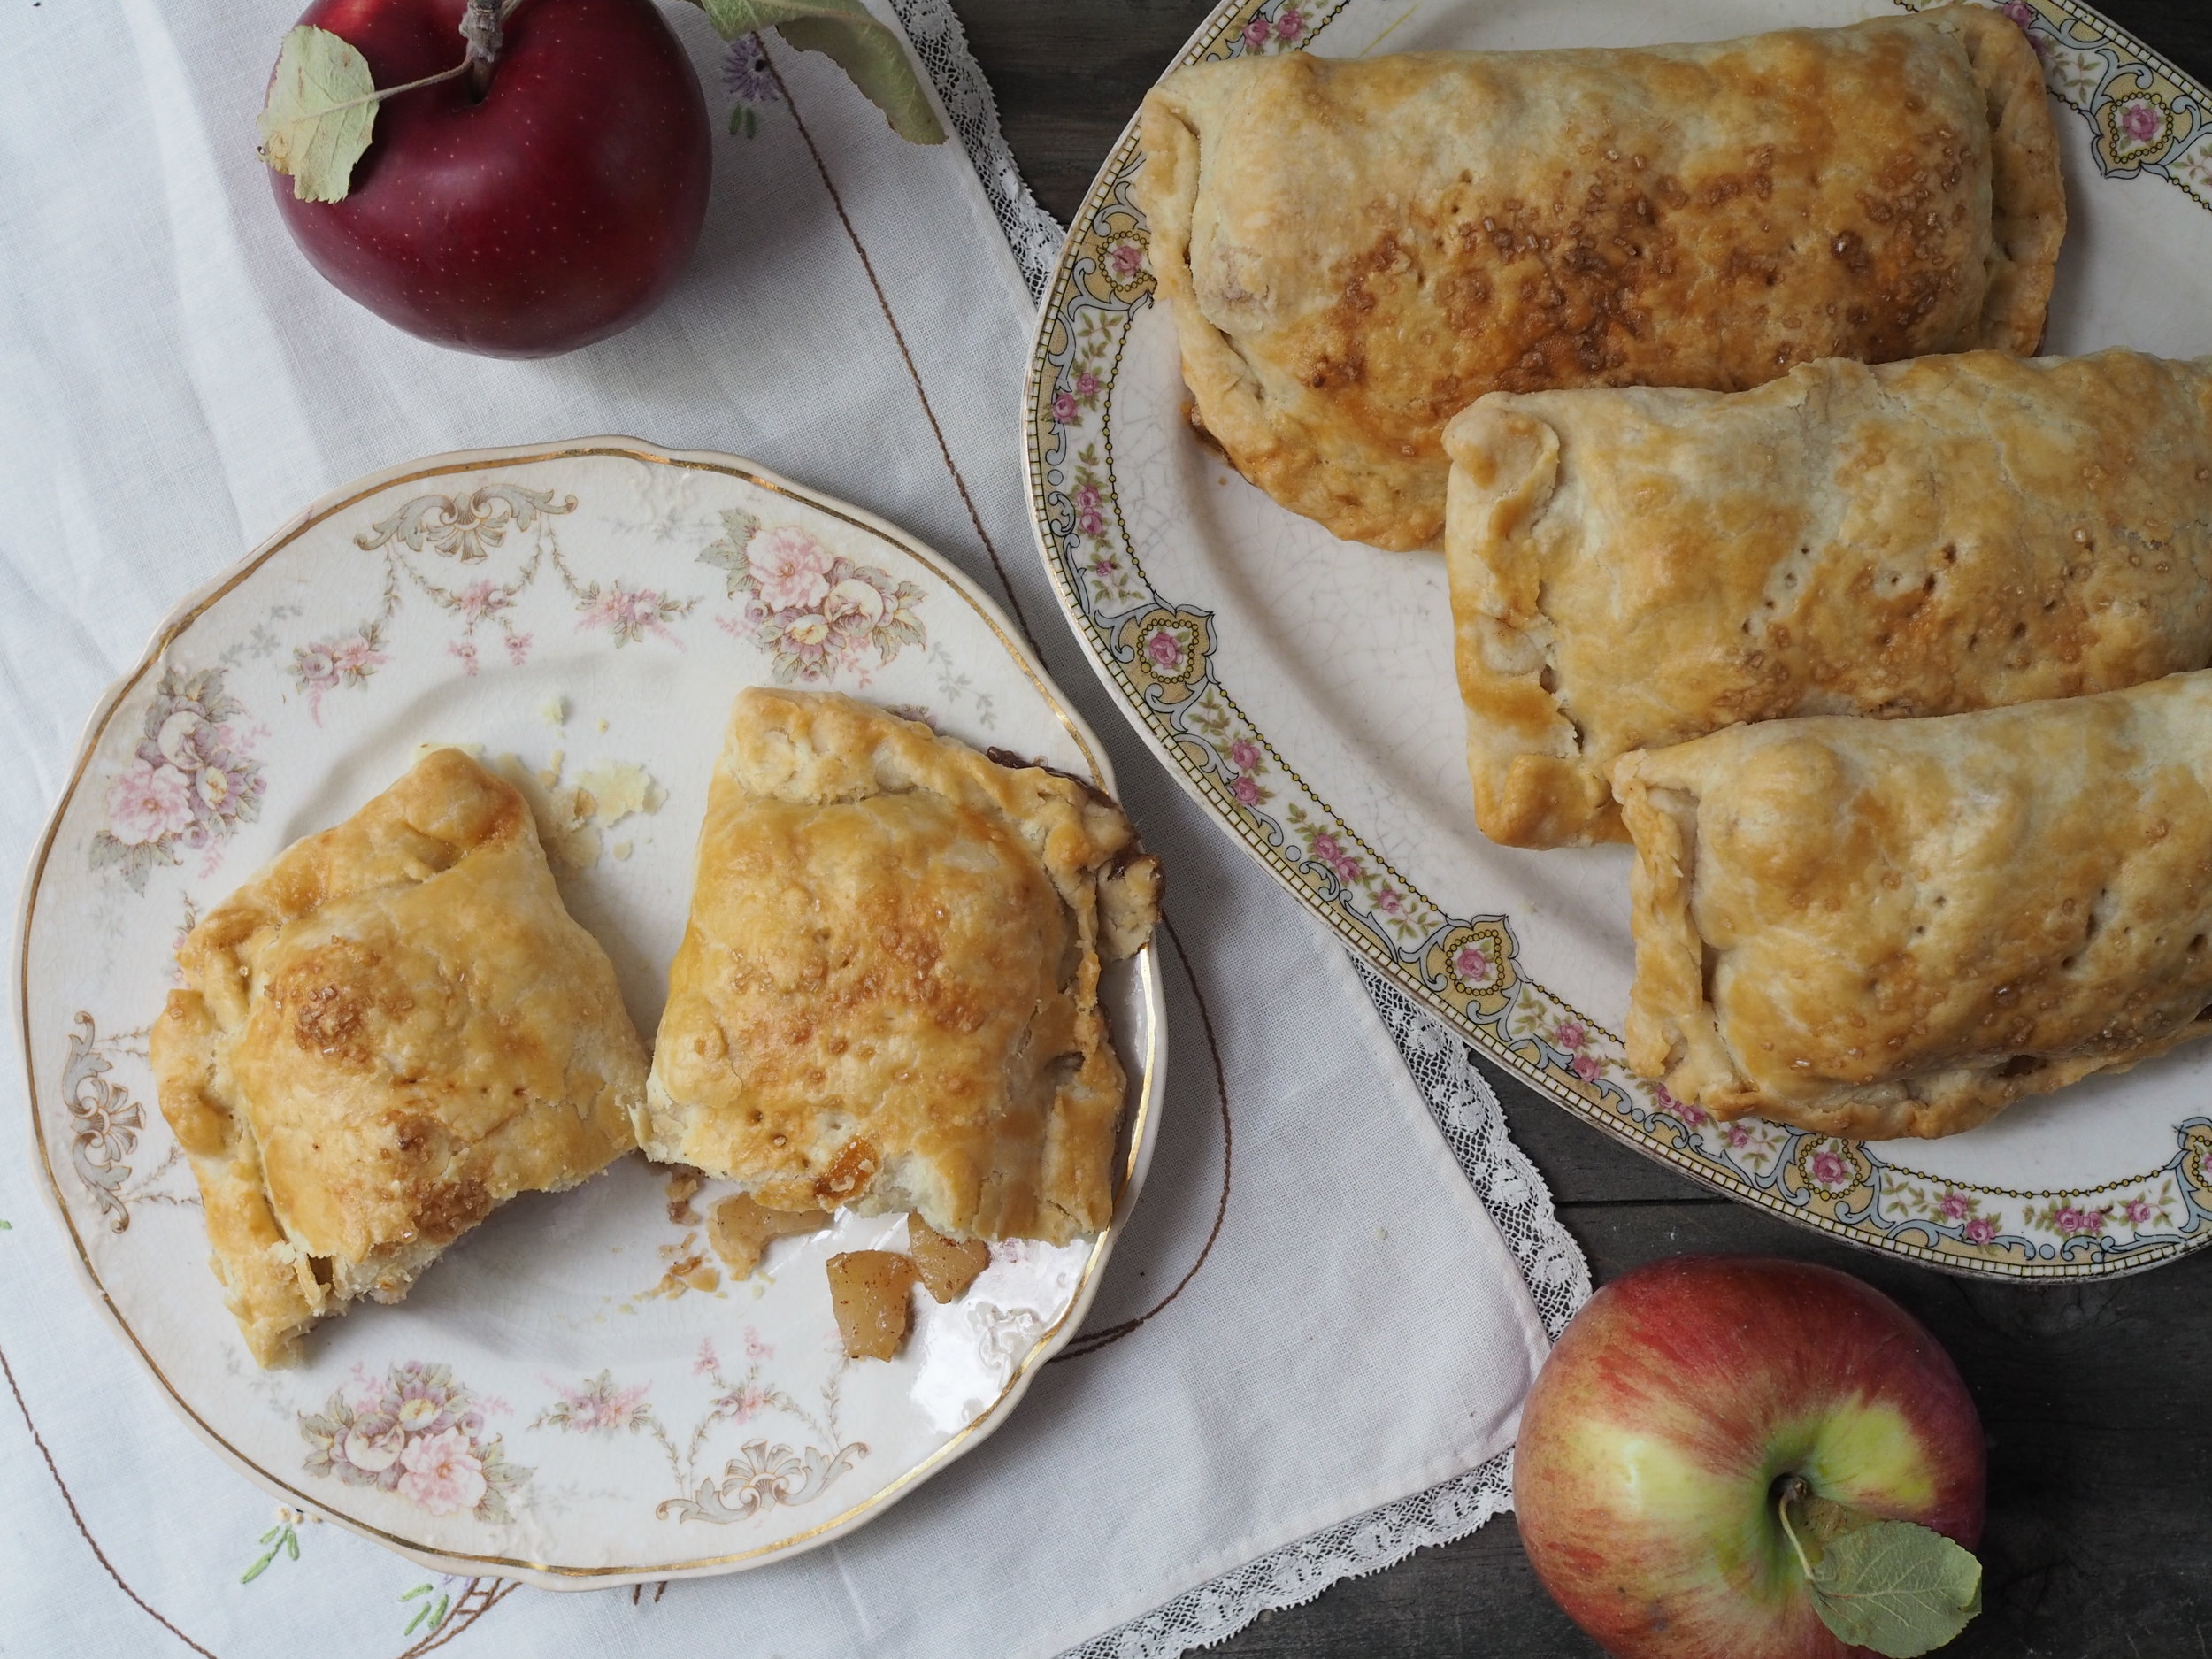
Fall-Spiced Apple Hand Pies

Serves 8

Crust

  • 3 cups all purpose flour
  • 1 1/2 teaspoons salt
  • 1 cup shortening or unsalted butter
  • 2/3 to 3/4 cup cold water

Filling

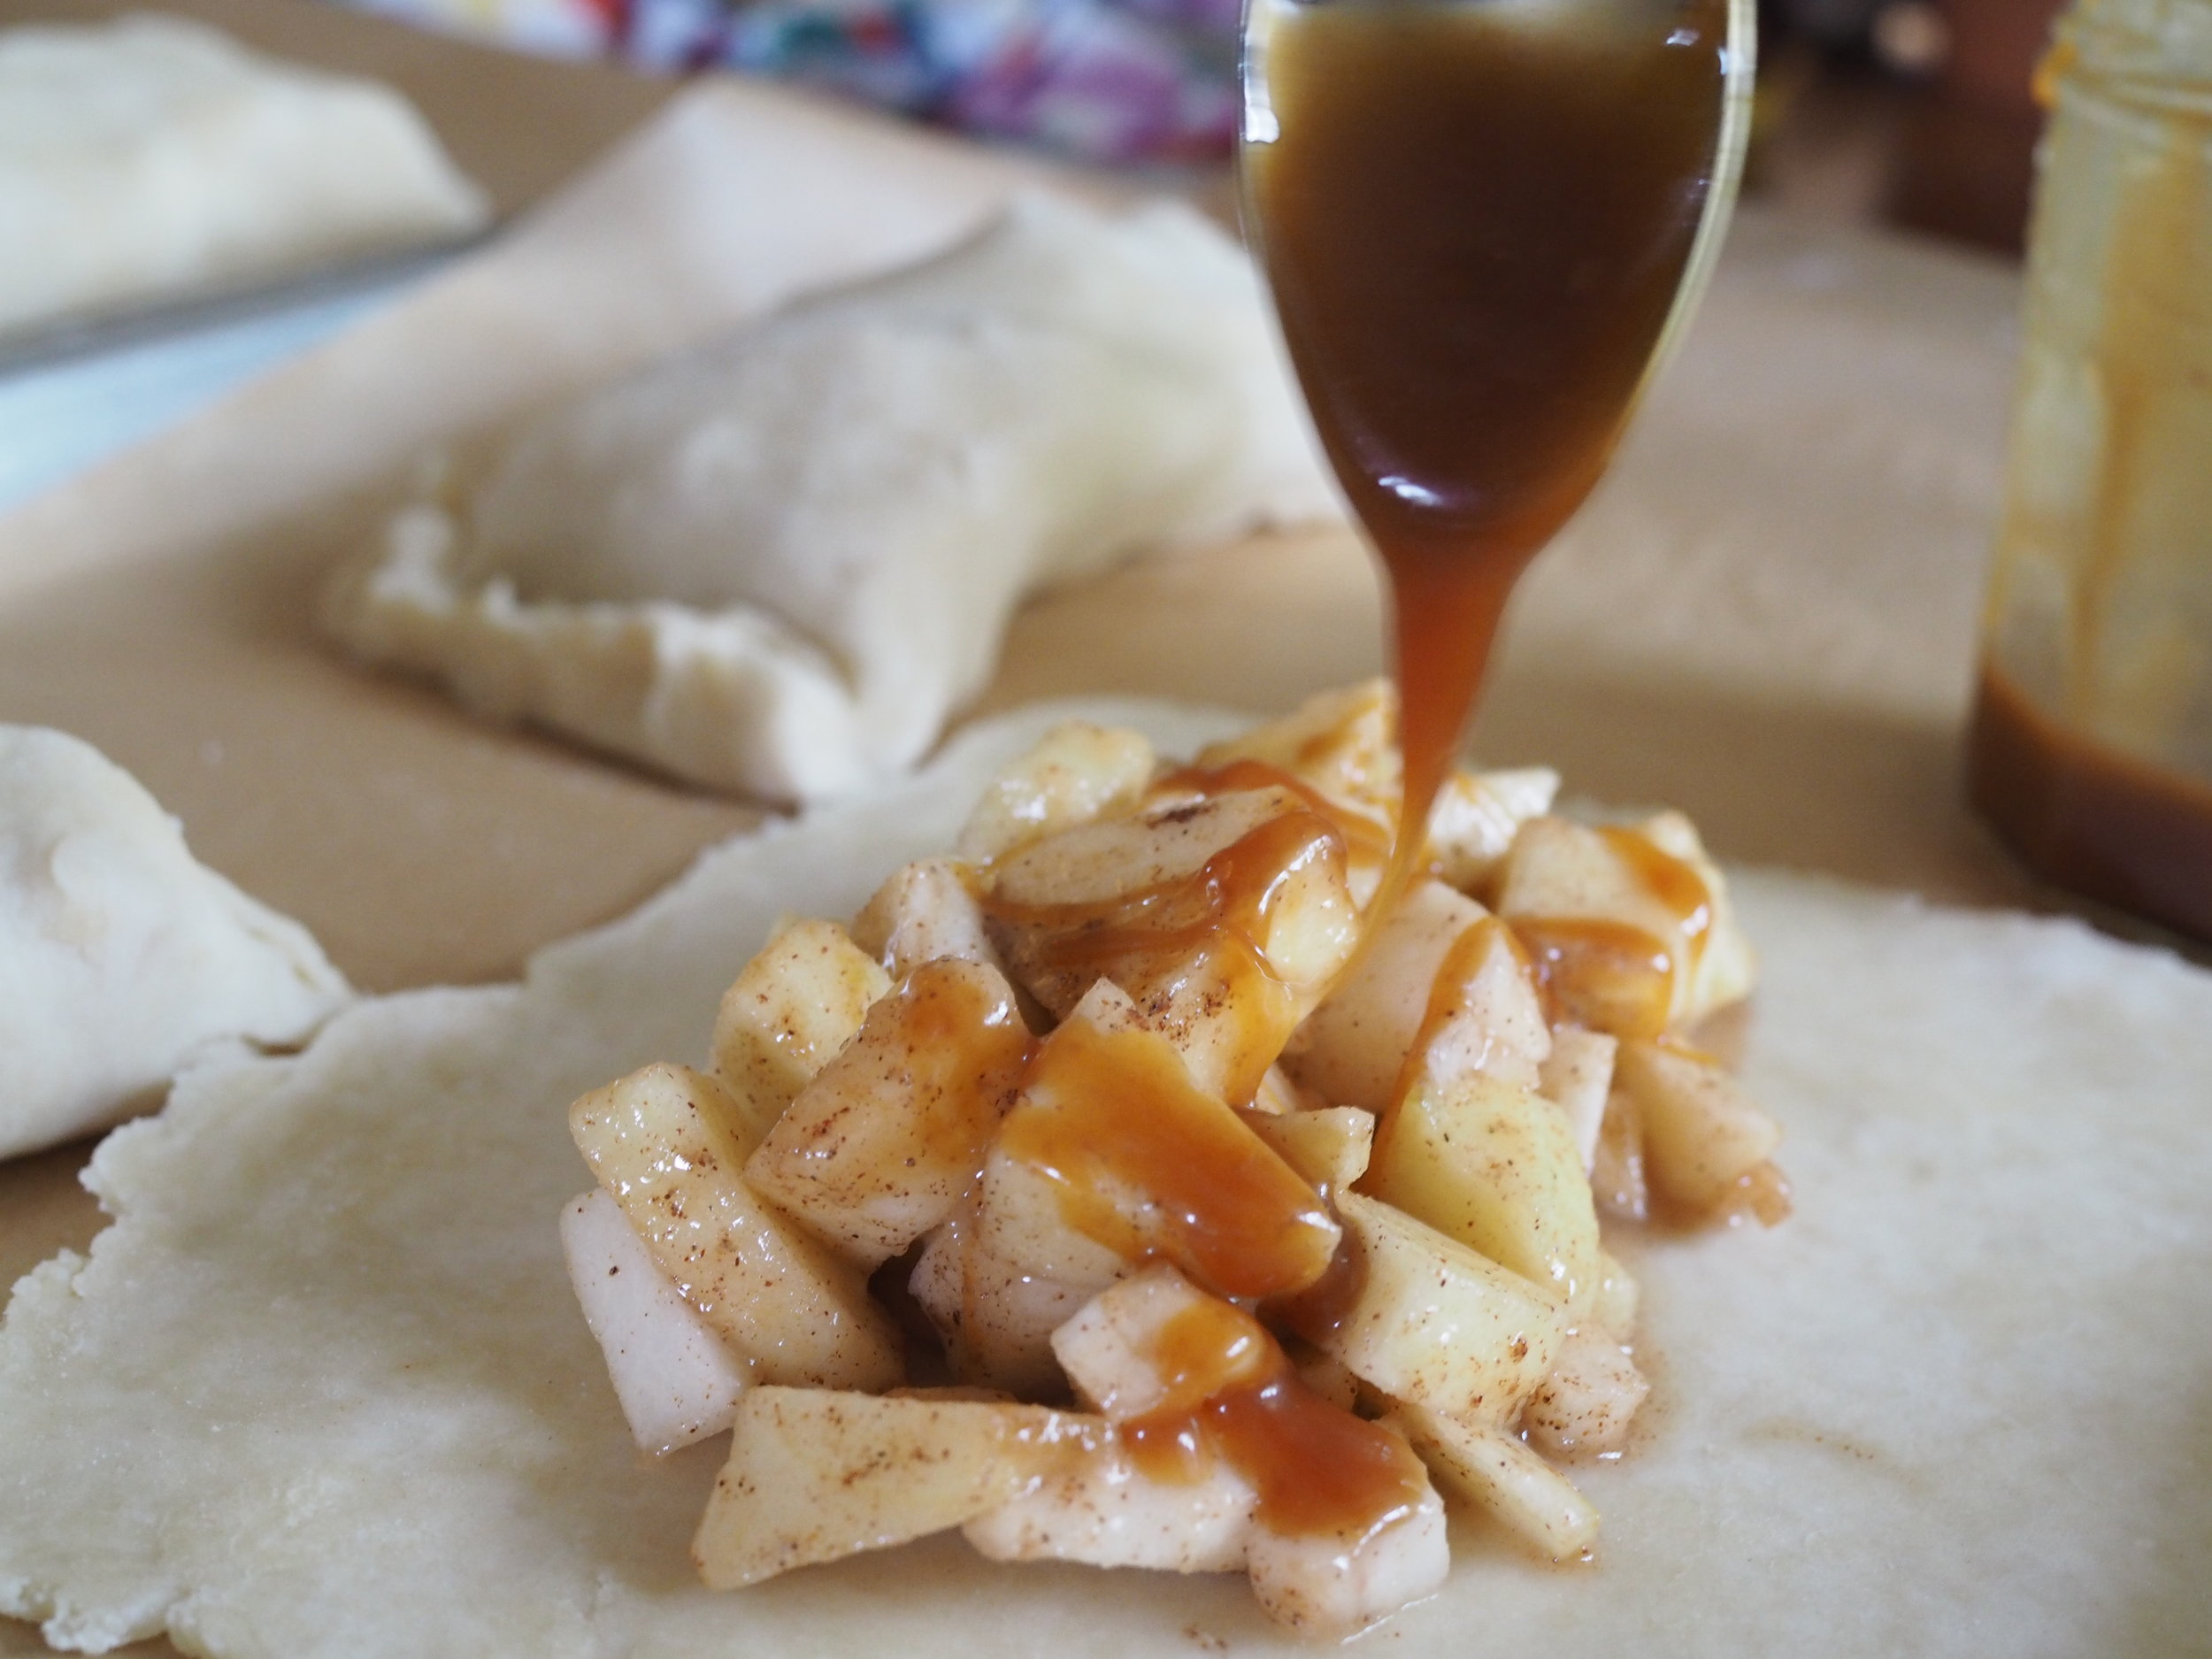
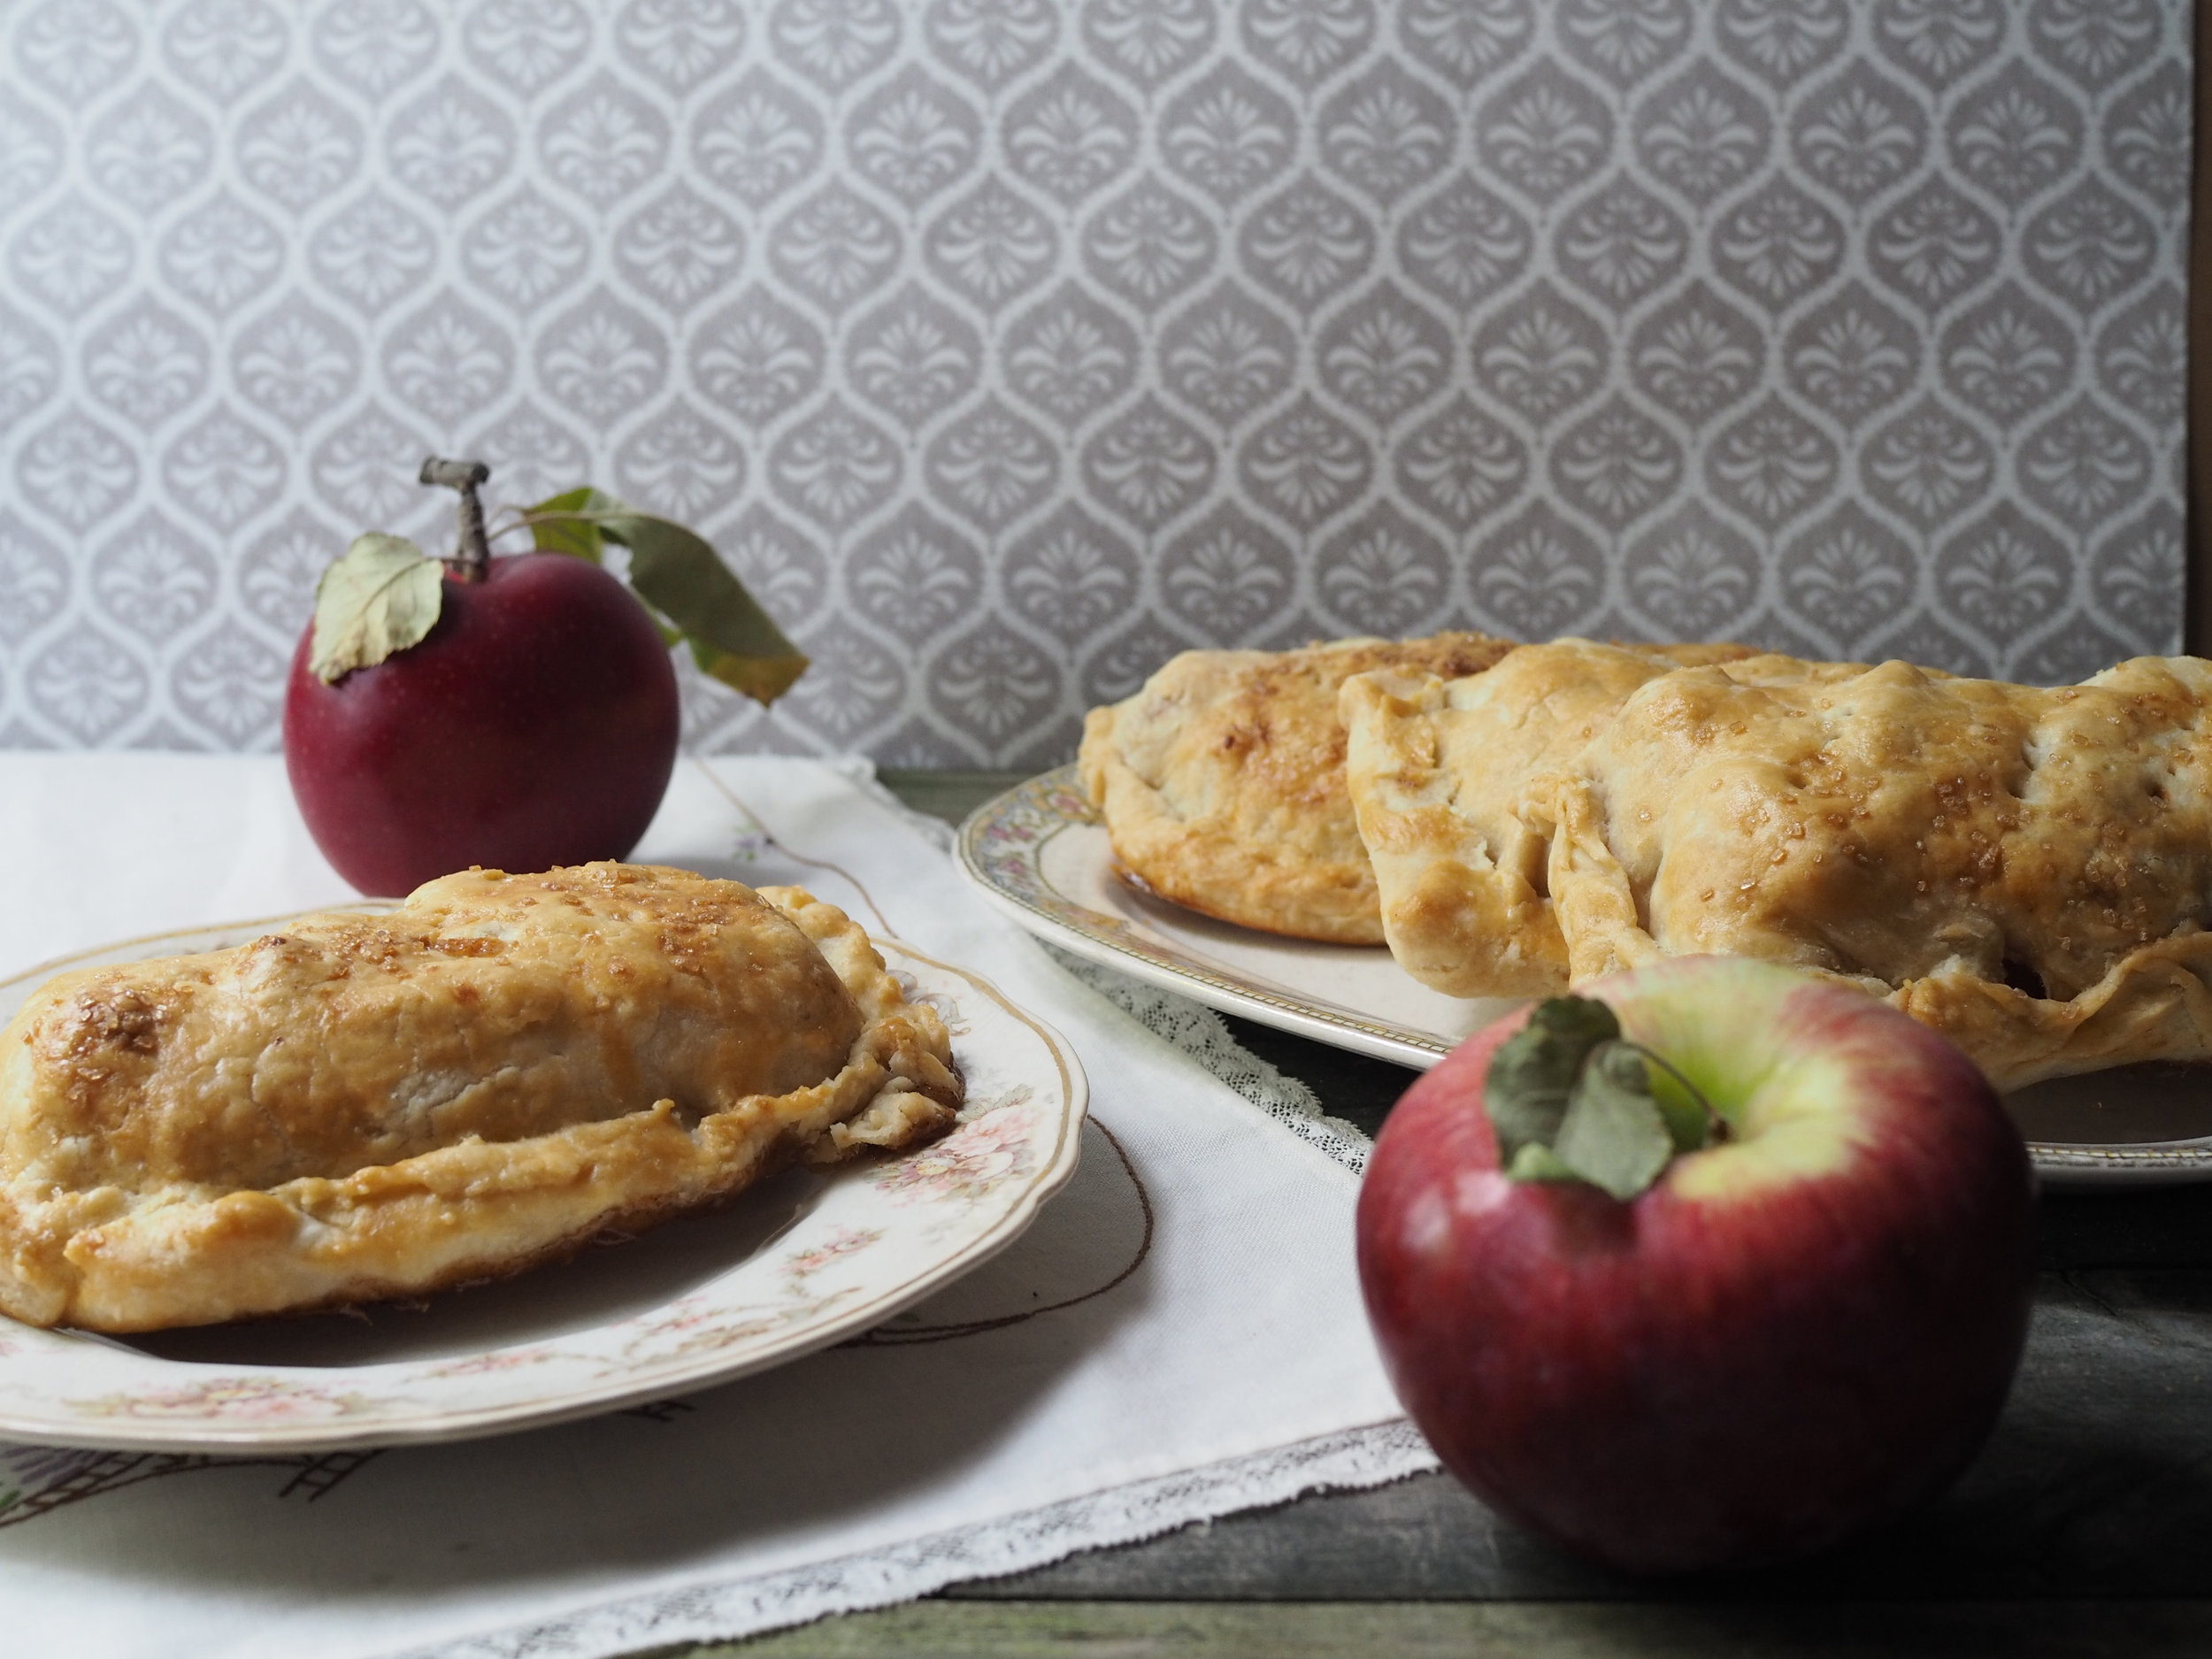
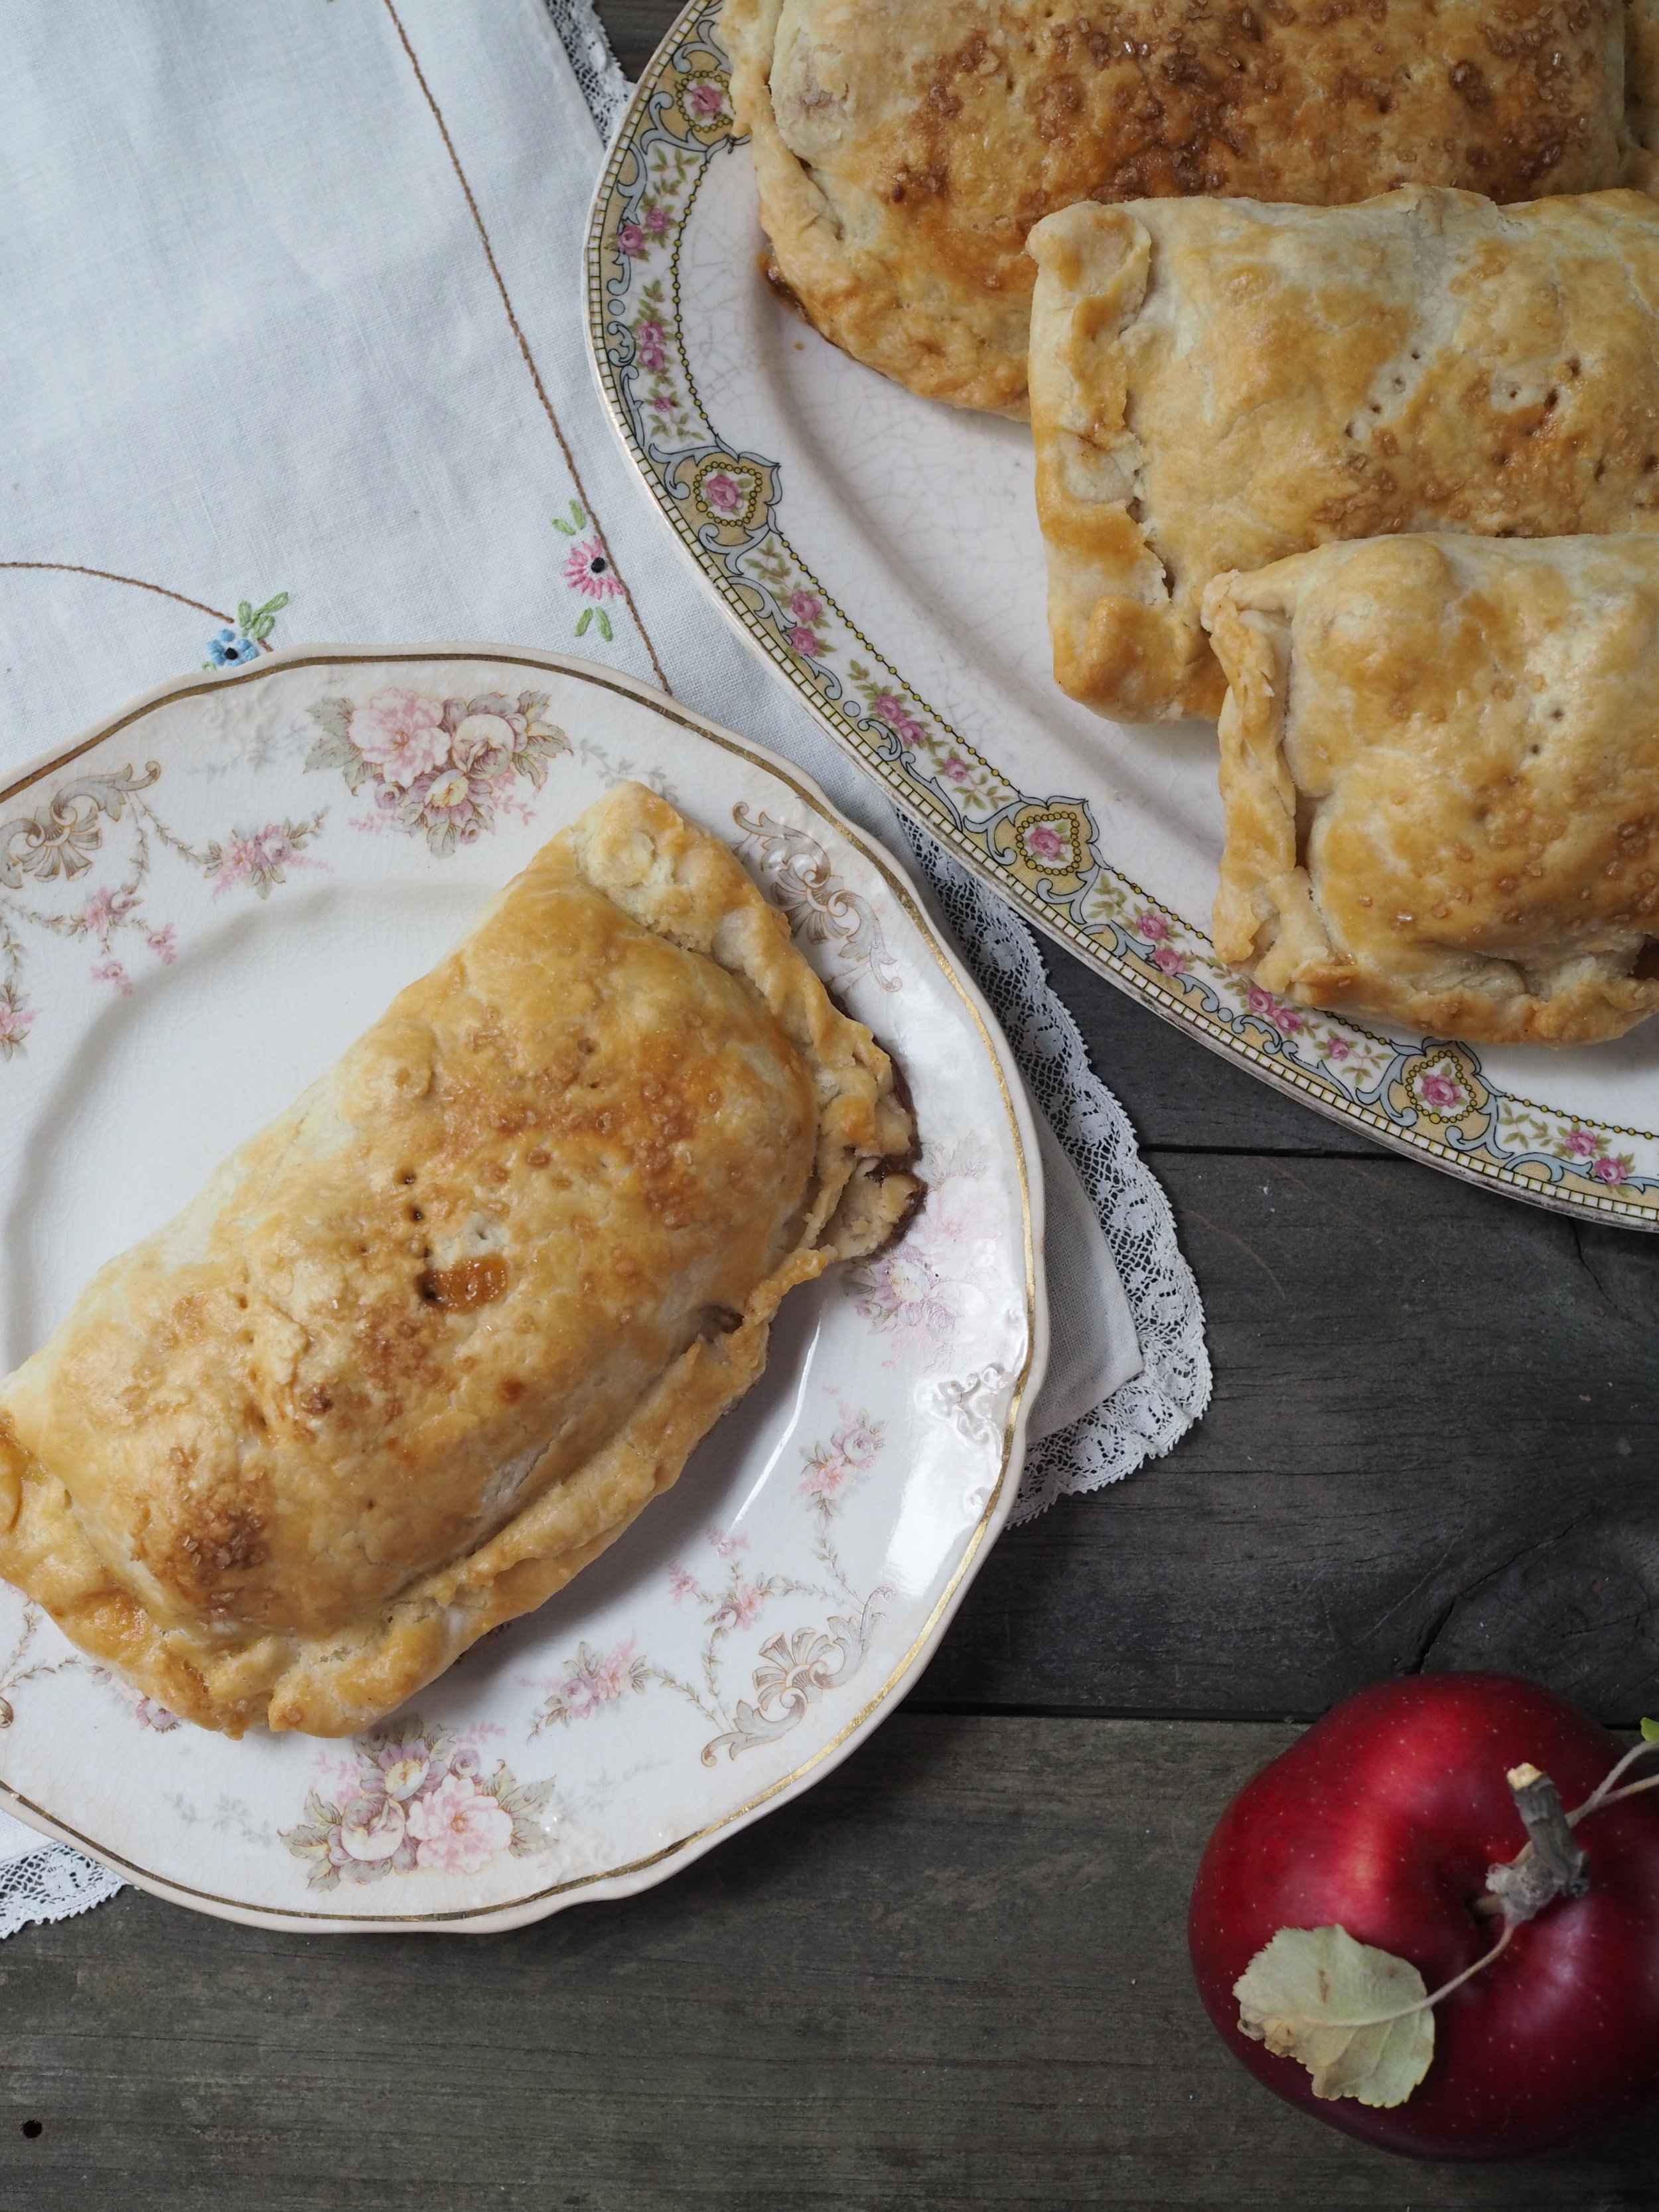
  • 8 medium apples, I recommend a variety of firm apples. The photos above use Jonagolds and Macs.
  • 2 Tablespoons lemon juice
  • 1 teaspoon cinnamon
  • 1/4 teaspoon nutmeg
  • 1/2 cup granulated sugar
  • 1/3 cup flour or cornstarch
  • Caramel sauce (optional) (I like the one from the Joy of Cooking)

Topping

  • 1 egg whisked with a Tablespoon of water
  • Demerara/raw sugar

Preheat oven to 350 Degrees F. 

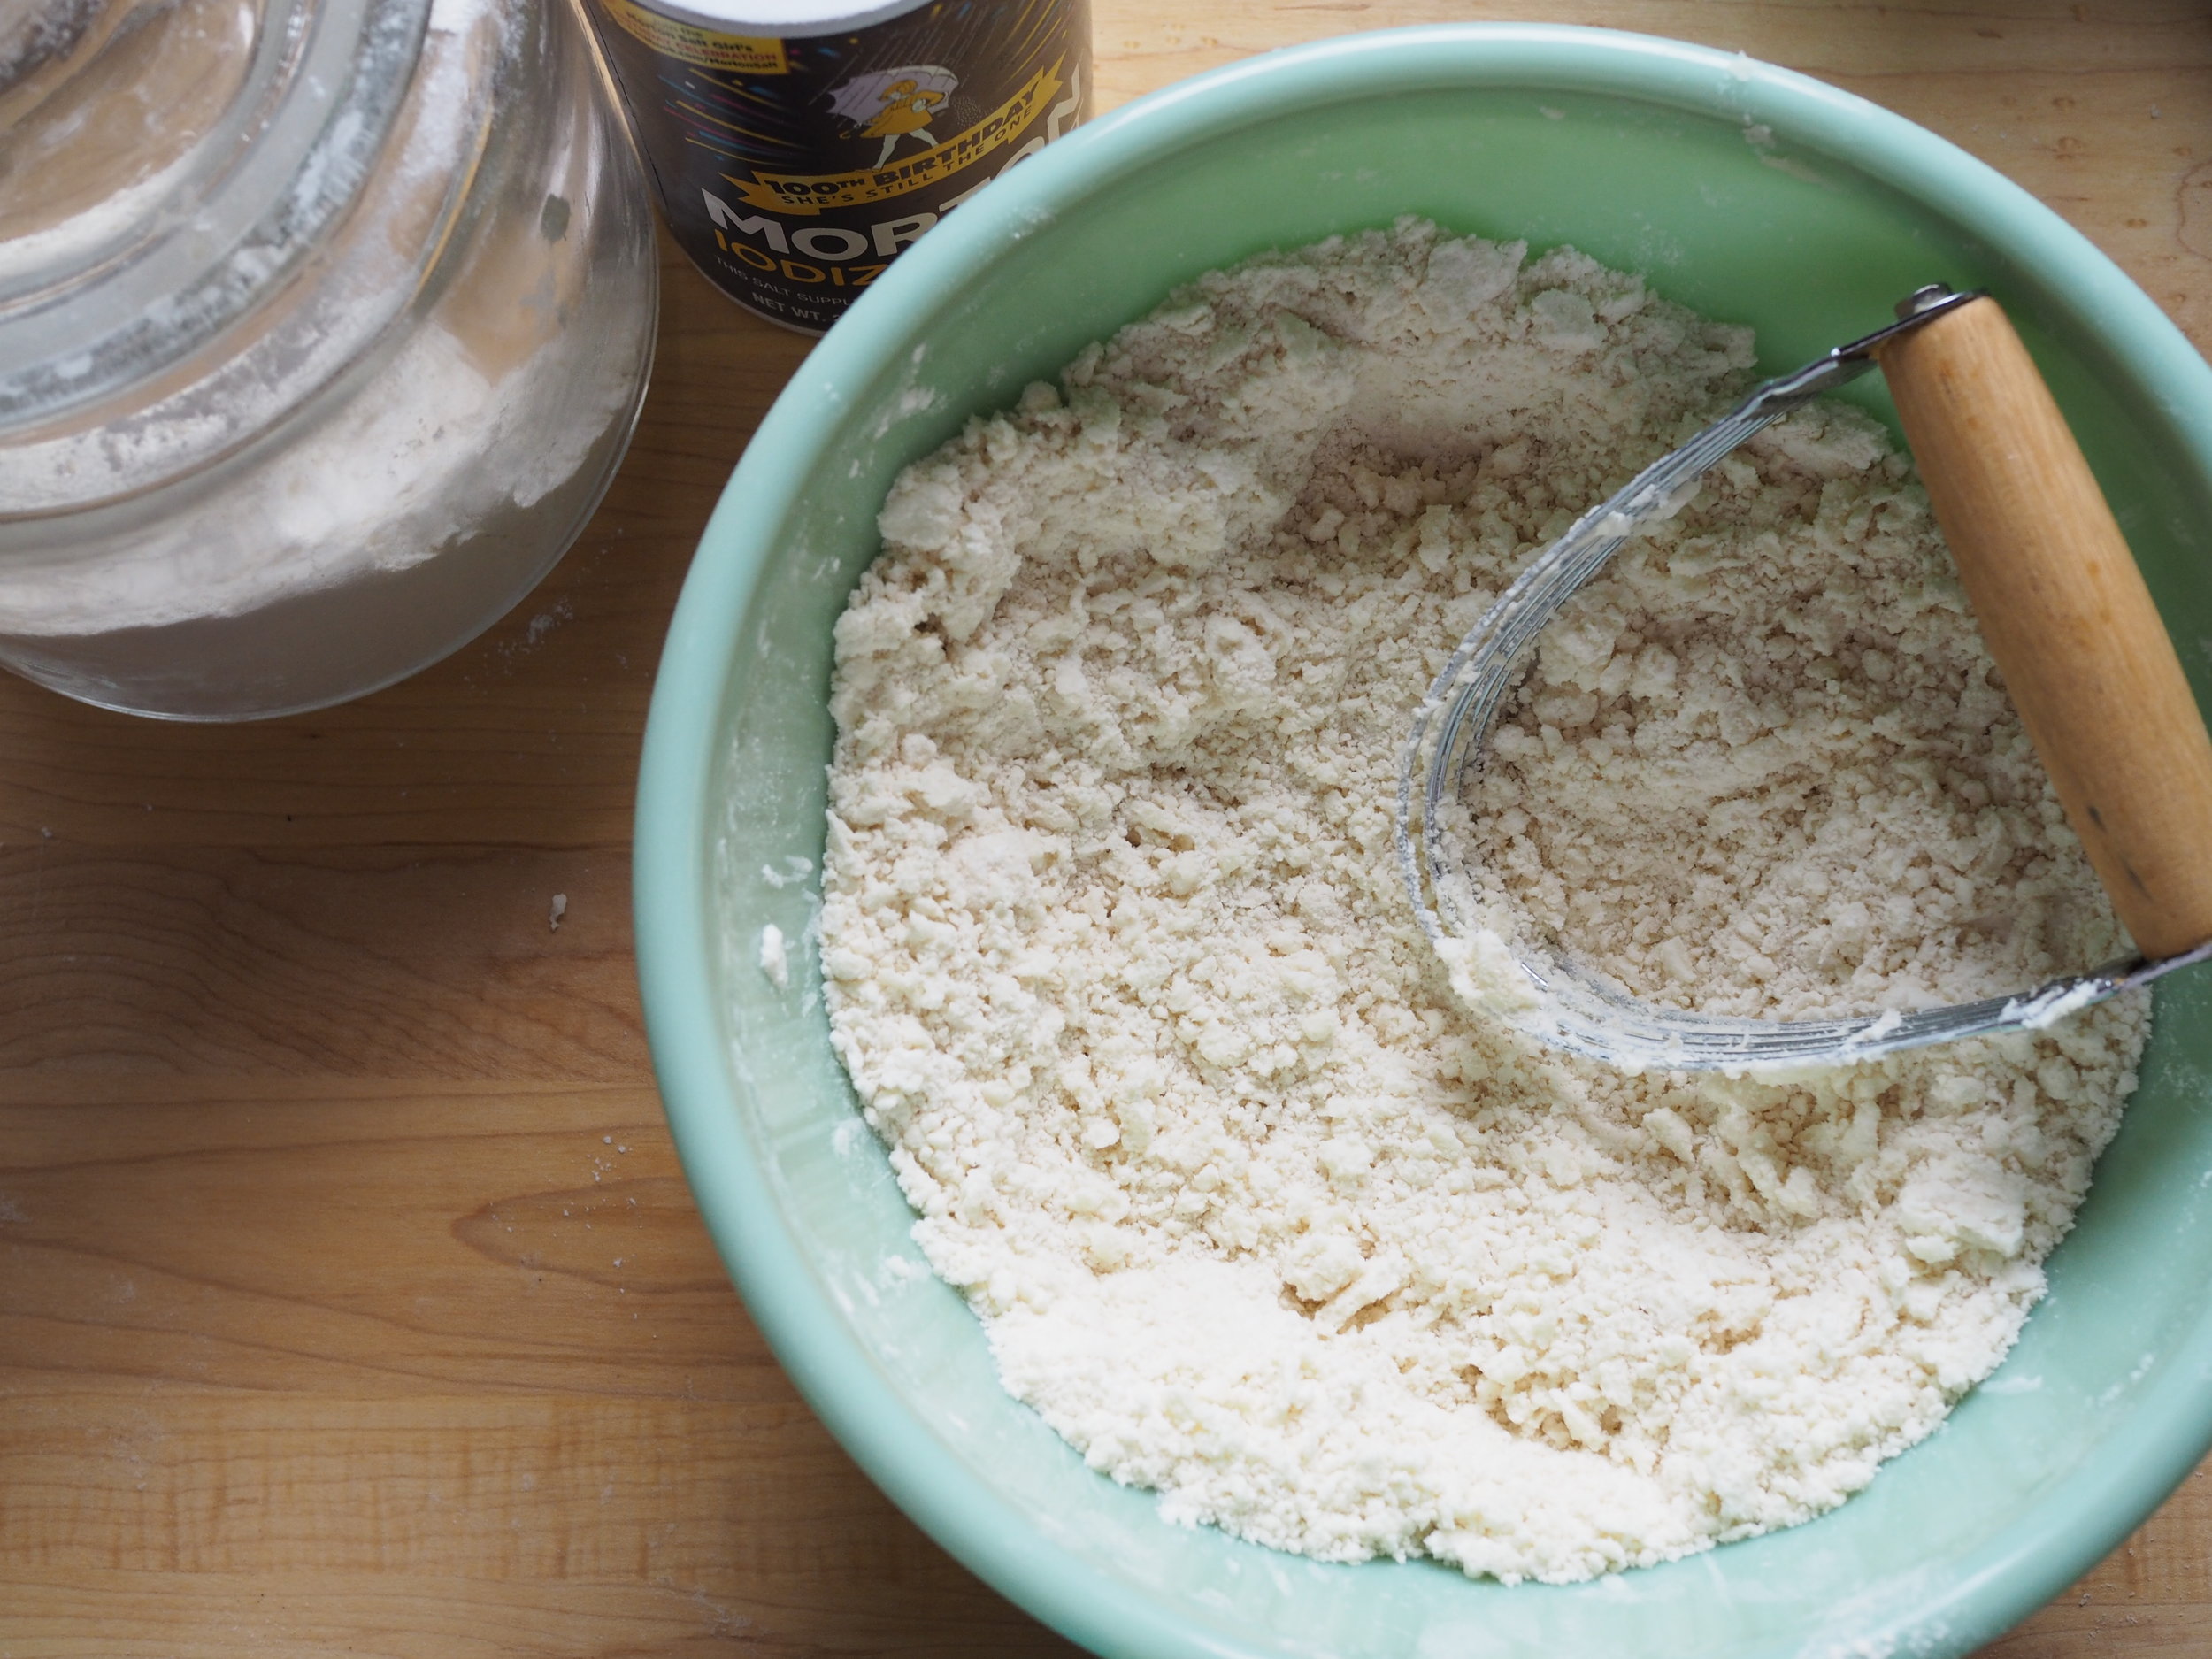
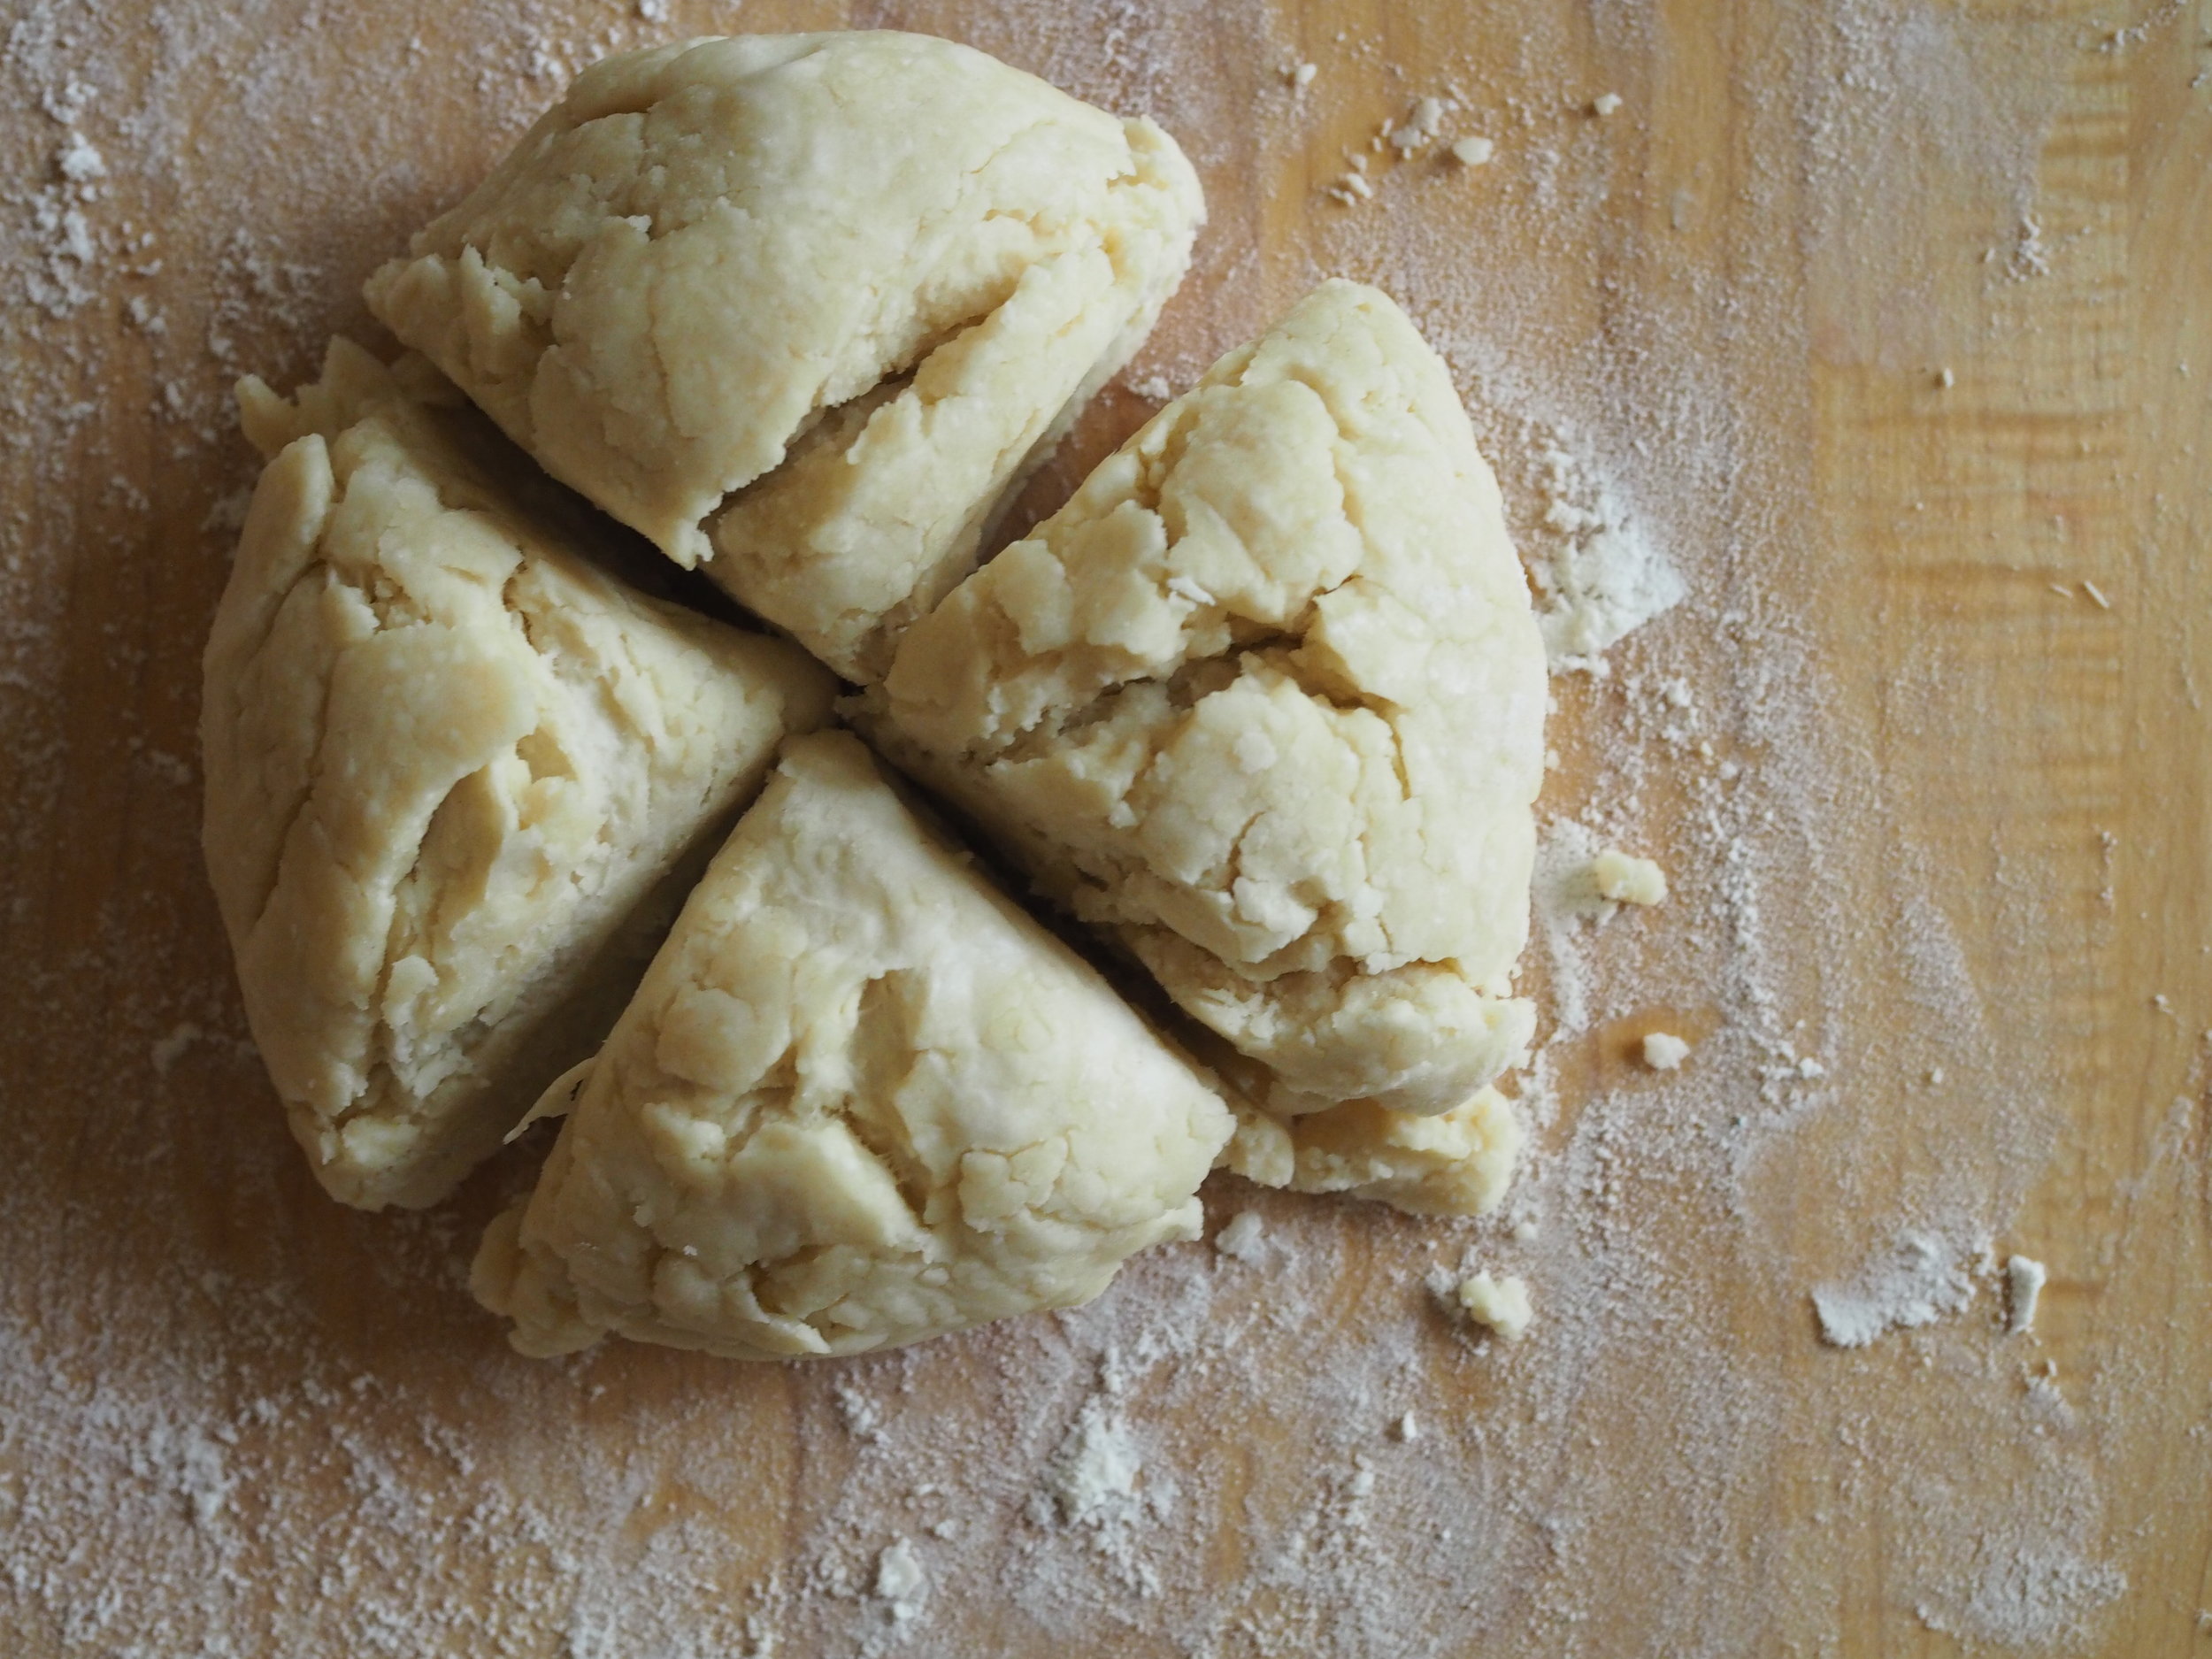
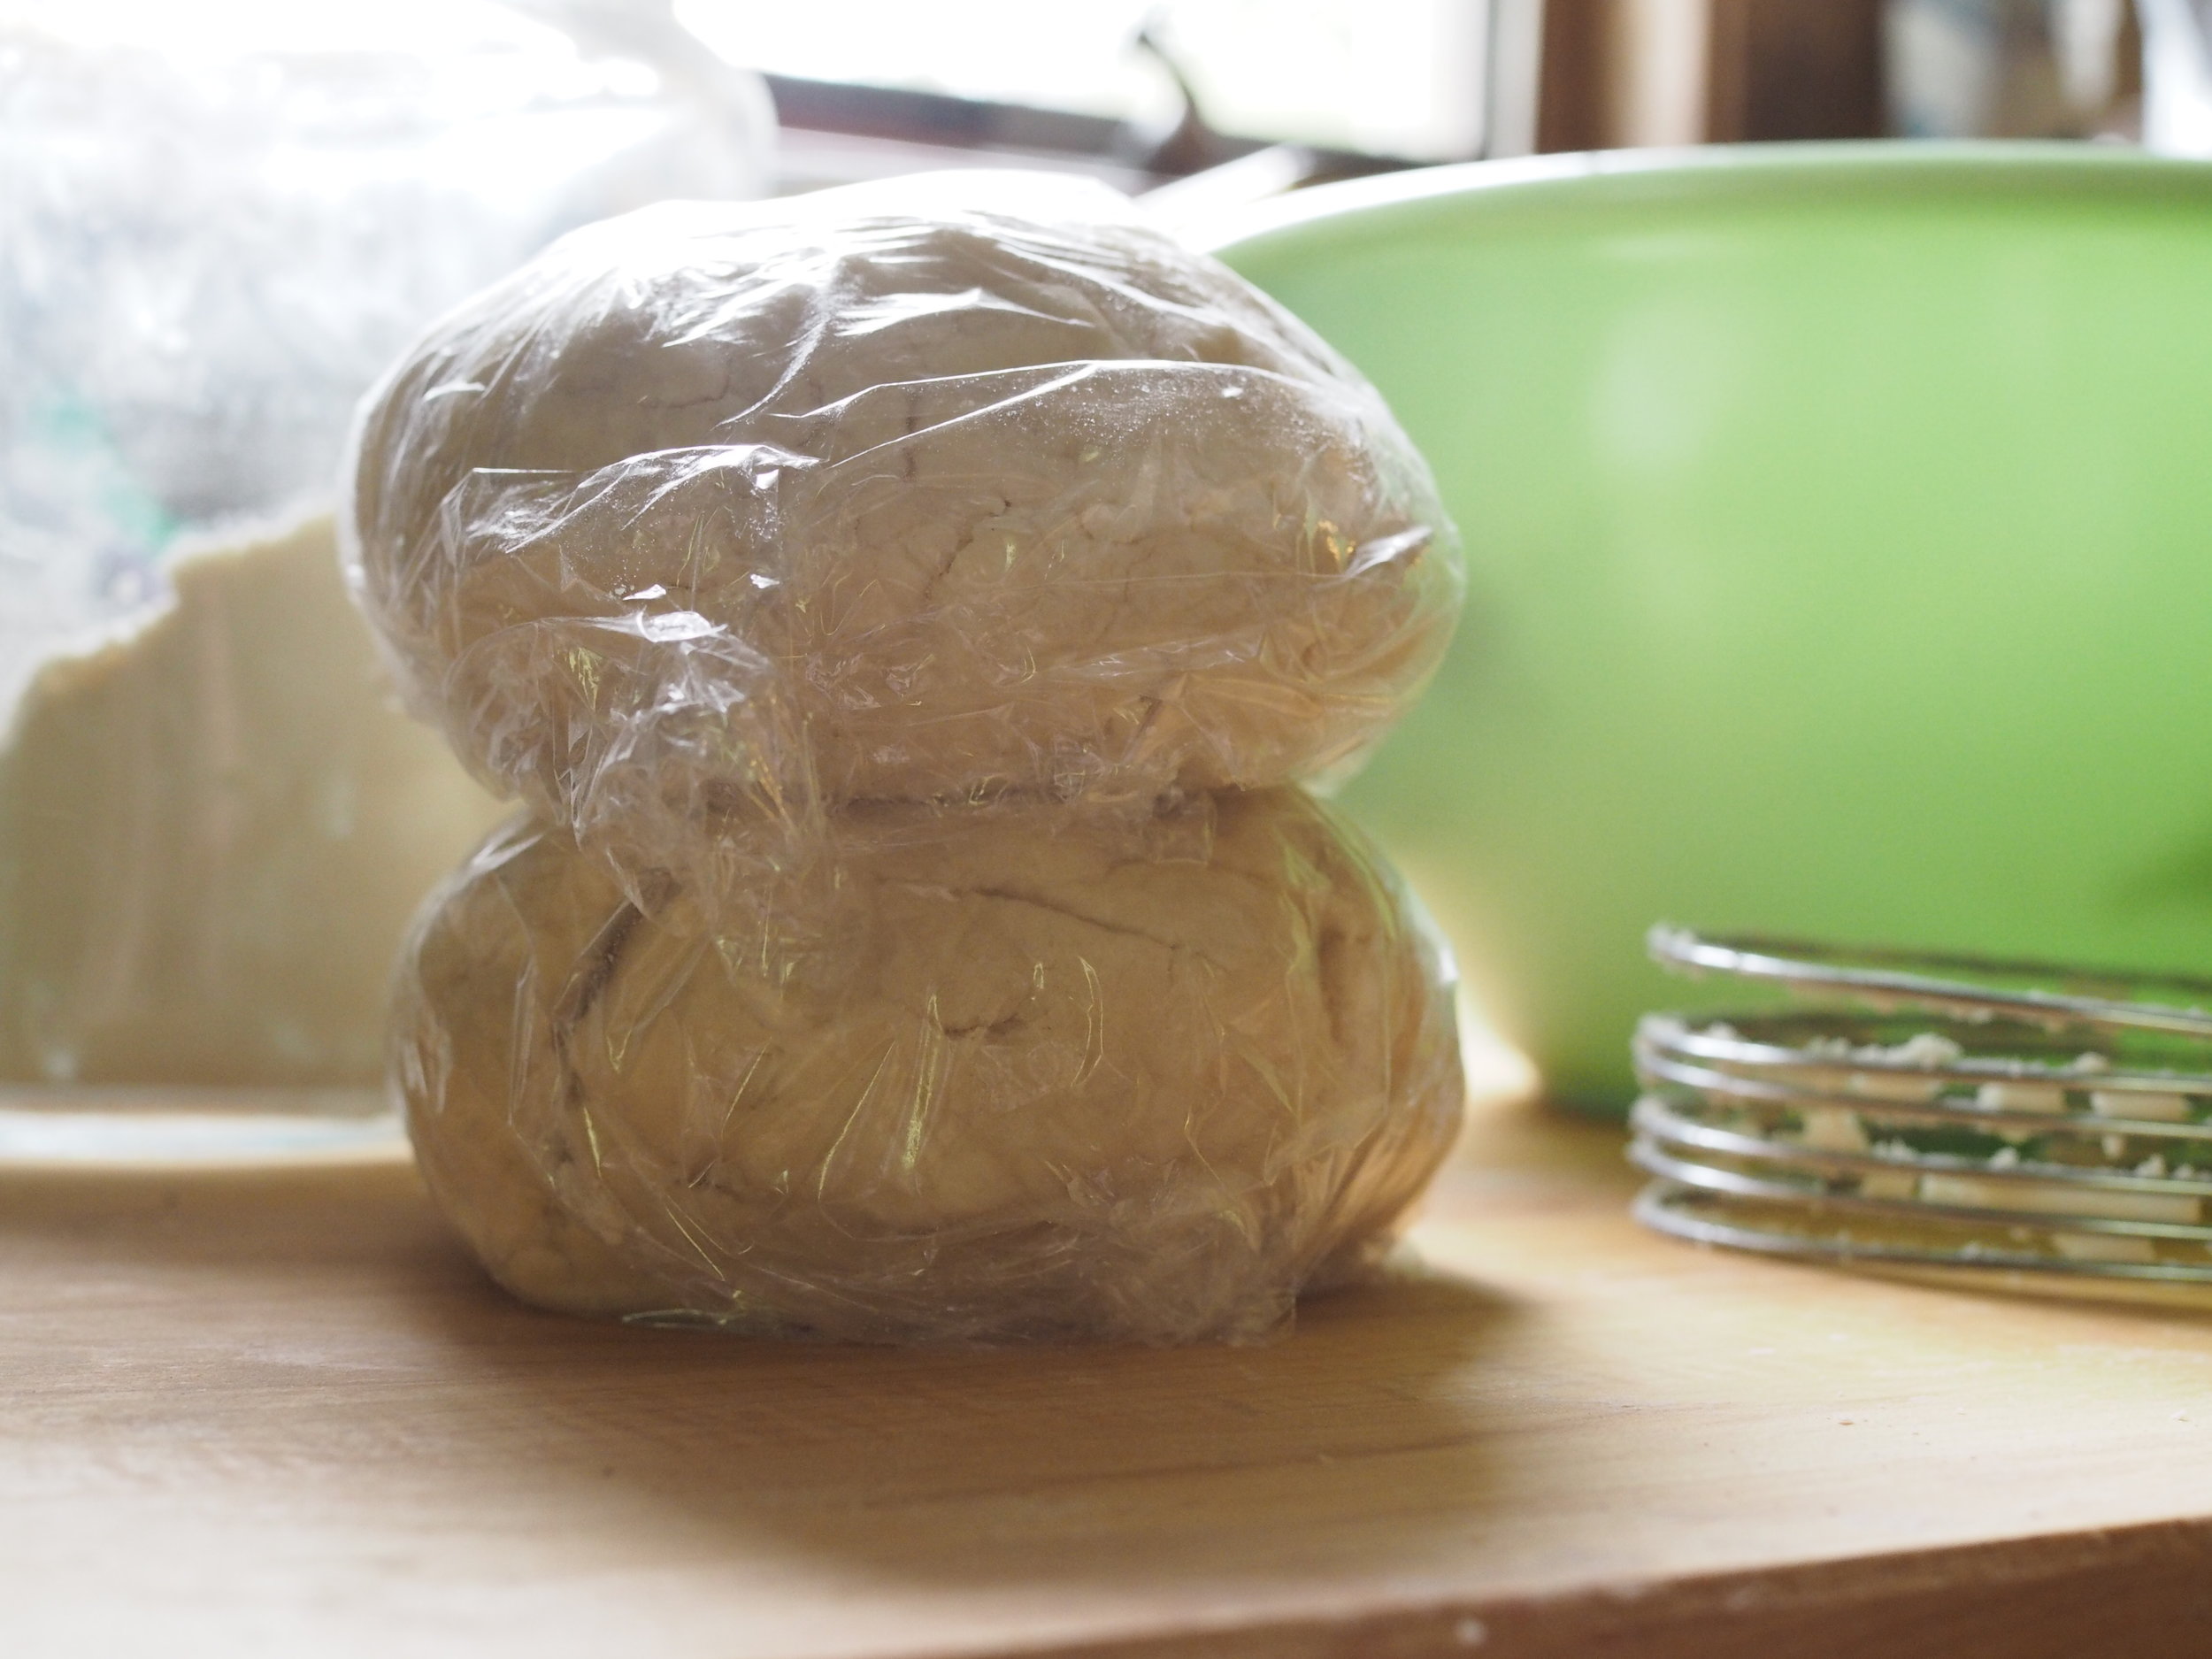
Make crust. In a large mixing bowl, combine flour and salt. Using a pastry cutter or food processor, cut in shortening until mixture resembles damp sand. Add water, a little bit at a time, until dough sticks together. You will want it slightly more elastic than crust for a pan pie. Break dough into two evenly sized pieces, wrap in plastic wrap, and place in refrigerator up to a day in advance.
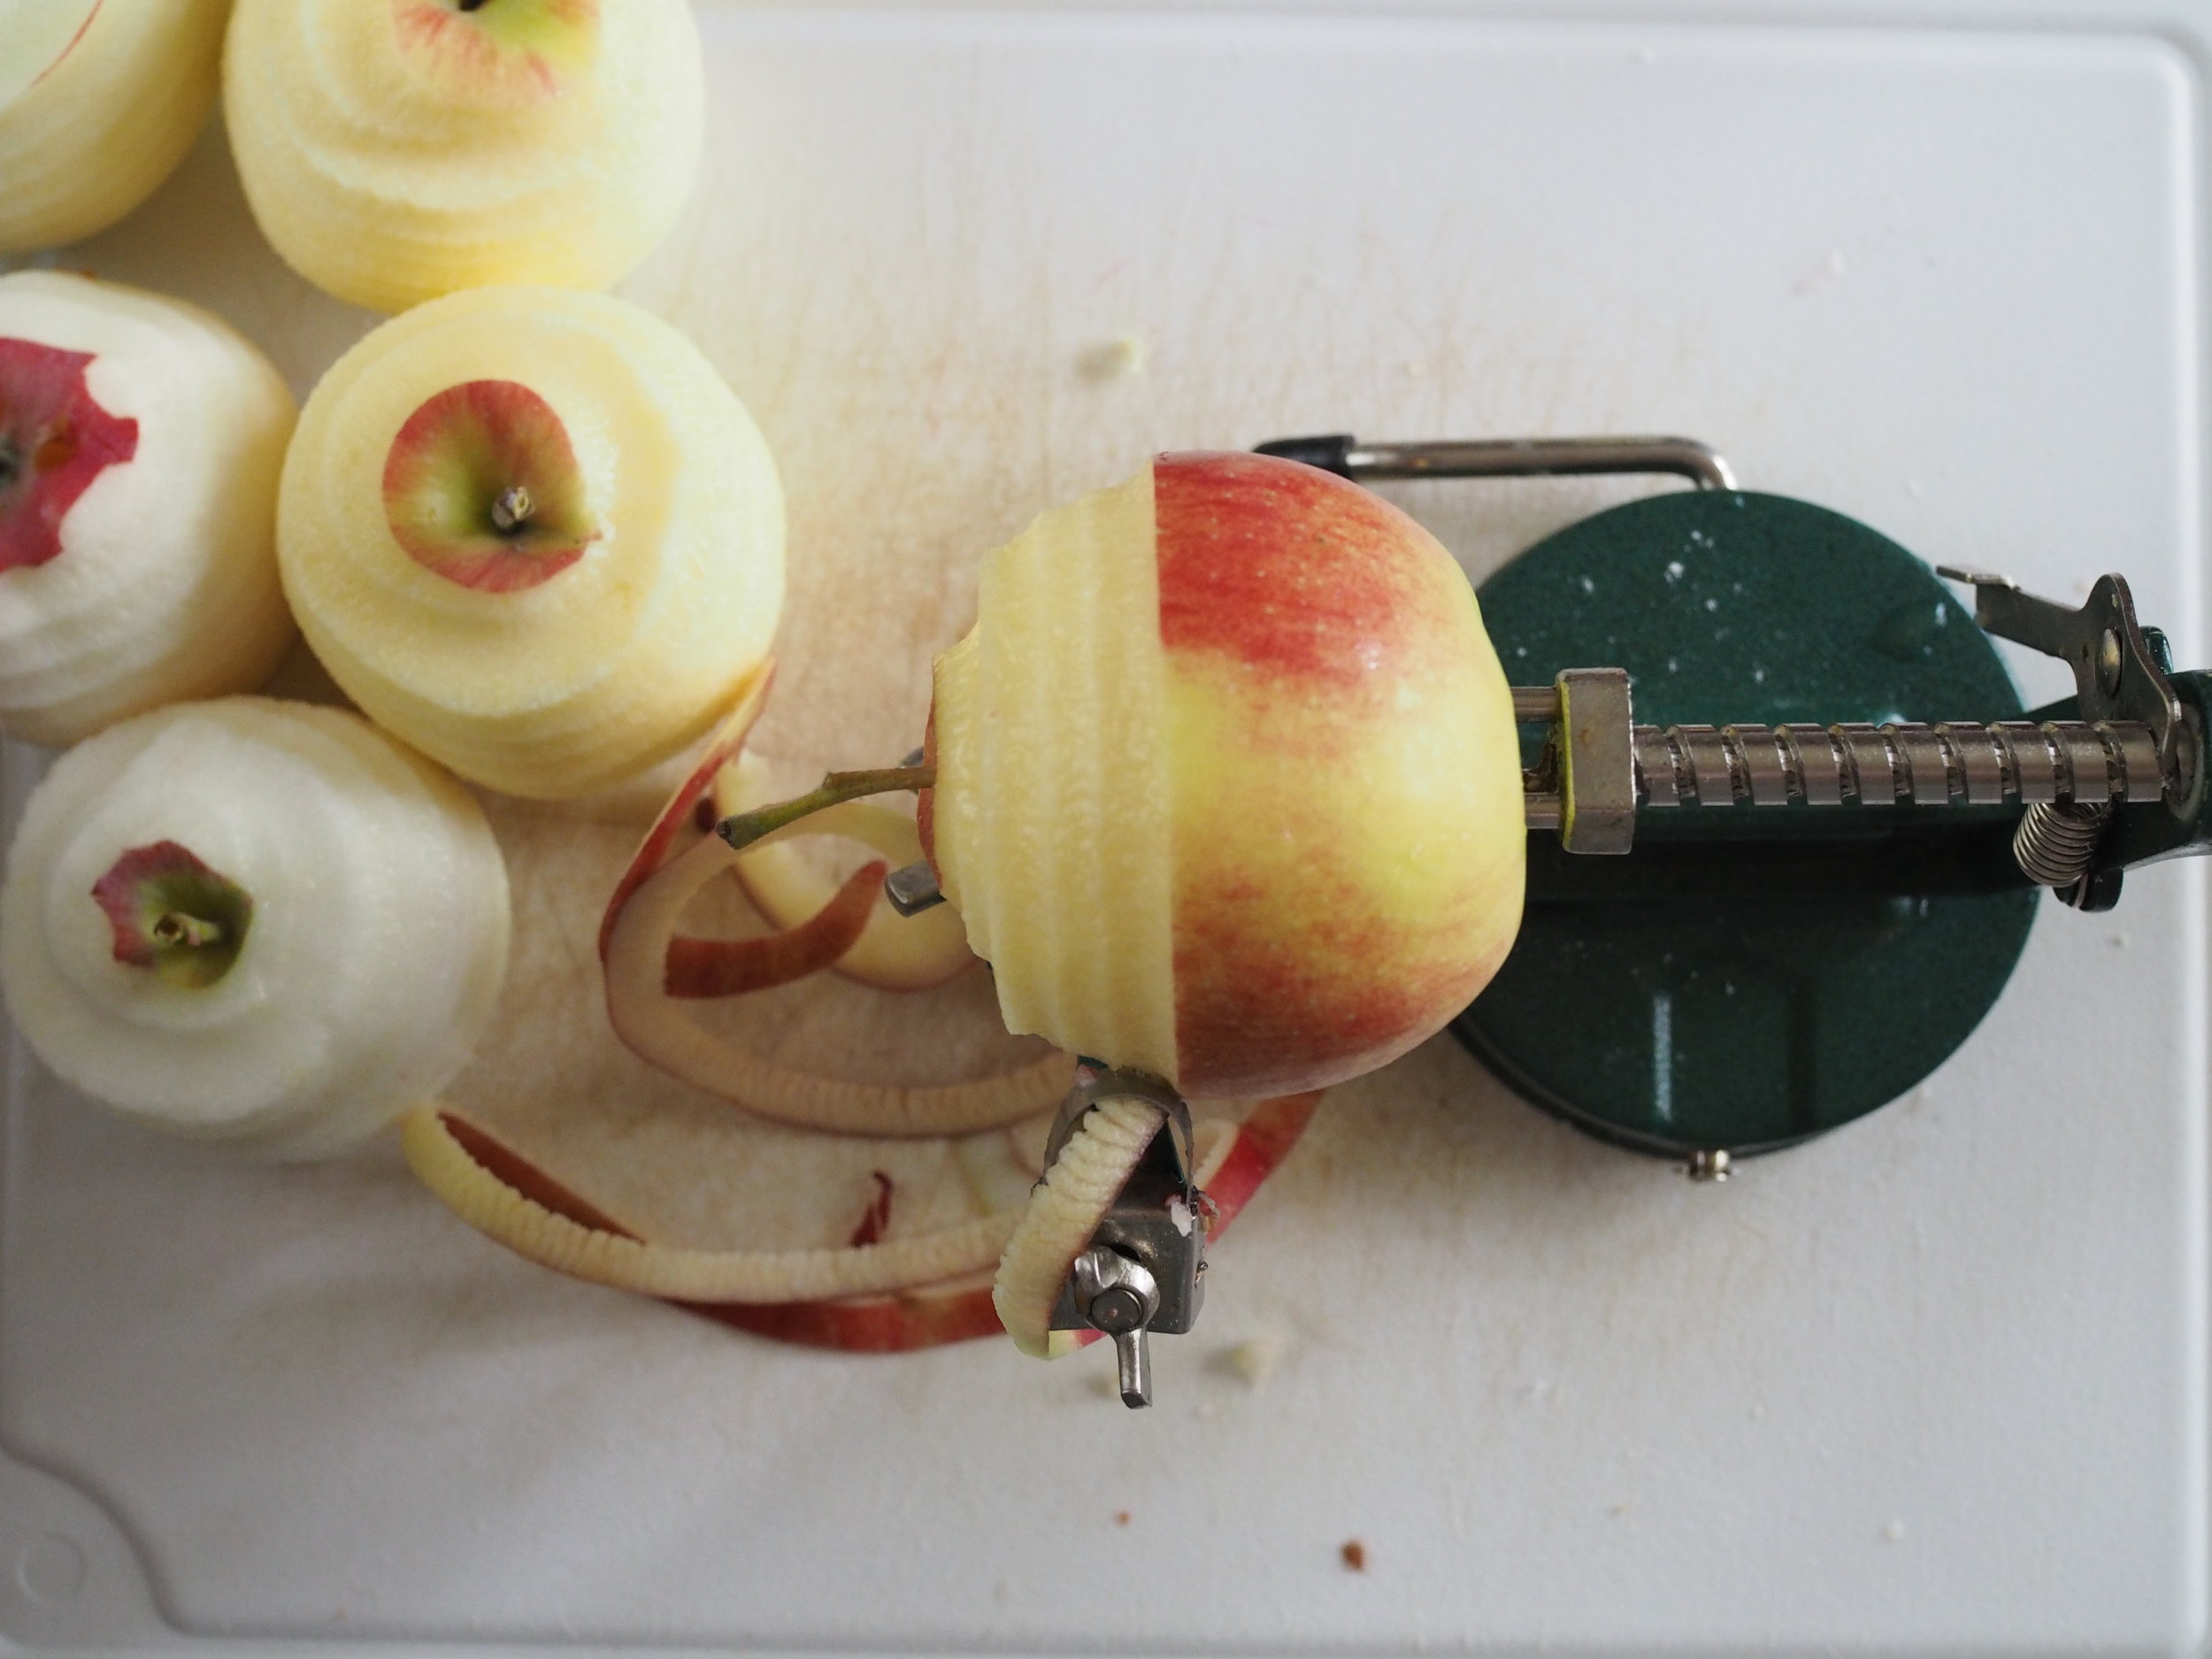
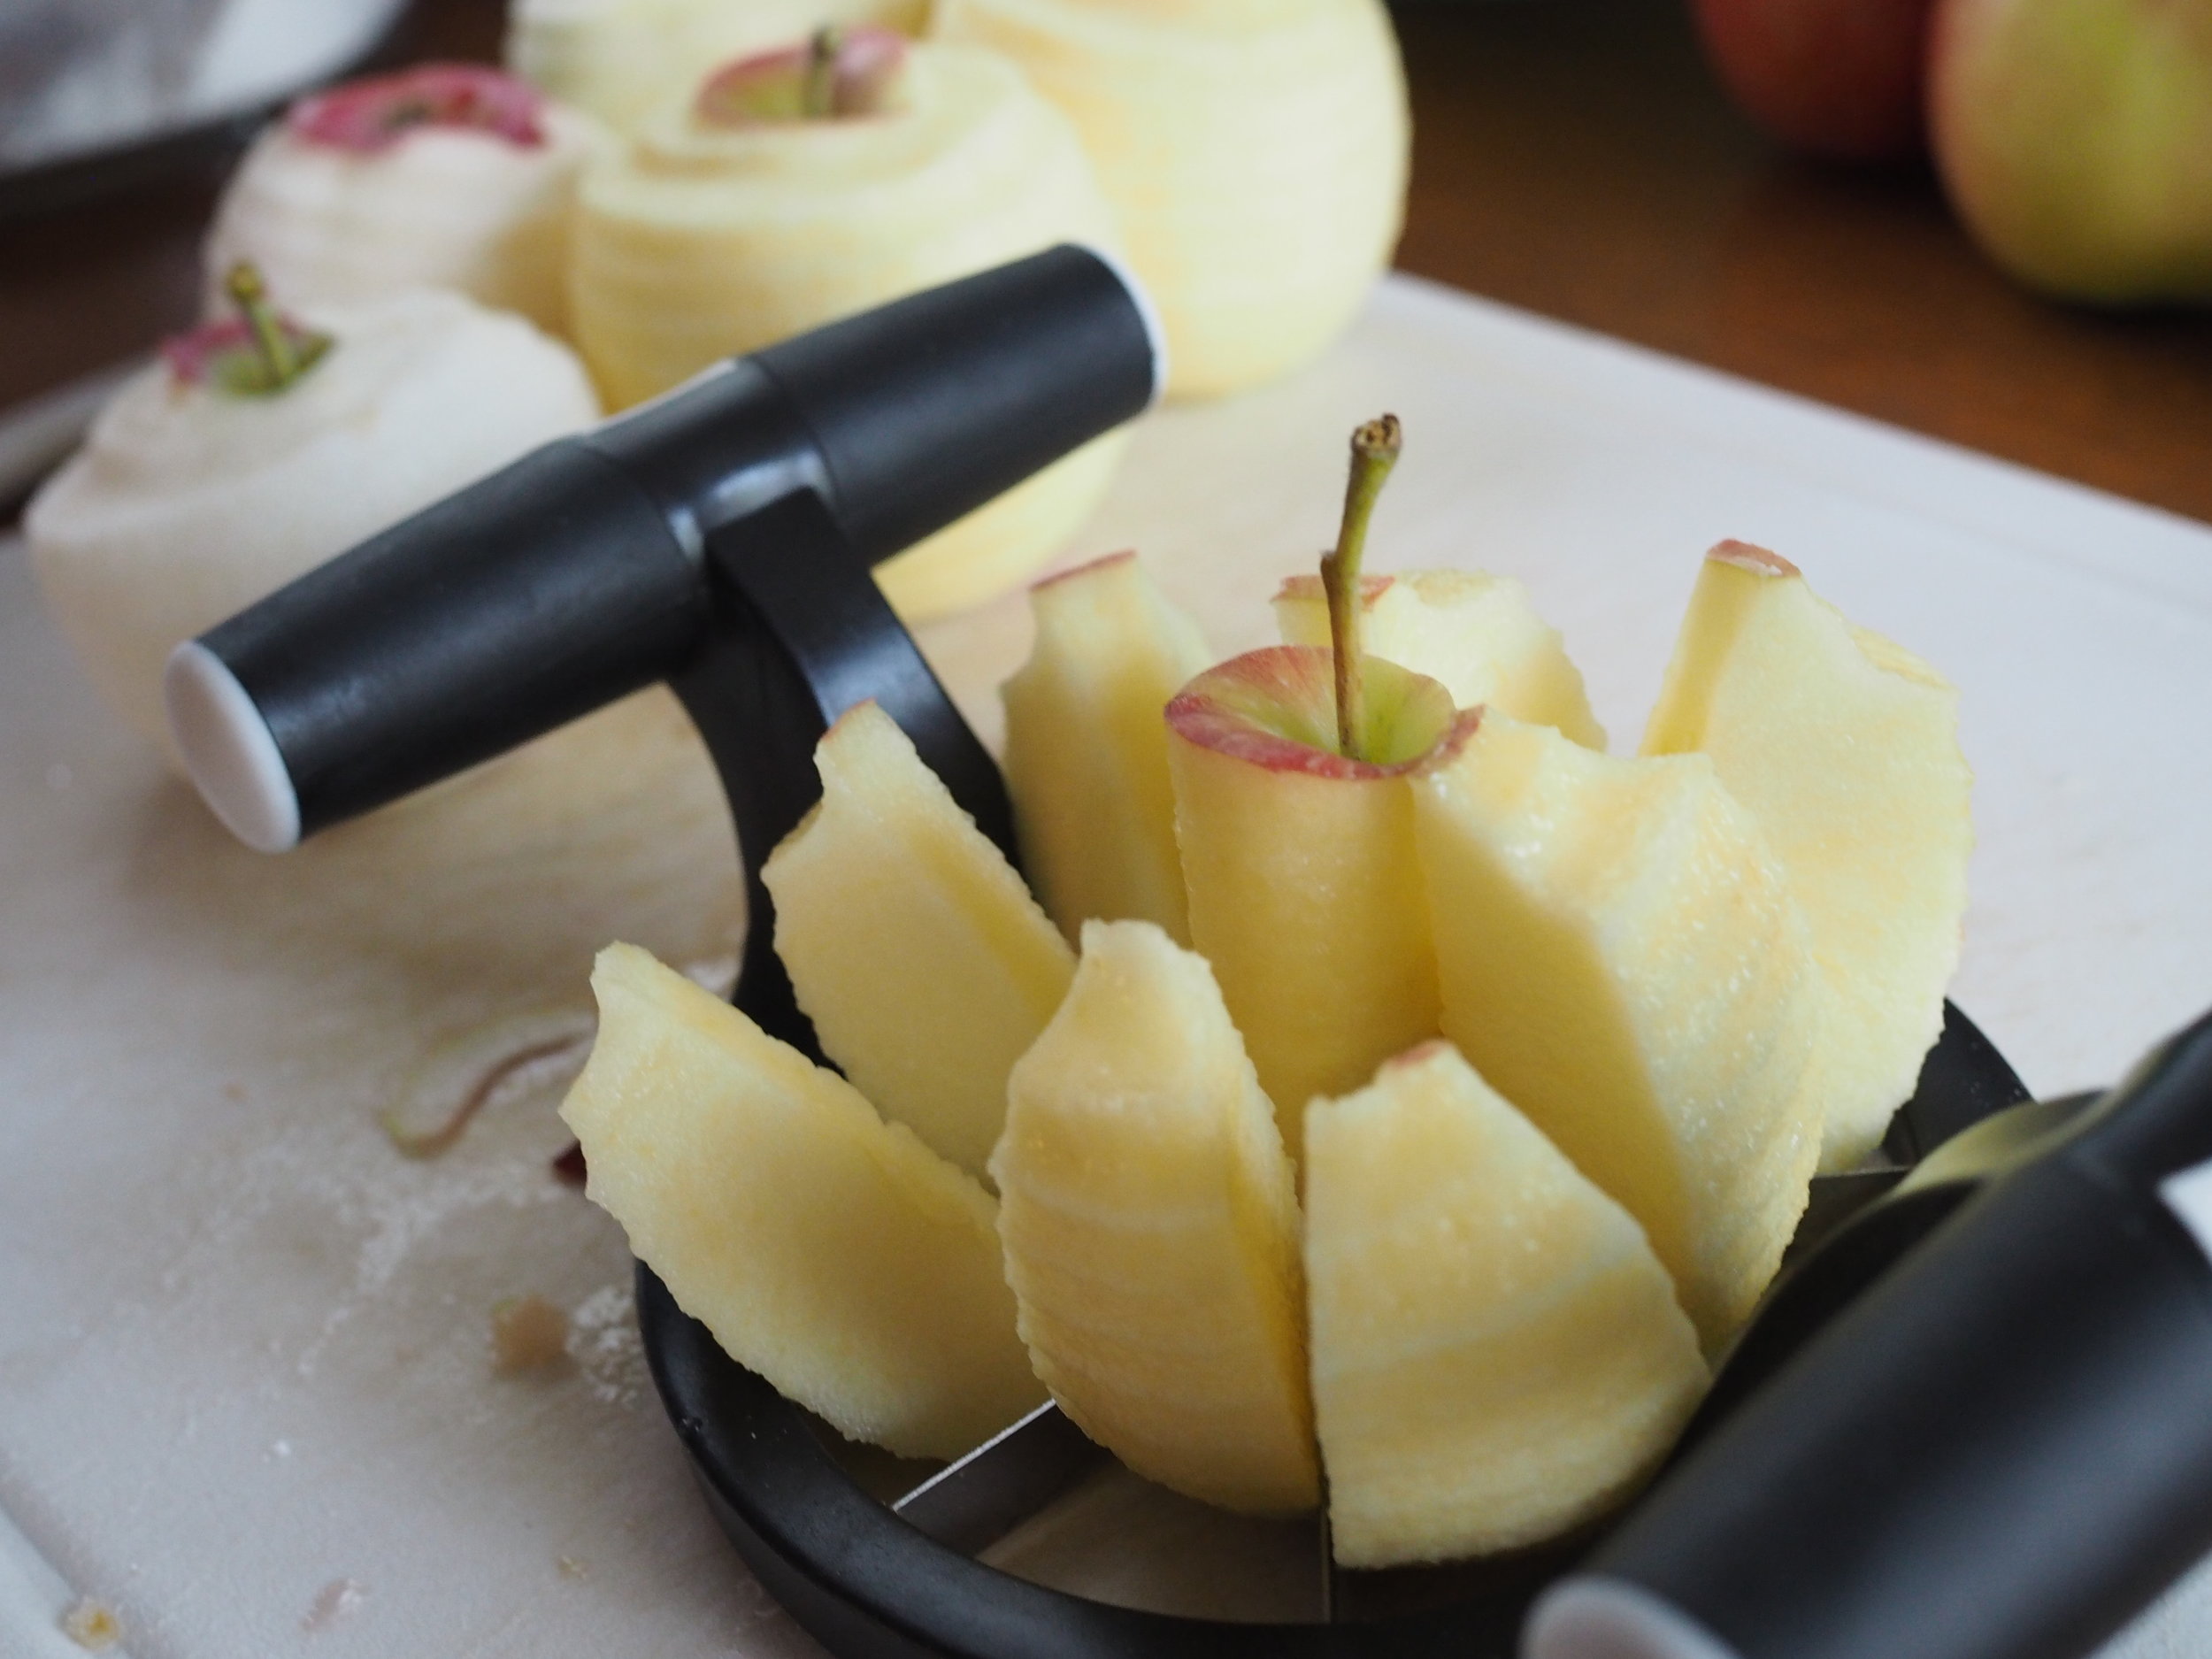
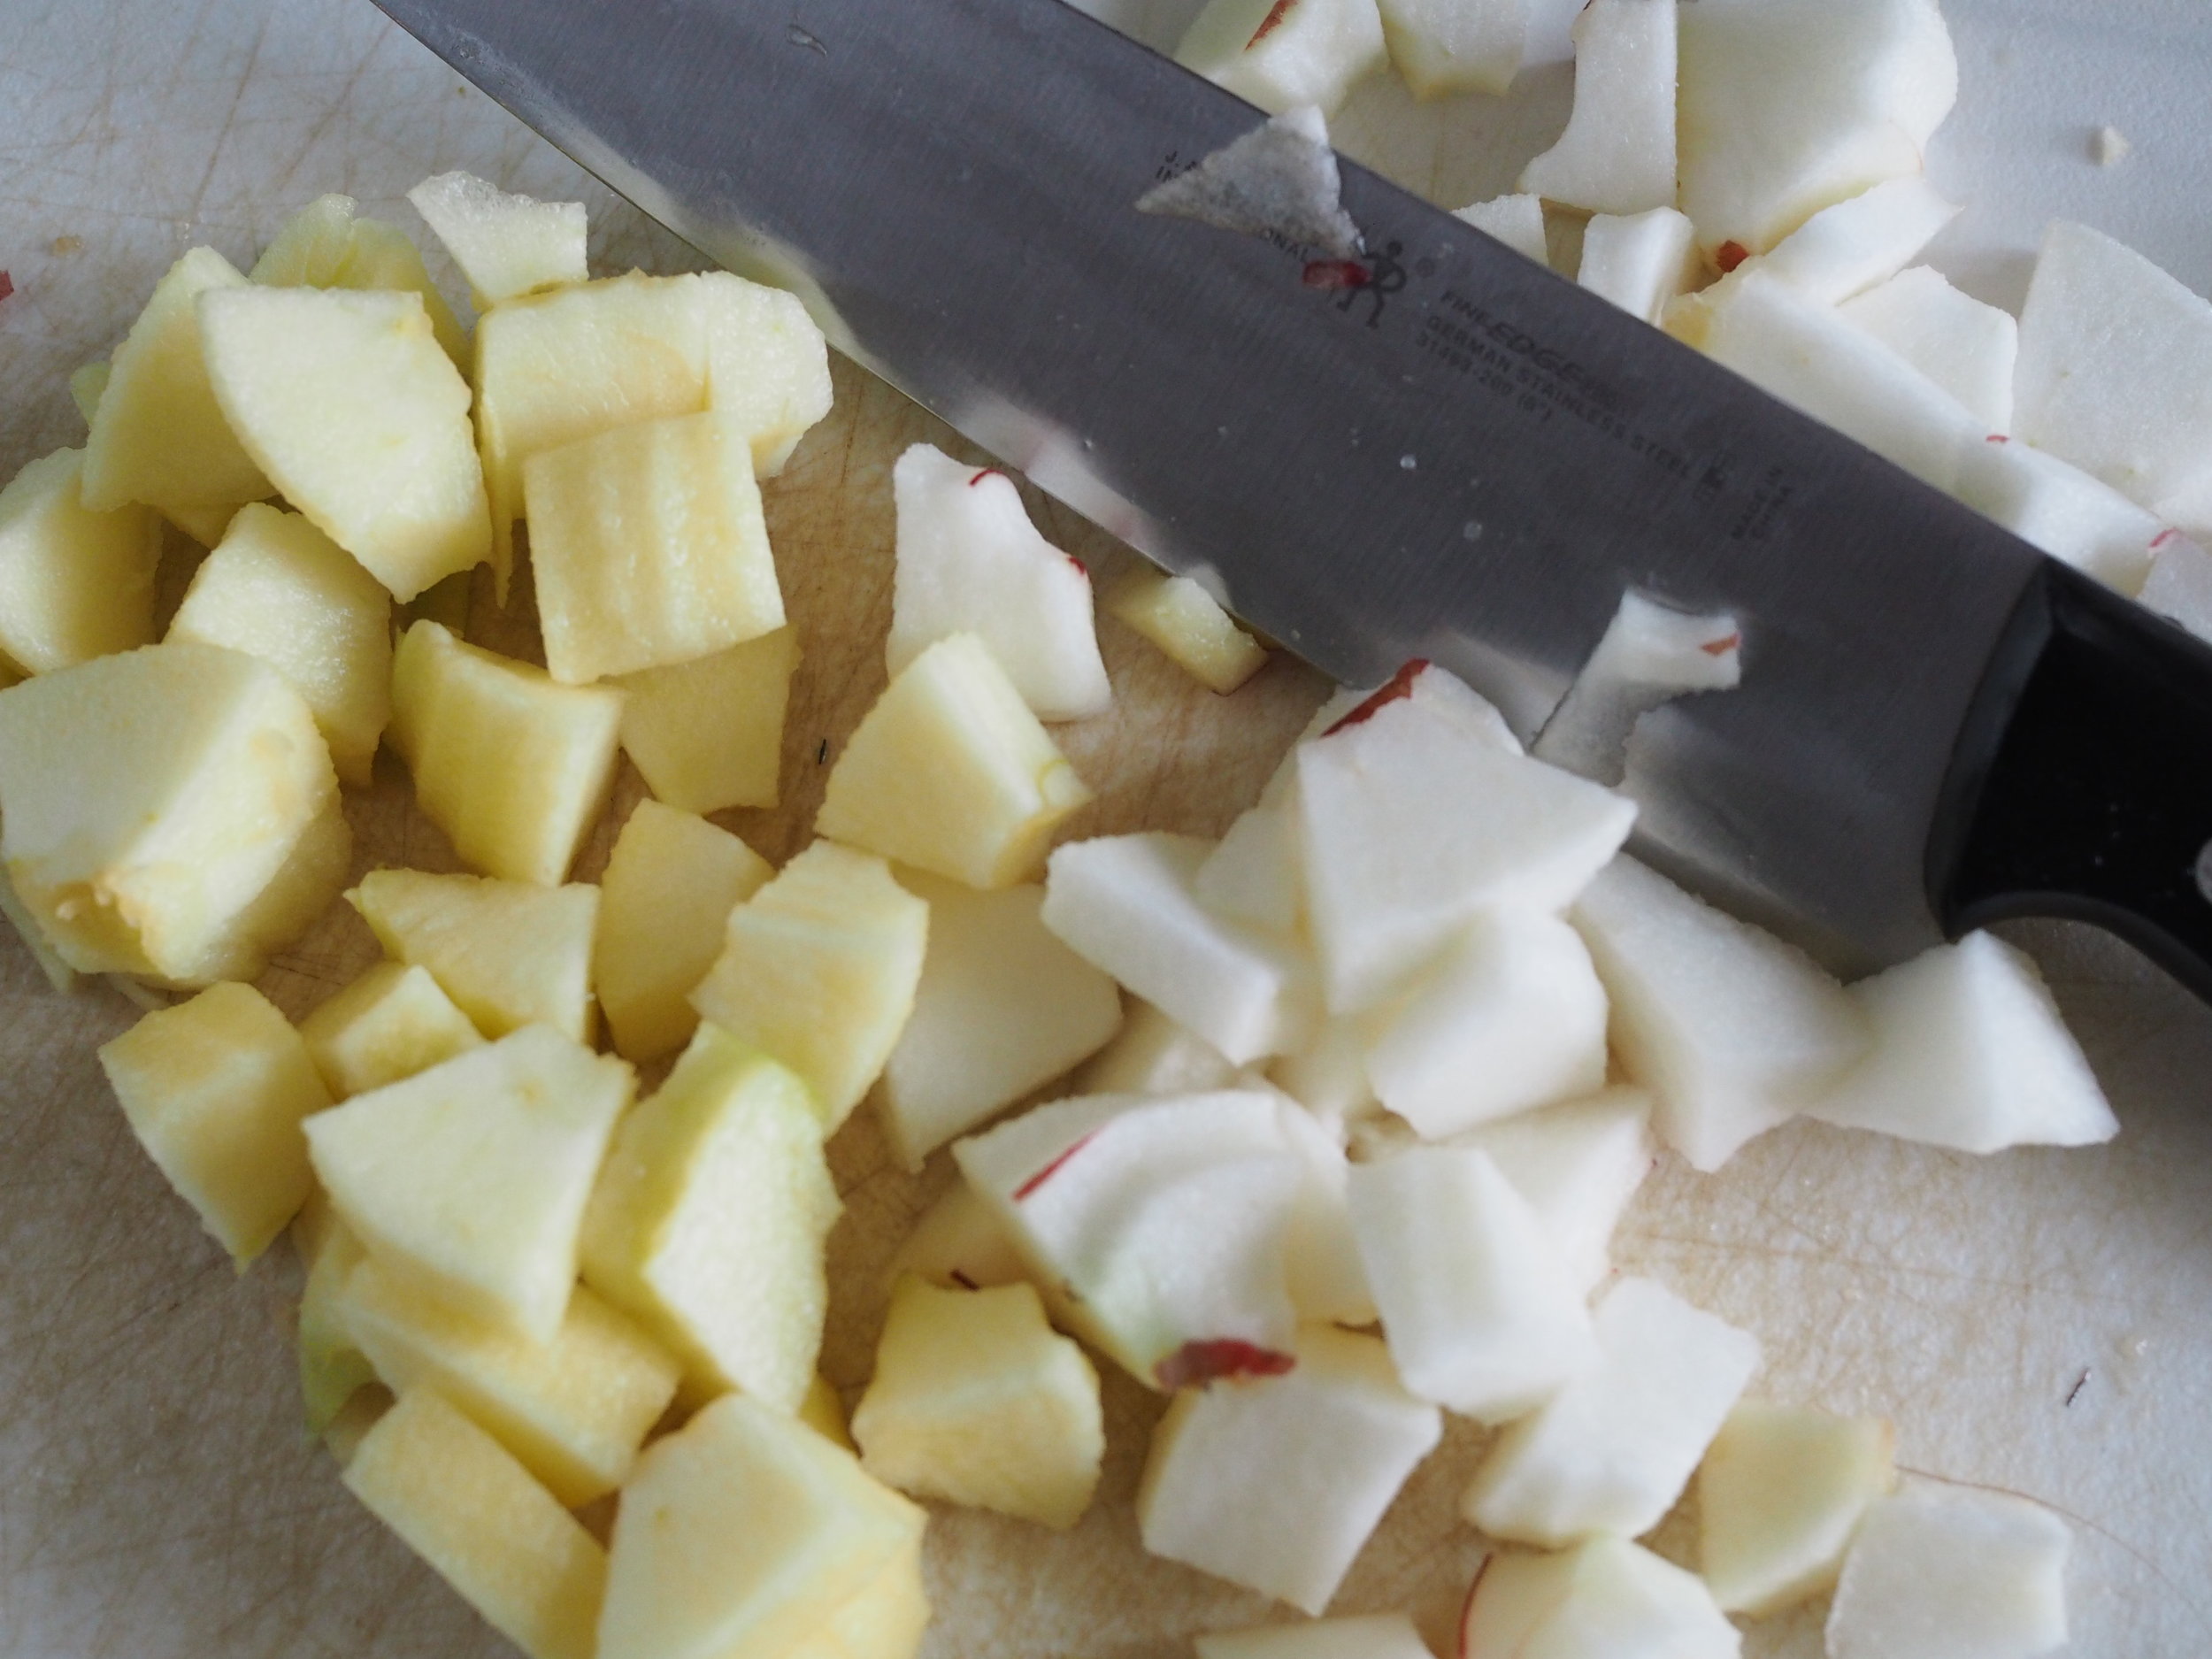
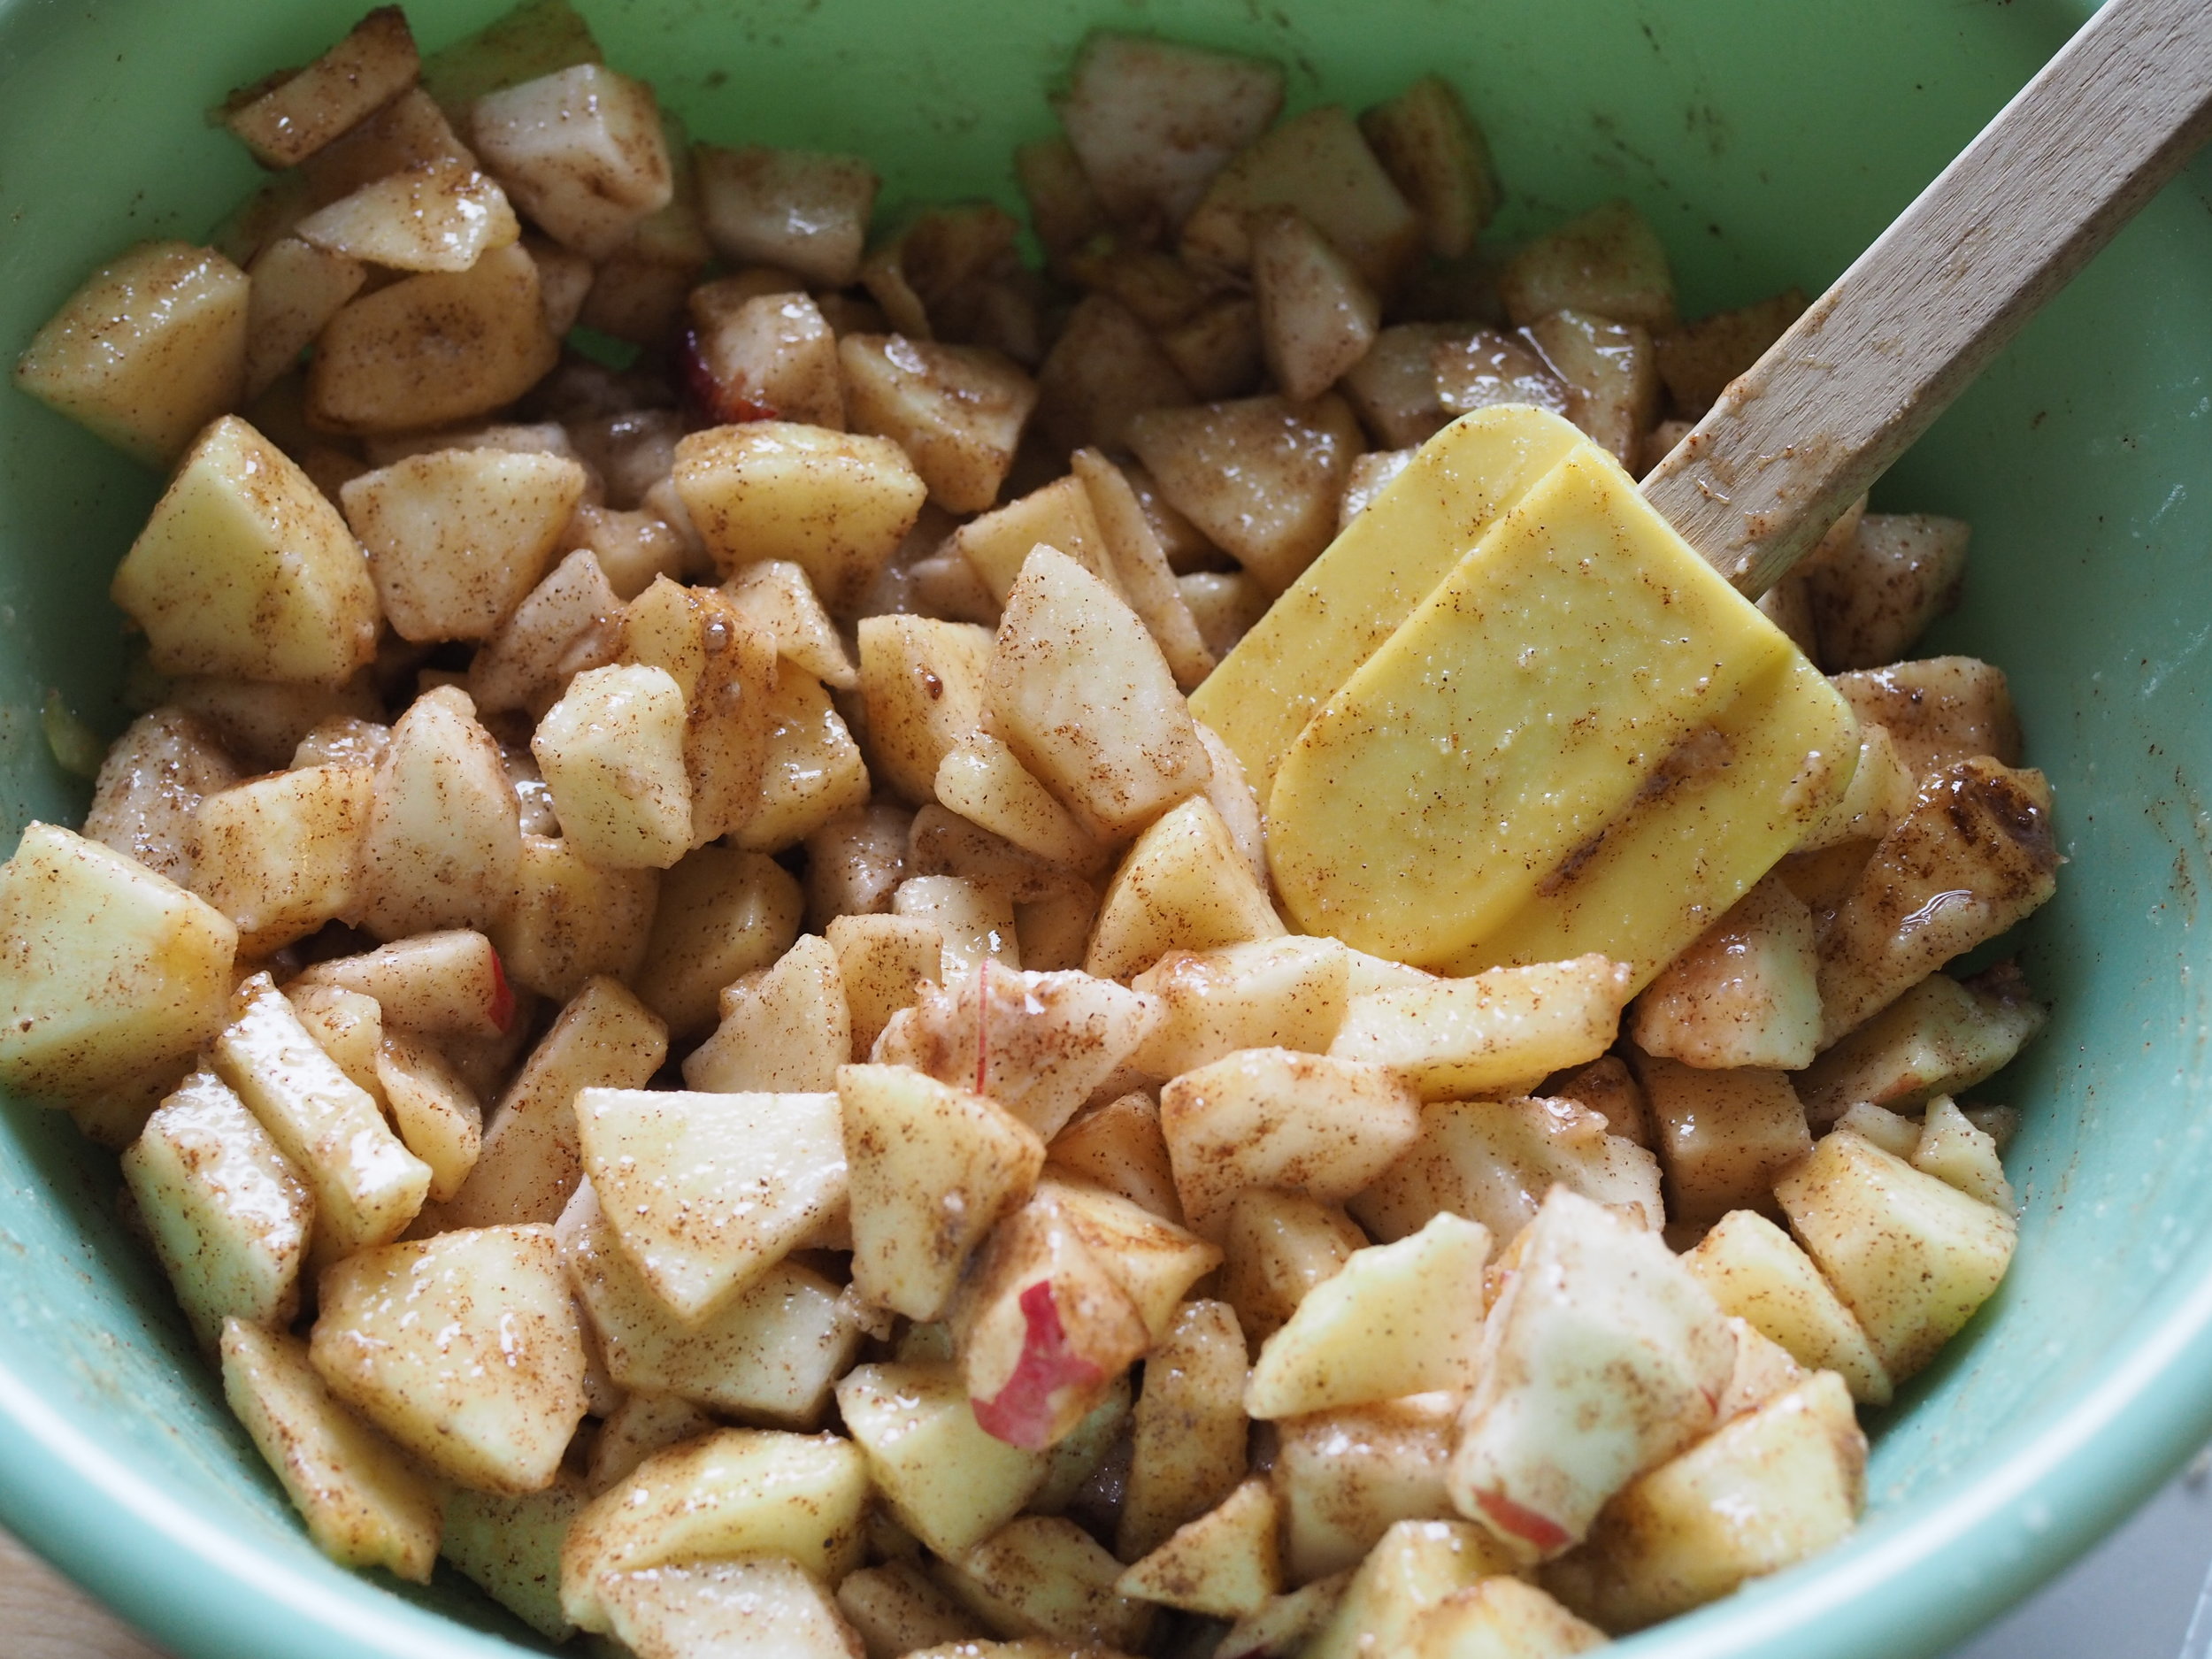
Prepare filling. Peel, core, and dice apples into small chunks. In a large mixing bowl, combine diced apples with lemon juice, cinnamon, nutmeg, sugar, and flour. Mix well, until all apple pieces are coated. 

Line two rimmed cookie sheets with parchment paper.

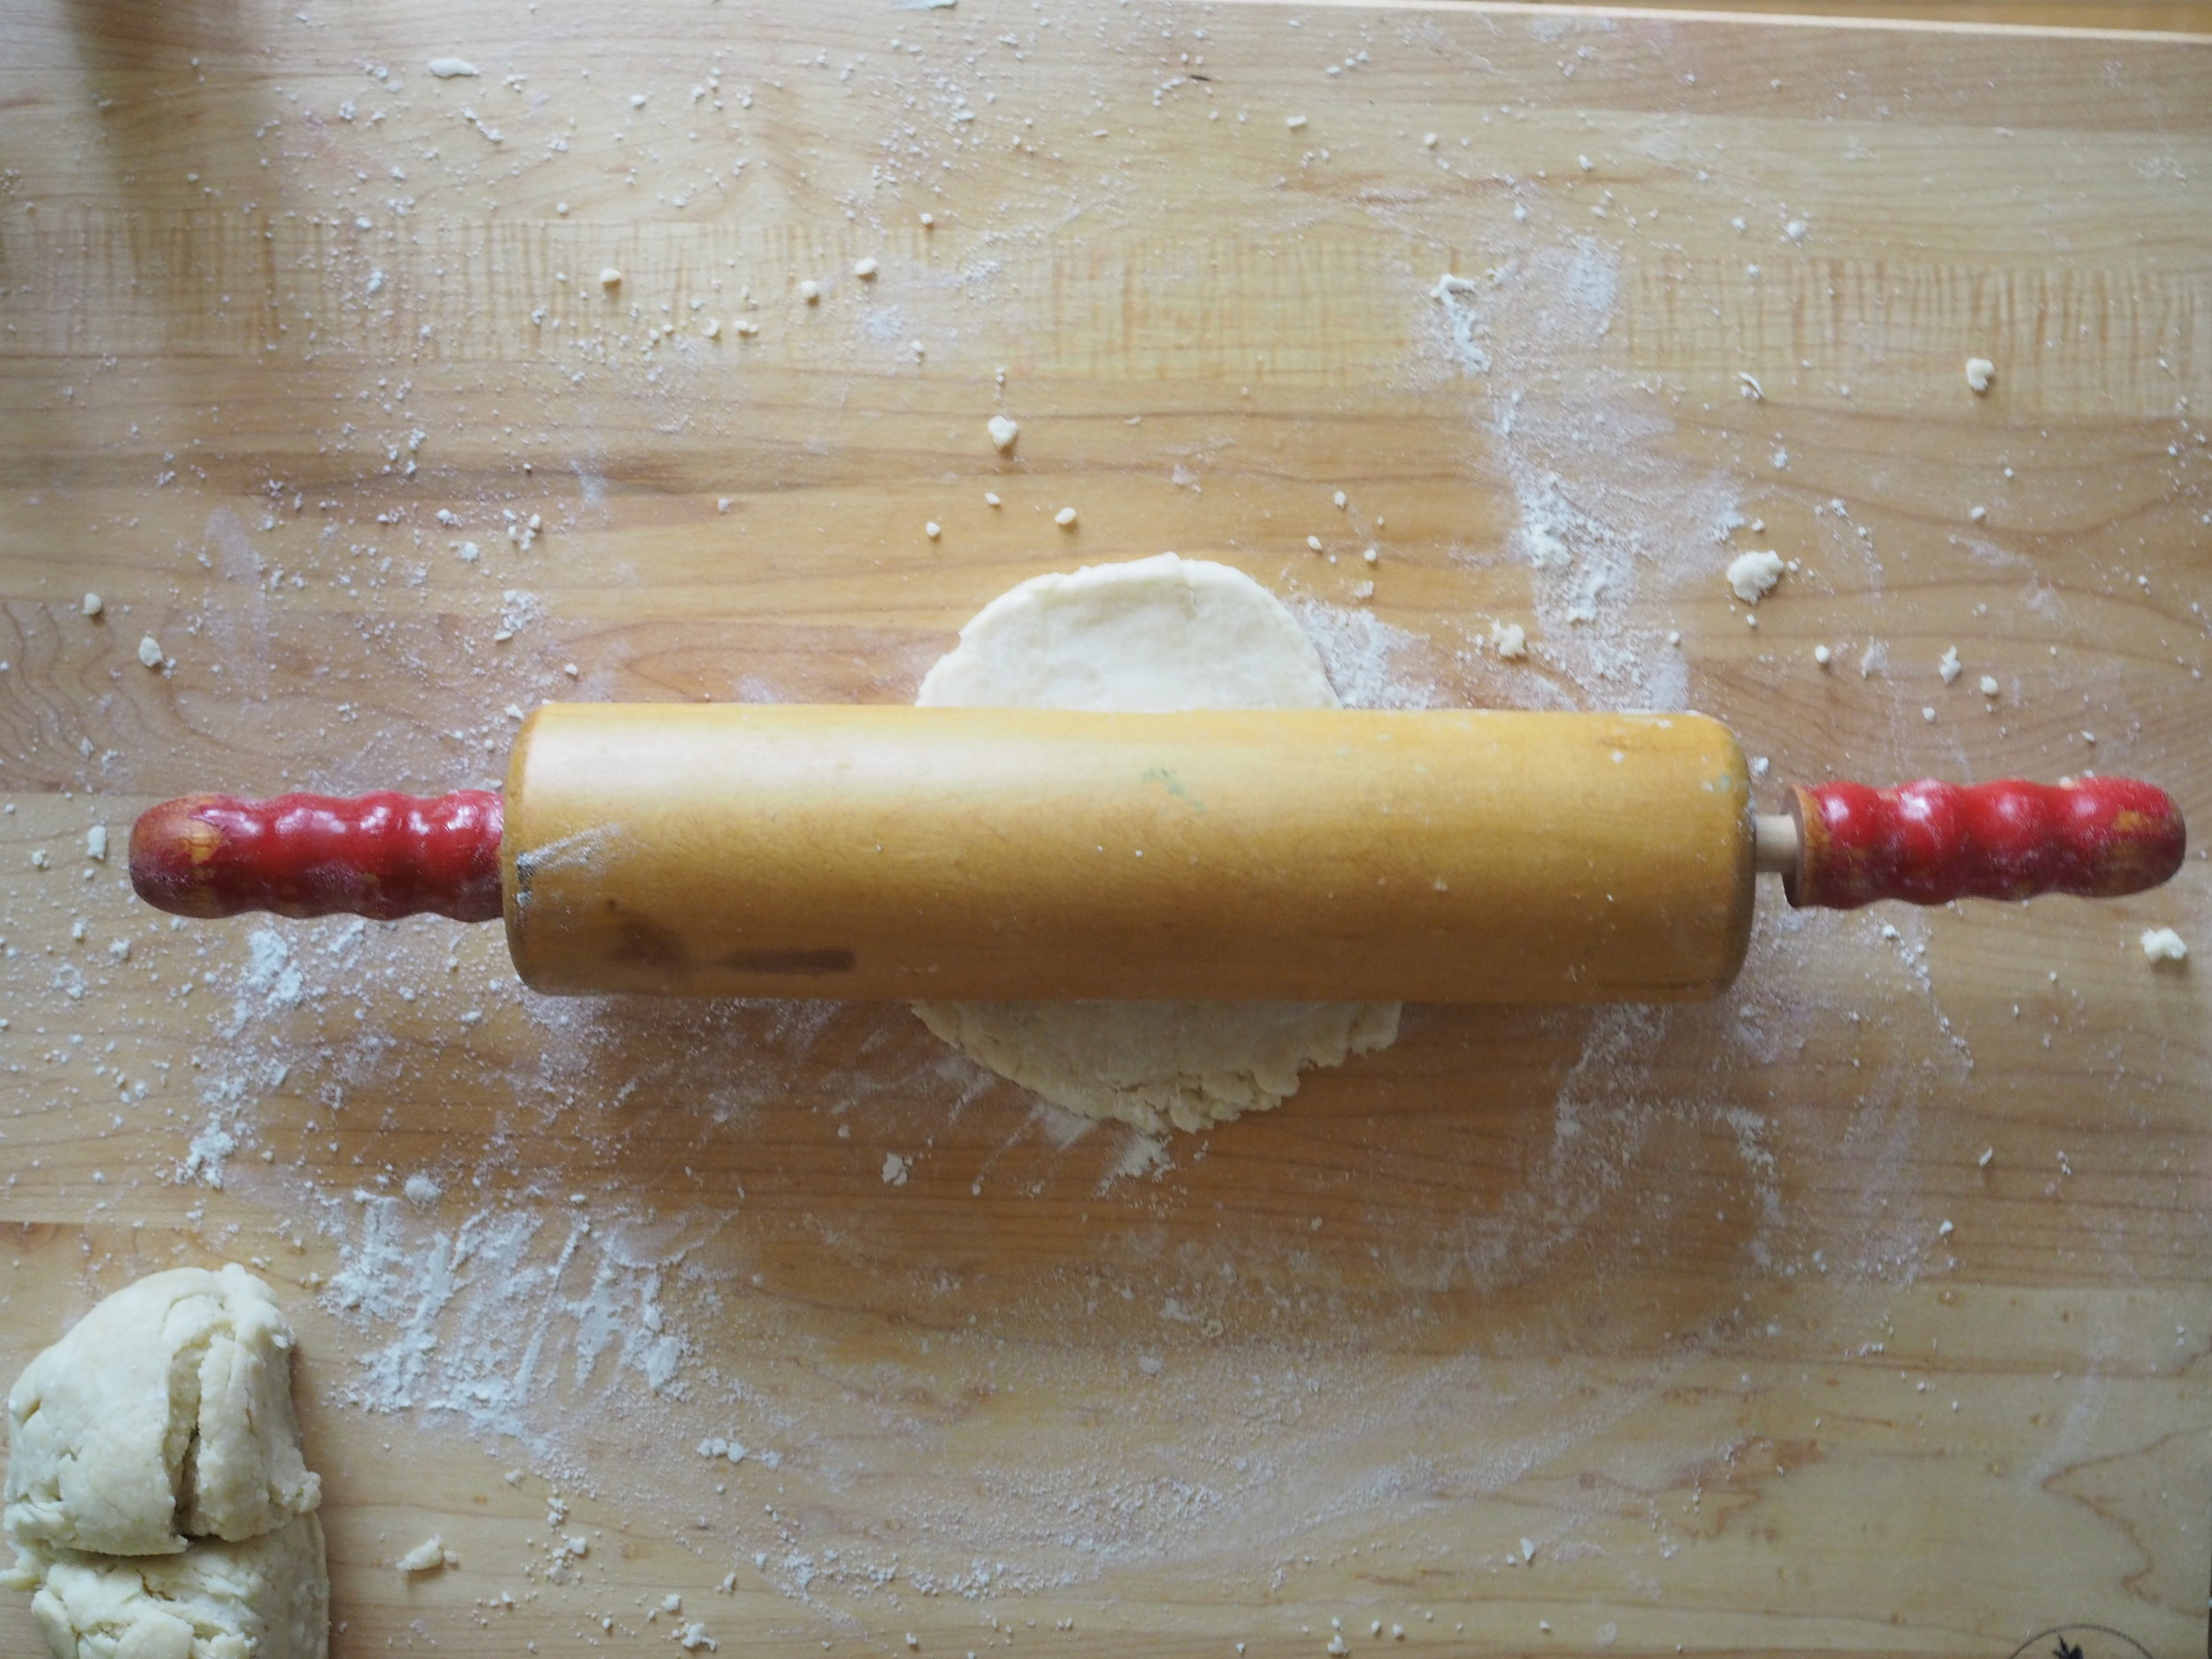
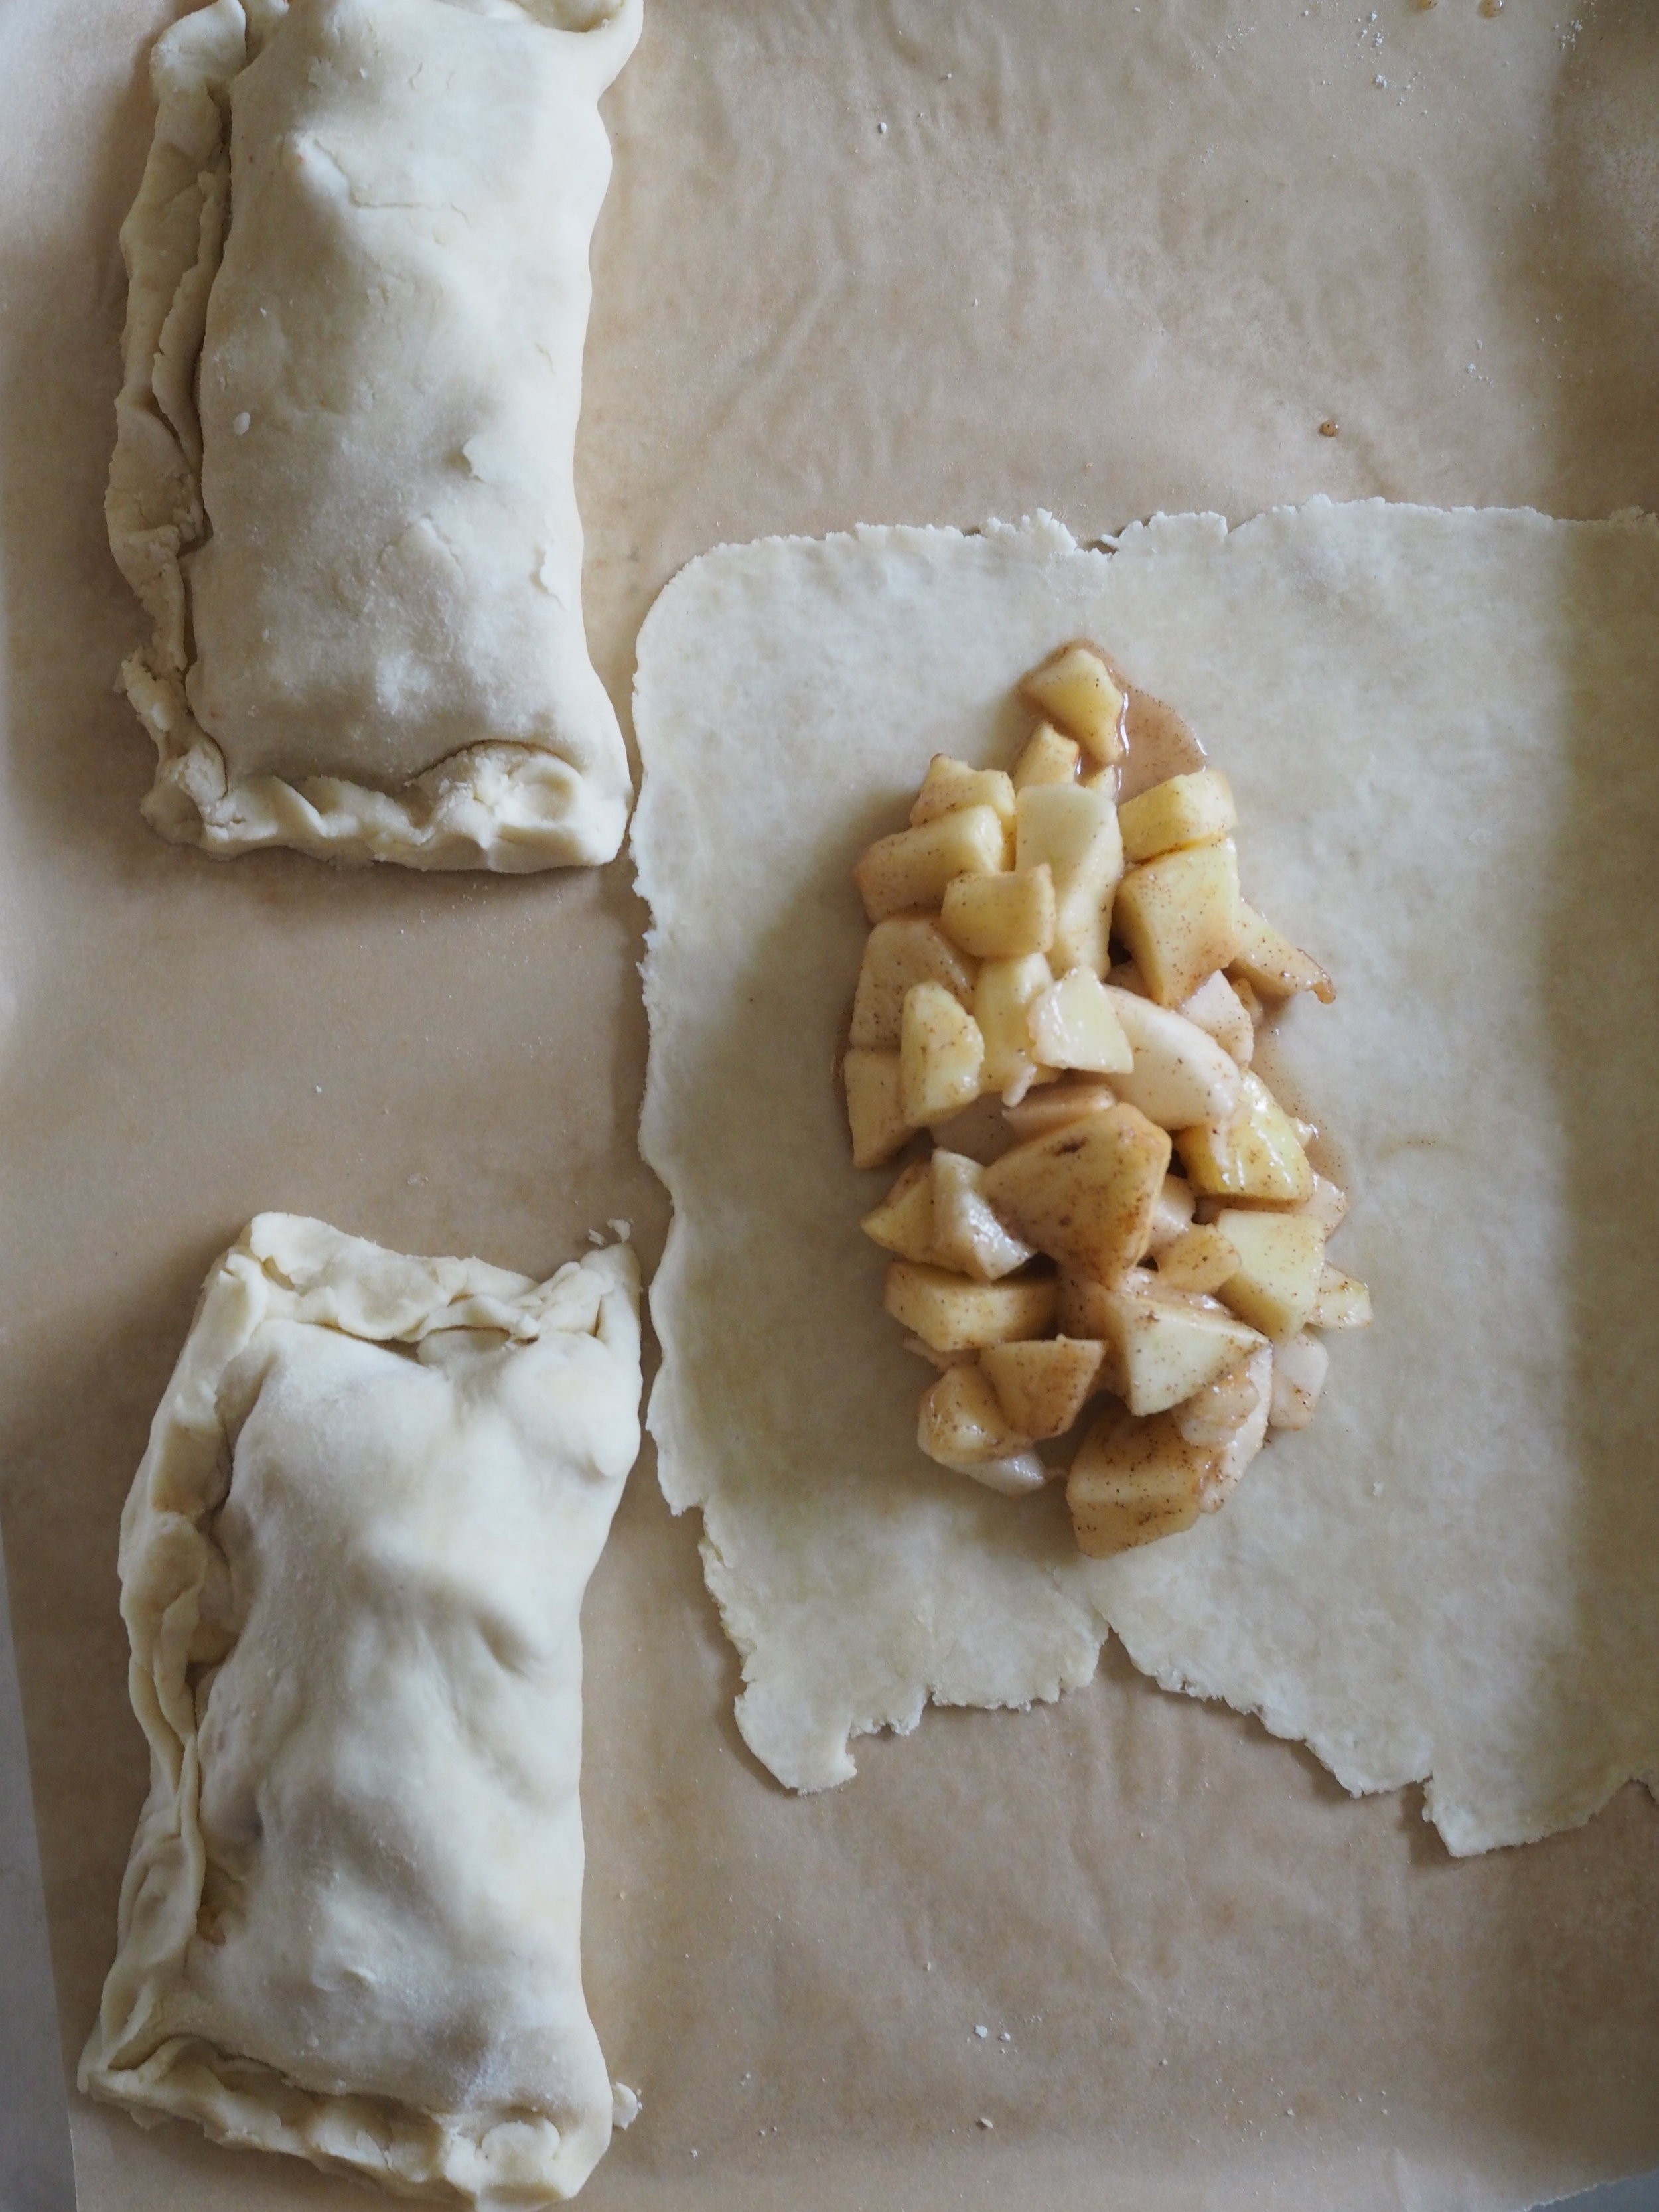
Remove crust from refrigerator. Cut each ball of dough into four equal pieces. On a well-floured surface, roll each piece of dough into a 7 to 8 inch square. Place dough on cookie sheet. Using a slotted spoon, scoop filling into the center of the square. If desired, drizzle caramel sauce generously over filling.

Fold dough over filling, so top portion of crust is about 1/4 inch shy of the edge of the bottom. Fold up bottom crust to meet top crust and pinch/crimp to seal. Repeat for remaining pies.

Whisk together 1 egg with 1 Tablespoon water. Brush egg wash generously over pies. Sprinkle the top of each pie with a small amount of demerara sugar. 

Place cookie sheets in oven and bake for 45-50 minutes, until filling bubbles and crust is golden brown, rotating pans halfway through cooking time.

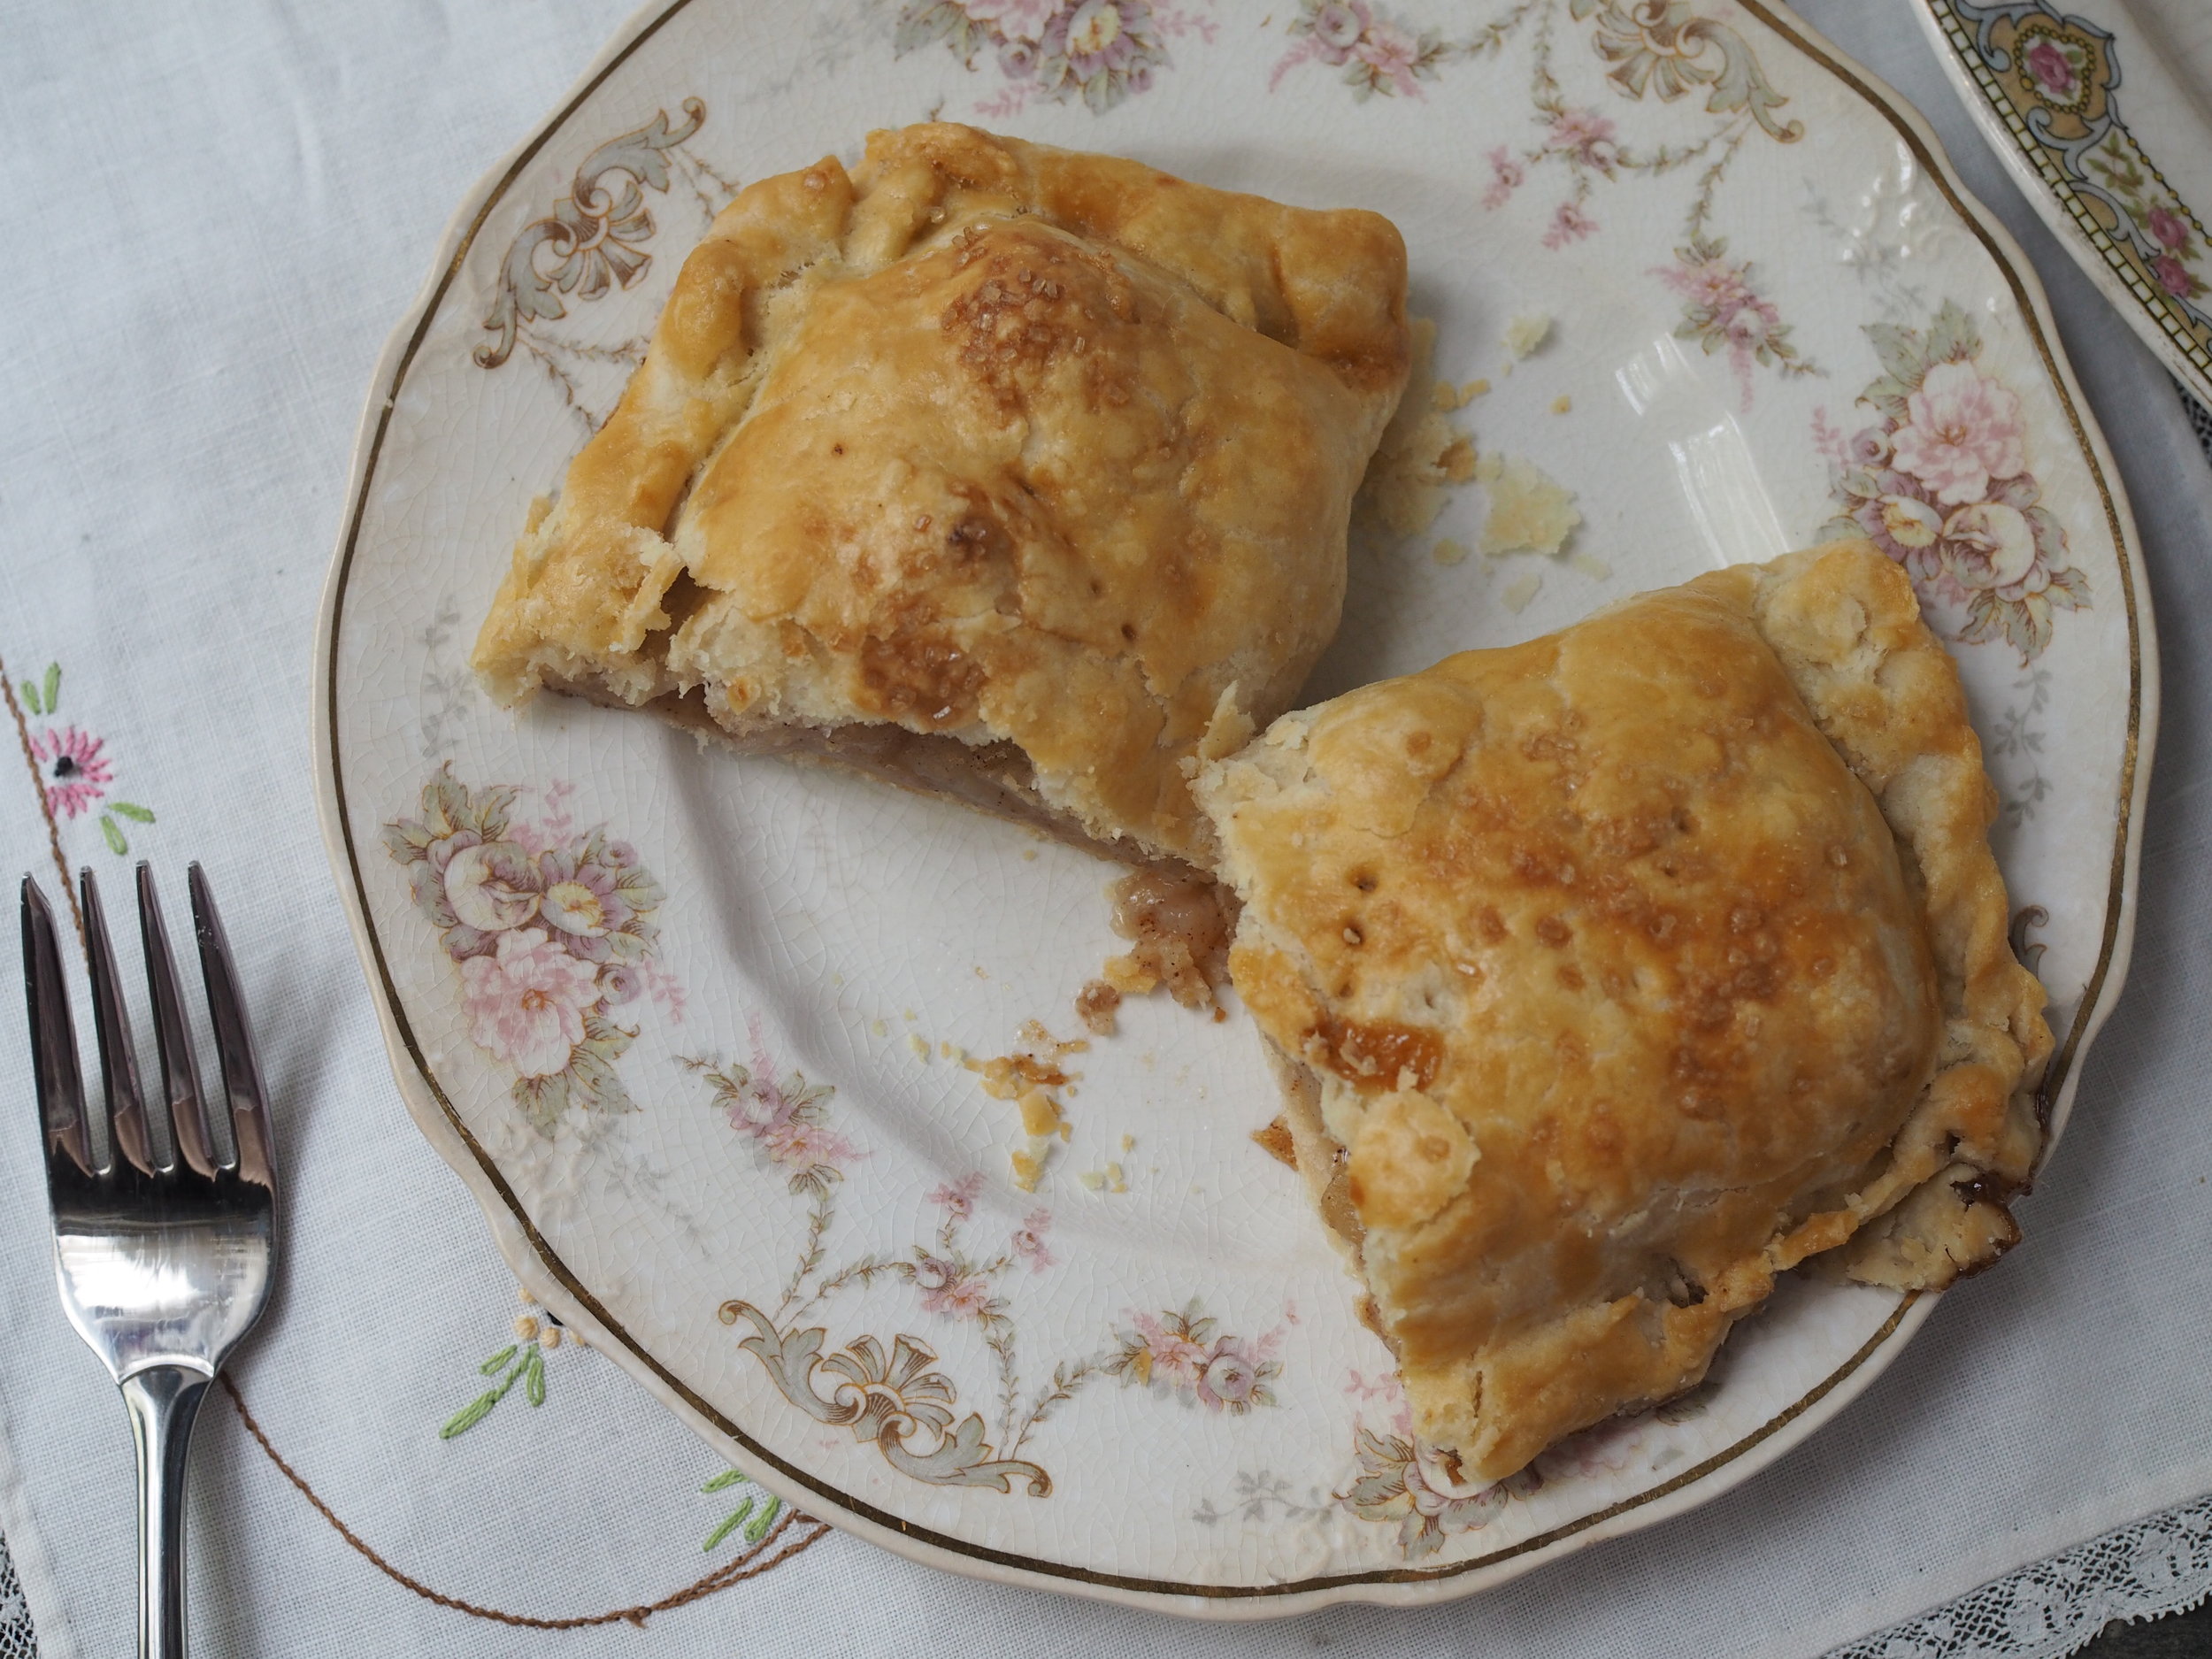
Cool pies on wire rack prior to storage. To store, wrap in tin foil and place in refrigerator for up to one week. Serve cool, or reheat for 10-15 minutes in a 350 degree F oven. 


Print Friendly and PDF Follow
follow us in feedly

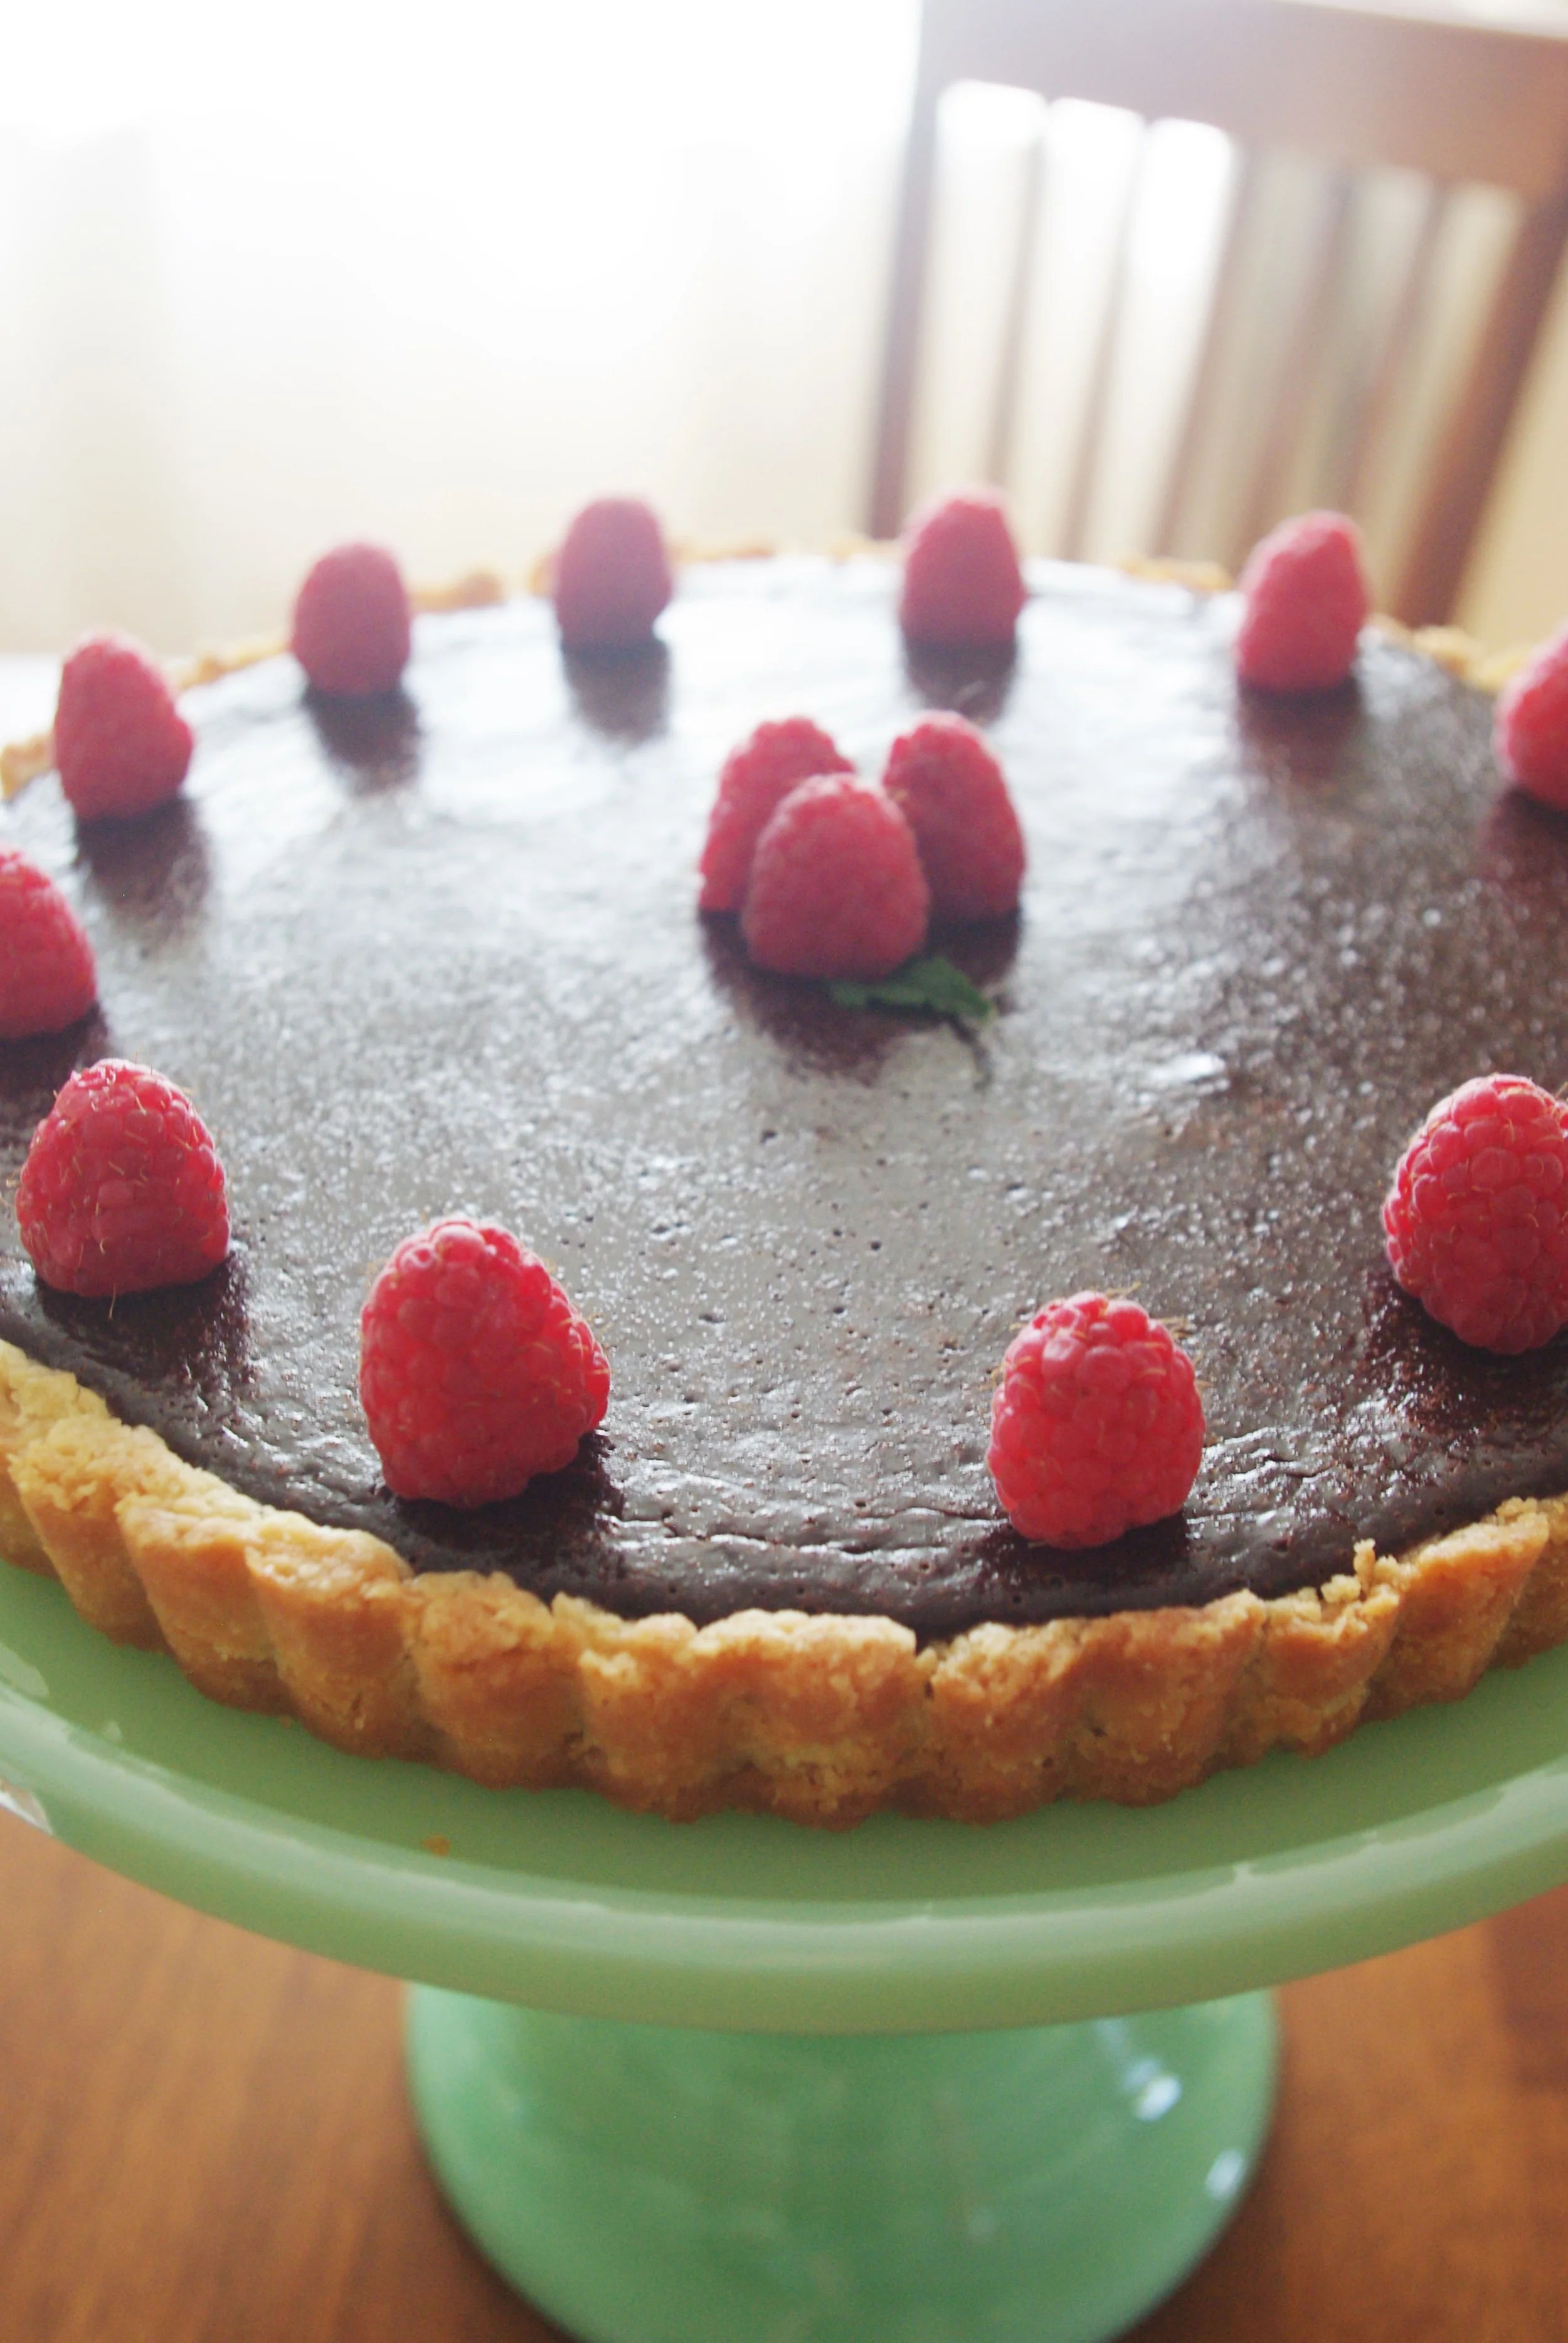
Recipe: Chocolate-Raspberry Tart with Shortbread Crust

Chocolate Raspberry Tart with Shortbread Crust

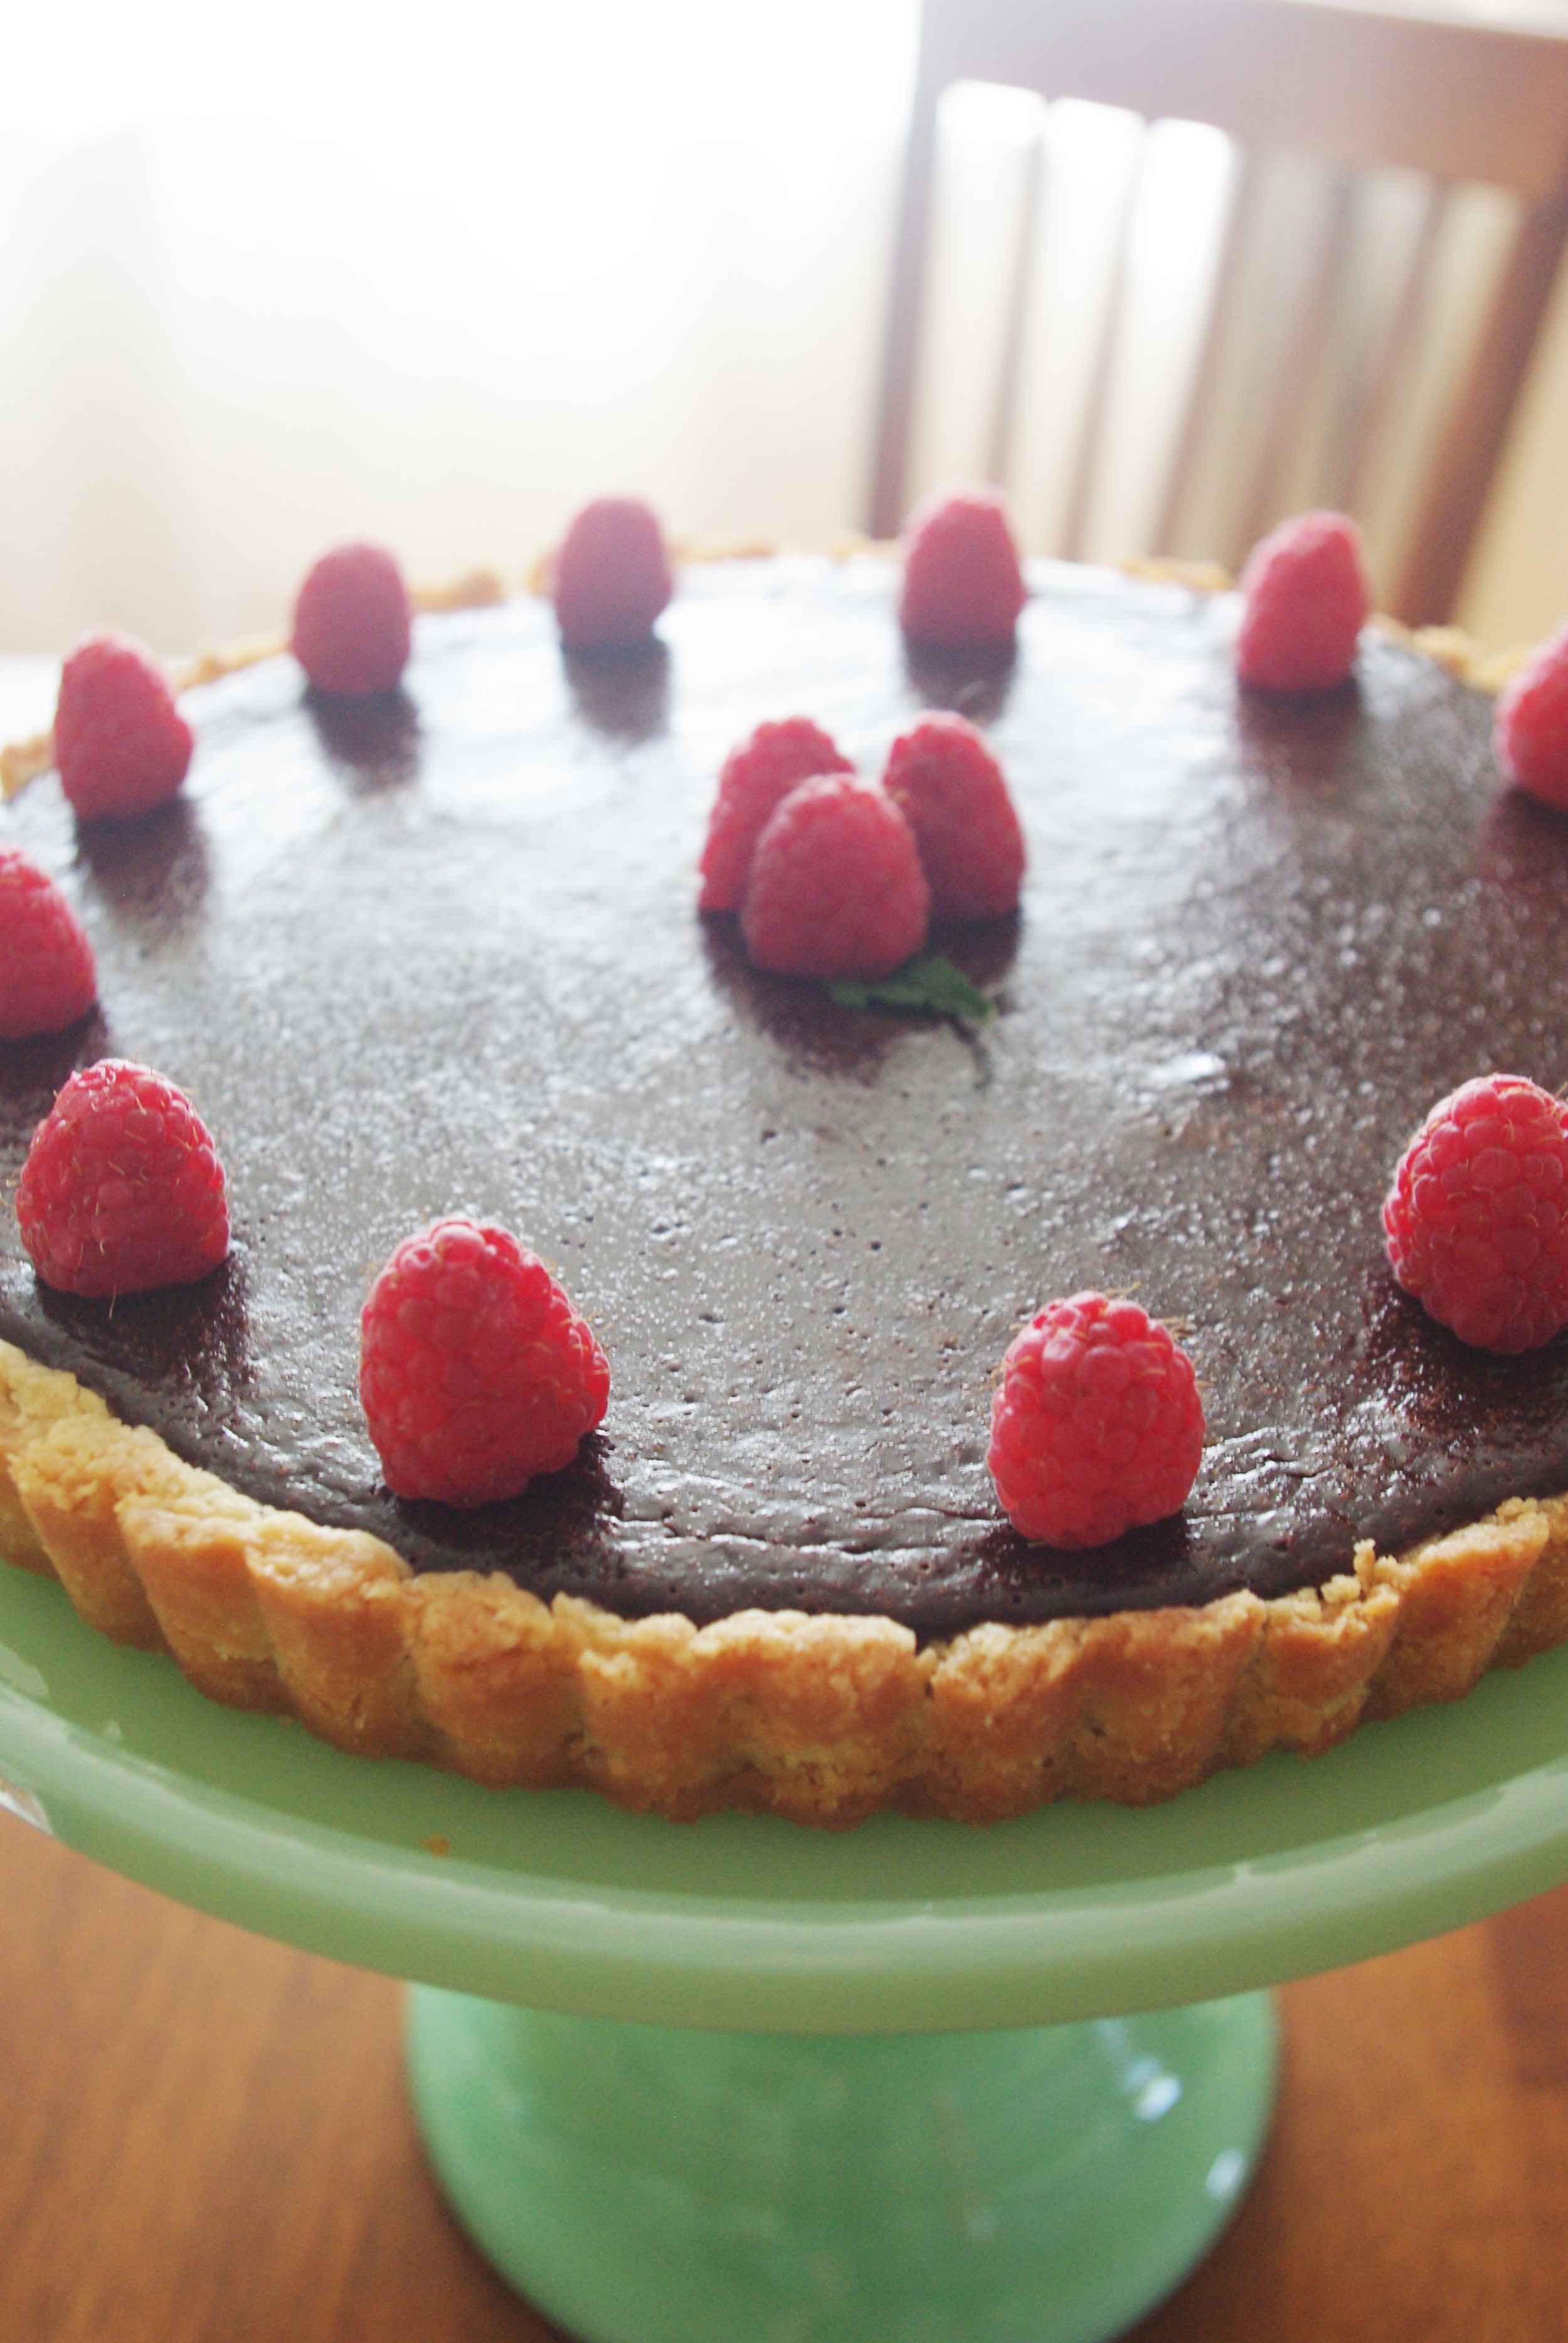
I was recently discussing my s'more pie with a friend who had made it sans marshmallows. We were talking about how the filling could work well with a variety of different toppings/fillings and I mentioned that I thought it would be particularly good with crushed raspberries and a shortbread crust. 
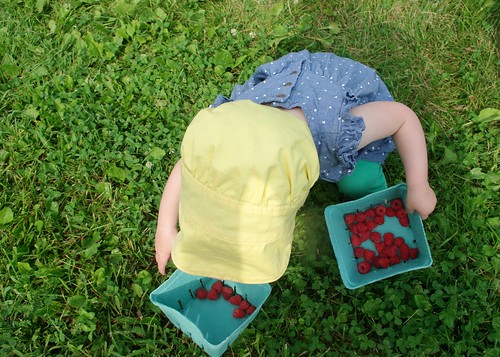
A few pints of raspberries and one satisfied taste-tester later, here we are.  :)

Chocolate & Raspberry Tart 

Shortbread crust

  • 1 ½ cups all-purpose flour
  • 1 cup powdered sugar
  • ½ teaspoon salt
  • 1 ½ sticks cold butter, 6 ounces, cut in small pieces
  • If your dough isn't holding together, you can add up to 1 egg

Chocolate filling

  • 1 1/4 cups (10 oz.) heavy cream
  • 9 ounces bittersweet chocolate chips (not more than 65% cacao if marked)
  • 2 large eggs
  • 1 teaspoon pure vanilla extract
  • 1/4 teaspoon salt
  • 1 1/2 pints fresh raspberries, plus more for decoration (~2 pints in total)

NB: depending on the size of your pan(s) you may not need all the dough or filling.

Make and "Blind Bake" Tart Shell

Make and Blind Bake Tart ShellSpray a tart pan, or several mini tart pans with cooking spray. Combine crust ingredients with a pastry cutter or food processor, until the mixture clumps, if needed, add up to one egg. Using fingers, press dough evenly into tart pan bottom and up sides past edge of pan. Prick the dough with a fork, line crust with foil and fill with pie weights/rice/beans etc.

Cover crust and chill for 1 hour. Preheat oven to 375˚F.

Place tart pan(s) on a baking sheet and bake for 10-15 minutes or until golden brown. Cool completely.

Make Filling

Bring cream to a boil, then pour over chocolate in a bowl and let stand 5 minutes. Gently stir until smooth. Whisk together eggs, vanilla, and salt in another bowl until frothy, then fold into melted chocolate.

Set aside about dozen raspberries for decorating (or 1 per mini tart ) Crush the remaining raspberries in a sieve to drain the excess juice and spread crushed berries along the bottom of the cooled crust and then pour filling on top.

Bake until filling is set about 3 inches from edge but center is still wobbly, 20 to 25 minutes. (Center will continue to set as tart cools.) Cool completely in pan on rack, about 1 hour.

Remove from tart pan and decorate with remaining raspberries.

If kept at room temperature, chocolate will have a mousse-like texture, chilling the tart in the refrigerator will give it a firmer texture.


Print Friendly and PDF Follow
follow us in feedly

Pecan Oatmeal Apple Crisp (and Apple Abundance)

Pecan Apple Crisp
Apple Cider Doughnuts
Pecan Oatmeal Apple Crisp

So we went a little overboard on the apple picking this year and picked a ton on our annual trip to Ricker Hill a few weeks back. (also we went on a weekday, so we had the full run of the bounce houses to ourselves and had to take advantage of that!) So even after two sizable pies, I still had about a bushel left and no gumption to make more pie, and so, enter crisp! This recipe is a mashup of three different ones, so it has a little bit of everything in it, which makes it totally delicious.And it's a big batch recipe (3 Qt baking pan), so it means that I'm down to only 2 dozen apples now!!

Filling

  • ~10 apples, peeled and chopped
  • 3 Tbl sugar
  • 1.5 Tbl cornstarch
  • 1/2 tsp salt
  • 3 Tbl orange juice

Topping

  • 1 to 1 1/2 cups flour (Up to 1/2 cup can be whole wheat)
  • 1/2 cup rolled oats
  • 1/2 cup packed brown sugar
  • 2 Tbl white sugar
  • 1/4 tsp salt
  • 1/4 tsp nutmeg
  • zest of 1 lemon
  • 1.5 sticks salted butter, softened
  • 1 cup chopped pecans 

Preheat oven to 350 Degrees F

Place all filling ingredients into a 9x13 (3 QT) baking pan and mix together. Adding more apples as needed to fill pan.

In a separate bowl, mix all topping ingredients, except nuts, together until they make a consistency like wet sand. Mix in nuts as desired. Sprinkle topping loosely over apple mixture.

Bake for ~ 50 minutes until topping is browned and apples are soft.

Serve warm with ice cream 


Print Friendly and PDF Follow
follow us in feedly

5th Annual National Pie Day Pie-Luck & Blackberry Pie with Lemon Streusel

Blackberry Pie with Lemon Streusel
Serving Up Pie
Sweet Pie Sampler
Valentine's Day Cherry Pie
On the needles
Roses and Snow
HandKnitSockLove
Blackberry Pie with Lemon Streusel

For the fifth year in a row, my knitting friend and I gathered at Casa Cleaver to celebrate National Pie Day with lots and lots of pie.
Due to the seemingly never-ending snow and some scheduling conflicts, our group was slightly smaller than usual, but we still managed to have 11 kinds of pie represented. There was a spicy meat pie, lentil shepherds pie, empanadas, cauliflower quiche, chocolate tart with hazelnut crust, nutella/banana, raspberry ribbon, ginger pear, lemon meringue, cherry and blackberry.

Much pie was eaten, much tea was drank, and much knitting was done. We also managed to cover all 70 toes present with hand-knit socks.

I intended to make my traditional cherry cup-pies, but due the lack of tasty ingredients in unbaked pie-dough, my baking assistant started losing interest and I went for simple(r), by making a regular pie and using a heart cookie cutter for the top crust, which would make a great valentine's day dessert, methinks.

I also tried out a new recipe that I've been dreaming of for a while, inspired by my much-beloved Katie Cakes from Chicago. While I'd like to try one at least one more iteration before I'd call it final (adding a bit of cinnamon and clove to berries), it was pretty delicious, so I thought I'd share it here.

Blackberry Pie with Lemon Streusel:

Crust

  • 2 cups flour
  • 1 teaspoon salt
  • 2/3 cup shortening or unsalted butter
  • up to 1/2 cup of cold water

Filling

  • 4 cups blackberries (boysenberries would work great too), fresh or thawed frozen berries
  • 3/4 cup sugar
  • 3 Tablespoons cornstarch

Streusel

  • 1/2 cup flour
  • 1/3 cup granulated sugar
  • 1/2 stick melted butter
  • zest of one lemon

Pre-heat Oven to 350 Degrees F.

Mix together flour and salt for crust. Using knives or a pastry cutter, cut in shortening until mixture resembles course meal. Add cold water a small amount at a time, until dough holds together. Separate into two equal-sized balls. Flatten balls into discs and wrap separately in plastic wrap and place in fridge for about 30 minutes, or at a minimum, while filling and streusel is prepared.

Mix together filling ingredidents and set aside.

Mix together streusel ingredients in a small bowl and set aside.

Roll out chilled dough for bottom of pan. Insert pie filling. Roll out dough for top of pan, making a lattice structure is recommended.

Sprinkle streusel on top. It seems like a lot of streusel, but I'd recommend using it all as the pie expands slightly while baking.

Put in oven and bake for 1 hour, or until pie bubbles. Briefly broil top to brown if needed.


Print Friendly and PDF Follow
follow us in feedly

Raspberry Picking and Pie

Picking Raspberries
Down the Path
Picking Raspberries
Picking Raspberries
Picking Raspberries
Snell Family Farm
Picking Raspberries
Checking for More
Tasting the Bounty
Picking Raspberries
Raspberry Pie
Raspberry Pie
Untitled
Raspberry Pie and Ice Cream
Eating Pie

What can I say? I love pick your own (PYO) farm adventures!

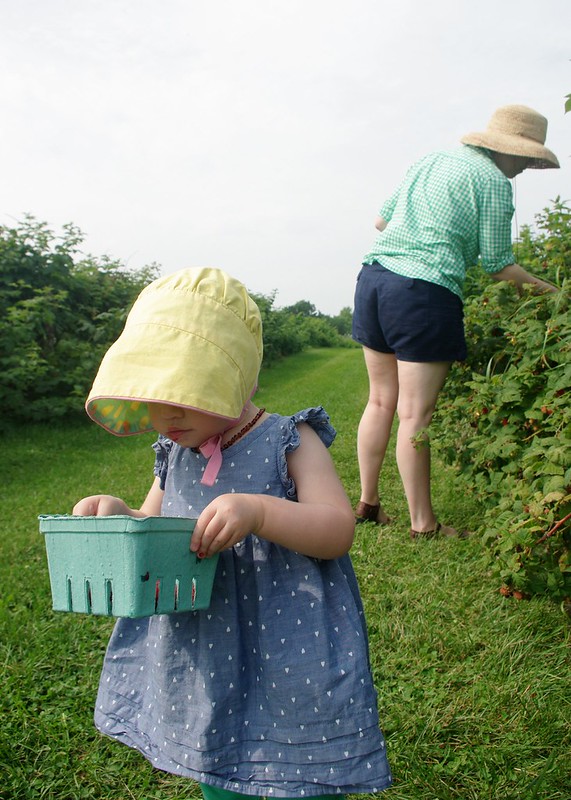
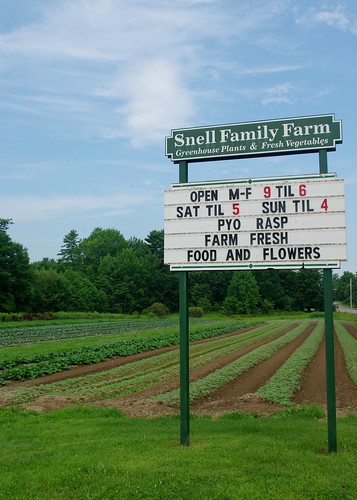
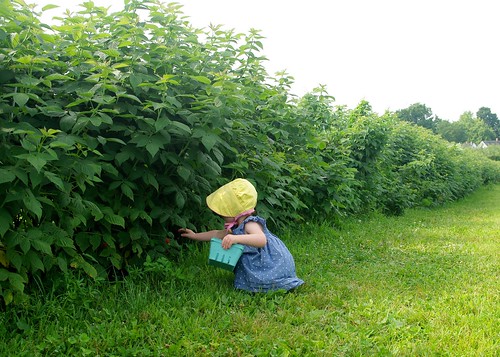
Last week at the farmer's market we discovered that Snell Family Farm did PYO raspberries (they do apples too). So on a sunny Saturday morning Mr. Cleaver, LMC and I loaded up the wagon (no pets allowed, unfortunately) and took the short drive out to Buxton/Bar Mills.

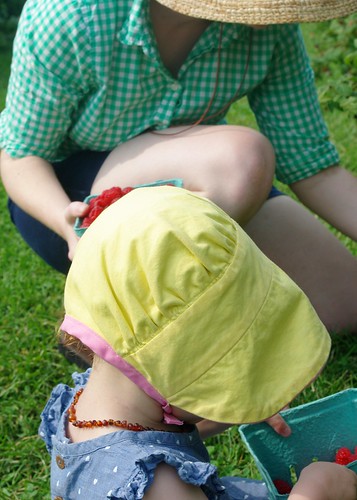
We had a fabulous picking experience. The raspberry fields are orderly and the picking rows are wide, so you don't have to worry about backing into thorns/stepping on fruit. There were plenty of ripe berries on the bushes, mostly down low, which meant that LMC could pick berries on her own (though she doesn't quite get the concept of ripe/not ripe yet).

I highly recommend bringing a picking assistant- twice the picking, half the fruit! I'm pretty sure LMC ate at least 1/2 pint of raspberries while we were picking, but as the kind cashier said, "I didn't weight her when she came in, I'm not weighing her on the way out." (We gave them some extra cash anyhow).  We were also able to pick up some carrots and green beans from the farm stand and they have huge greenhouses full of flowers. So if you're in the mood for picking fruit, I'd highly recommend our Snell experience.

Also, can I say that Mr. Cleaver did an awesome job as field-trip photographer? With the exception of the pie close-ups, he took all of these. And he says he doesn't know how to use my camera- ha!

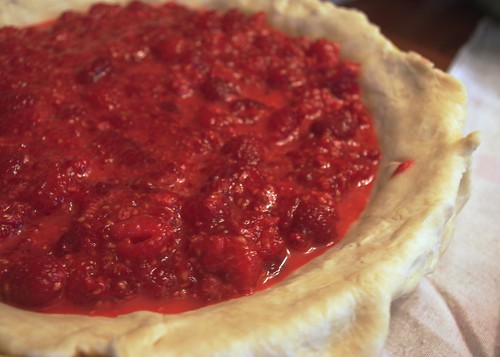
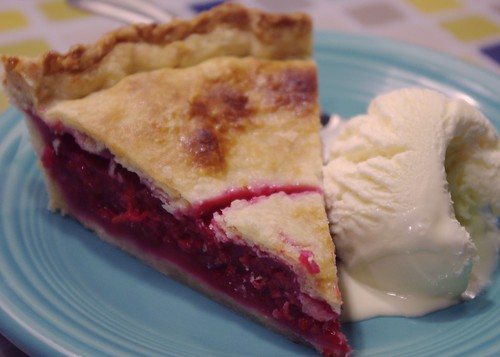
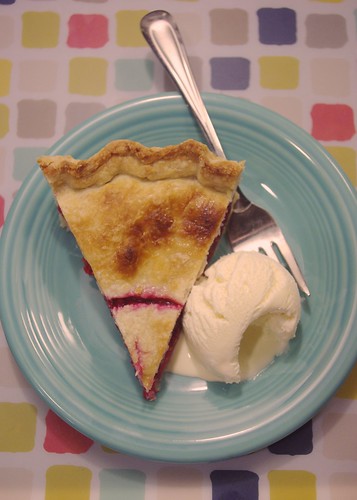
We ended up with two full quarts of berries, half of which we're in the process of eating fresh and the other half made their way into a raspberry pie. While LMC has assisted in the baking portion before, this was her first slice of pie, of which she left no crumb uneaten, so I think I'm safe to say she liked it.

LMC-Approved Raspberry Pie

Preheat oven to 375 °F

Crust

  • 2 cups flour, plus more for rolling surface/rolling pin
  • 1 tsp salt
  • 2/3 cup shortening
  • 1/4 cup very cold water
  • Small amount of milk
  • Small amount of sugar

Mix together flour and salt then “cut in” shortening with a pastry cutter or knives.

Add up to 1/4 cup of very cold water a few Tablespoons at a time, until dough holds together.  Form into two equal-sized balls of dough and wrap in plastic wrap. Chill in the refrigerator (at least while you make the filling, preferably at least an hour). Flour working surface and roll out crusts, using half the dough for each. Makes one top and one bottom crust for a 9″ pie tin.

Filling

  • 4 cups fresh (or thawed frozen) raspberries
  • 3 Tbl cornstarch
  • 2/3 - 3/4 cup of sugar (to taste, based on the sweetness of your fruit)

Mix filling ingredients together, trying not to smush the berries too much.

Place lower crust into a 9-inch pie pan and pour in filling. Use a small amount of milk or water around the edge of the lower crust to help seal.  Cut vents in top crust and place over filling, cut off overhanging crust (save them for cinnaminninies!) and crimp the edges to the lower crust to seal.  Brush top crust with milk and sprinkle with a light dusting of cane sugar.

Place in center of oven and bake for approximately 55 minutes, or until filling bubbles and crust is golden brown. If needed, cover the edges of the crust with tinfoil during the final stages of baking to prevent scorching.

Cool on the windowsill of your choice (nothing burns like hot fruit!) and enjoy with ice cream.

Print Friendly and PDF Follow
follow us in feedly

A Few Notes on Cup-pies

Cup-pies

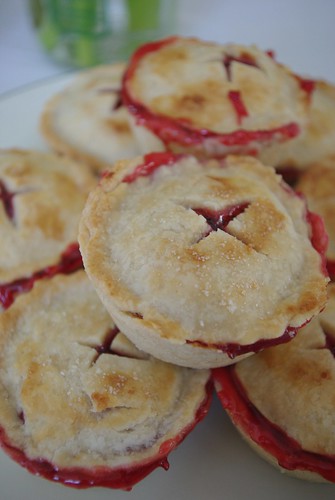
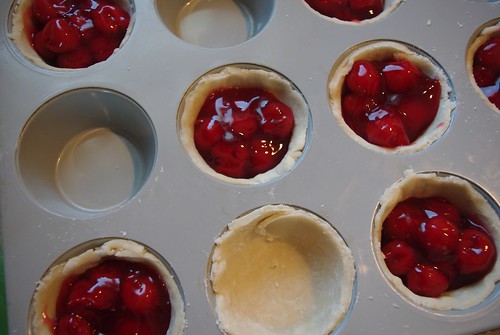
At a friend's request, here are a few tips on making cup-pies.

  • I'm generally able to get 10 cup-pies out of one regular pie's worth of crust and filling.
  • For the bottom crust I cut a 4-inch circle, and used a 3-inch biscuit cutter for the top.
  • The thicker the bottom crust, the easier it will be to pop them out of the cupcake tin.
  • There's no need to grease or line the cupcake tins at all.
  • I probably overfilled these a bit as they leaked a bit during cooking, so a little under the tin rim is probably best.
  • Don't forget to vent the top!
  • For extra flair, I brushed the tops with milk and then sprinkled them with a bit of granulated sugar.
  • I cook them at 350-375°F for 30 minutes, or until the filling bubbles. For this batch then broiled the tops for about a minute to get them golden brown.
Cup-pies
Cup-pies
Print Friendly and PDF Follow
follow us in feedly

S'more Pie: Take Two

S'more Pie - Perfected

Back on May 14th, 2008 I posted a pie without a recipe or a link to a recipe - it was an attempt that didn't quite work out and I hadn't gotten another chance to test out a new version.  My brother has not let me live this down. He pretty much brings it up every time we talk.

S'more Pie - Perfected

In general, I just wasn't all that inspired to give it another try, but then I had the Snicker's Pie at the Great Lost Bear and found my chocolate filling. That, along with  having my company holiday potluck today, gave me enough reason to make a second go. (Oh  - and can I say my company's Christmas potluck includes a fresh raw oyster shucking station and a pound of local shrimp is the parting gift? I love Maine. )

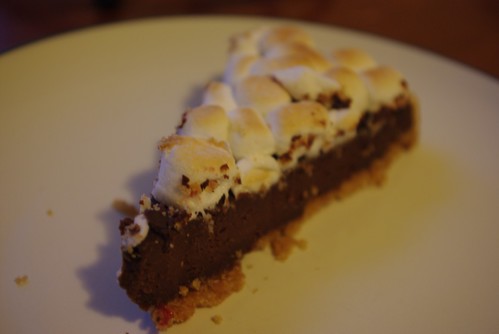
The tart was a big hit at the party -  it turned out exactly how I wanted, chocolately without being too much like cake or pudding and a perfect balance of flavors.  And so after a year and a half of waiting,  here it is.

Merry Christmas, Big Brother.

S'more Pie - Perfected

S’more Pie

Makes 8 to 10 servings

For crust: 8 to 9 graham crackers,  finely ground (about 1 cup) 5 to 6 tablespoons unsalted butter, melted 1/4 cup sugar

For filling: 1 1/4 cups (10 oz.) heavy cream 9 ounces bittersweet chocolate chips (not more than 65% cacao if marked)(as always, I prefer Ghirardelli’s) 2 large eggs 1 teaspoon pure vanilla extract 1/4 teaspoon salt

For Topping: Half a bag of mini-marshmallows

Equipment: a 9-inch round fluted tart pan (1 inch deep) or 9-inch pie pan

Make crust:

Preheat oven to 350°F.

Shift together graham crackers and sugar. Stir in melted butter and press evenly onto bottom and up sides of tart pan. Bake until firm, about 10-12 minutes. Cool on a rack 15 to 20 minutes

Make filling:

Bring cream to a boil, then pour over chocolate in a bowl and let stand 5 minutes. Gently stir until smooth. Whisk together eggs, vanilla, and salt in another bowl until frothy, then fold into melted chocolate.

Pour filling into cooled crust. Bake until filling is set about 3 inches from edge but center is still wobbly, 20 to 25 minutes. (Center will continue to set as tart cools.) Cool completely in pan on rack, about 1 hour.

Add topping: Distribute about half a bag of mini marshmallows on the tart, until the top of tart is evenly covered and place under broiler until marshmallows are golden brown (about 1-2 minutes, but watch carefully and rotate as needed).

Best served when marshmallows are warm and gooey! (If you don't eat it all in one sitting - and I'd be amazed if you do - it's seriously rich, store in the fridge. Let sit out until room temperature before eating and if desired, microwave for a few seconds to re-gooify the marshmallows).

In other news, last weekend I made my annual batch of peanut brittle and this photo op was too good to skip, even if my hair is a little crazy and I'm wearing one of John's flannel shirts.

Peanut Brittle

CHOMP!

Peanut Brittle

In other, other news. I'm off to my hometown of Napa, California for a week come Sunday. I haven't been back since before I was married! I may not have internet while I'm gone, but I'll let you know all about it on my return. If you're a Napa-based reader, send me a email/comment before Sunday - I'd love to meet up!

Print Friendly and PDF Follow
follow us in feedly