The Cakes My Mother Made

I’ve been thinking about my mom a lot recently.

It’s only natural. Back in February, I took a trip out to California, where (among other things) I took the time to say goodbye to her. My mother has dementia, and while she may have many months left to go, she is far along in the progression of that disease. Her memory has failed her, but I’m finding comfort in my own memories.

It was not surprising then, that a few weeks before I left for that trip, I thought of my mother’s birthday cakes.

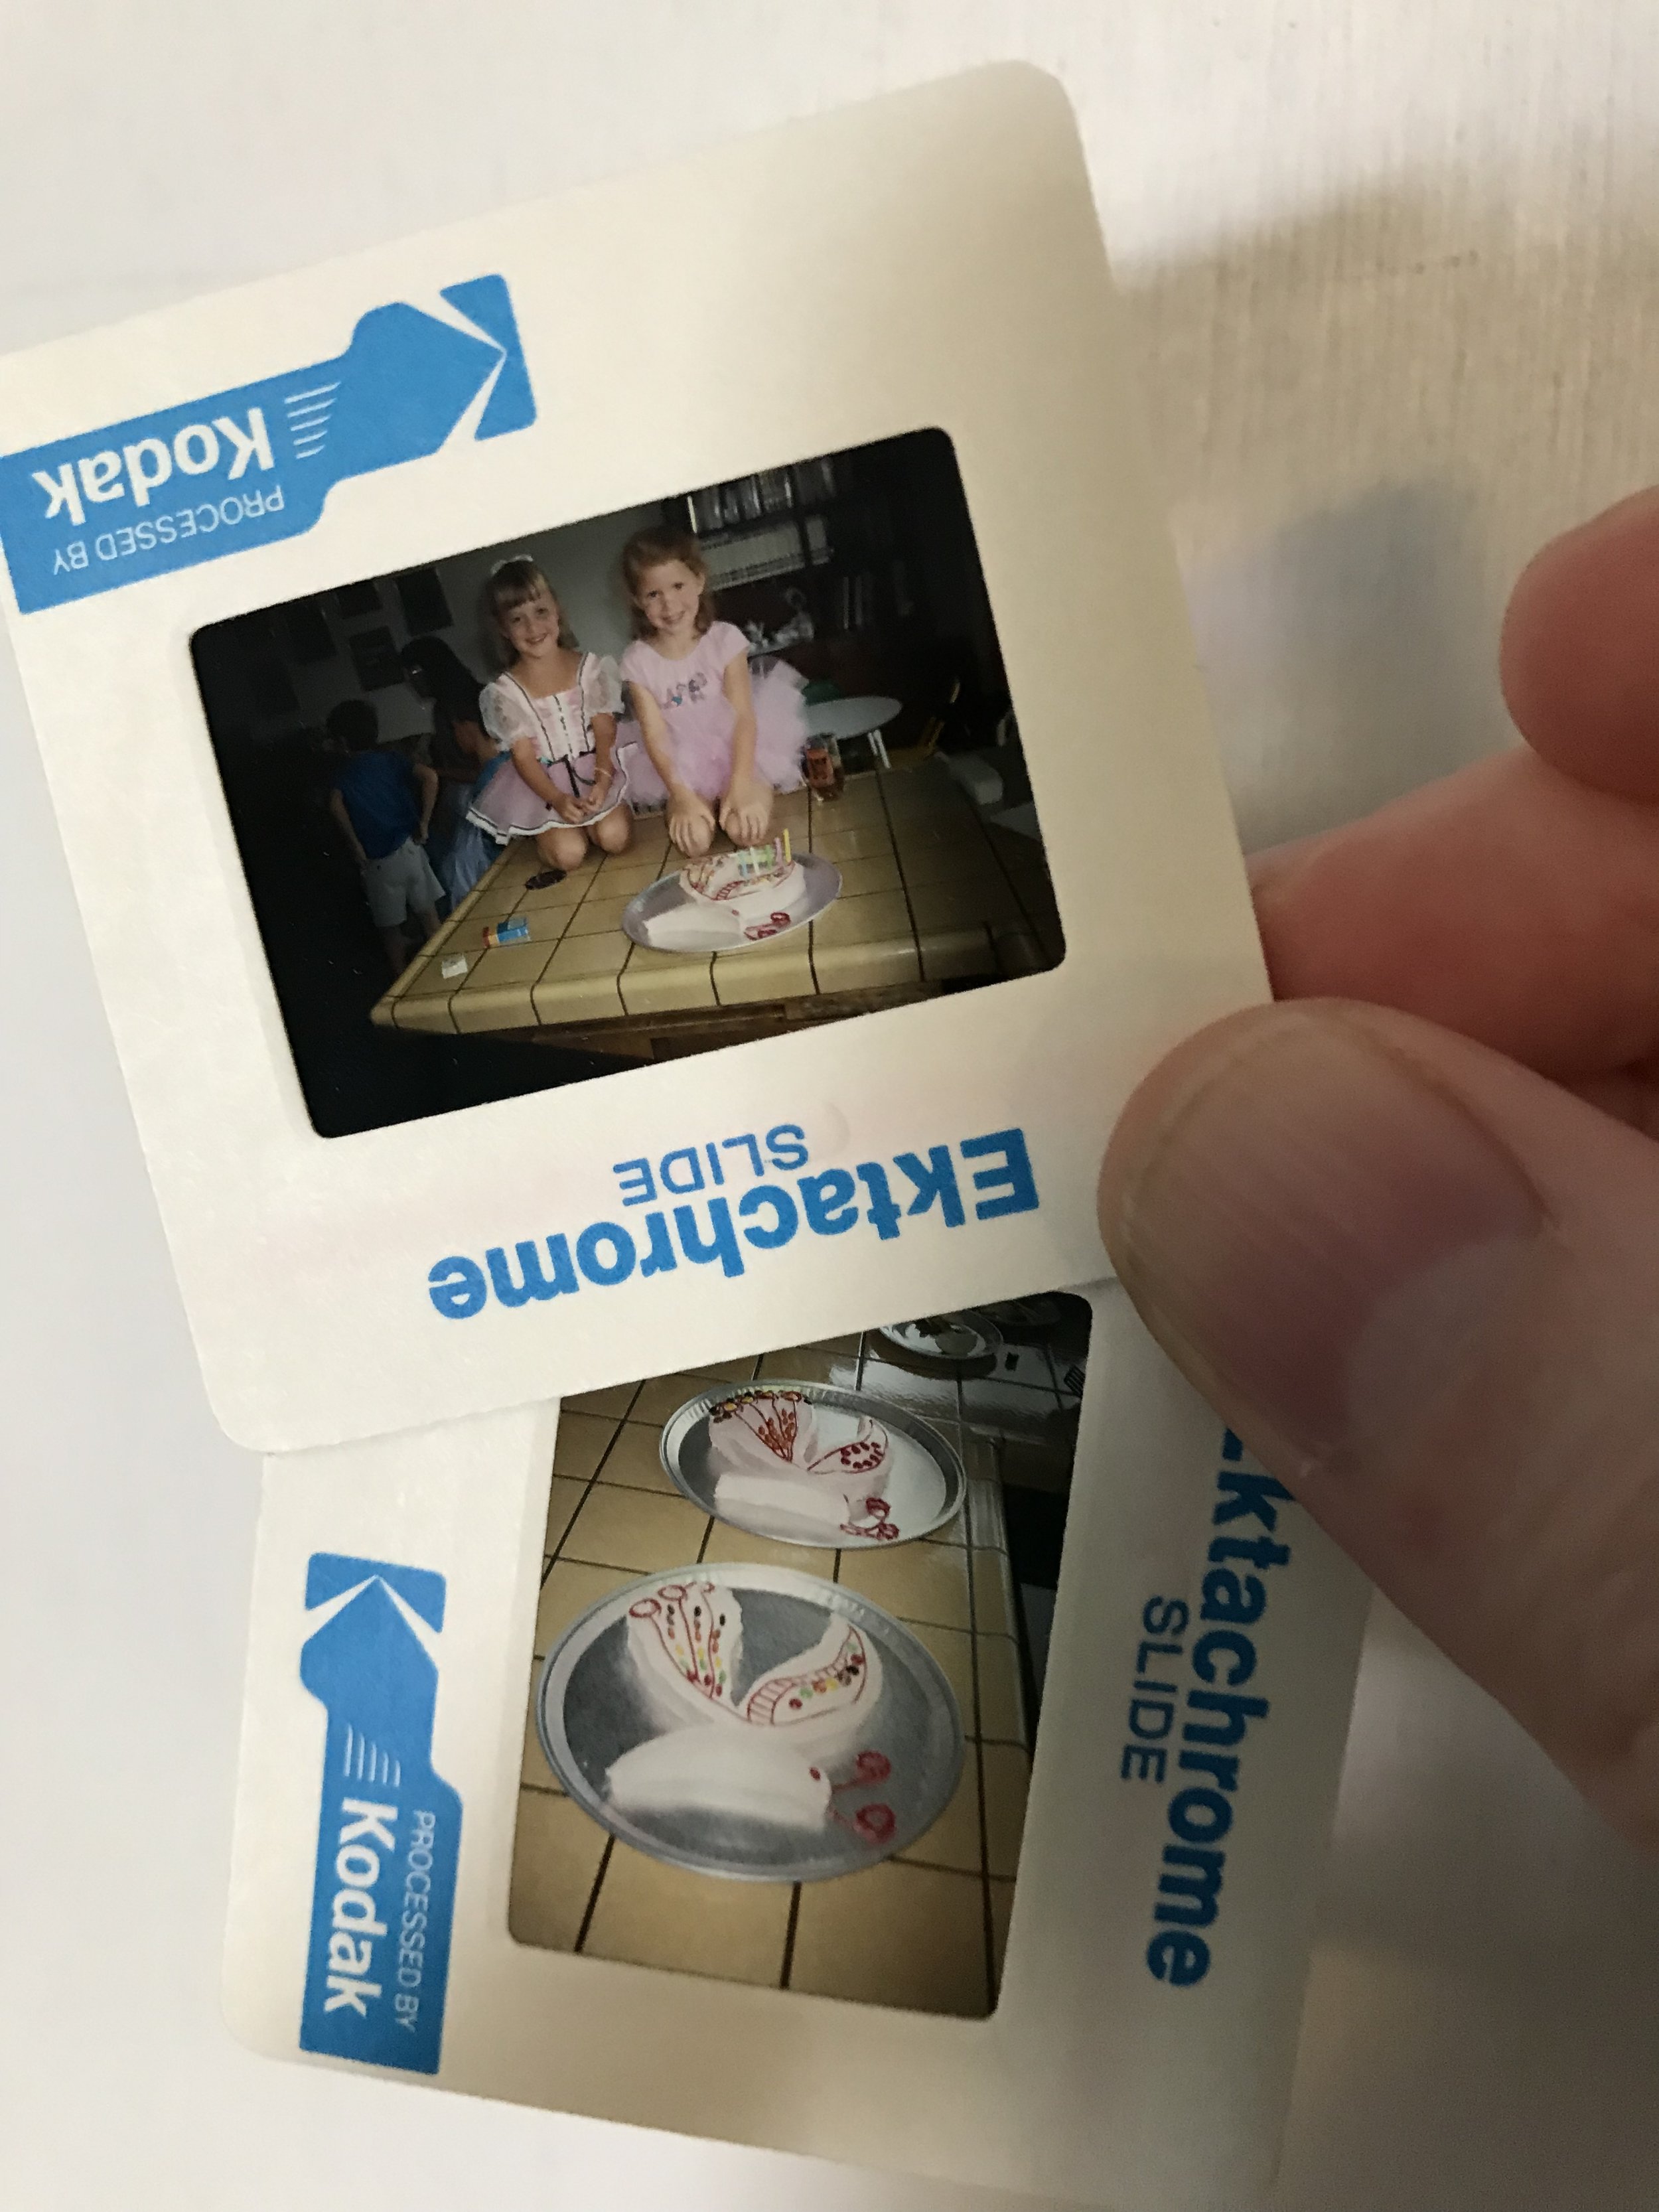
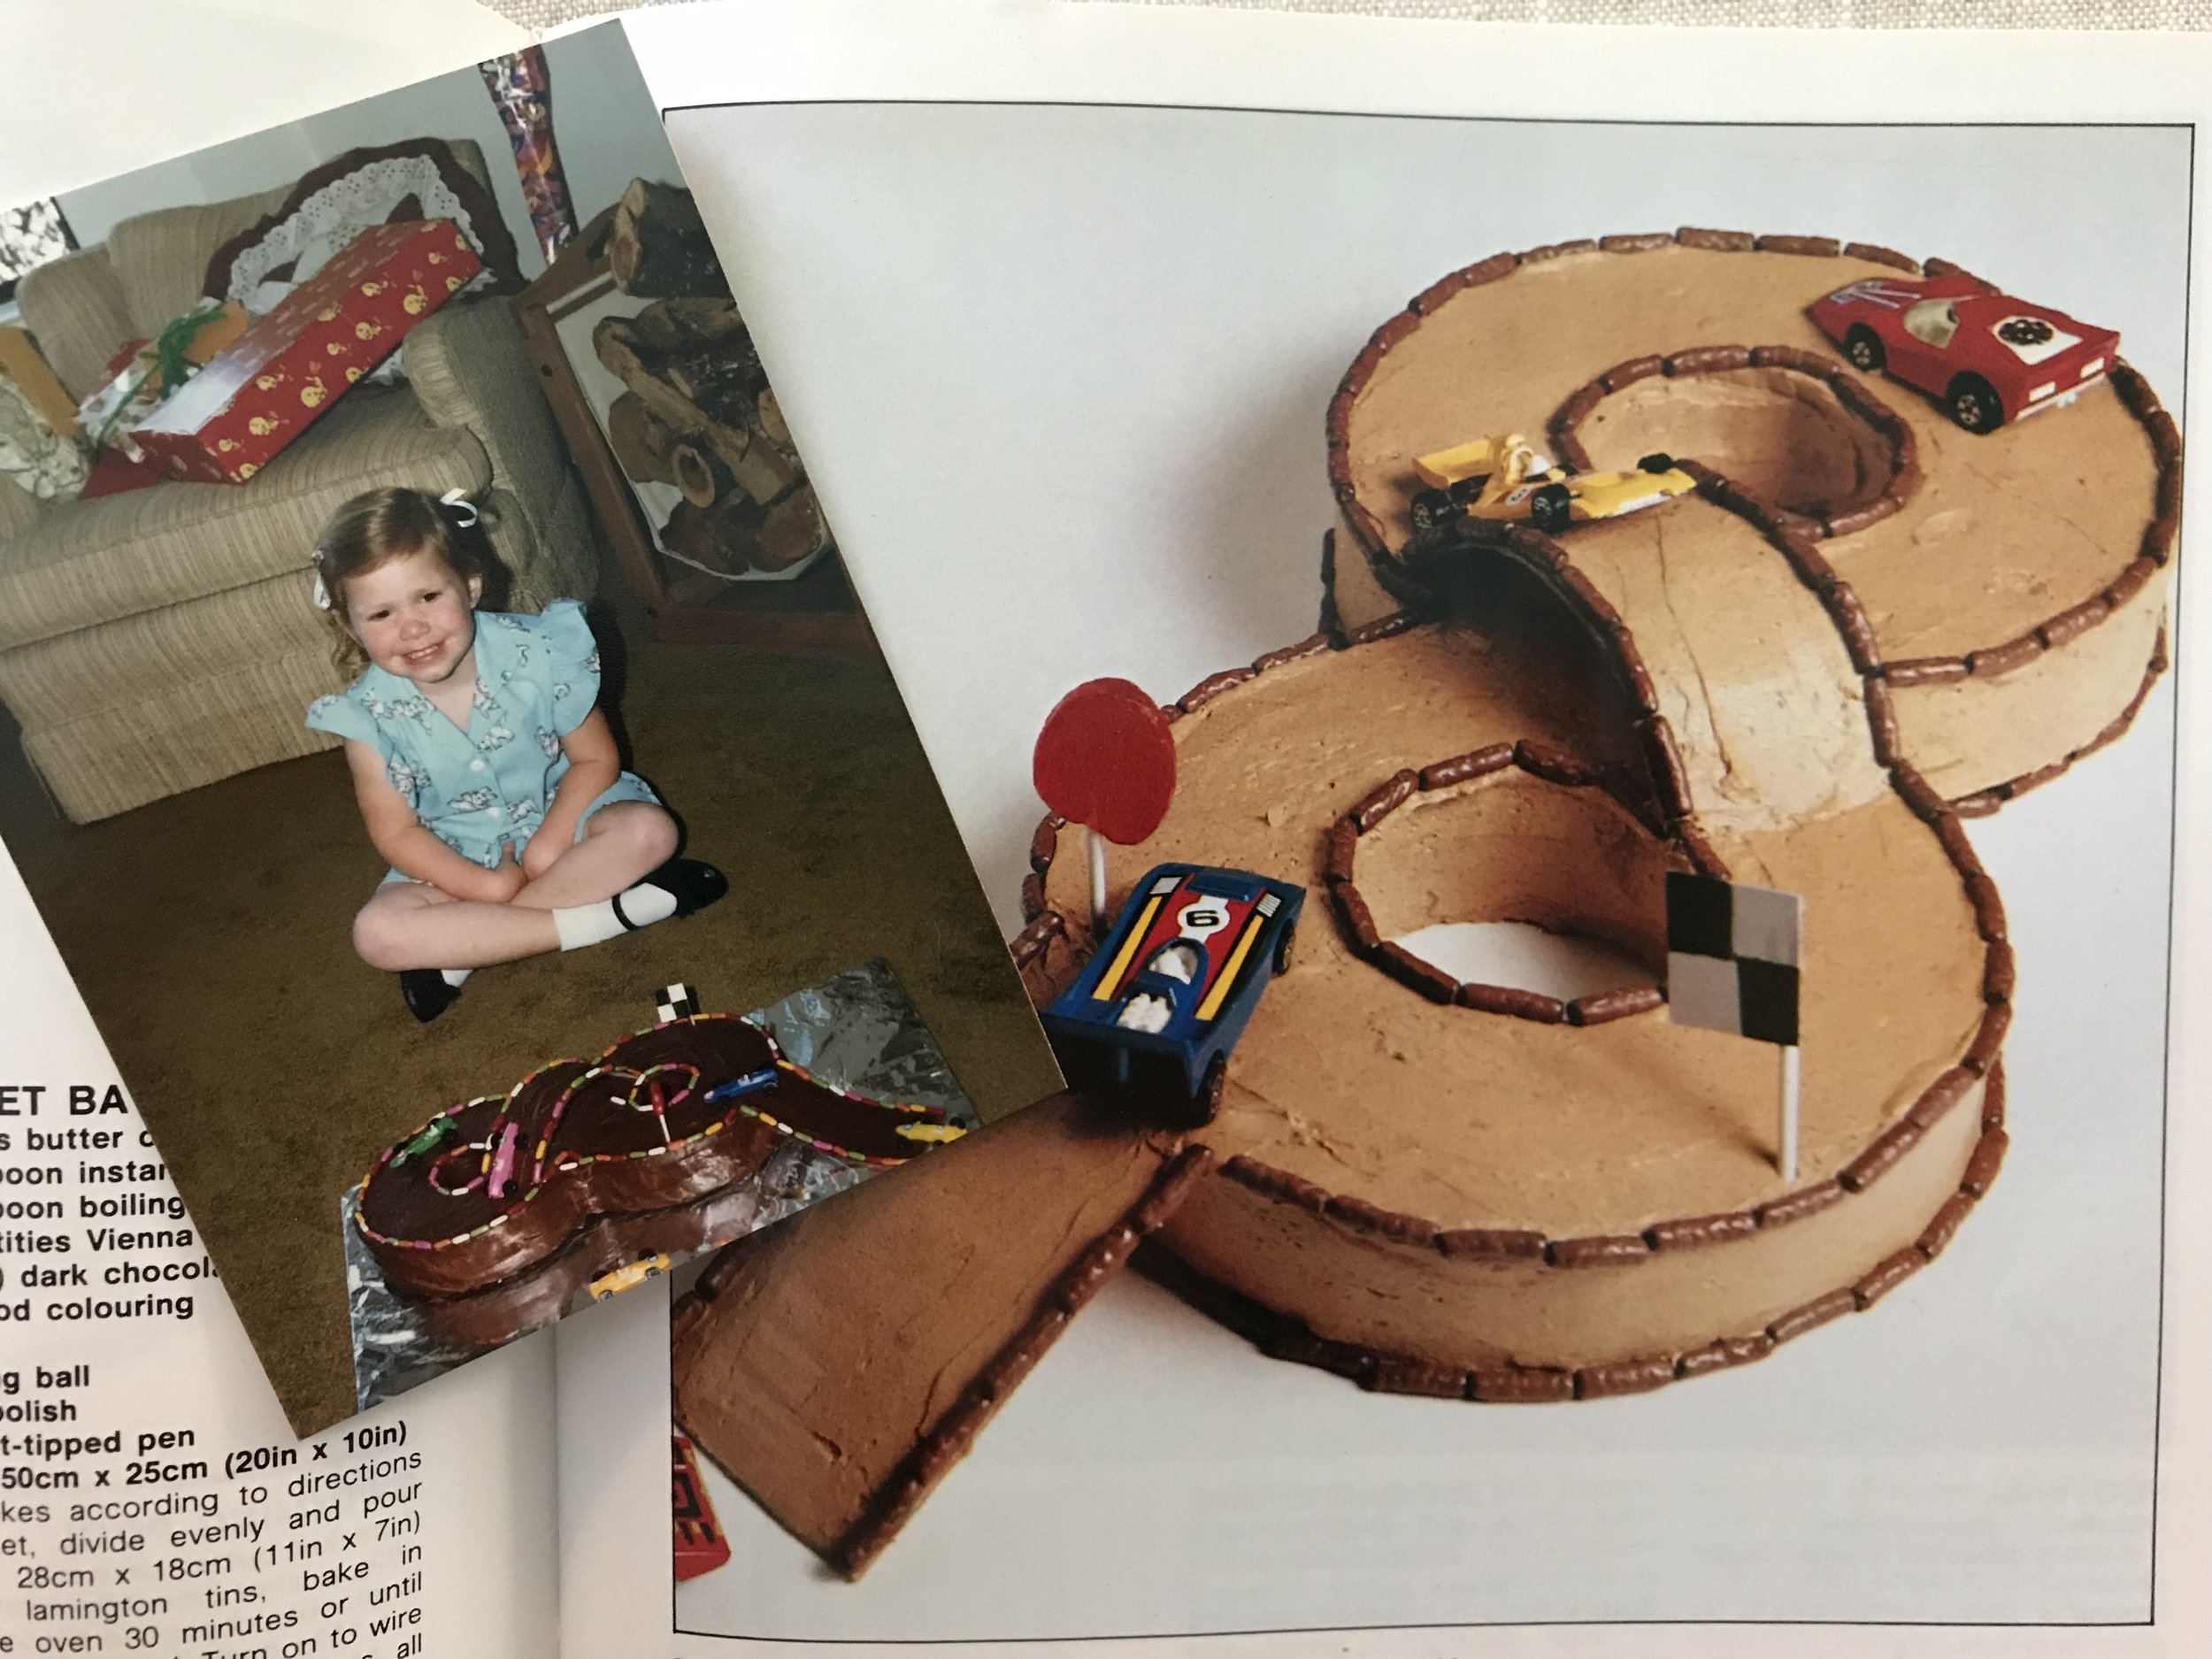
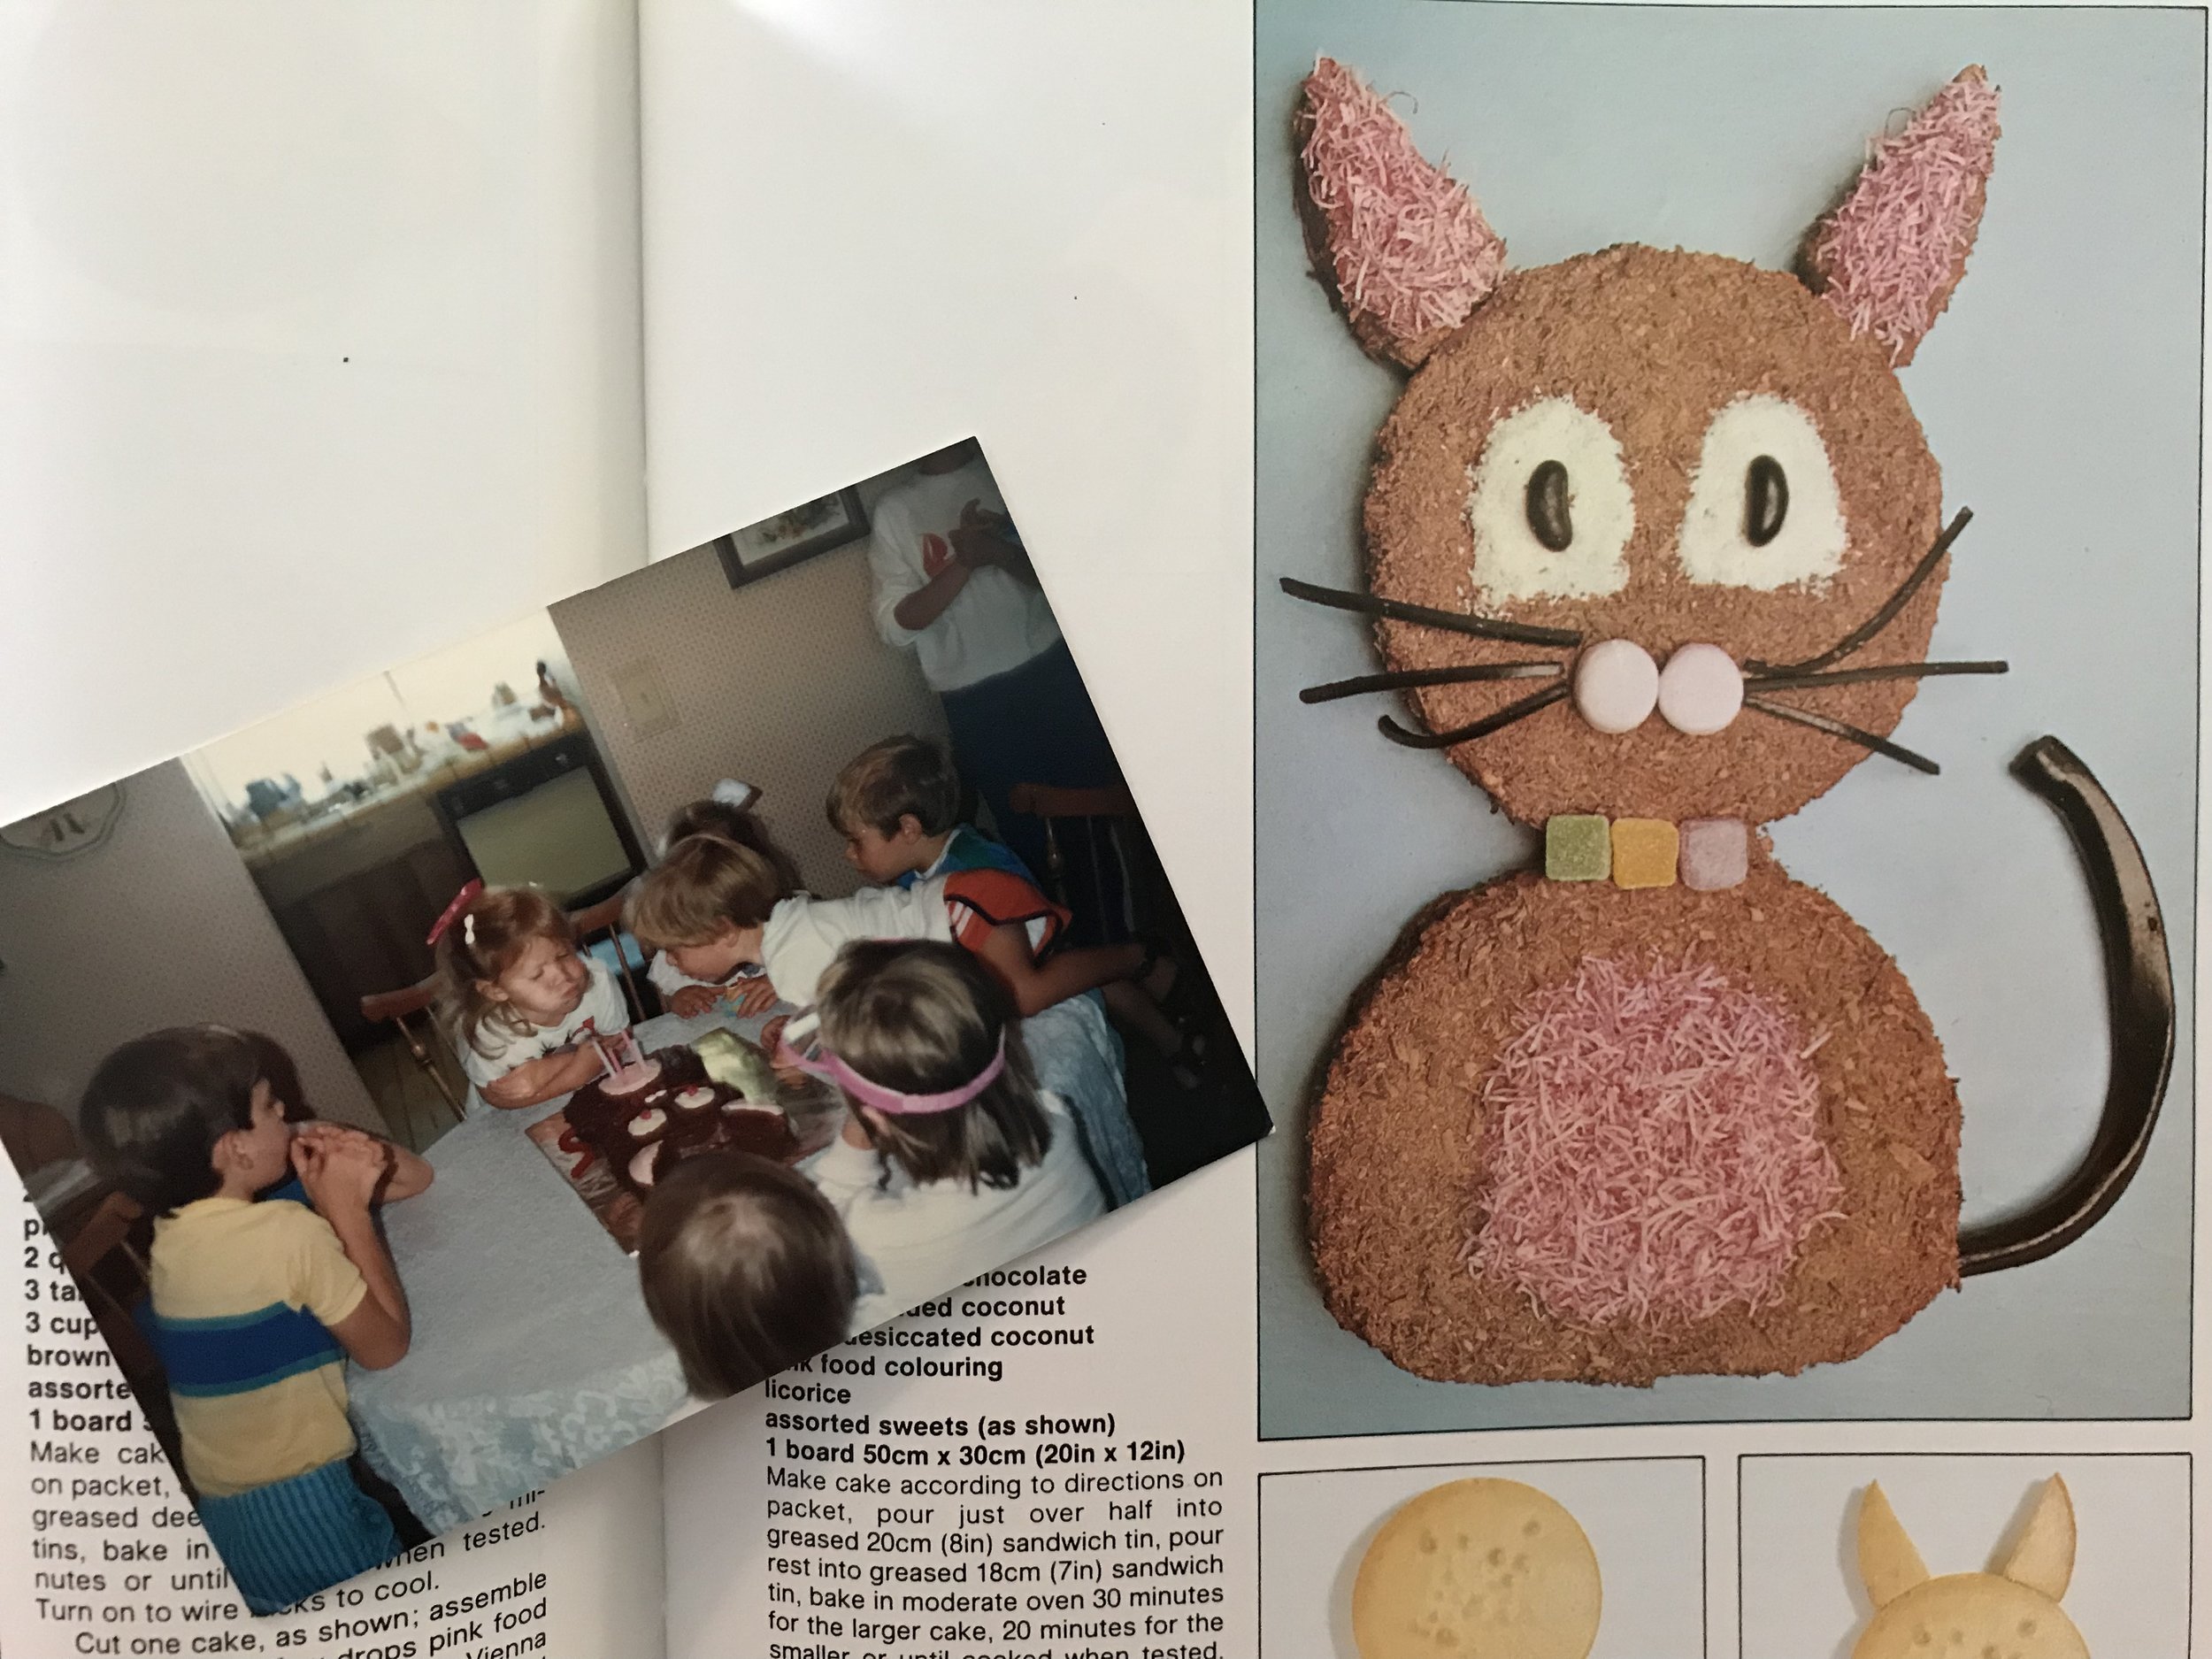
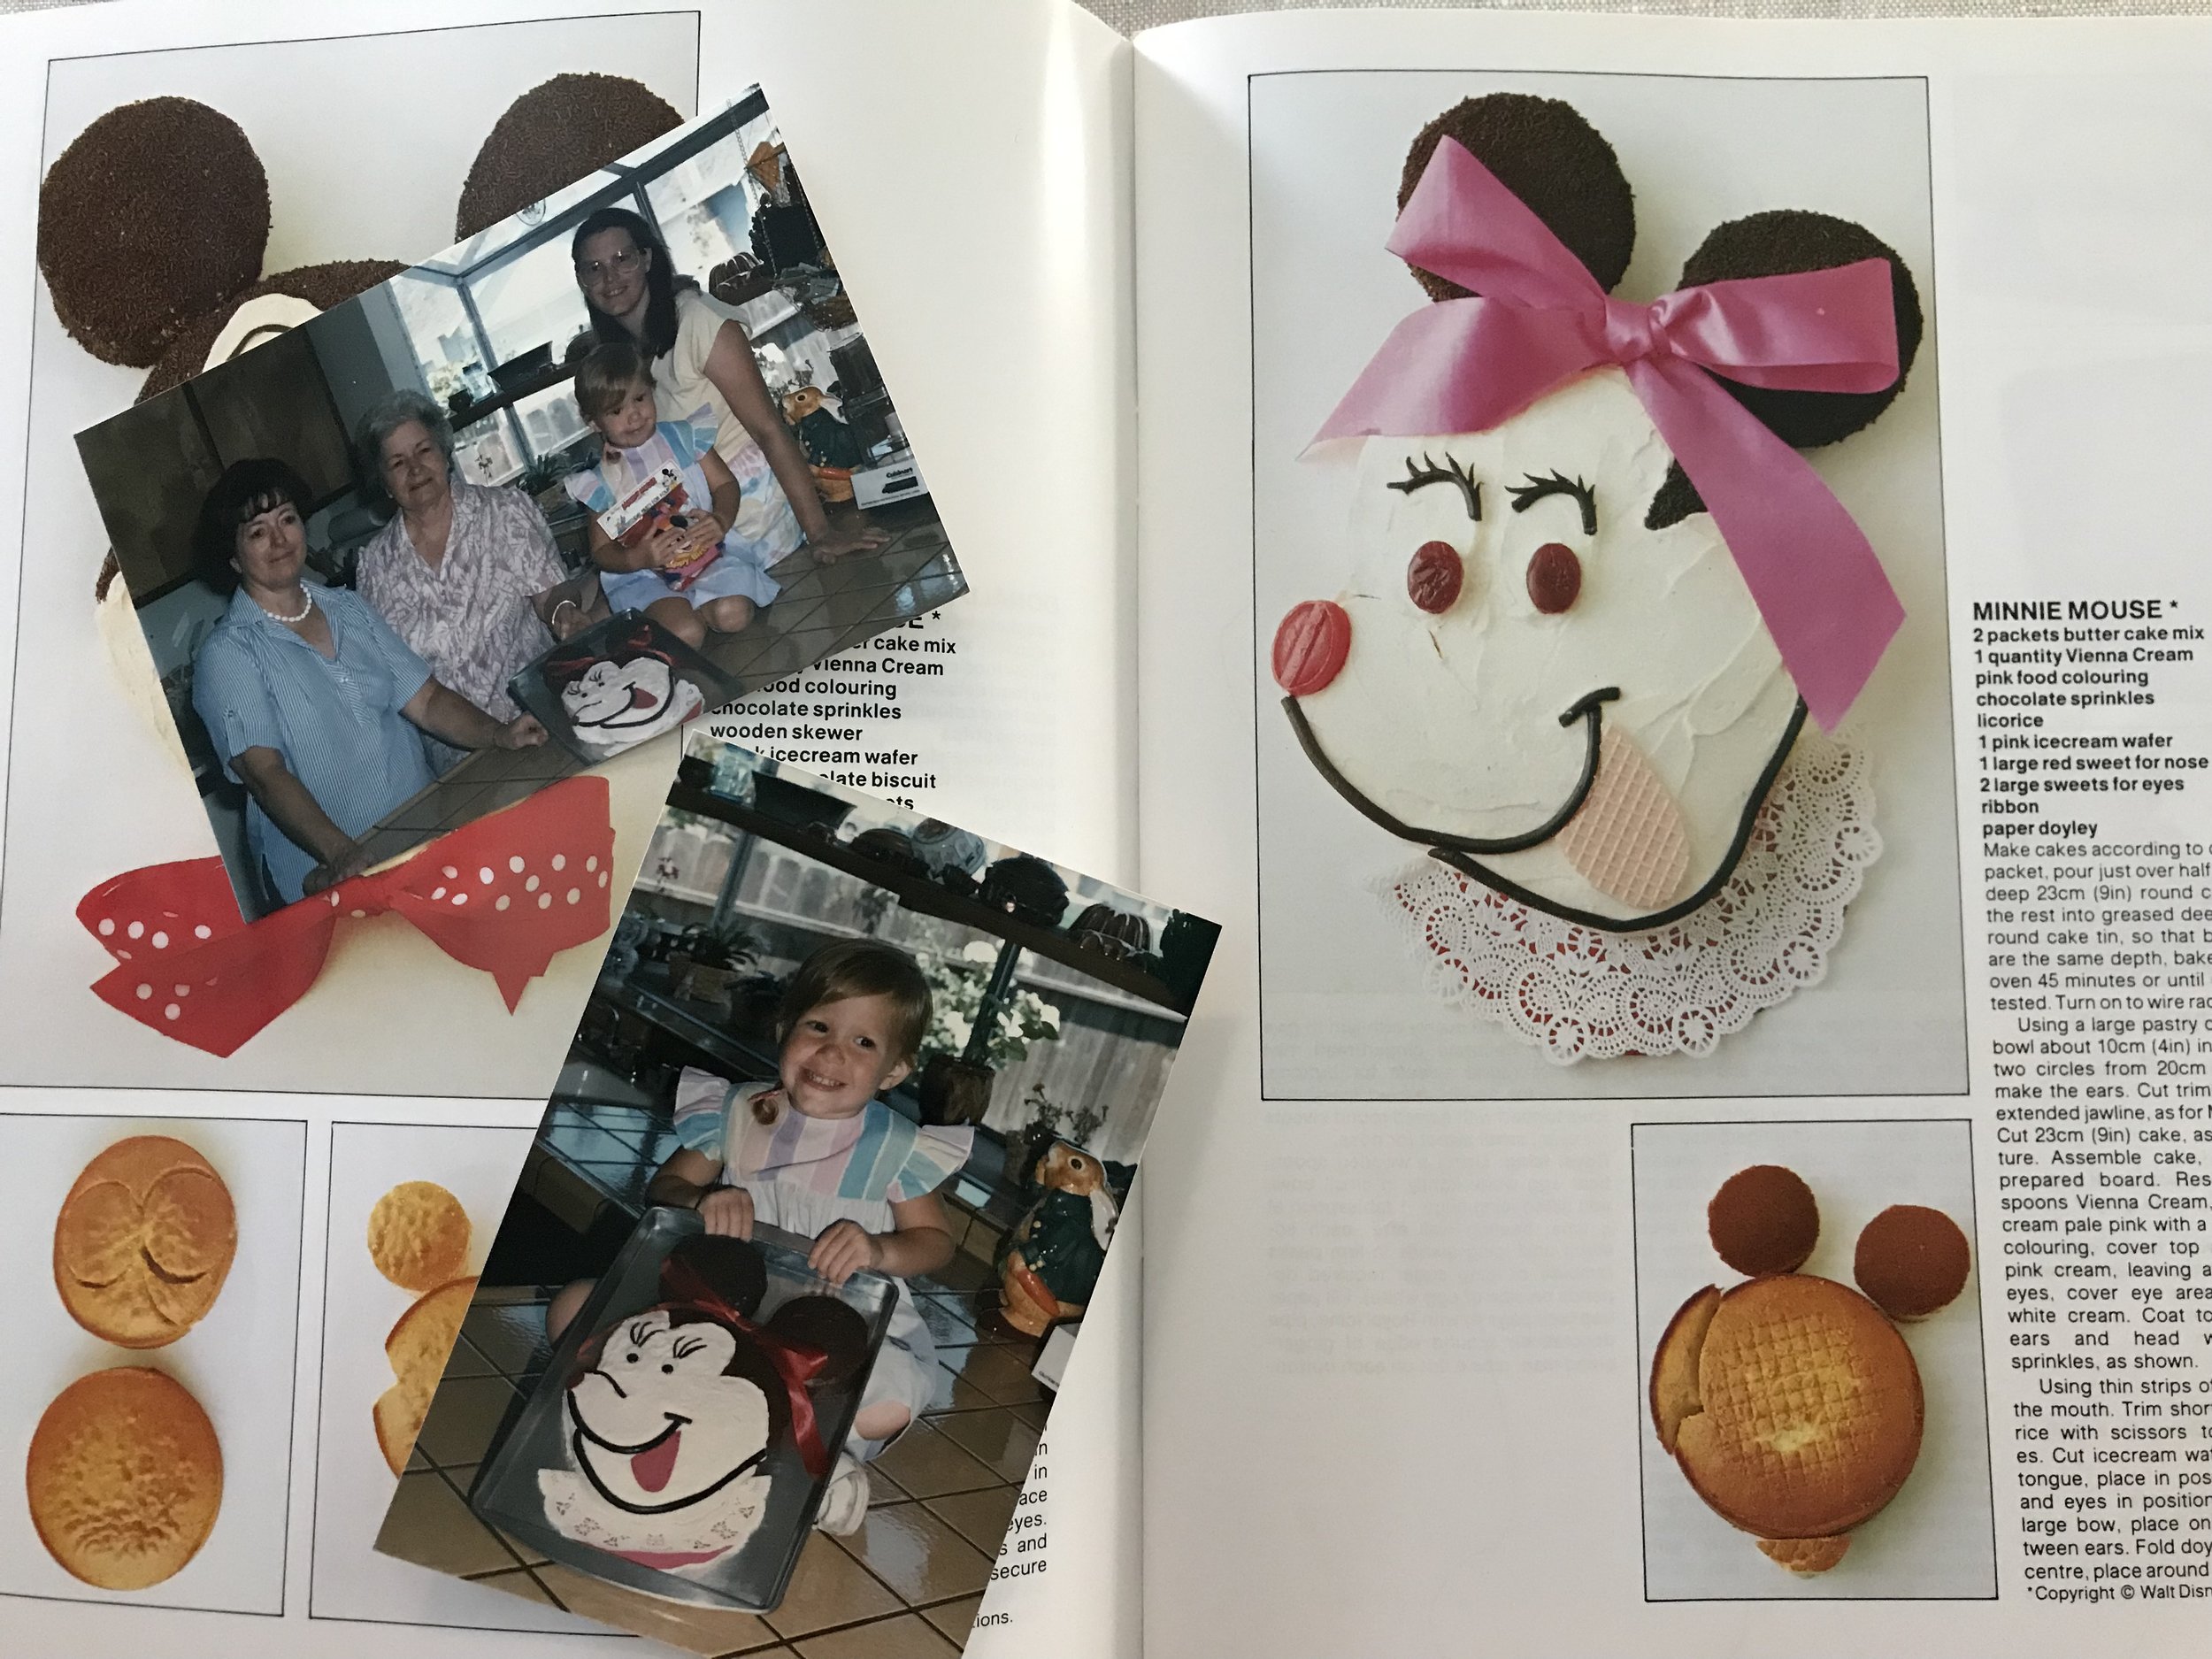
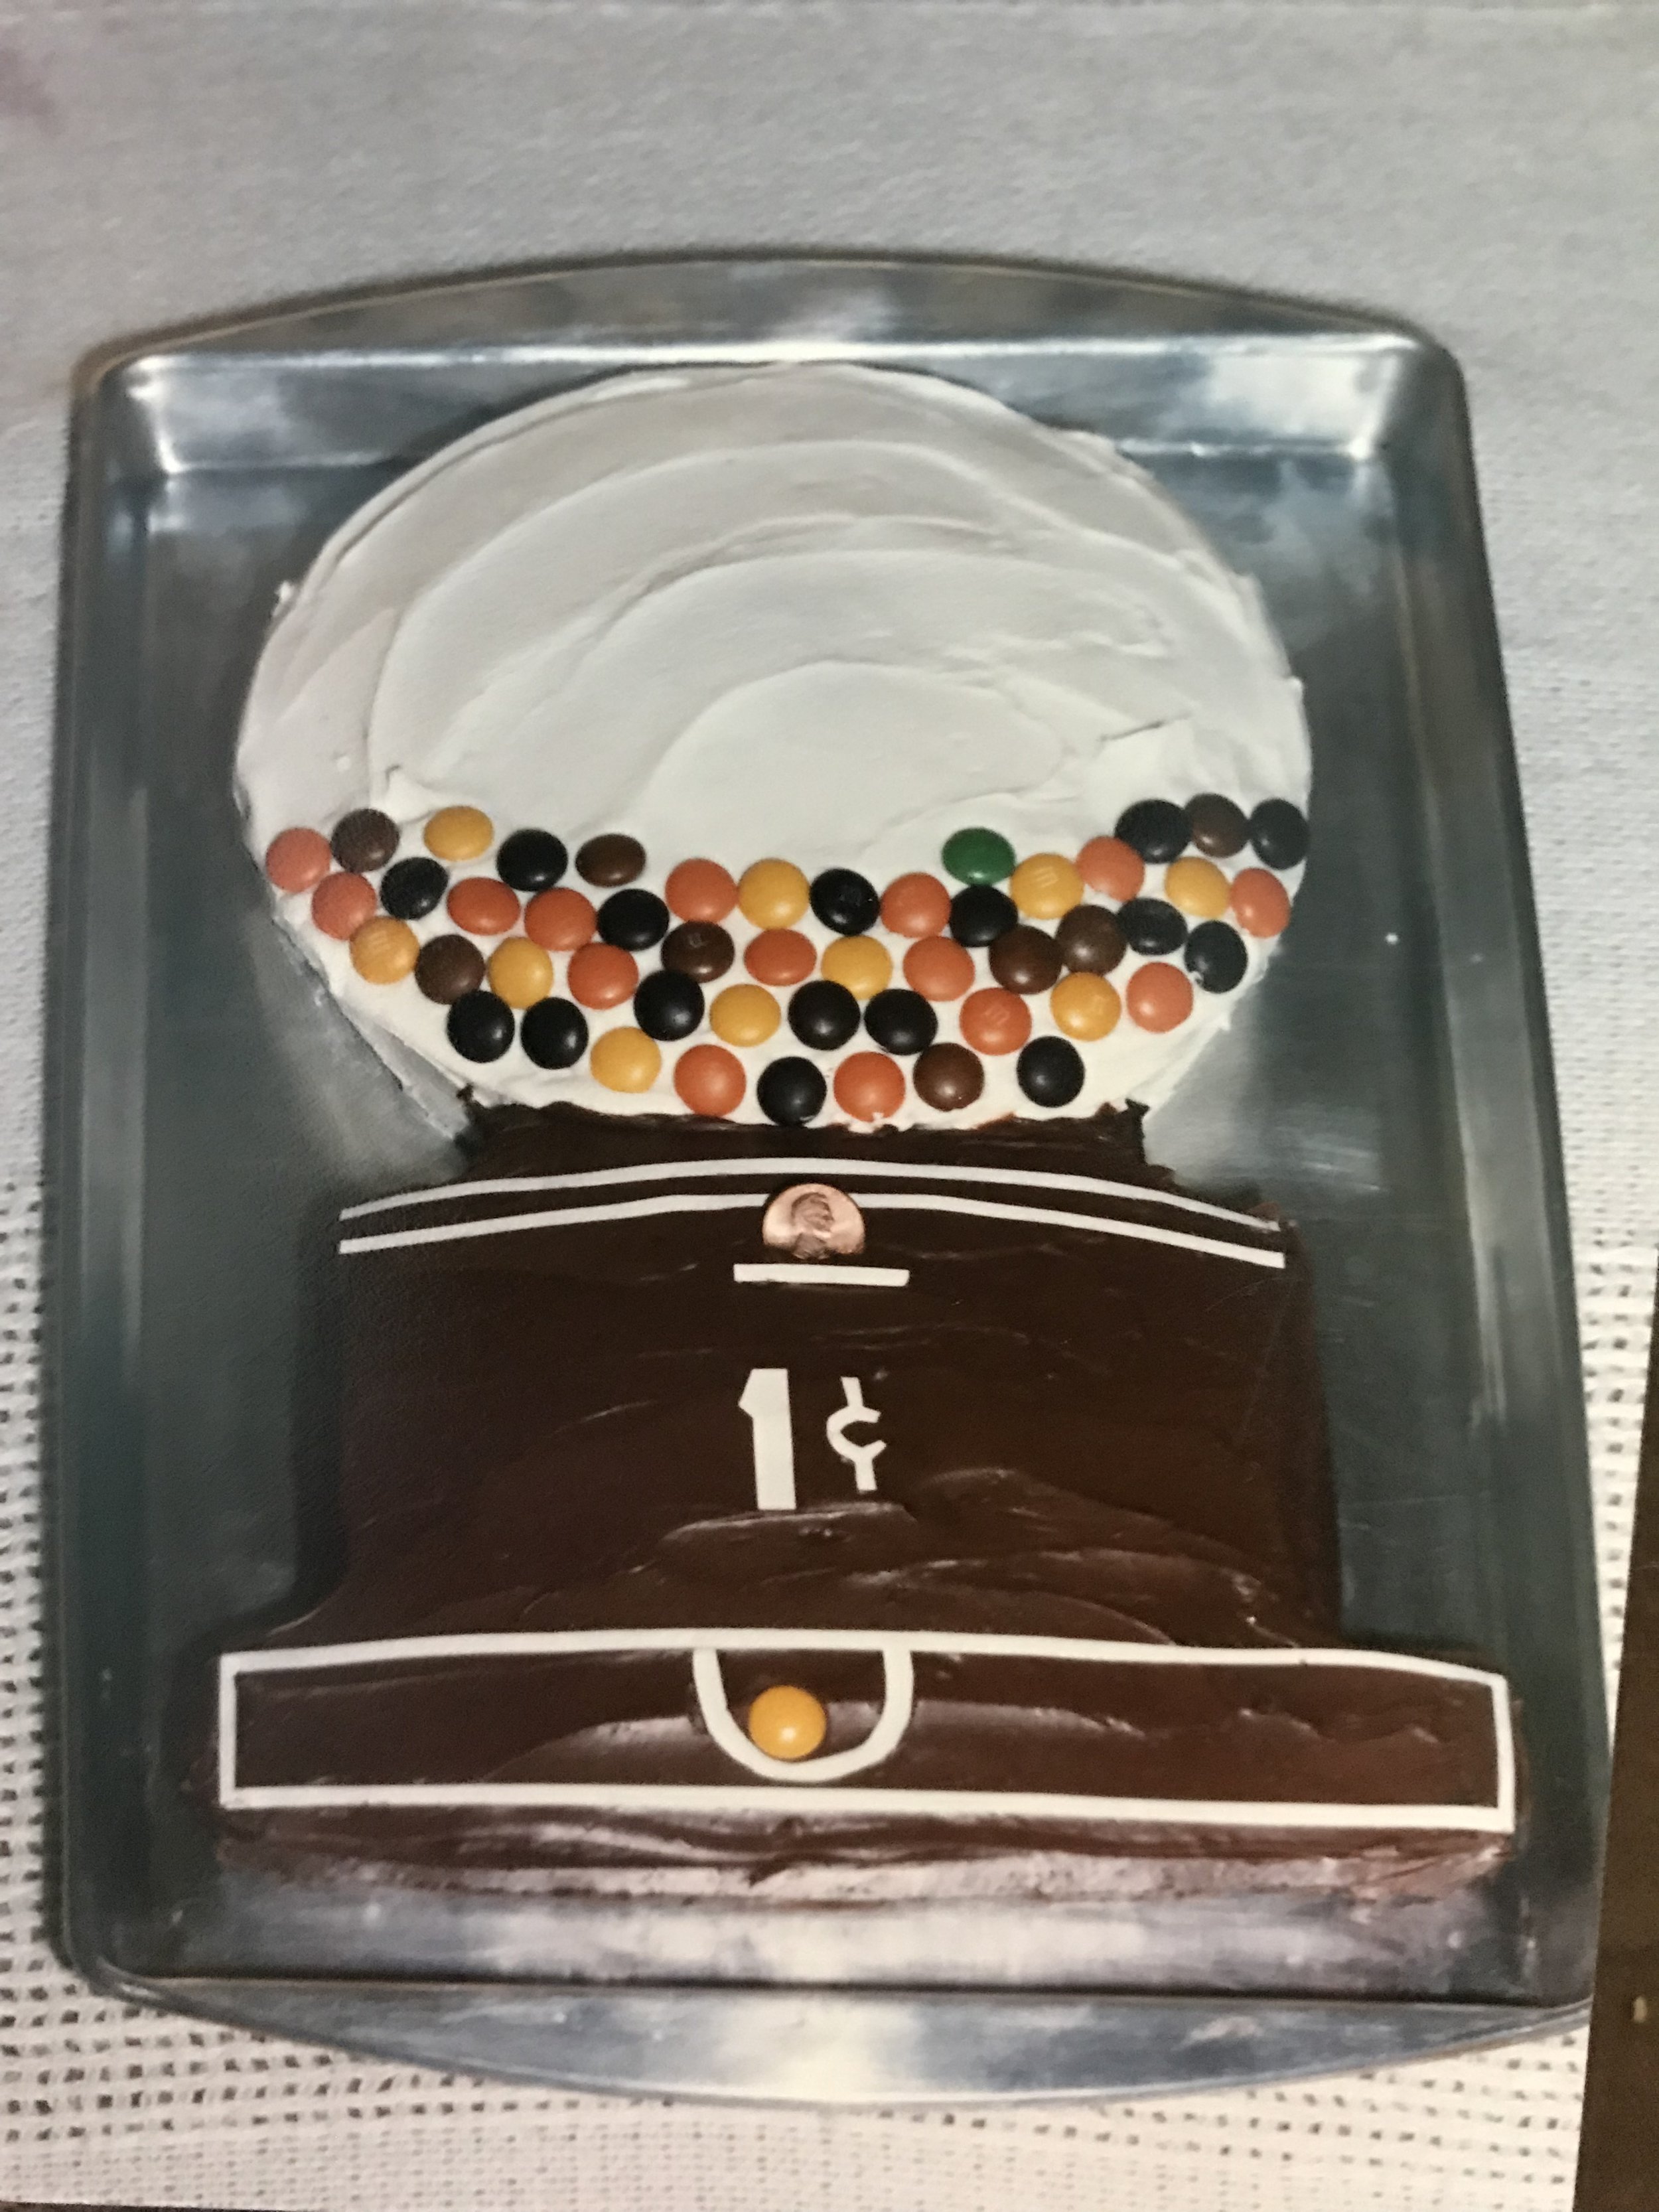
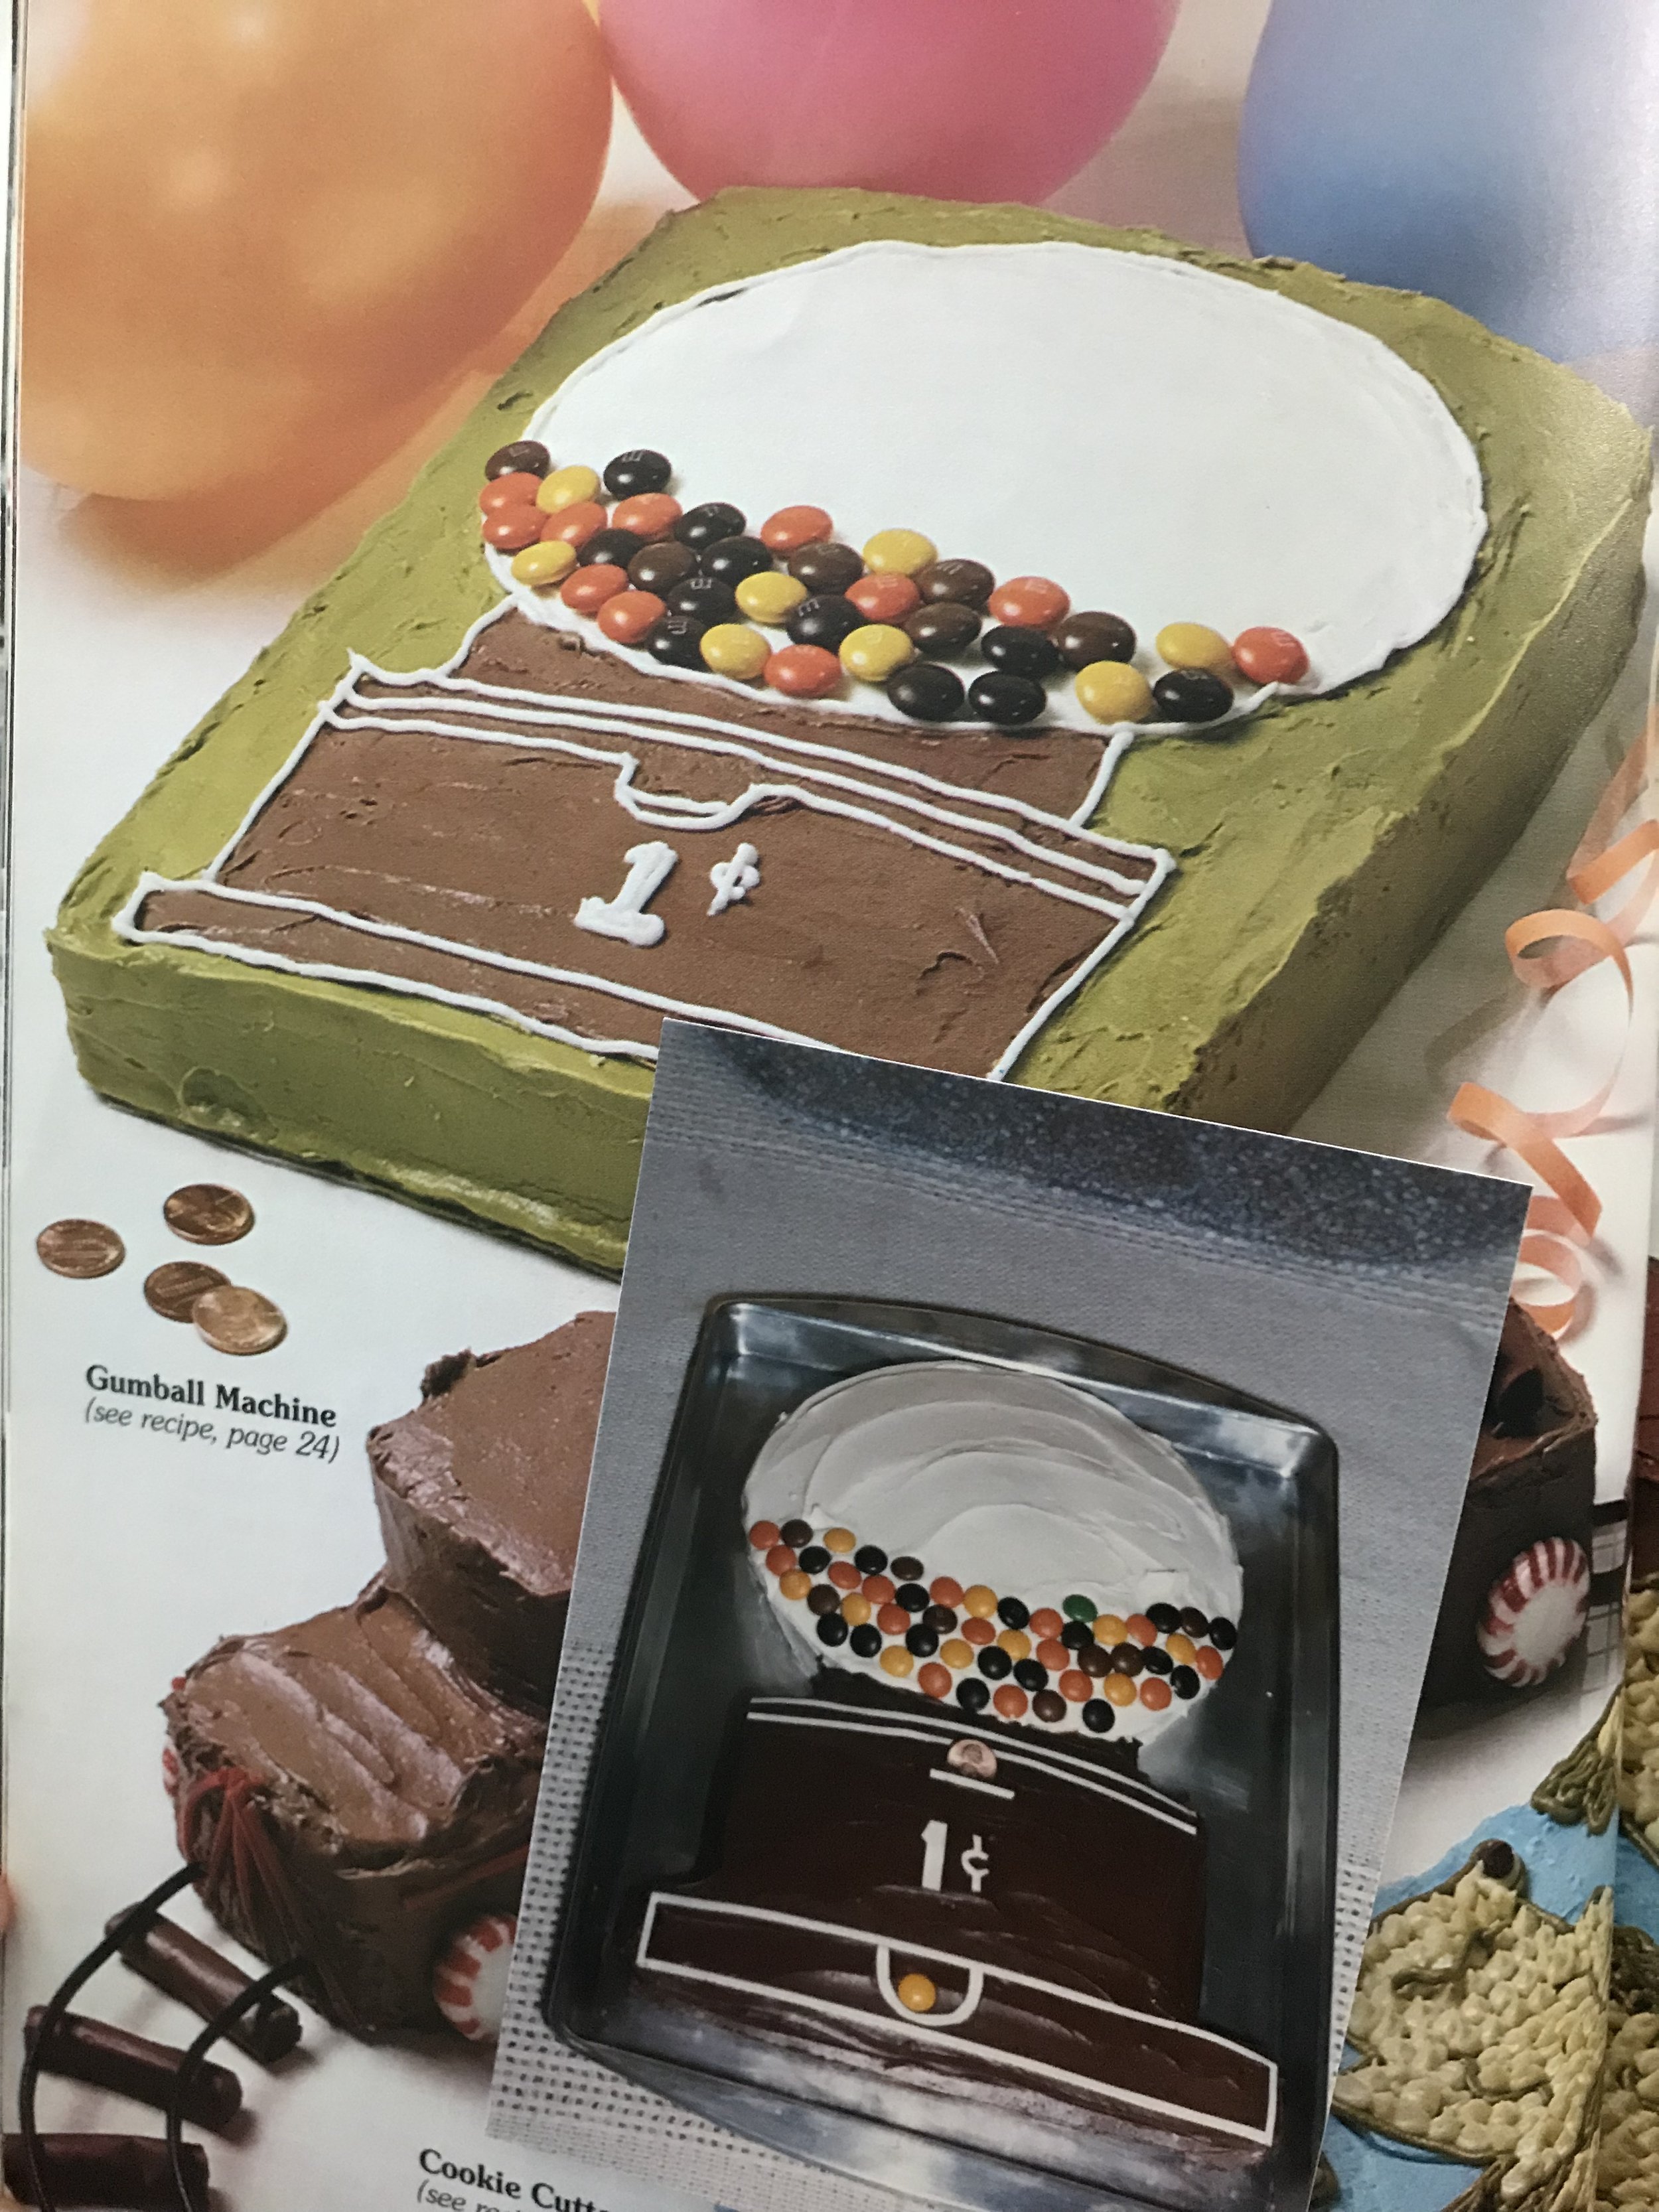
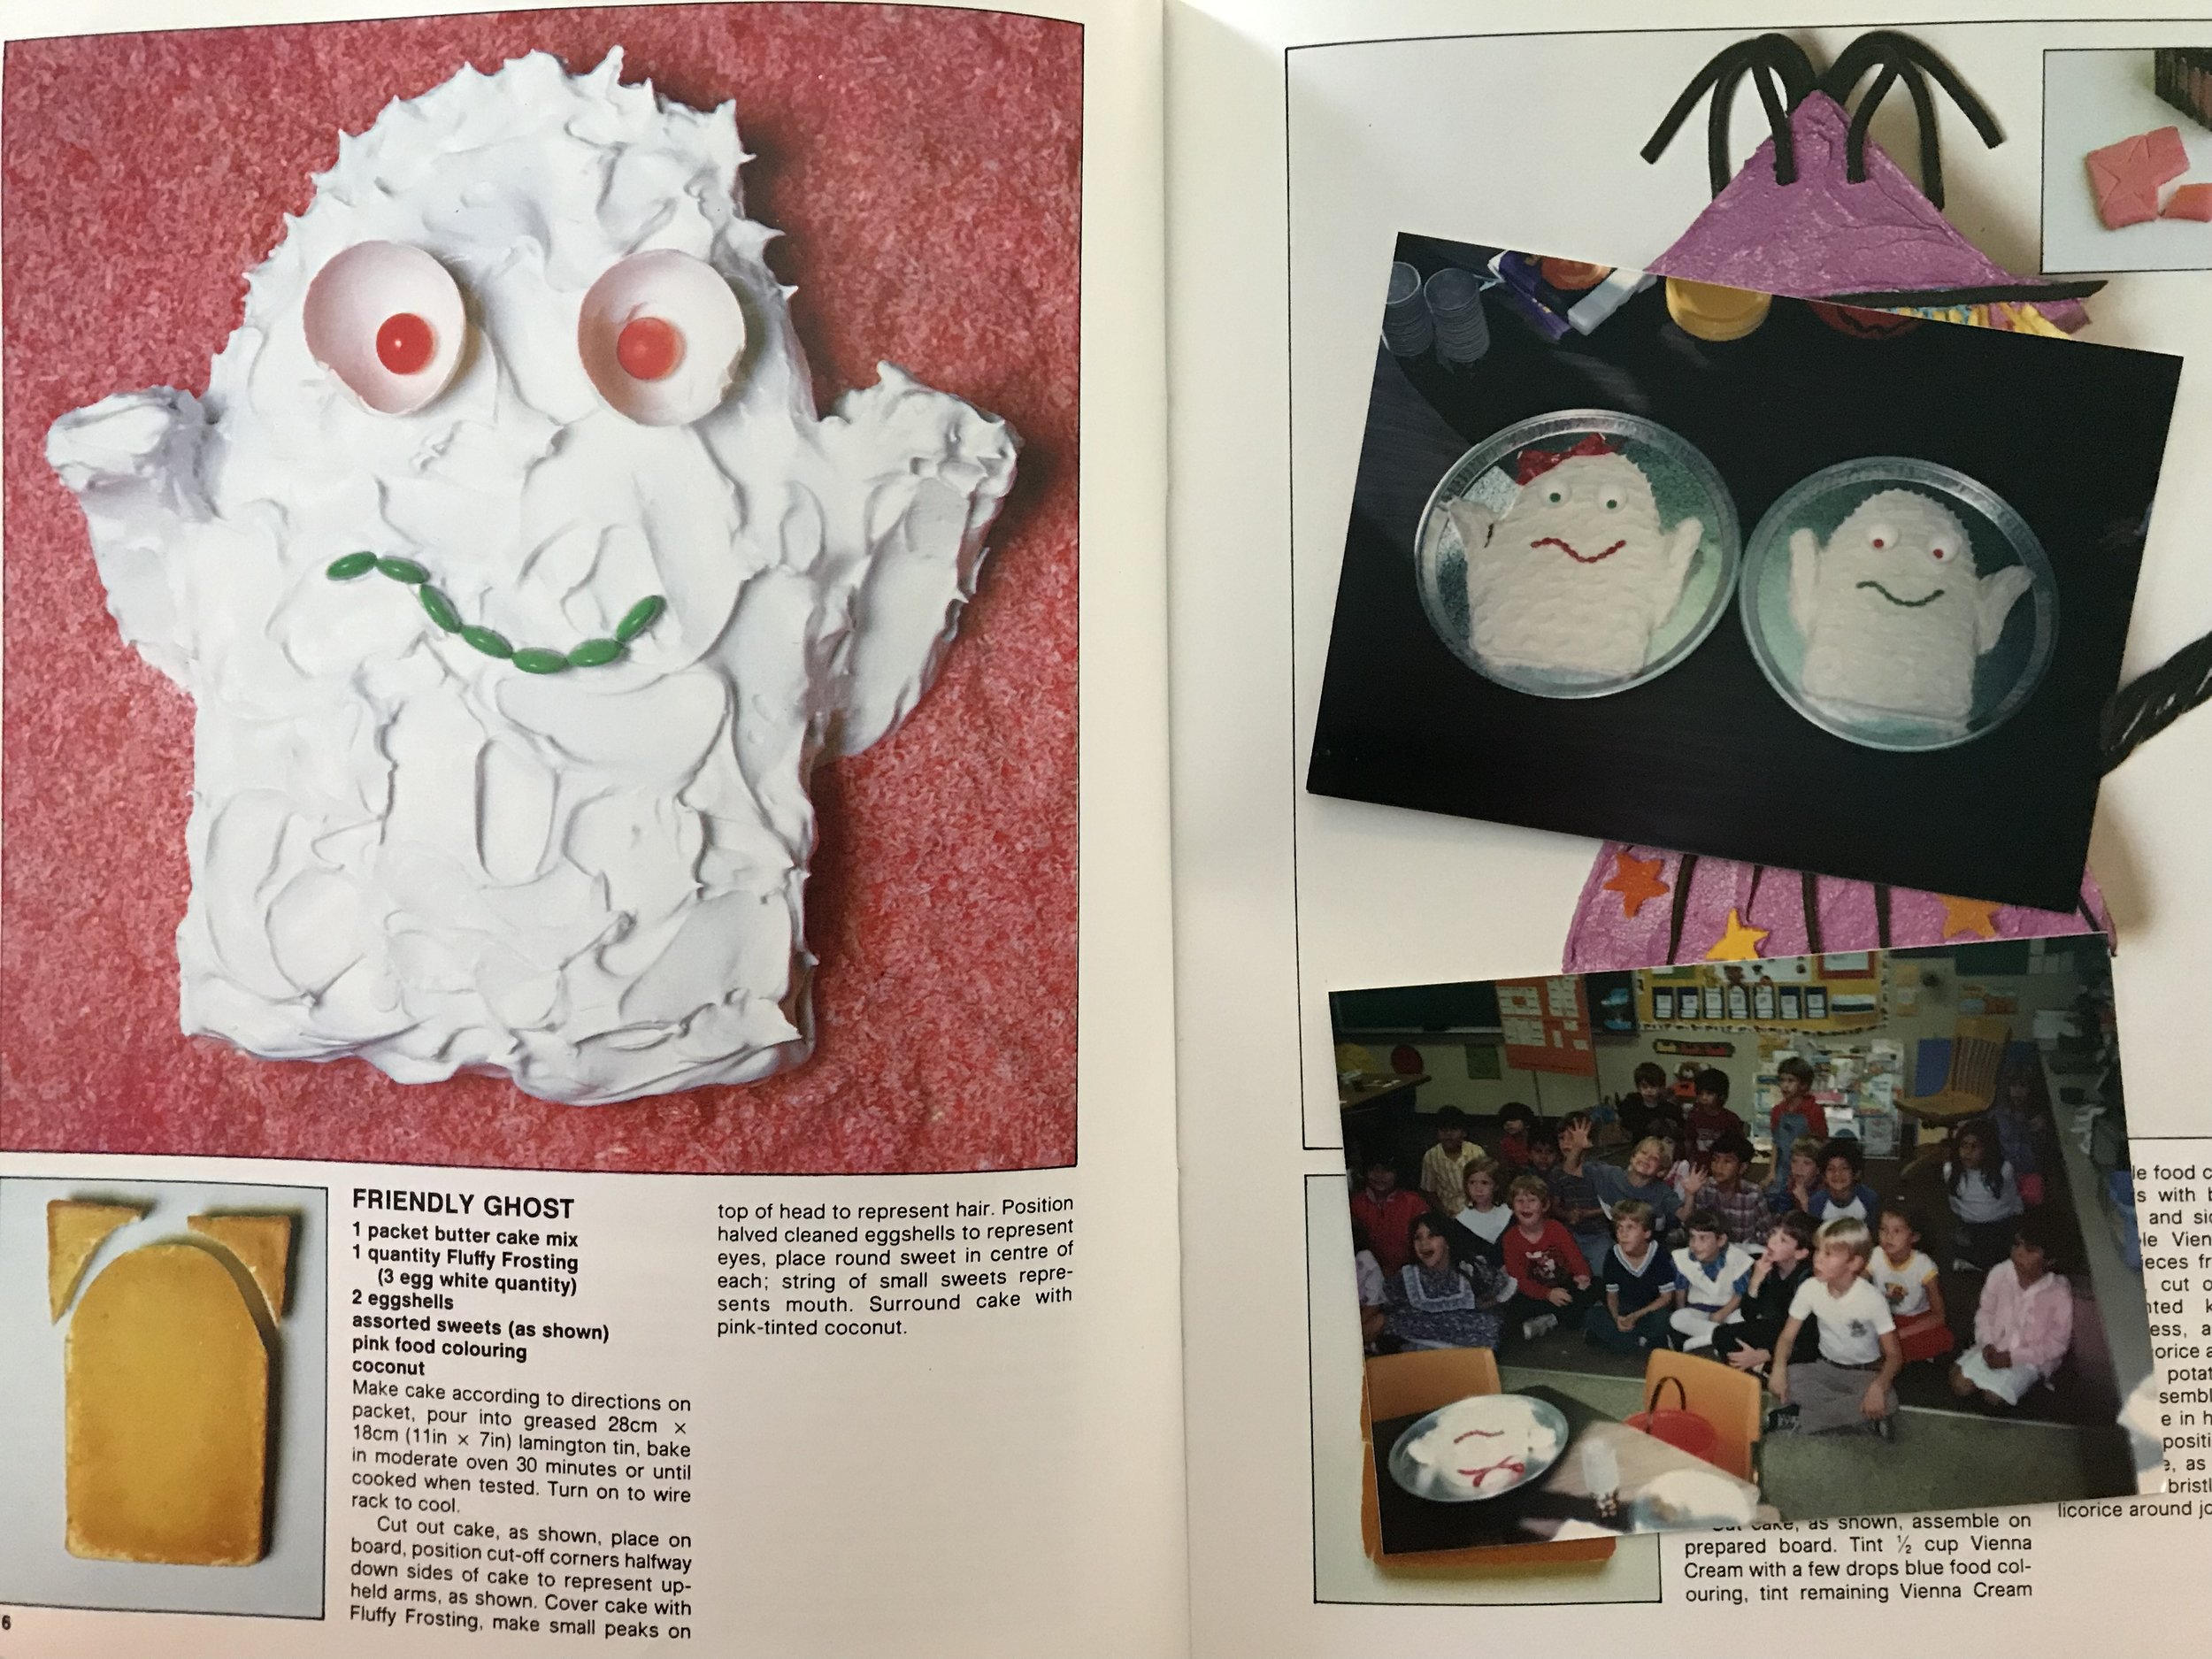
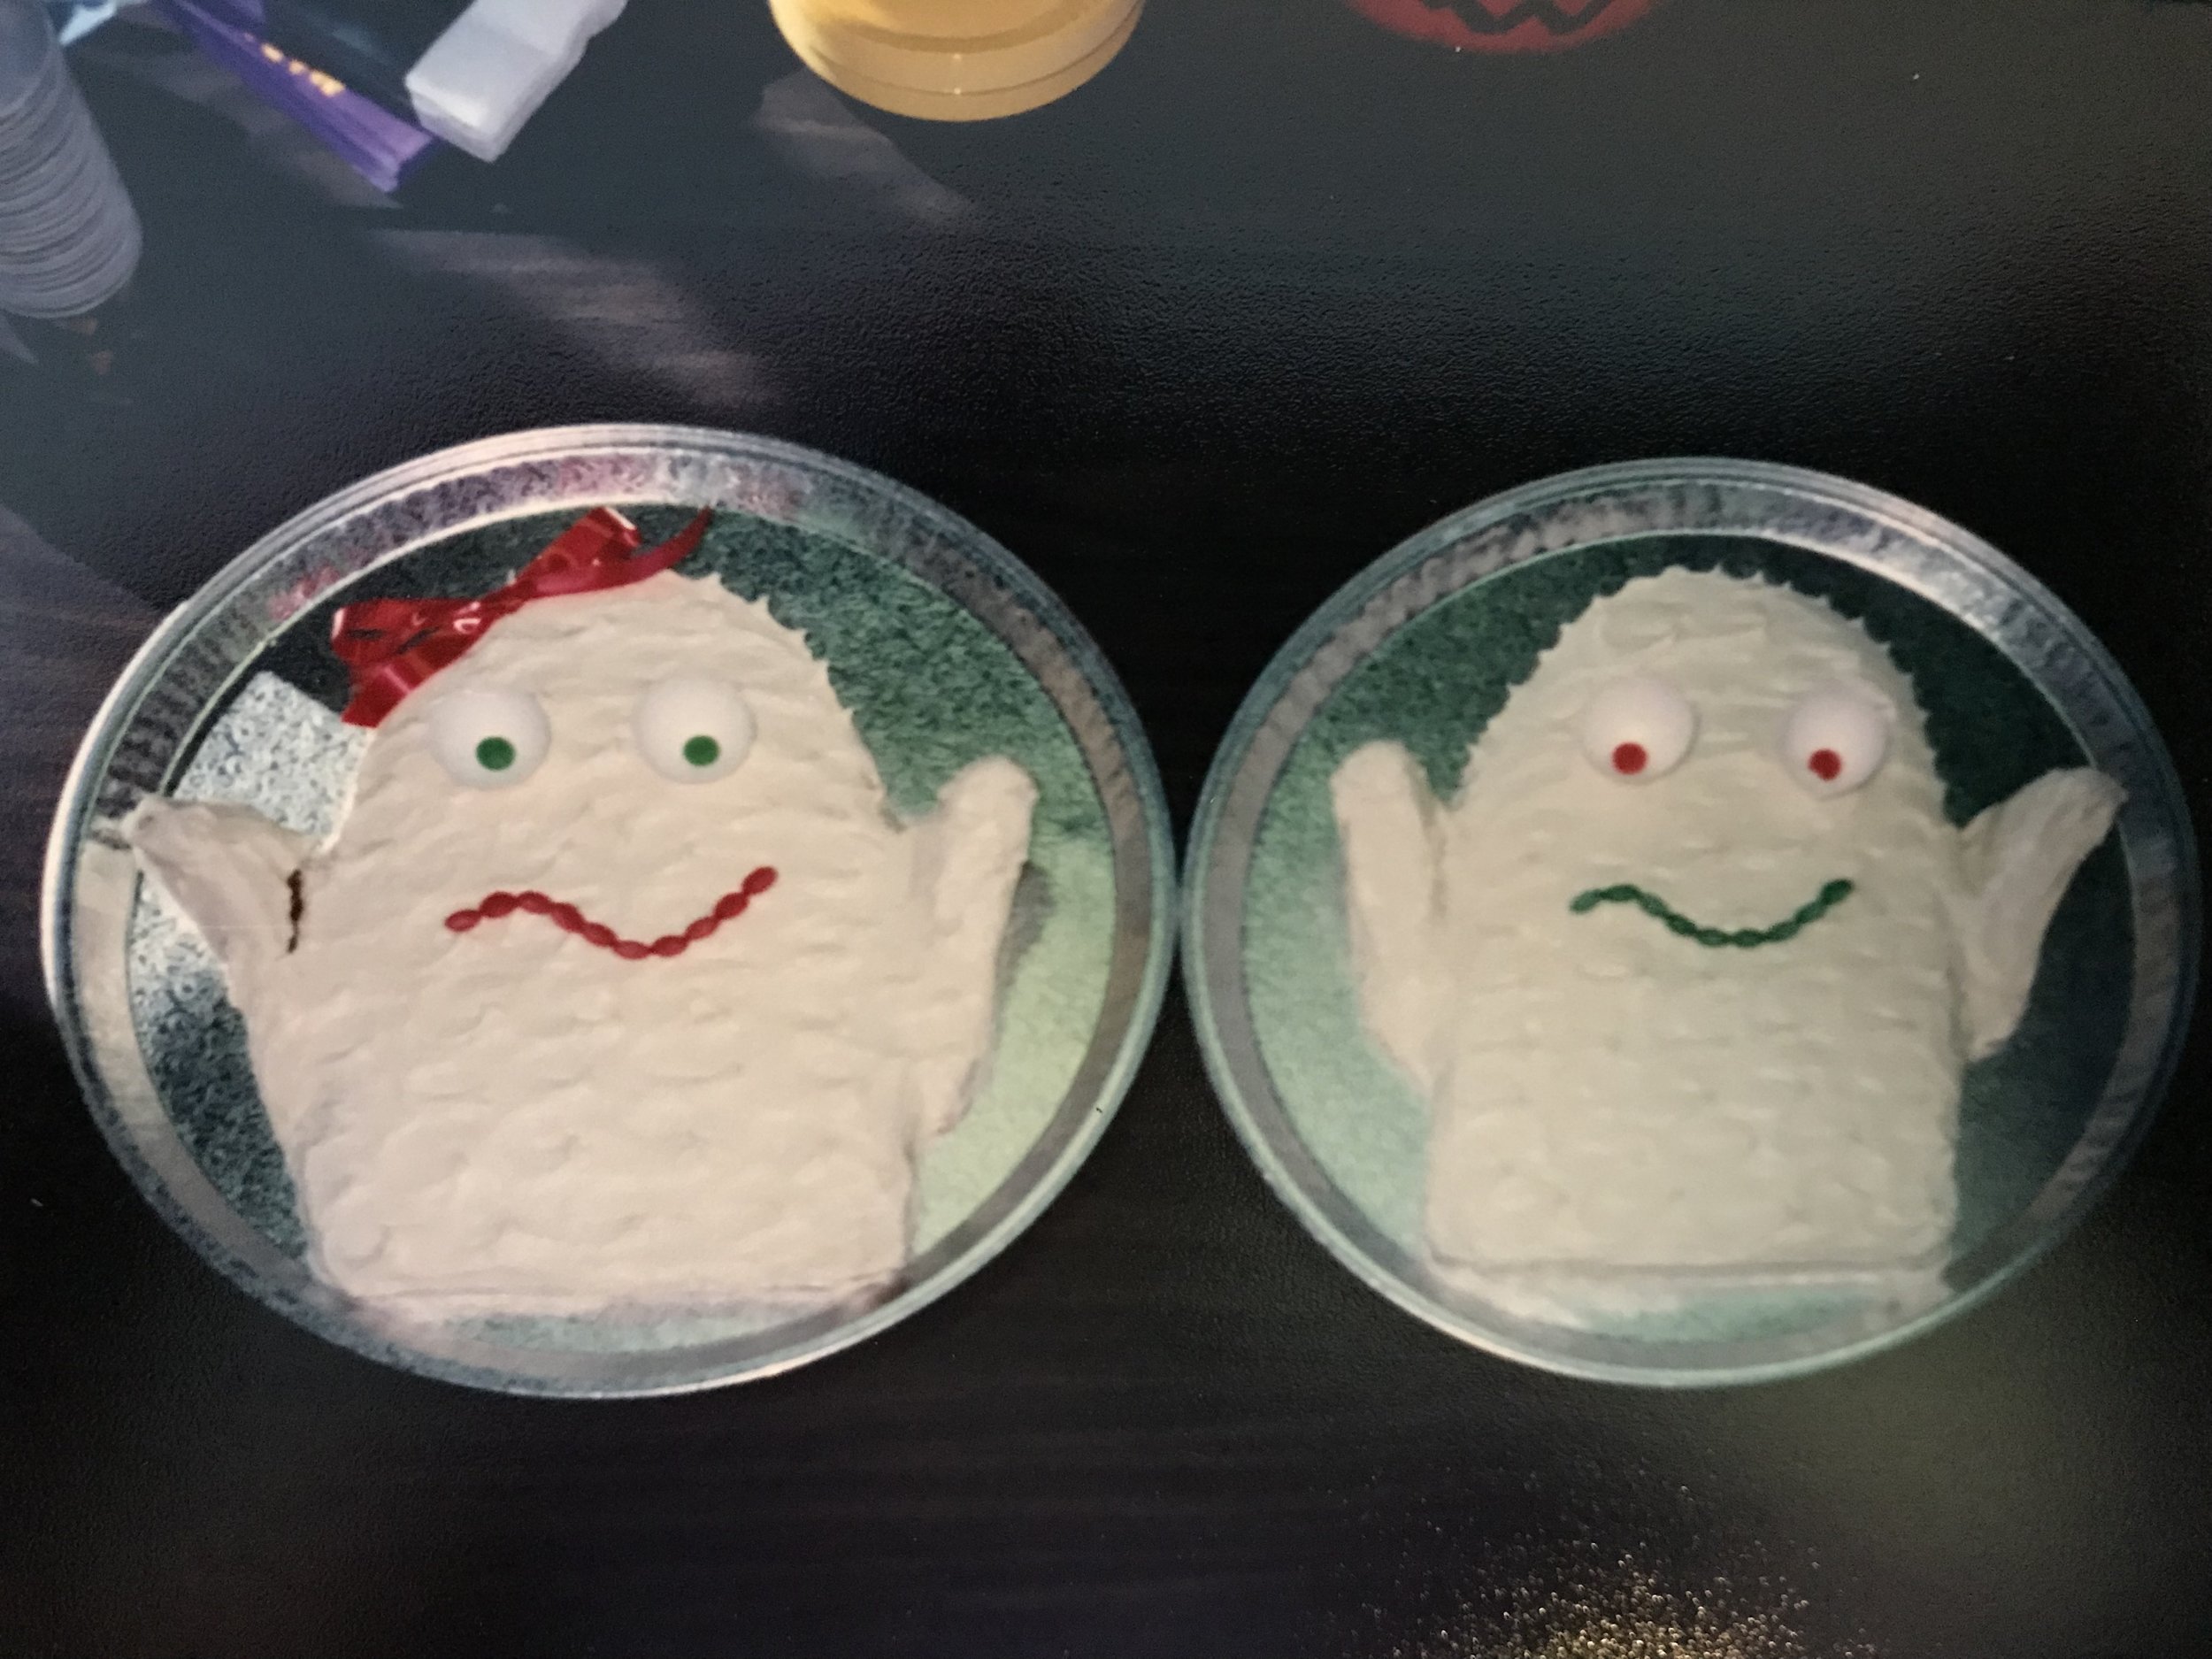
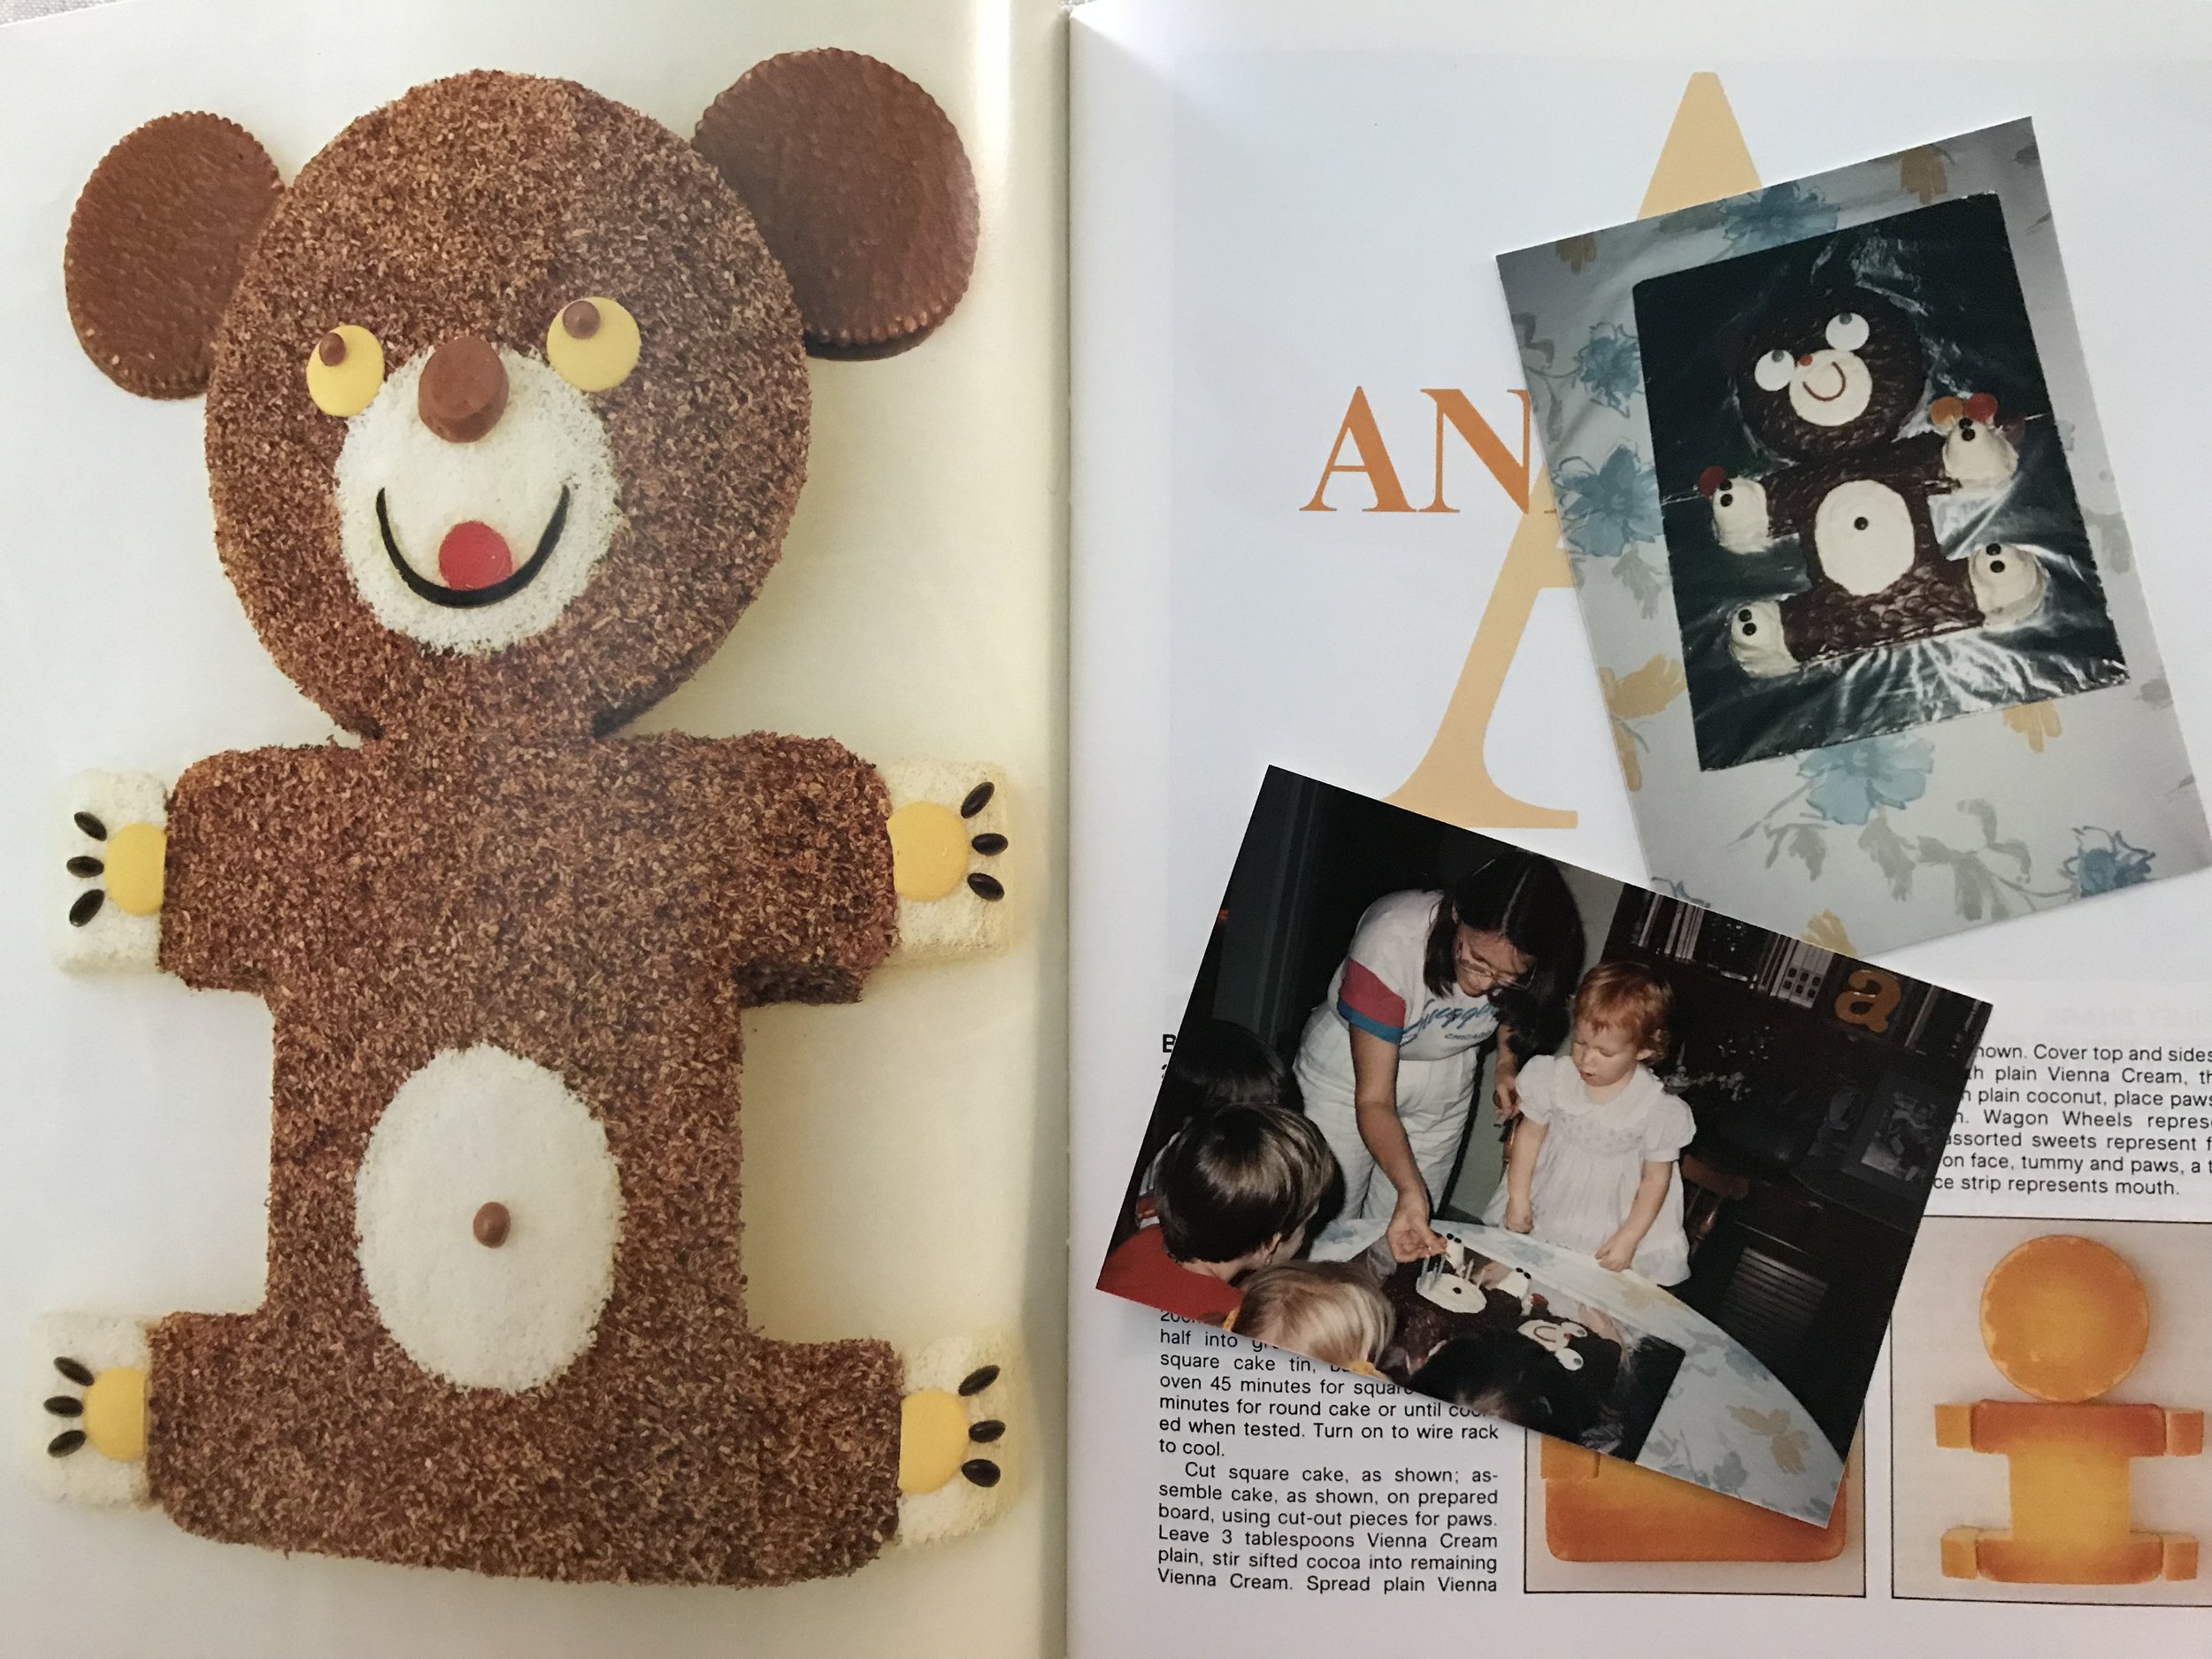
Growing up, we had two cake-decorating books that I absolutely adored. The pages, I recall, had become a little loose with wear. In the weeks leading up to our birthdays, my brother and I would flip through the pages to pick out the perfect birthday cake. Then my mom would make it and even in the pre-Instagram age, it would be photographed for posterity.

The books fell out of favor as we grew older. The books were used for the last time sometime when I was pre-teen - my father and brother were out on a Boy Scout trip and it’d just be me and mom for my birthday, so in a fit of early nostalgia I requested a large tiger cake as a nod to my love of Winnie-the-Pooh’s Tigger. The cake was huge, and my mother was by then diabetic, which meant I largely ate the cake alone. I made it through the tail and hindquarters before throwing the rest away. Still, she made it, all I had to do was ask.

I didn’t think of the cake books much after that and it didn’t come to mind when I made a list of items I wanted from my mother’s house when my brother moved her from our childhood home. So I caught myself a bit off guard when they sprung to mind a few weeks before my trip.

I was struck by one of those late-evening obsessions. The original copies of the cake books were gone or buried deeply in my brother’s garage, perhaps I could find them online. A Google search for “1980s birthday cake book” gave me the titles I needed (as results one and two at that), then a few minutes of searching used book stores online and a $10 charge to my credit card later, both books would soon be mine.

They were waiting for me upon my return from California, about a month in advance of Little Miss Cleaver’s own birthday. I shared the books with LMC, who was a bit less enthused than I had hoped, (though in her defense photography and styling from 1980 doesn’t age particularly well), but in the end she did select a cake.

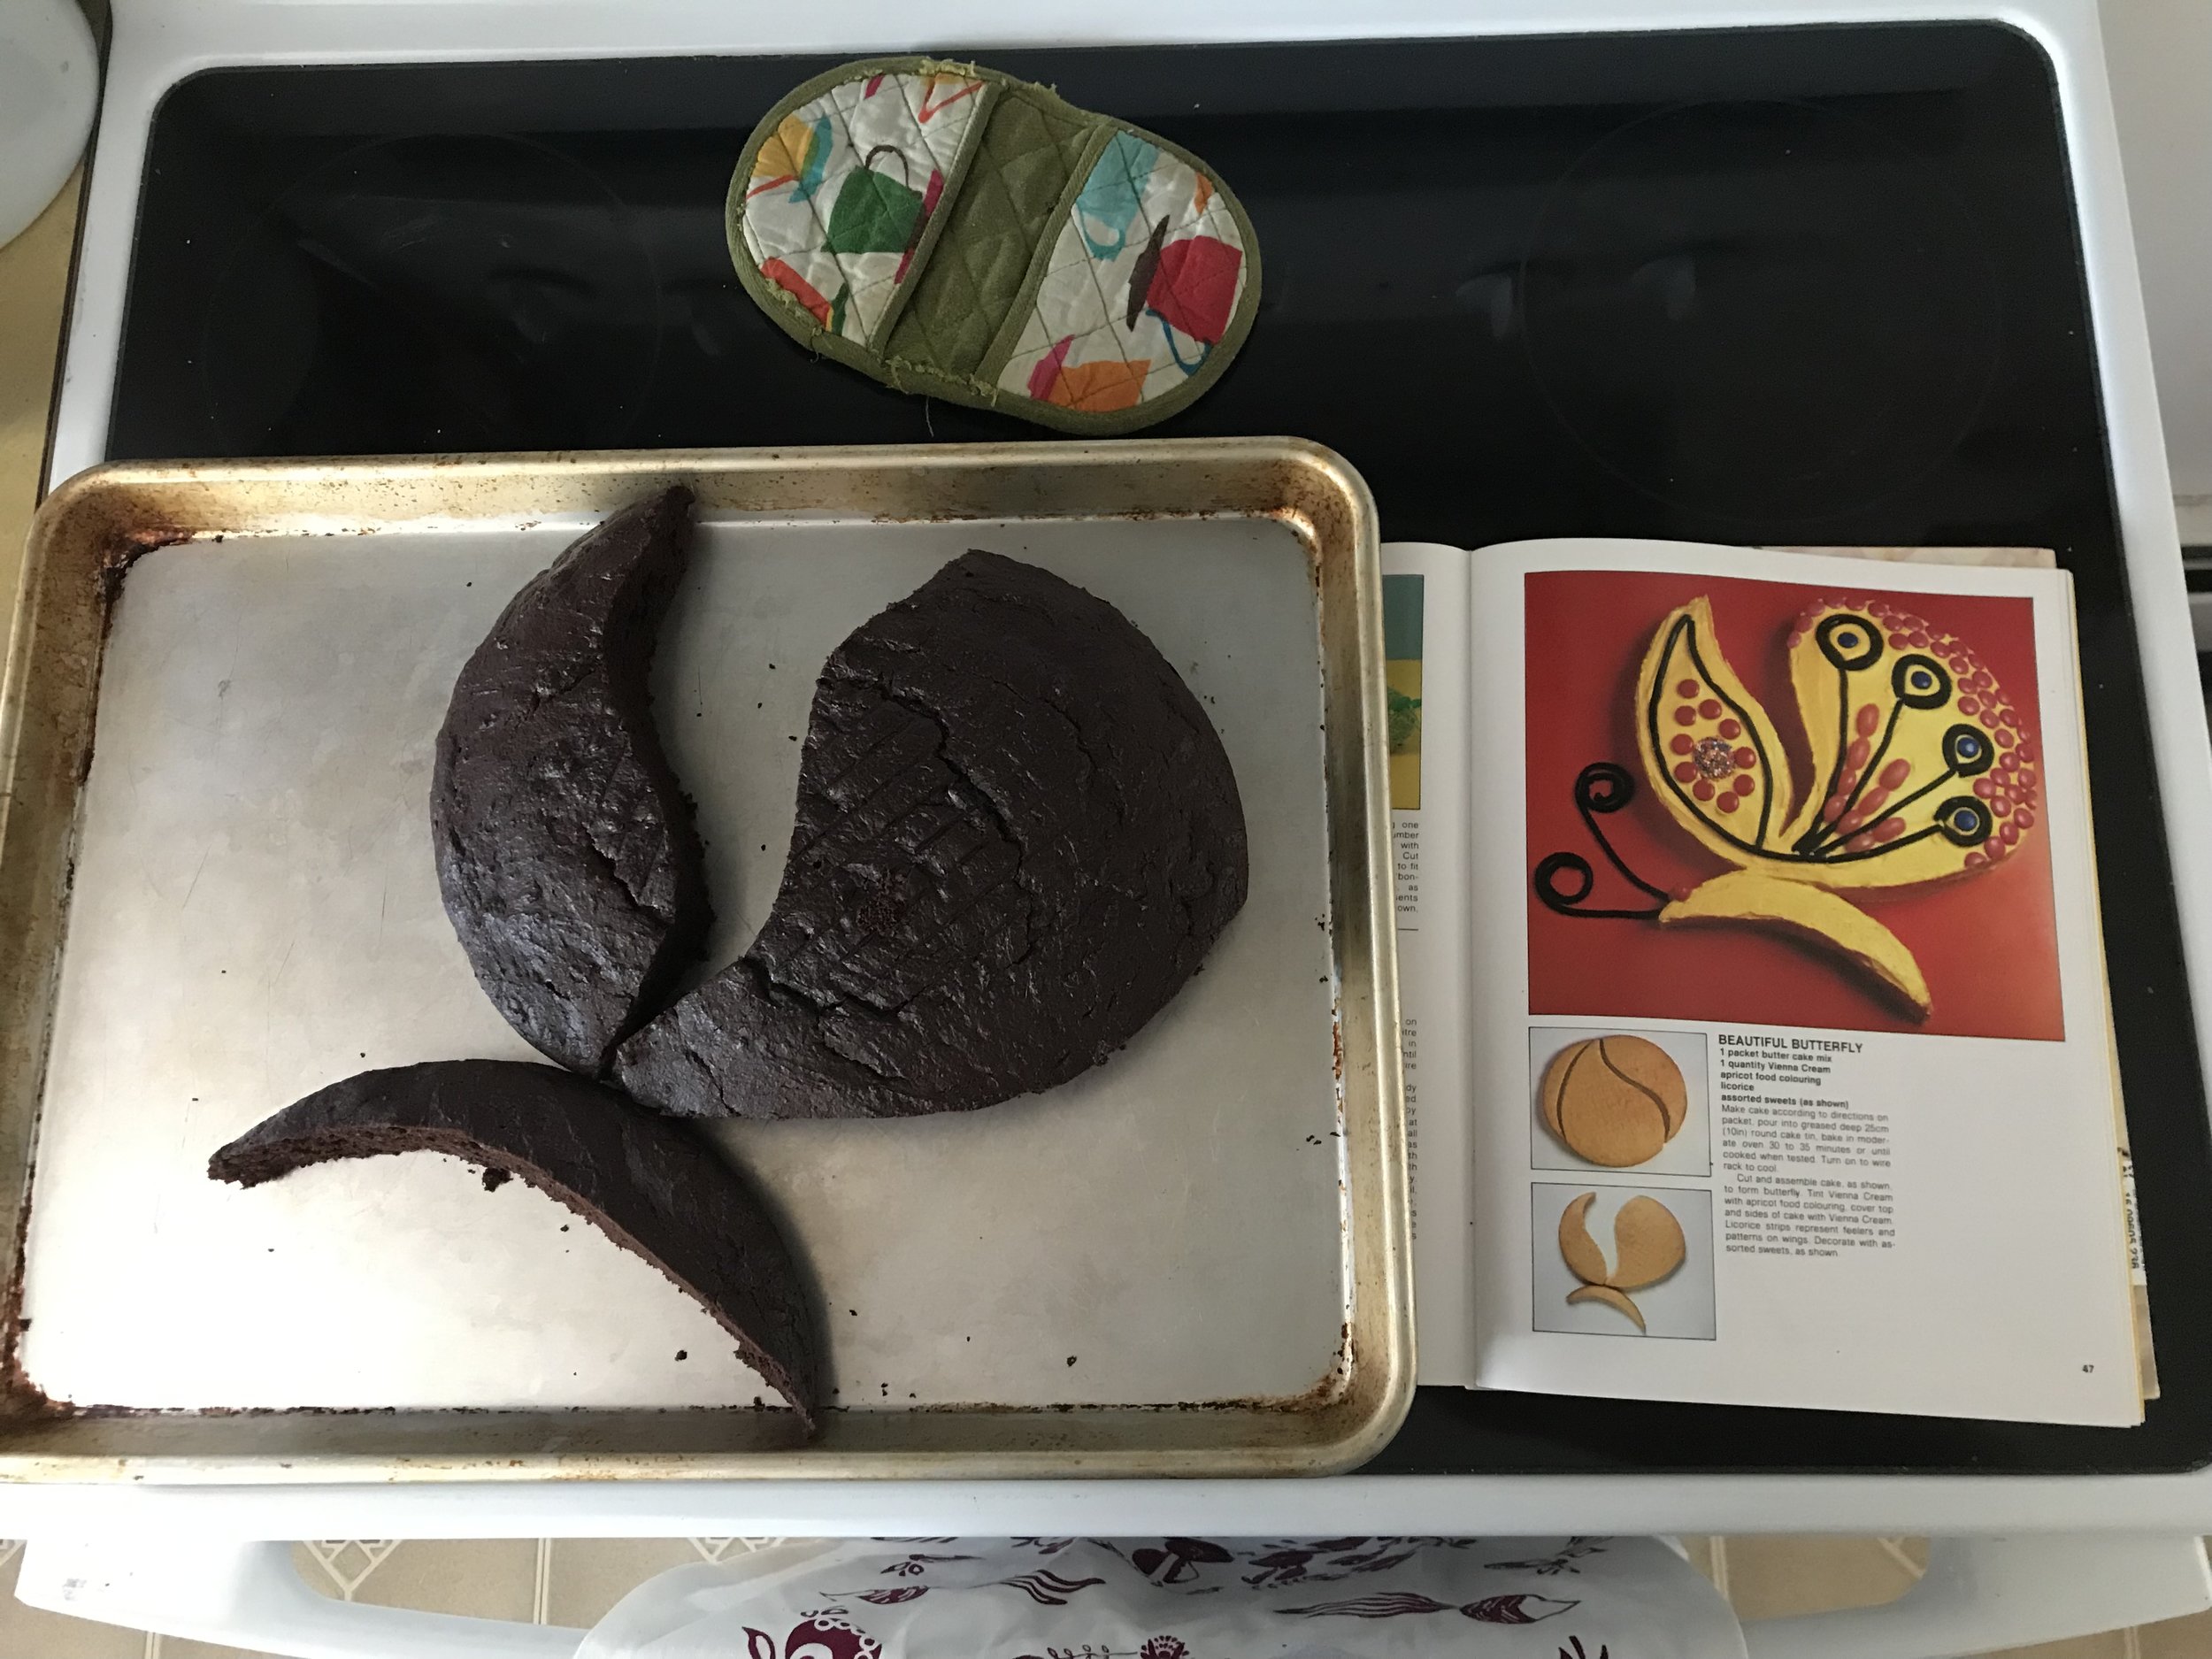
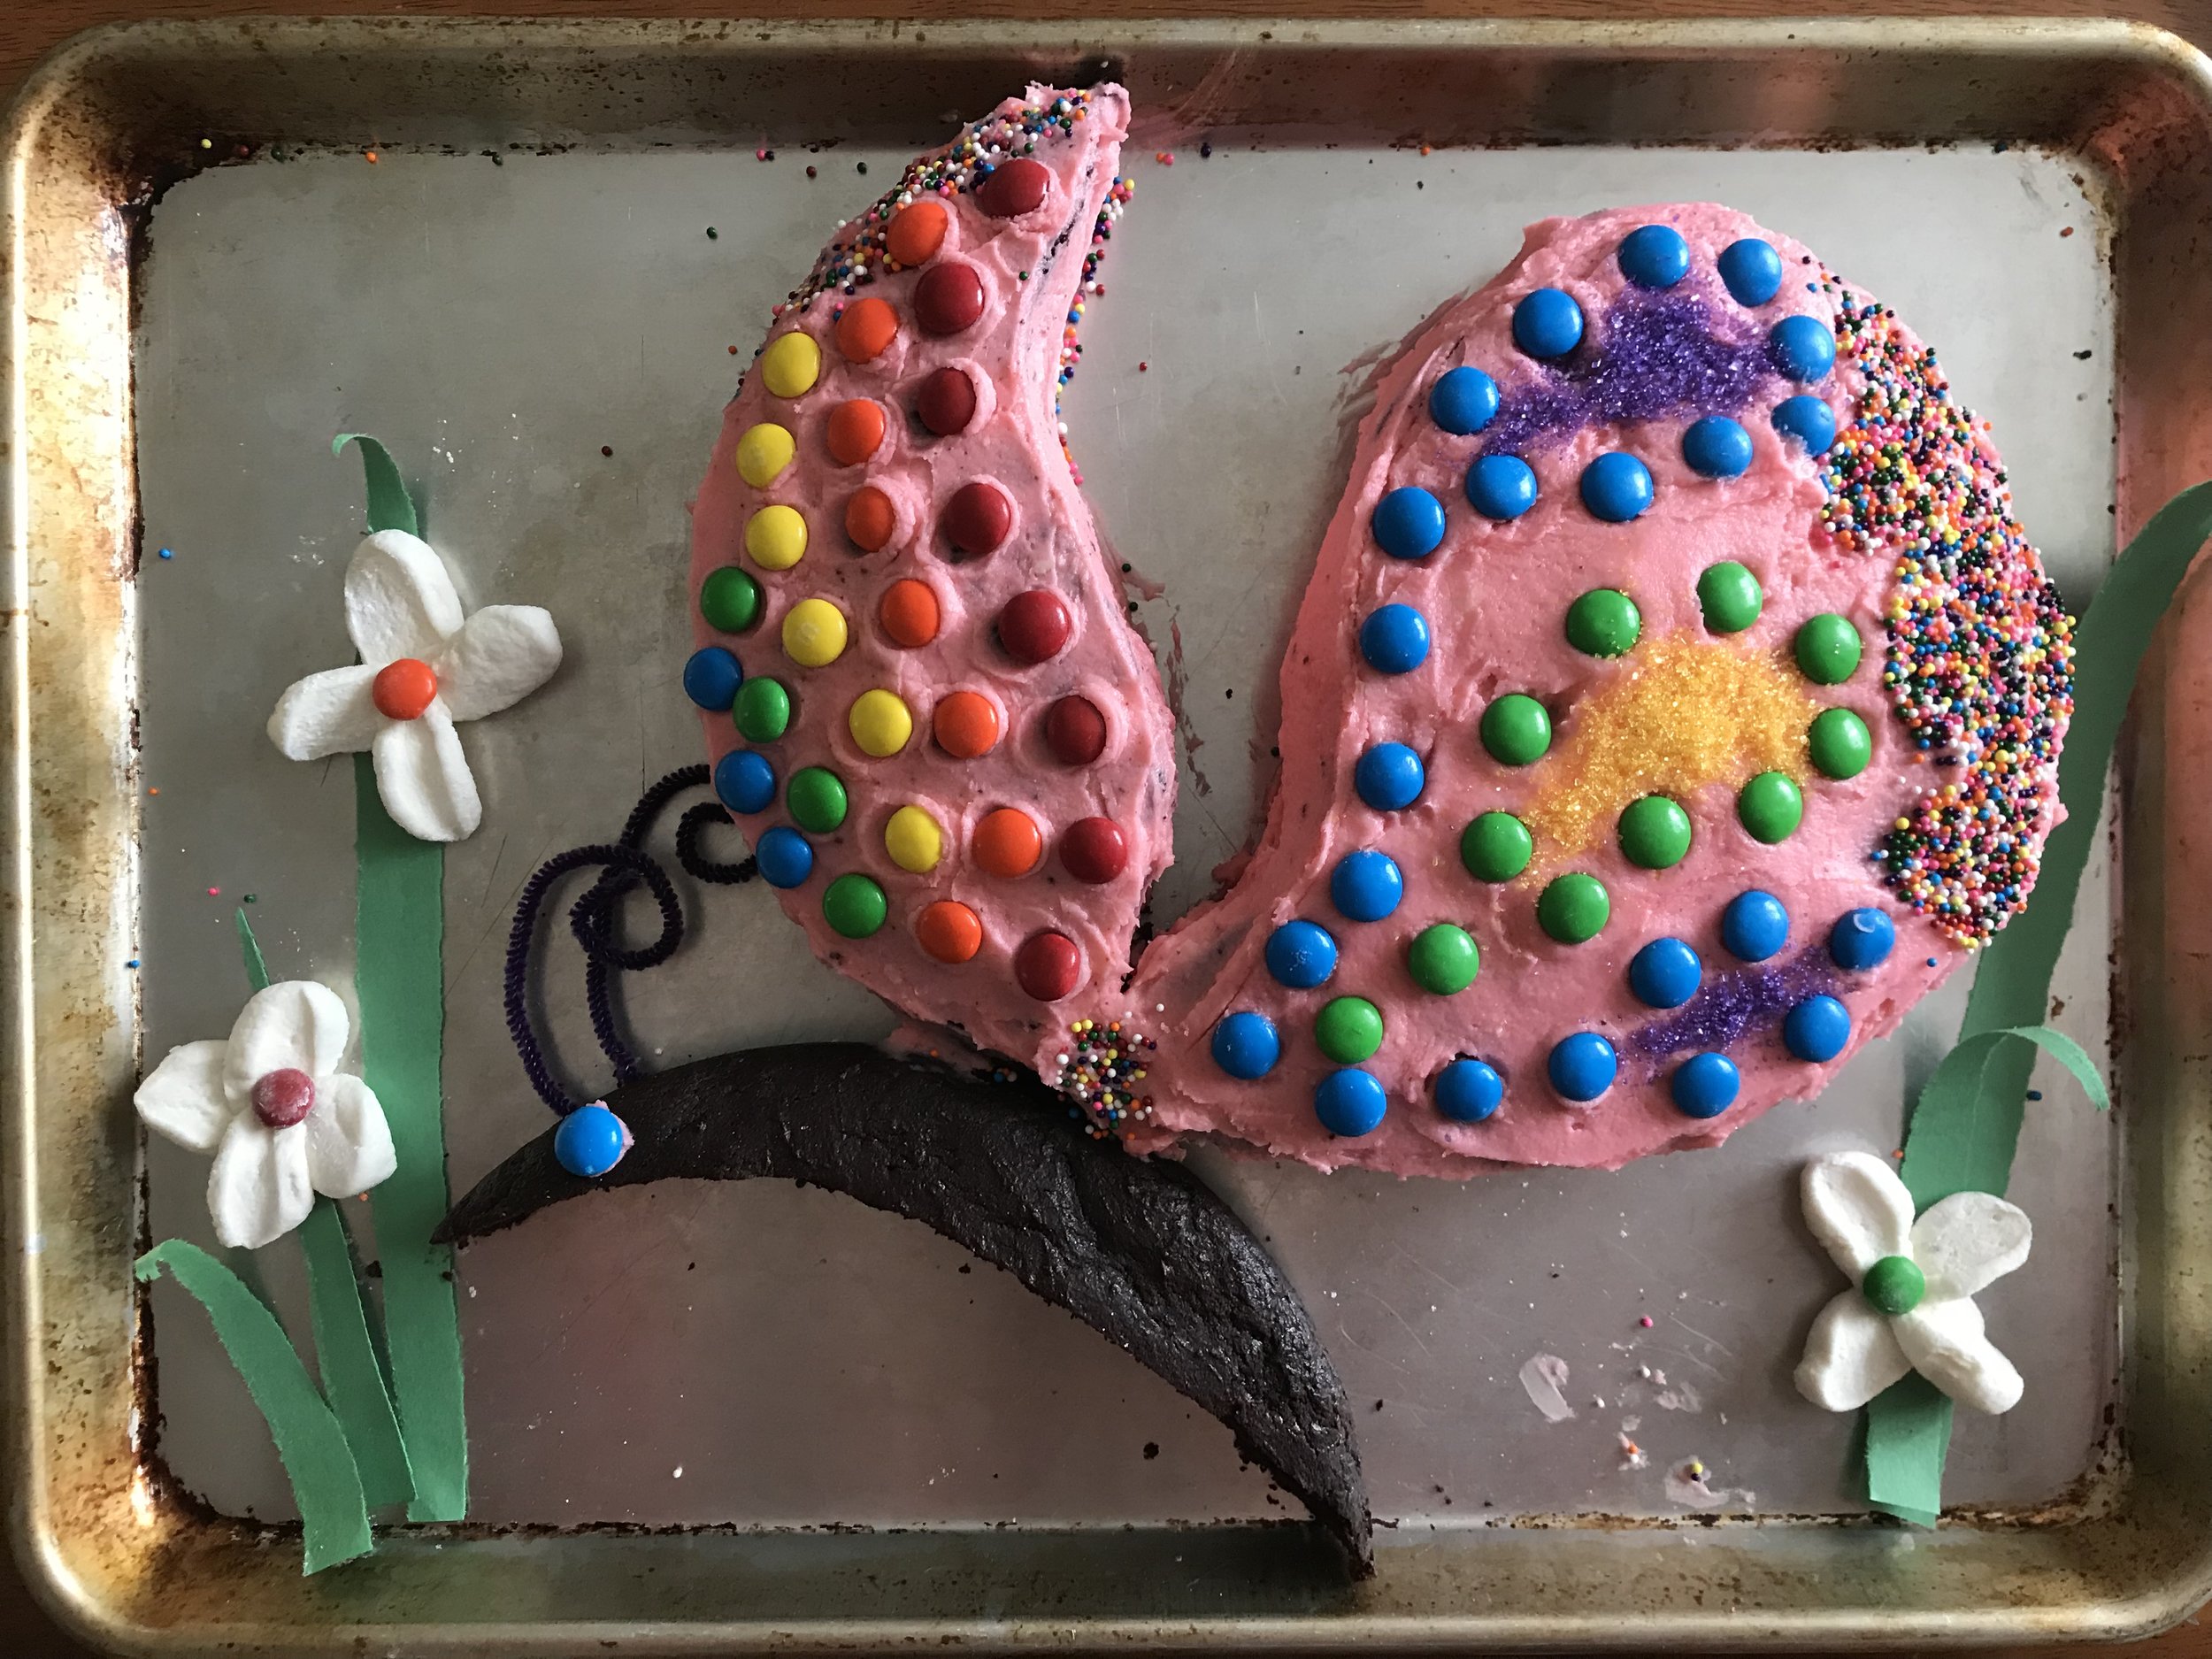
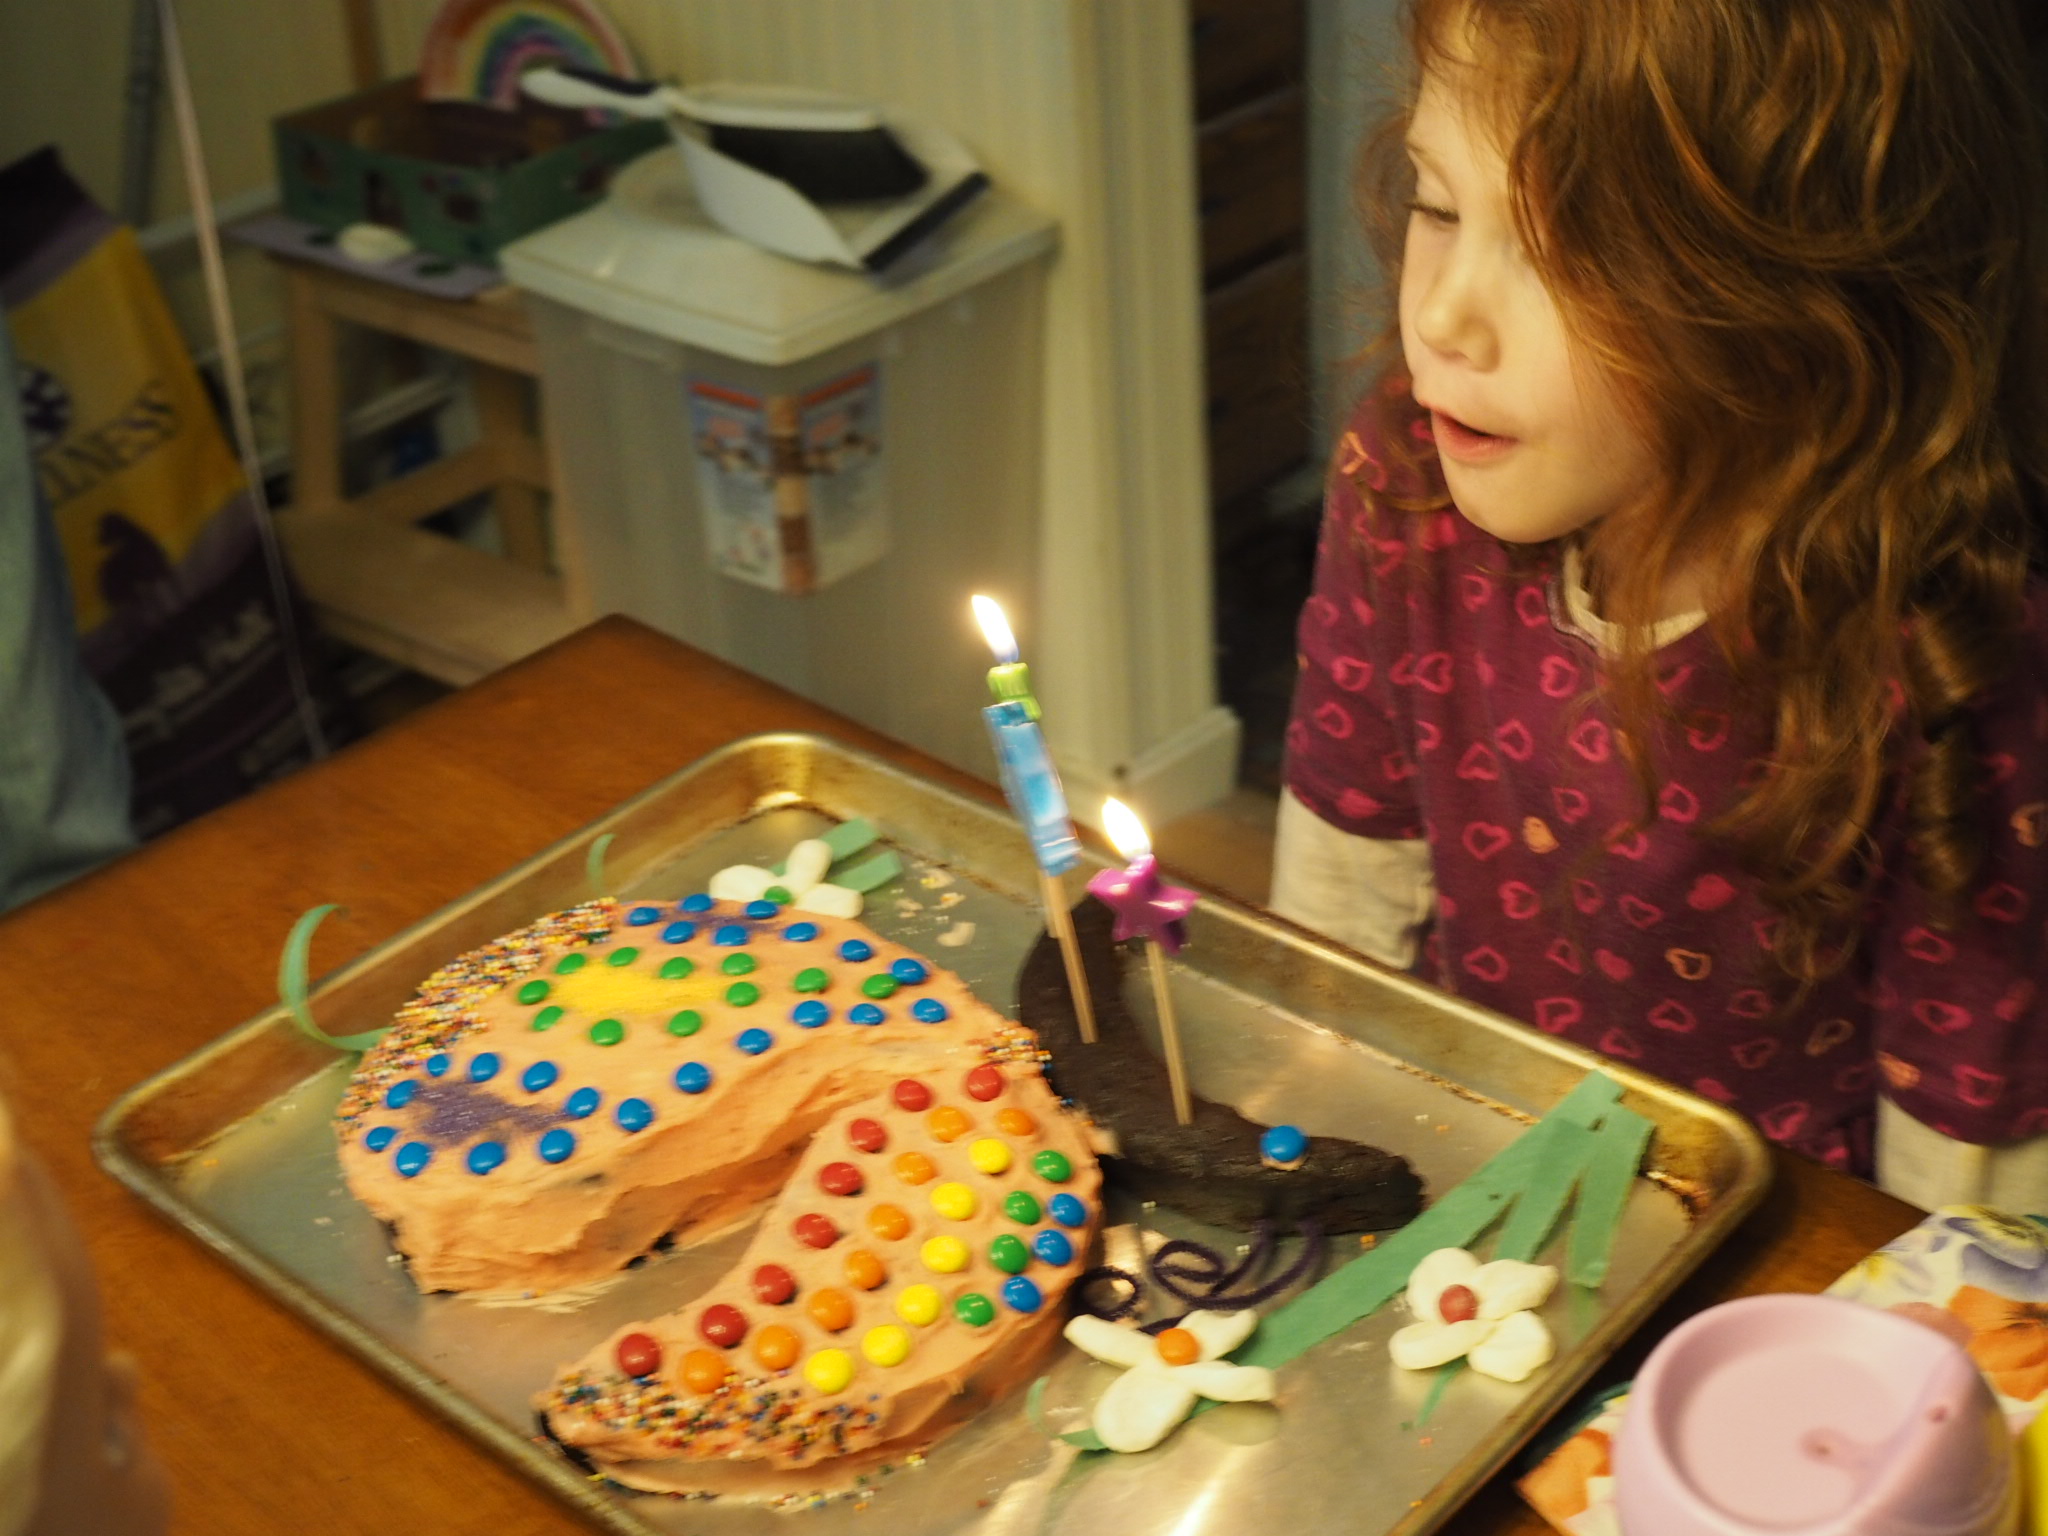
I did my best attempt at the Butterfly Cake from The Australian Women’s Weekly Children’s Birthday Cake Book for LMC’s 6th birthday, which just passed. A cake design that my mother had made for my own 4th birthday back in 1987. I think her version was a bit more elegant, but mine passed kid muster all the same.

LMC, as with most cakes, ate the frosting off her slice and hasn’t touched it since, so like that Tigger cake all those years before, this cake was mostly for me. And you know what? I’m okay with that and also I’m pretty sure it won’t be the last…

Print Friendly and PDF Follow
follow us in feedly

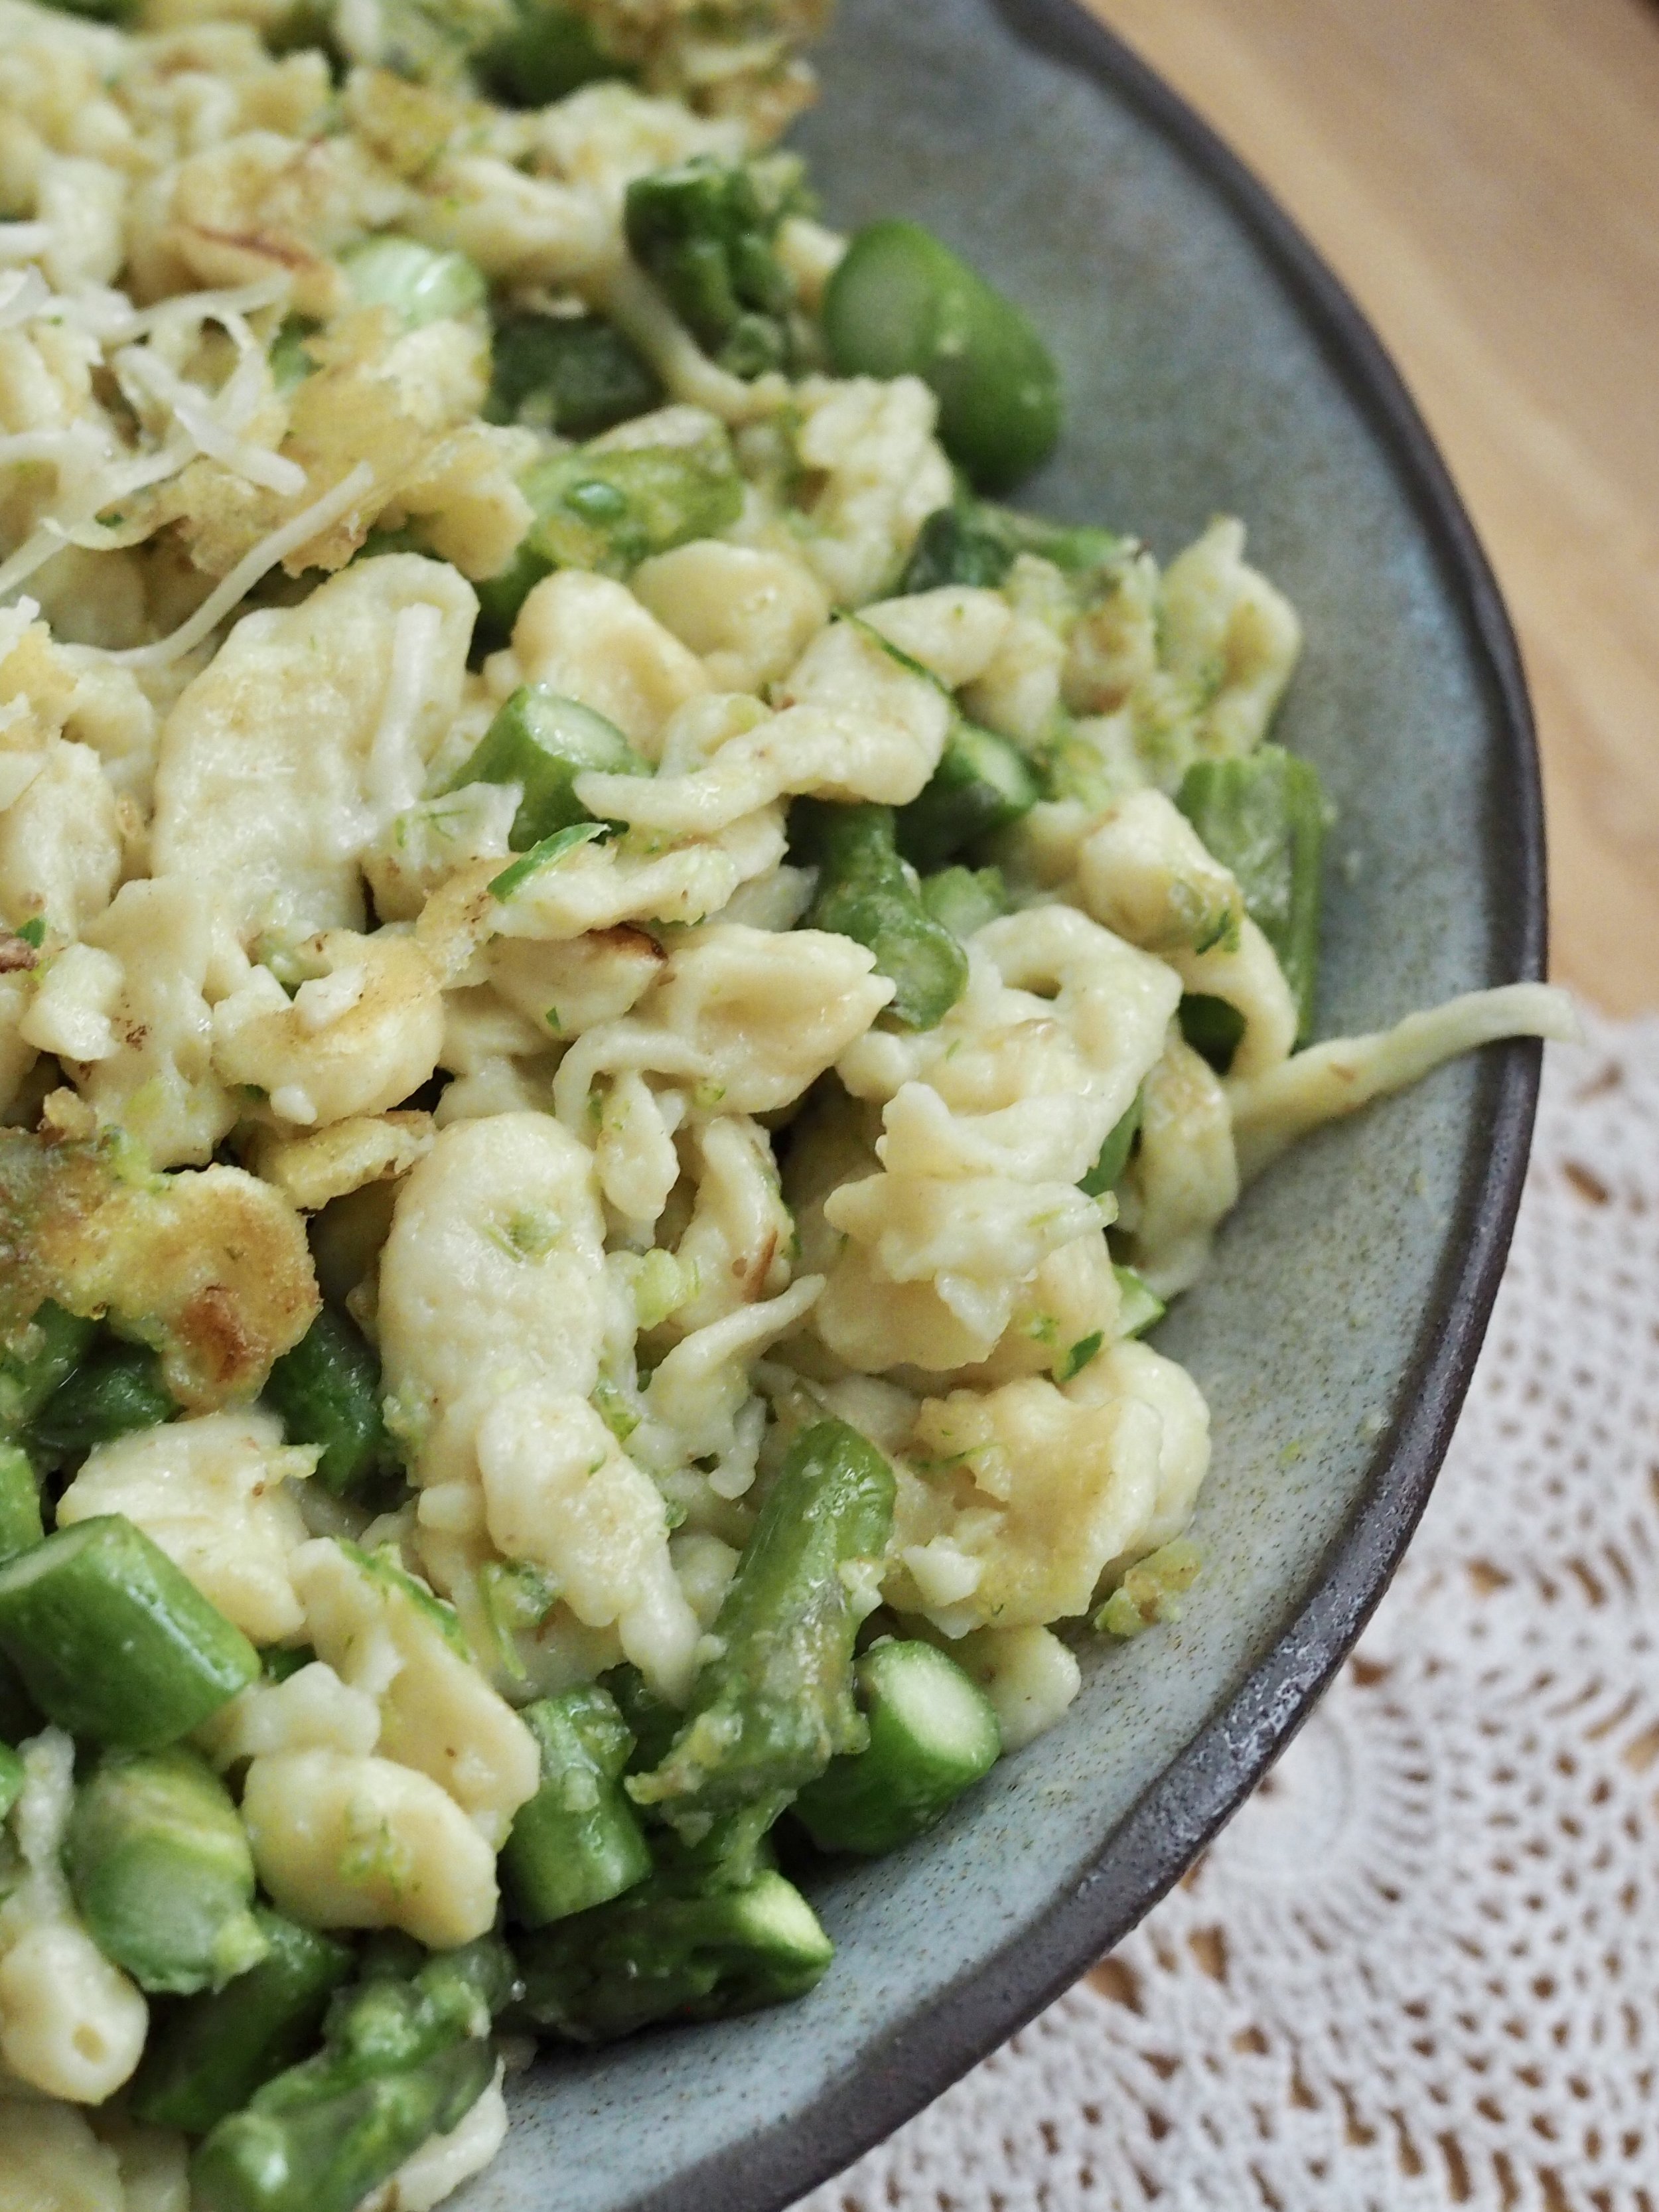
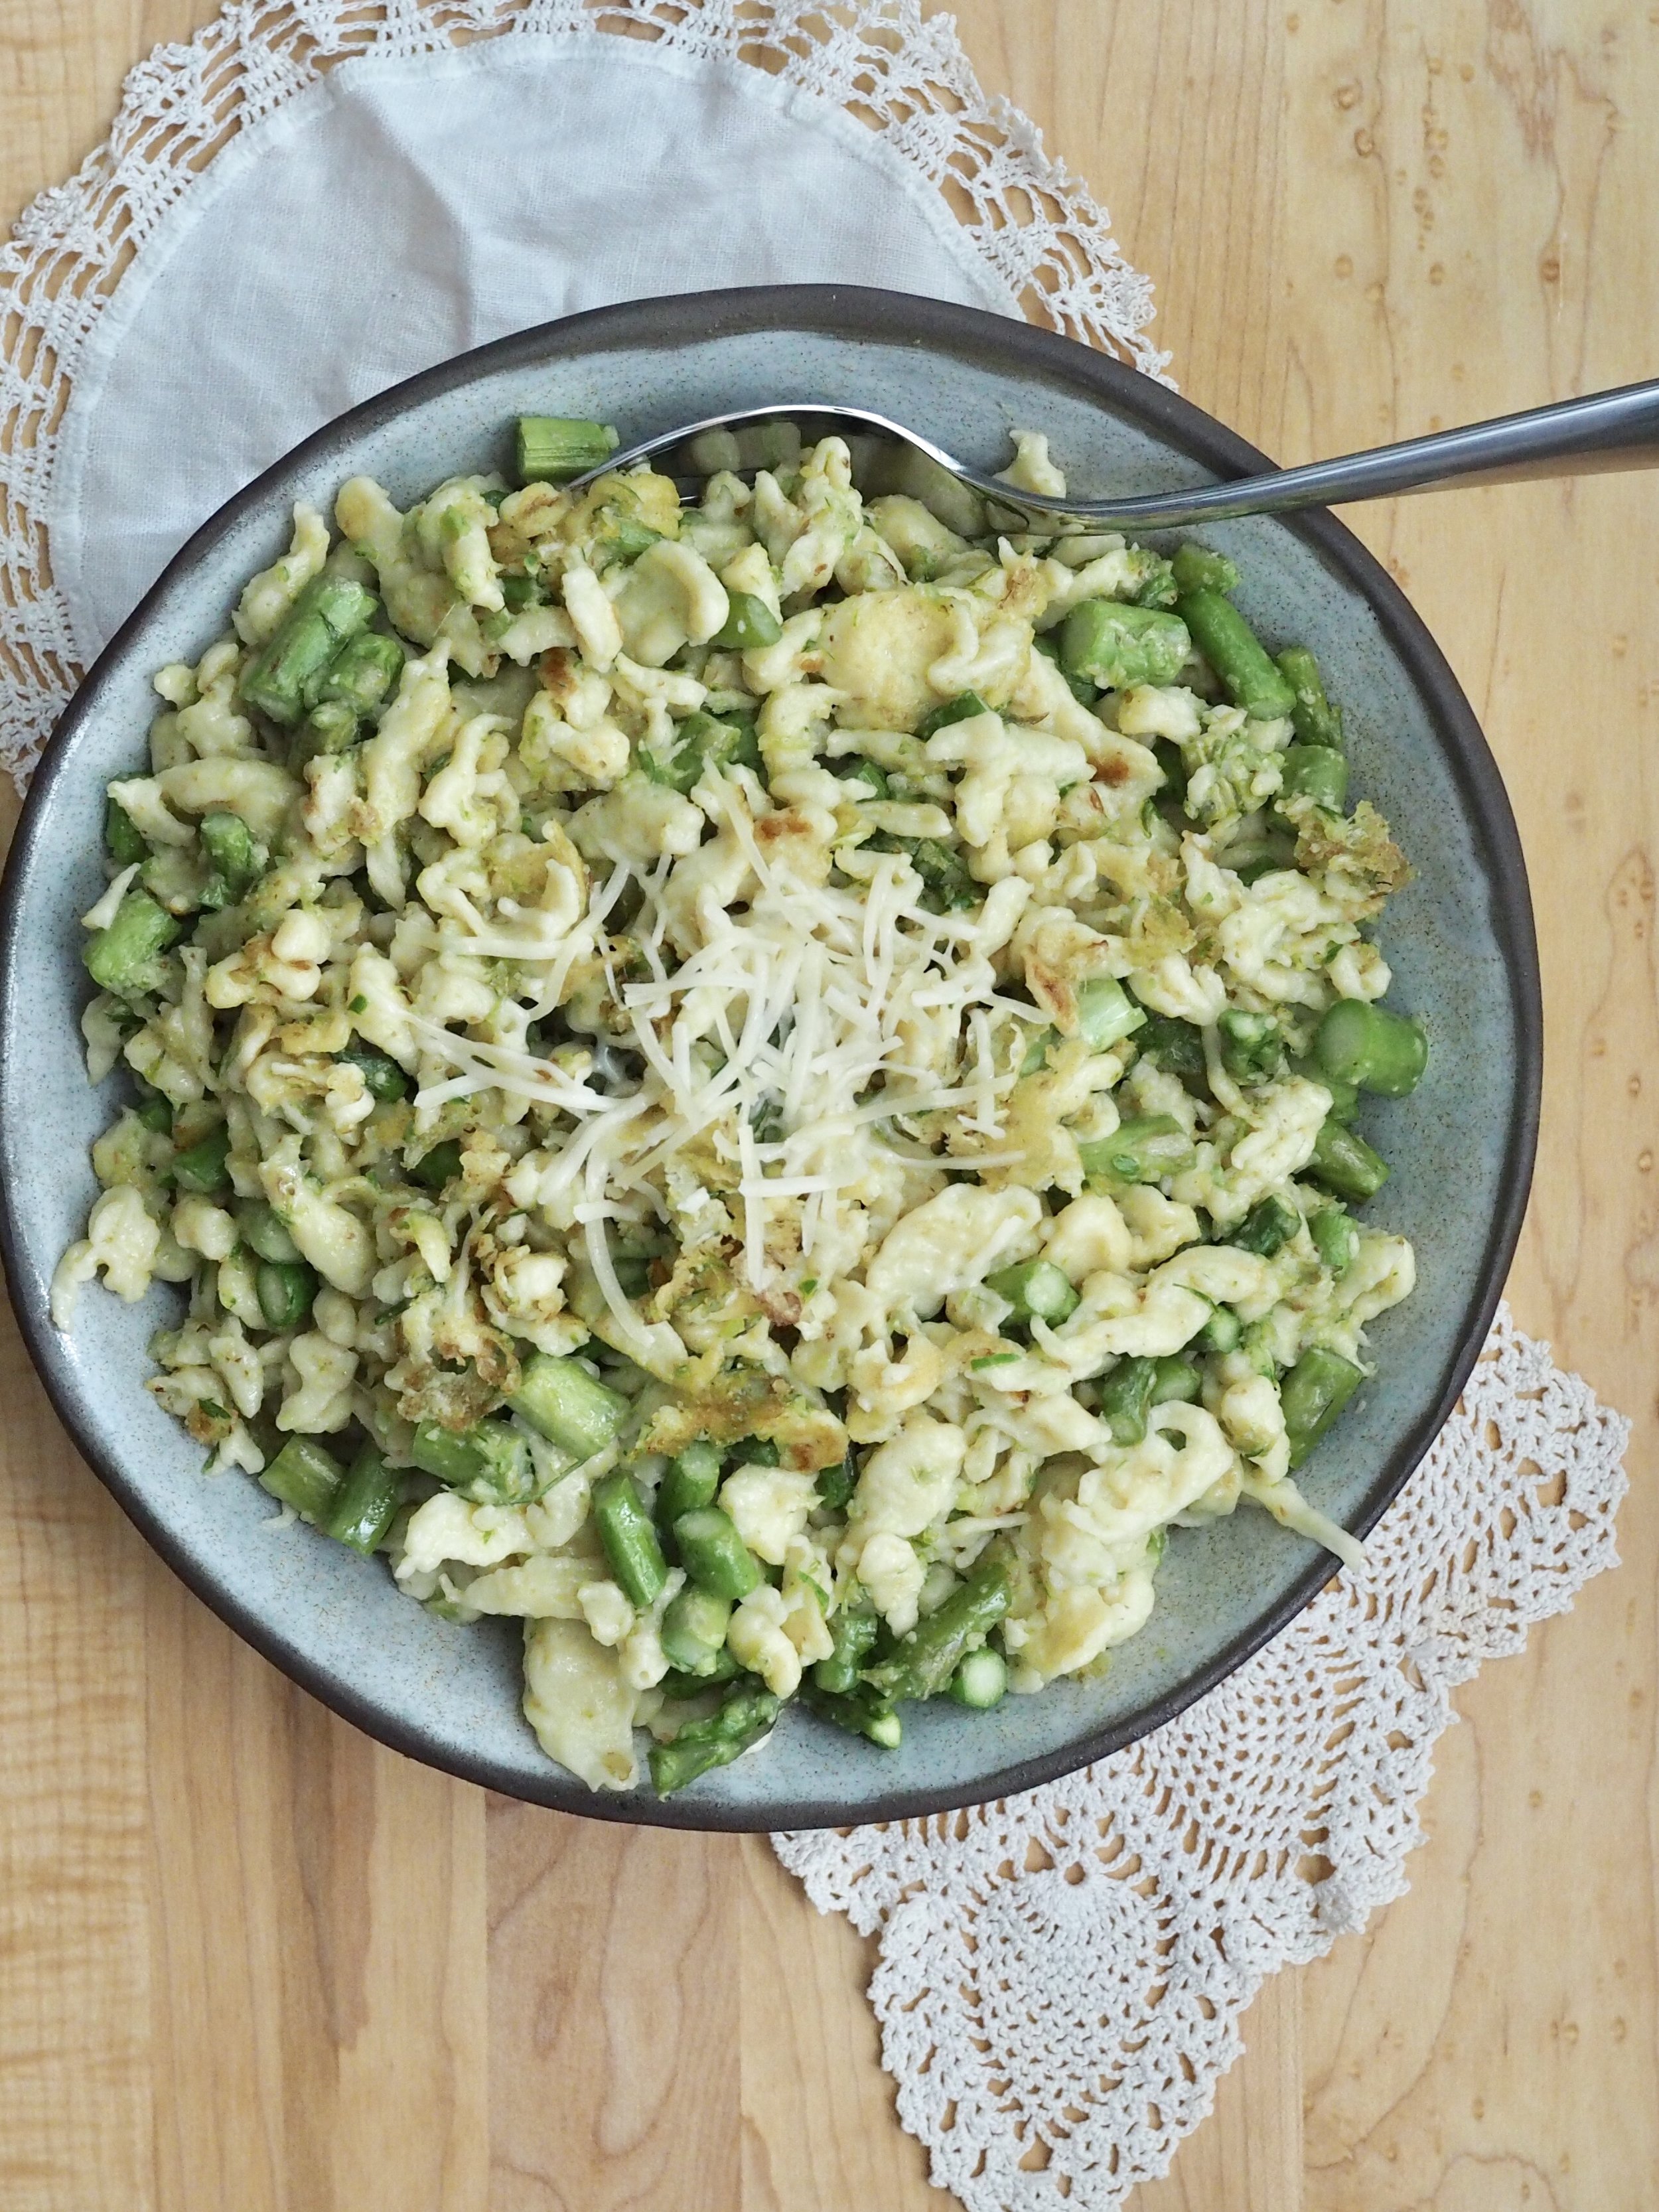
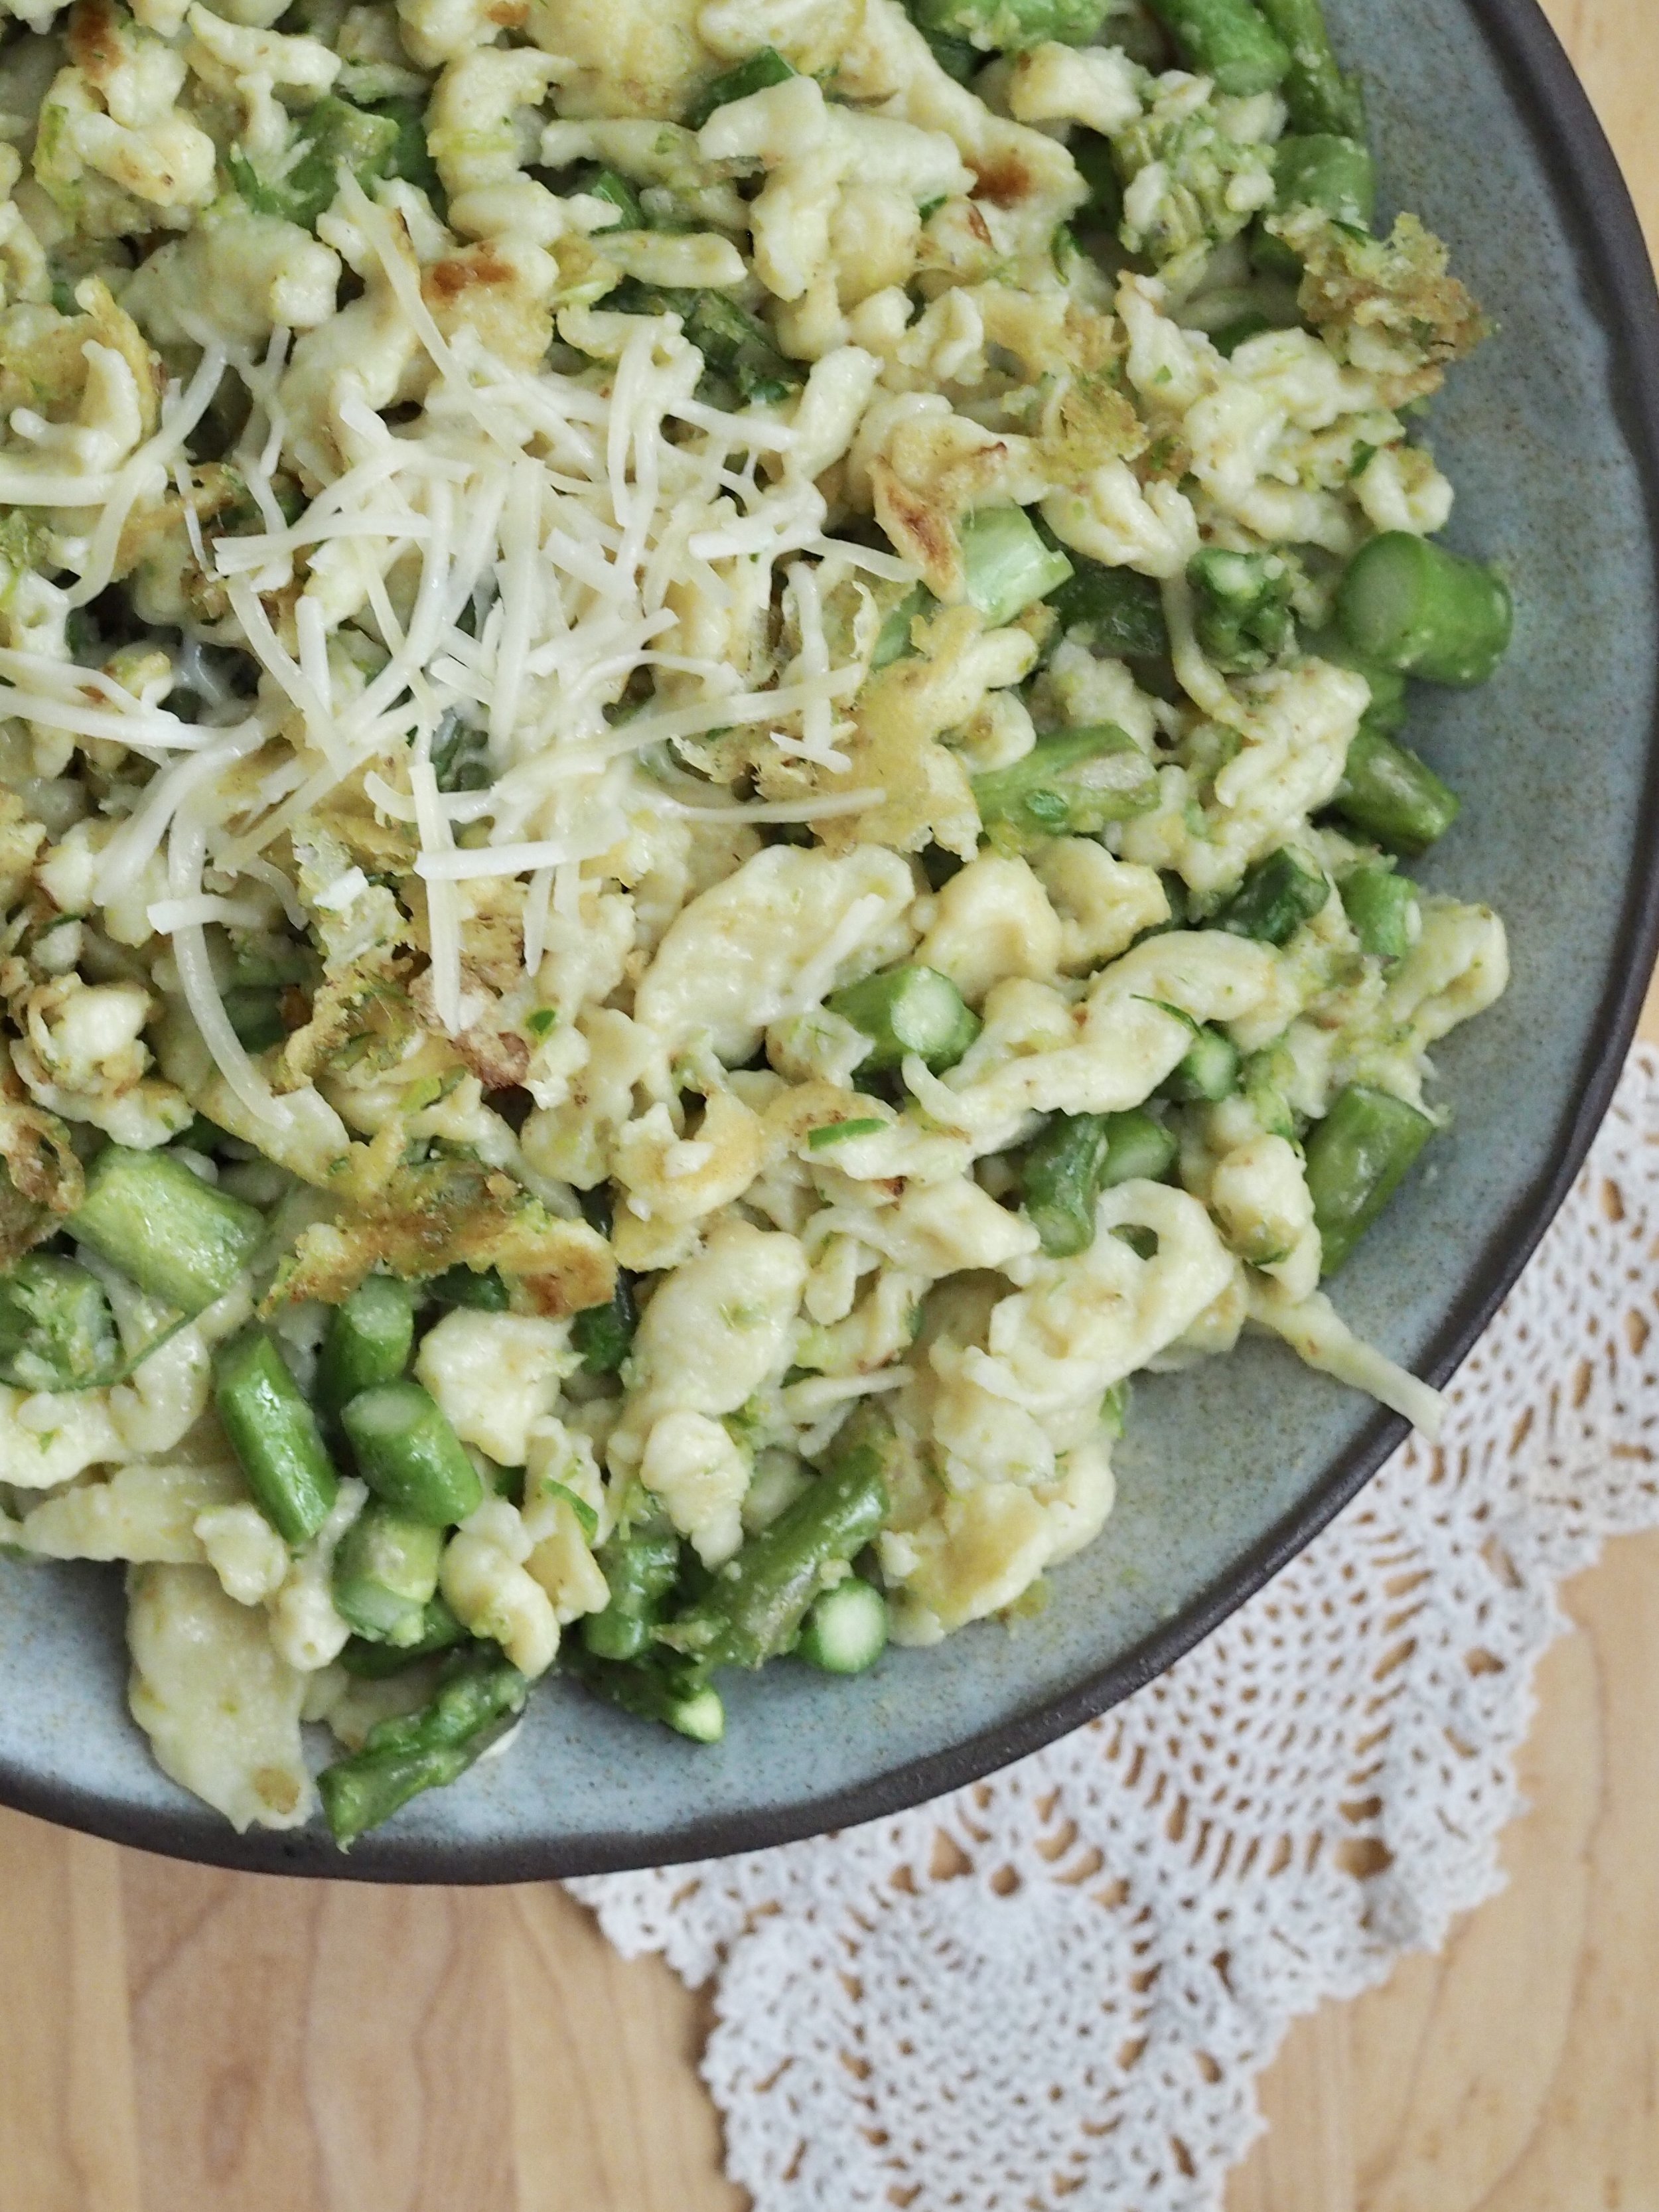
Garlic Scape Pesto and Asparagus Summer Spaetzle

Summer Spaetzle Recipe.png

I've written before about my burgeoning love of German food, so it should be no surprise that Spätzle/Spaetzle was become a popular dinner in the Cleaver household. 

I'll admit that I've yet to find a way of making Spätzle that doesn't make a huge mess (the noodle dough is super sticky!), but I find the end result worth it. The recipe makes a generous amount of noodles (four adult-sized portions) and can be easily doubled. 

Not in garlic scape season? Try substituting in chives, wild garlic leaves, spring/baby garlic or basically anything in the edible allium family like scallions, shallots, or leeks. No fresh asparagus around? Substitute with frozen*, or try green beans, sugar or snow peas, broccoli stems - anything green with a snap. 

*Frozen veggies beat out of season veggies any day in my book. 

Garlic Scape Pesto and Asparagus Summer Spätzle

This bright and delicious combination of German-style spätzle noodles, asparagus, and fresh pesto stands as a light summer meal on its own, or pairs beautifully with sausage, chicken or pork (especially Schnitzel!) for a heartier meal.

Spätzle Dough

  • 2 cups all-purpose flour
  • 4 eggs
  • 1/2 cup milk
  • pinch of salt

Garlic Scape Pesto 

  • 6-8 garlic scapes
  • 1/4 cup walnuts
  • 1/4 cup grated parmesan cheese, plus more for garnish
  • 1/4 cup olive oil, plus some for the pan
  • salt to taste

Note: The pesto can be made in advance, if desired.

Vegetables

  • 1 bunch fresh asparagus, chopped into 1-inch pieces, (about 2-2.5 cups)

Note: There are several methods to "pressing" Spätzle into it's shape. There's a Spätzle press if you have one (I don't). You can also use a potato ricer on the largest holes, "cutting" it from a board, squeezing it from a bag, or my most frequently used method, using a spatula to press it through a large-holed colander.

On/next to your stovetop, prepare the following: a large pot of water set to a rolling boil, a large frying pan oiled with approximately a 2 Tablespoons of olive oil (don't heat it yet), and a large bowl filled with ice water.

Make dough: In a large mixing bowl, combine dough ingredients and let sit for about 15 minutes.

Make pesto (can be done in advance and refrigerated): In food processor, combine scapes and walnuts, pulsing until finely chopped. Add cheese and pulse to mix. Slowly add olive oil until desired consistency is achieved. Add salt to taste.

Using the method of your choice, press dough into the pot of boiling water in batches. Once the noodles begin to float (about 2 minutes) removed with a slotted spoon and place in the ice water. Make the rest of the noodles in the same fashion. Drain the noodles. 

Heat frying pan. If using frozen vegetables, saute them lightly first, then add the drained noodles. If using fresh vegetables, add both noodles and vegetables to the frying pan at the same time. Fry the noodles until golden brown, adding extra oil if it starts sticking to pan. Add the pesto and mix until well distributed. Remove from heat and transfer to serving bowl. Garnish with additional shredded cheese.  

Enjoy!

Adapted from What's for Lunch, Honey? 

Summer Spaetzle Recipe 2.png

Garlic Scape Pesto and Asparagus Summer Spatzle

Serves 4 Ingredients: 2 cups flour 4 eggs 1/2 cup milk salt to taste 6-8 garlic scapes 1/4 cup walnuts 1/4 cup parmesan cheese 1/4 cup olive oil 1 bunch asparagus
Print Friendly and PDF Follow
follow us in feedly

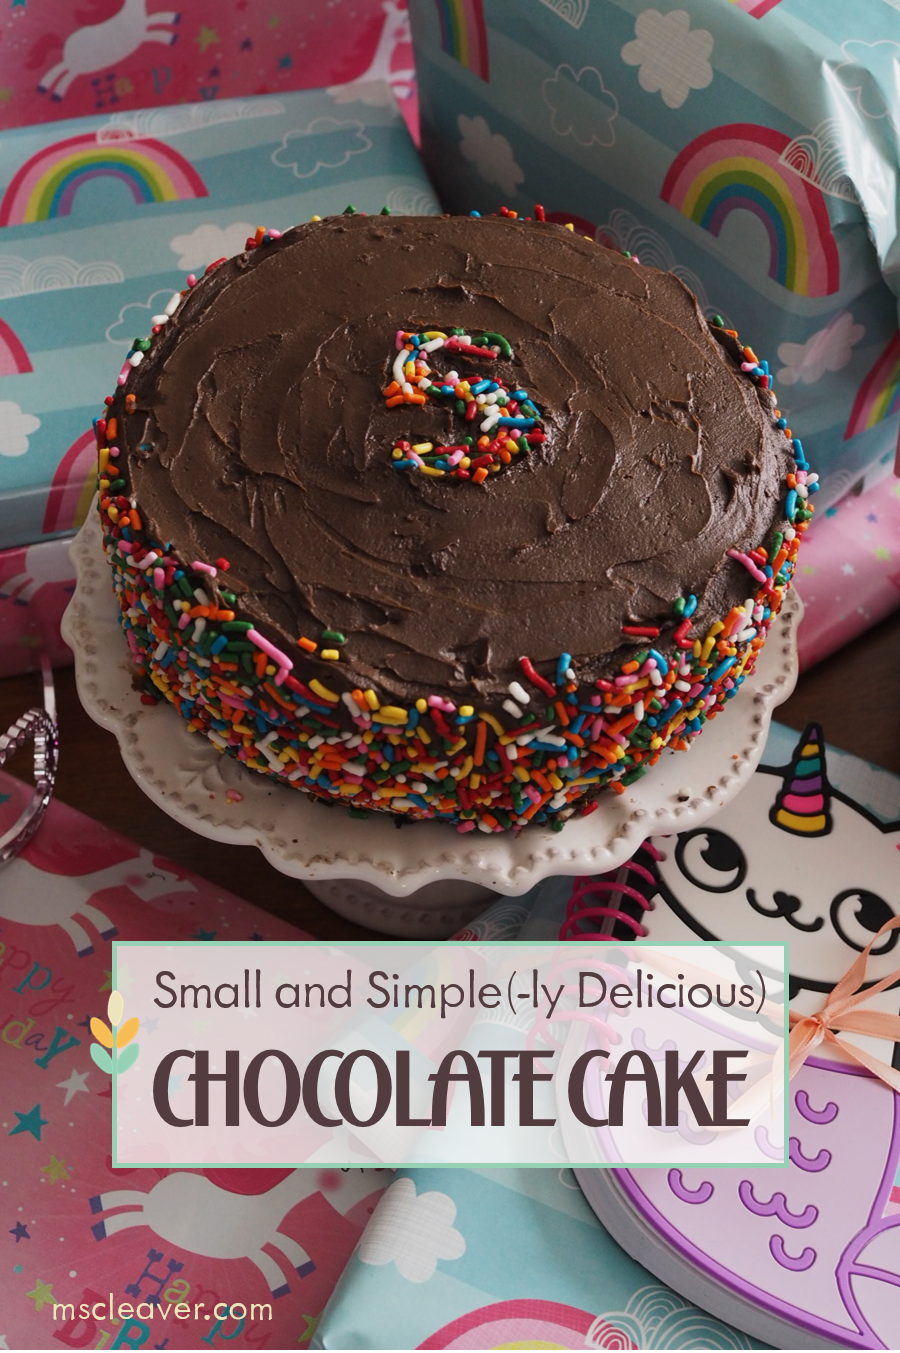
Small and Simple (-ly Delicious) Chocolate Cake

Six Inch Chocolate Cake.png

Little Miss Cleaver just turned five in March. (I know, I have no idea how that happened so fast either).

To celebrate such a momentous occasion, we had a big friend birthday party about a week before the actual day.  But, in LMC's words, the "real party" was the one with family on her actual birthday. So even though we were solidly cupcaked-out by that point, a cake was still in order. Enter this deeply chocolaty, but petite cake - just enough for the three of us to handle and cute to boot.

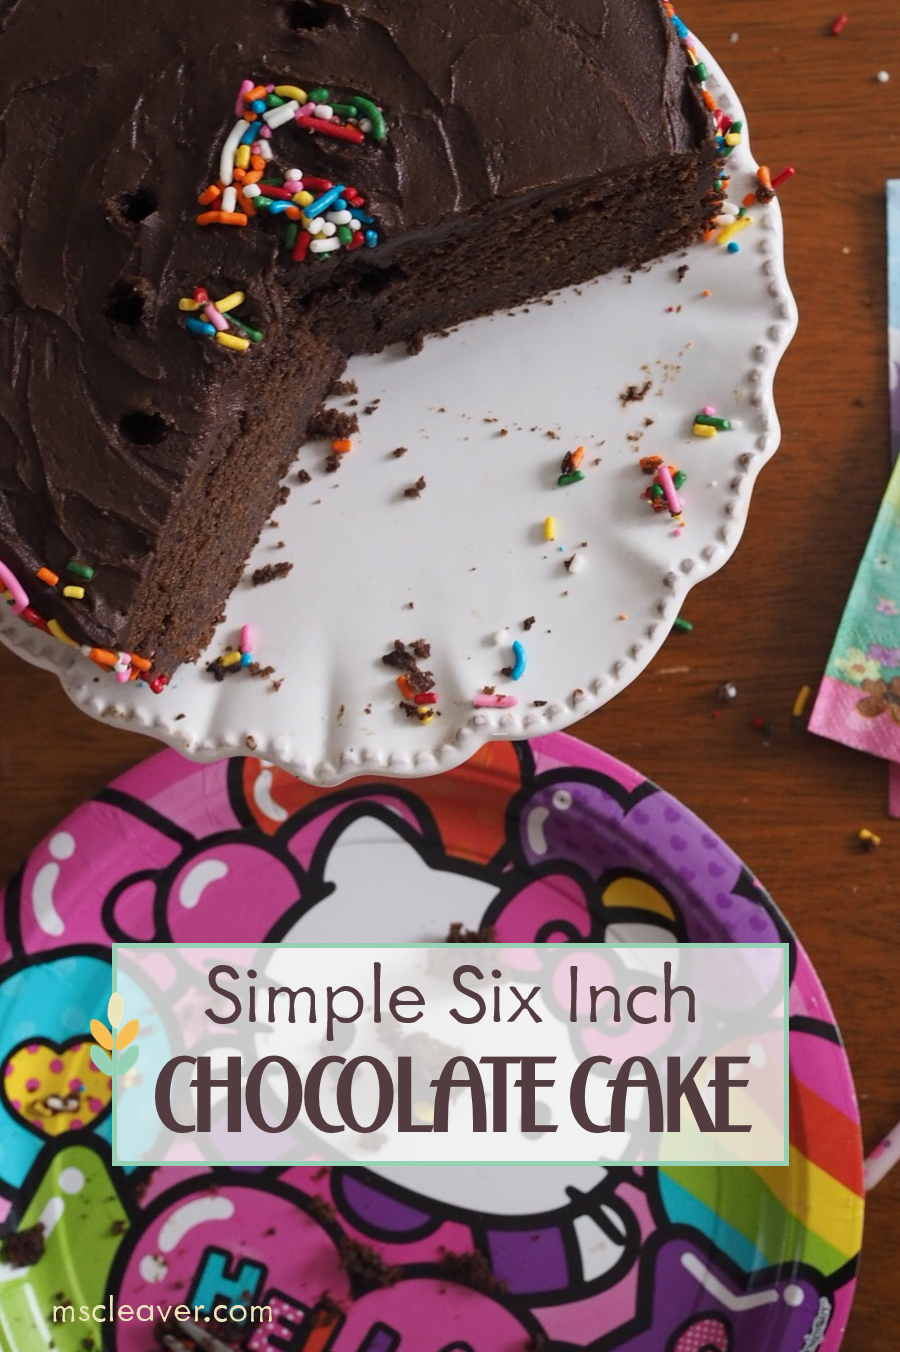
There are hundreds of chocolate cake recipes out there, so I'll just say that this one was still really moist after three days at room temperature and I use my blog as my own personal recipe box and I wanted to put this out there so I can remember it for the next birthday. 

This recipe will fill any of the following:

  • One 9" cake pan
  • Two 6" cake pans
  • About 10-12 cupcakes
  • Or a really thick 6" cake, plus a small ramekin. (which is what I did).


Small and Simple (-ly Delicious) Chocolate Cake

Cake

  • 1 cup all-purpose flour
  • 1/2 cup plus 3 Tbl unsweetened cocoa powder
  • 1/2 tsp baking powder
  • 1/2 tsp baking soda
  • 1/4 tsp salt
  • 1/2 cup salted butter, softened
  • 1/2 cup plus 2 Tbl sugar
  • 1 tsp vanilla
  • 1 large egg
  • 1/2 cup plain Greek yogurt
  • 3 Tbl cold coffee
  • 3 Tbl milk

Frosting

  • 4 Tbl salted butter, softened
  • 1 1/3 cups powdered sugar
  • 1/4 cup unsweetened cocoa powder
  • up to 3 tbl milk
  • 1/2 tsp vanilla extract

Optional (lots of sprinkles to decorate)

Directions

Preheat oven to 350 Degrees F. Grease pan(s) and coat with cocoa powder or use liner if making cupcakes.

In a medium bowl, sift together flour, cocoa powder, baking powder, baking soda, salt,  In a small bowl or  large measuring cup, combine coffee, milk, and yogurt. 

In a  large bowl, cream together the butter and sugar until light and fluffy. Add egg and vanilla to sugar and mix until well combined.

Starting and ending with the flour mix, alternate adding flour mix and yogurt mix to sugar/egg mix, making sure batter is thoroughly combined before each addition. 

Scrape batter into prepared pan(s), keeping the distribution as even as possible if using multiple pans. 

Bake cake until a tester inserted in the center of the cake comes out clean. Start your timer at 20 minutes and check every 3-5 minutes thereafter, cooking times will vary based on which pan you choose. 

Cool cake in pan for 10 minutes then invert unton rack to cool completely before frosting.

To make frosting: Beat butter until light and fluffy. Add cocoa and powdered sugar to butter. Add milk a tablespoon at a time, until desired consistency is achieve and then beat in vanilla. 

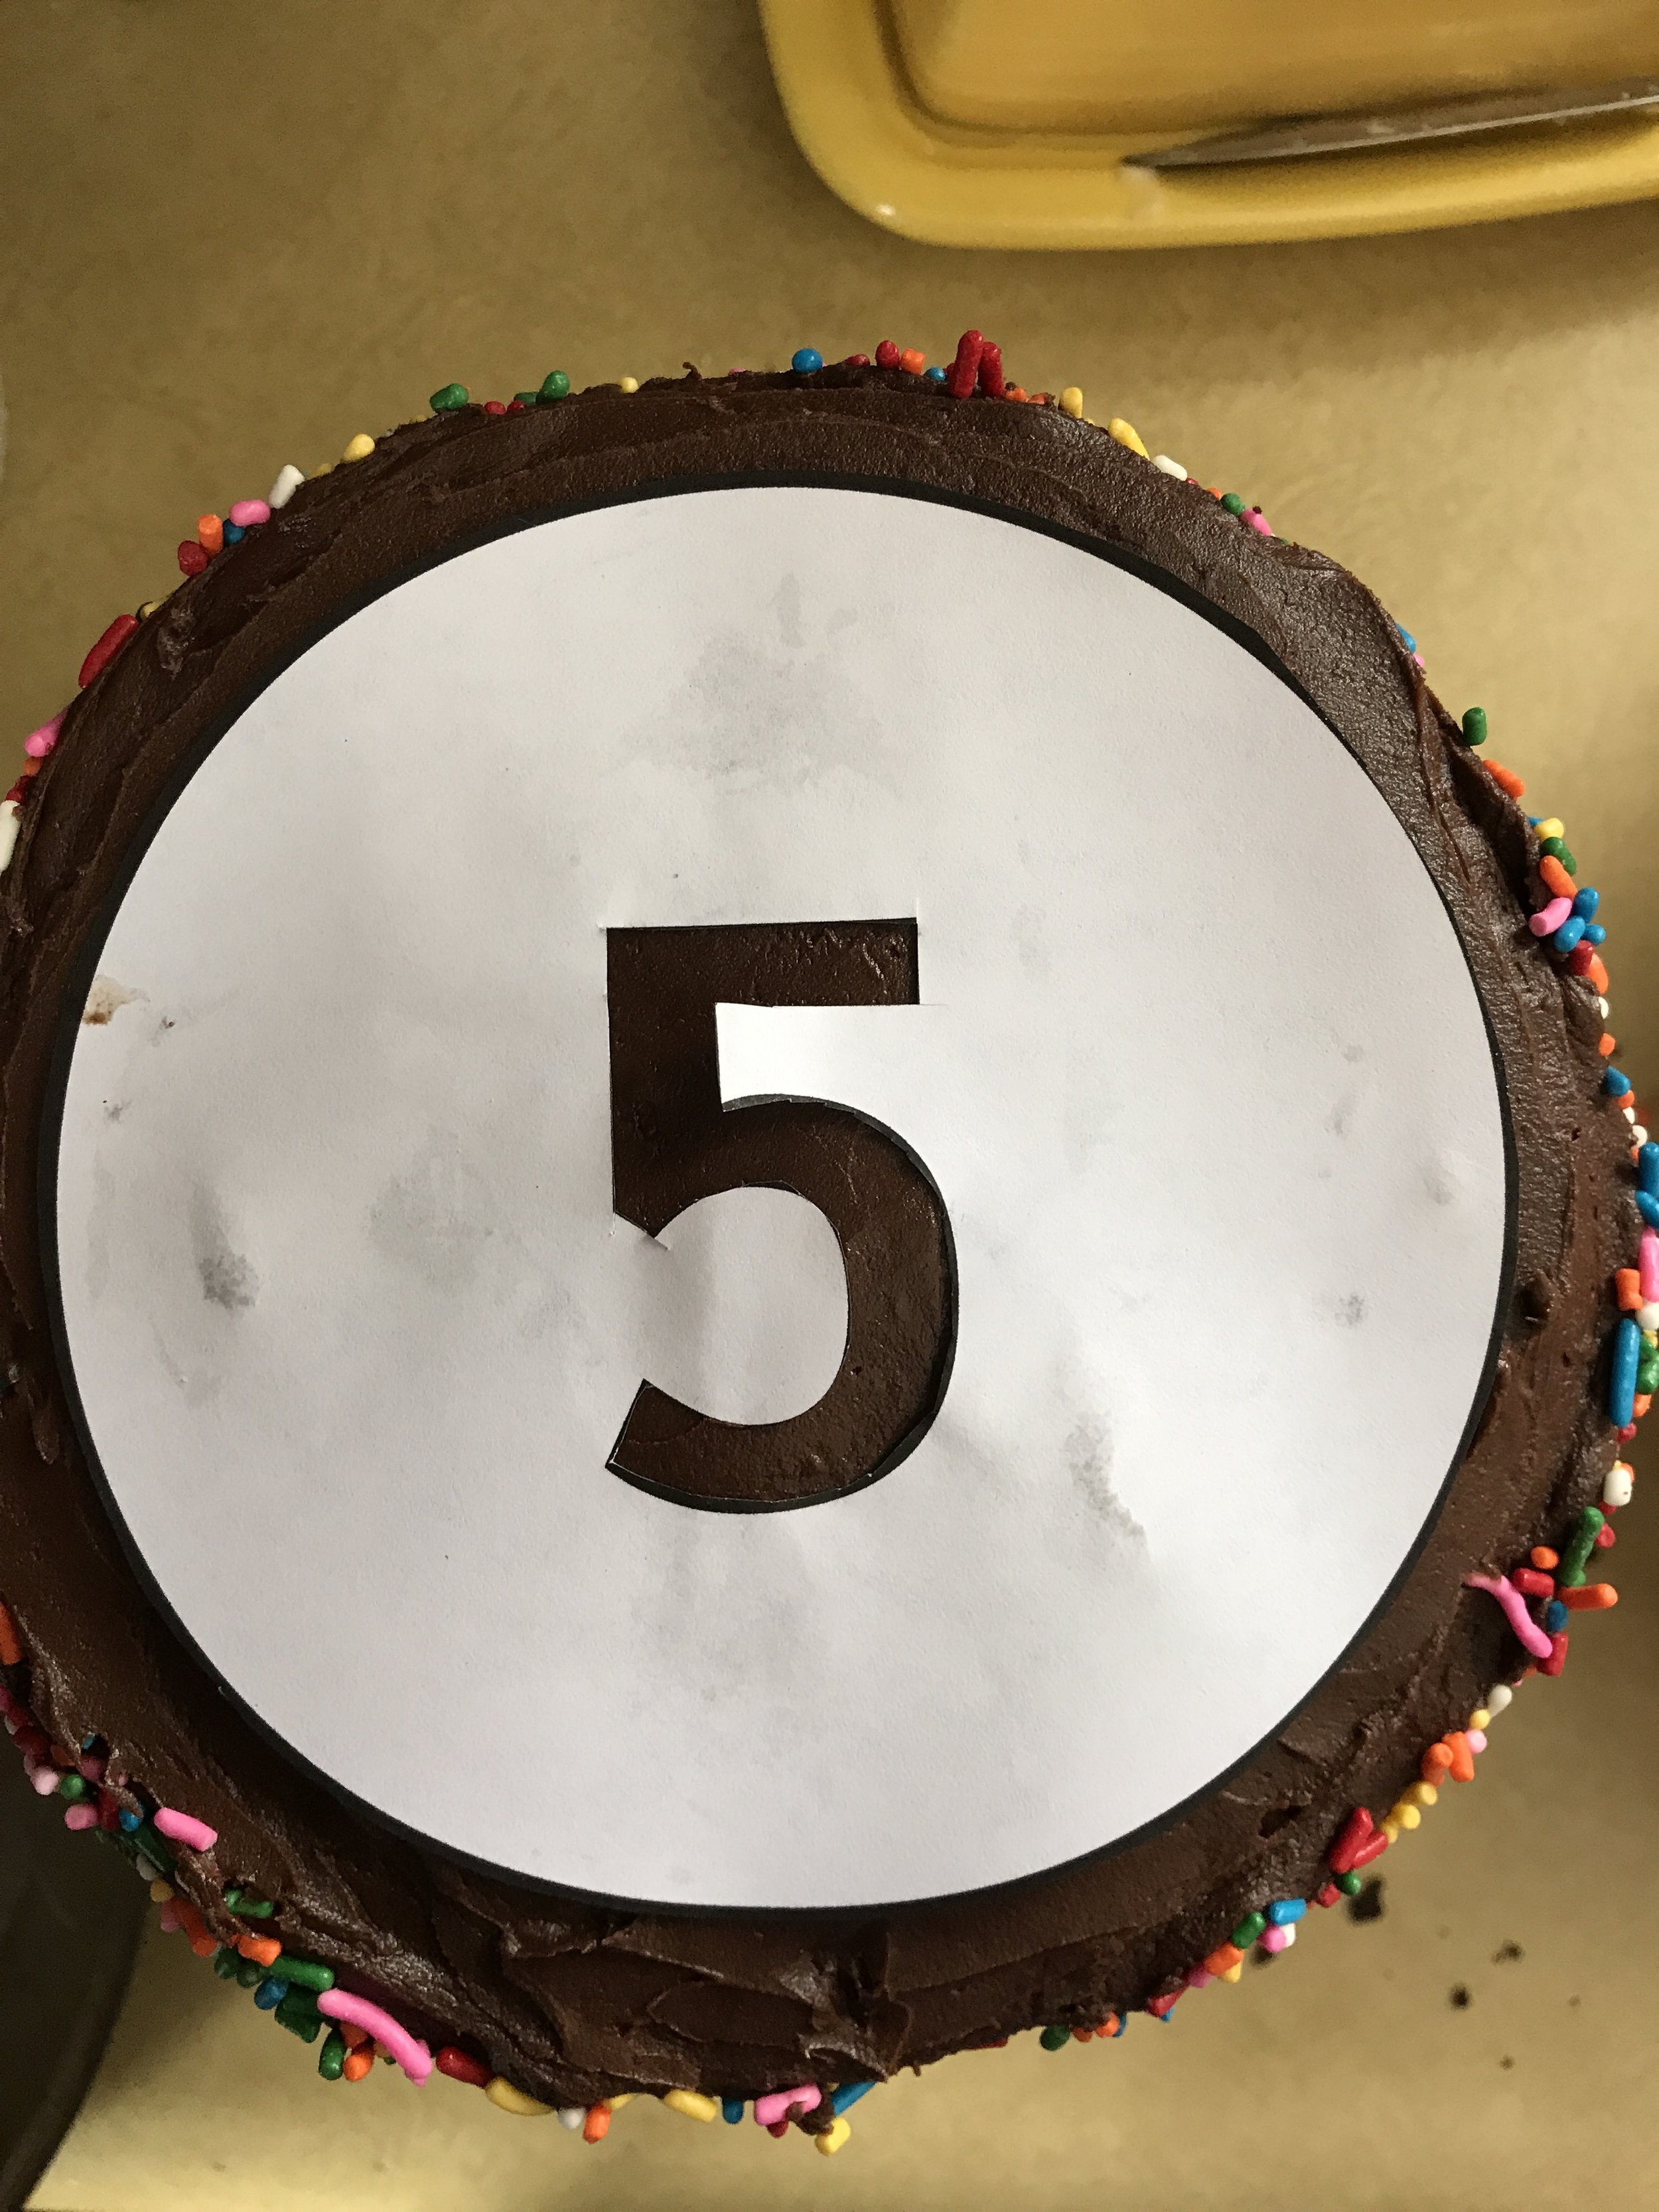
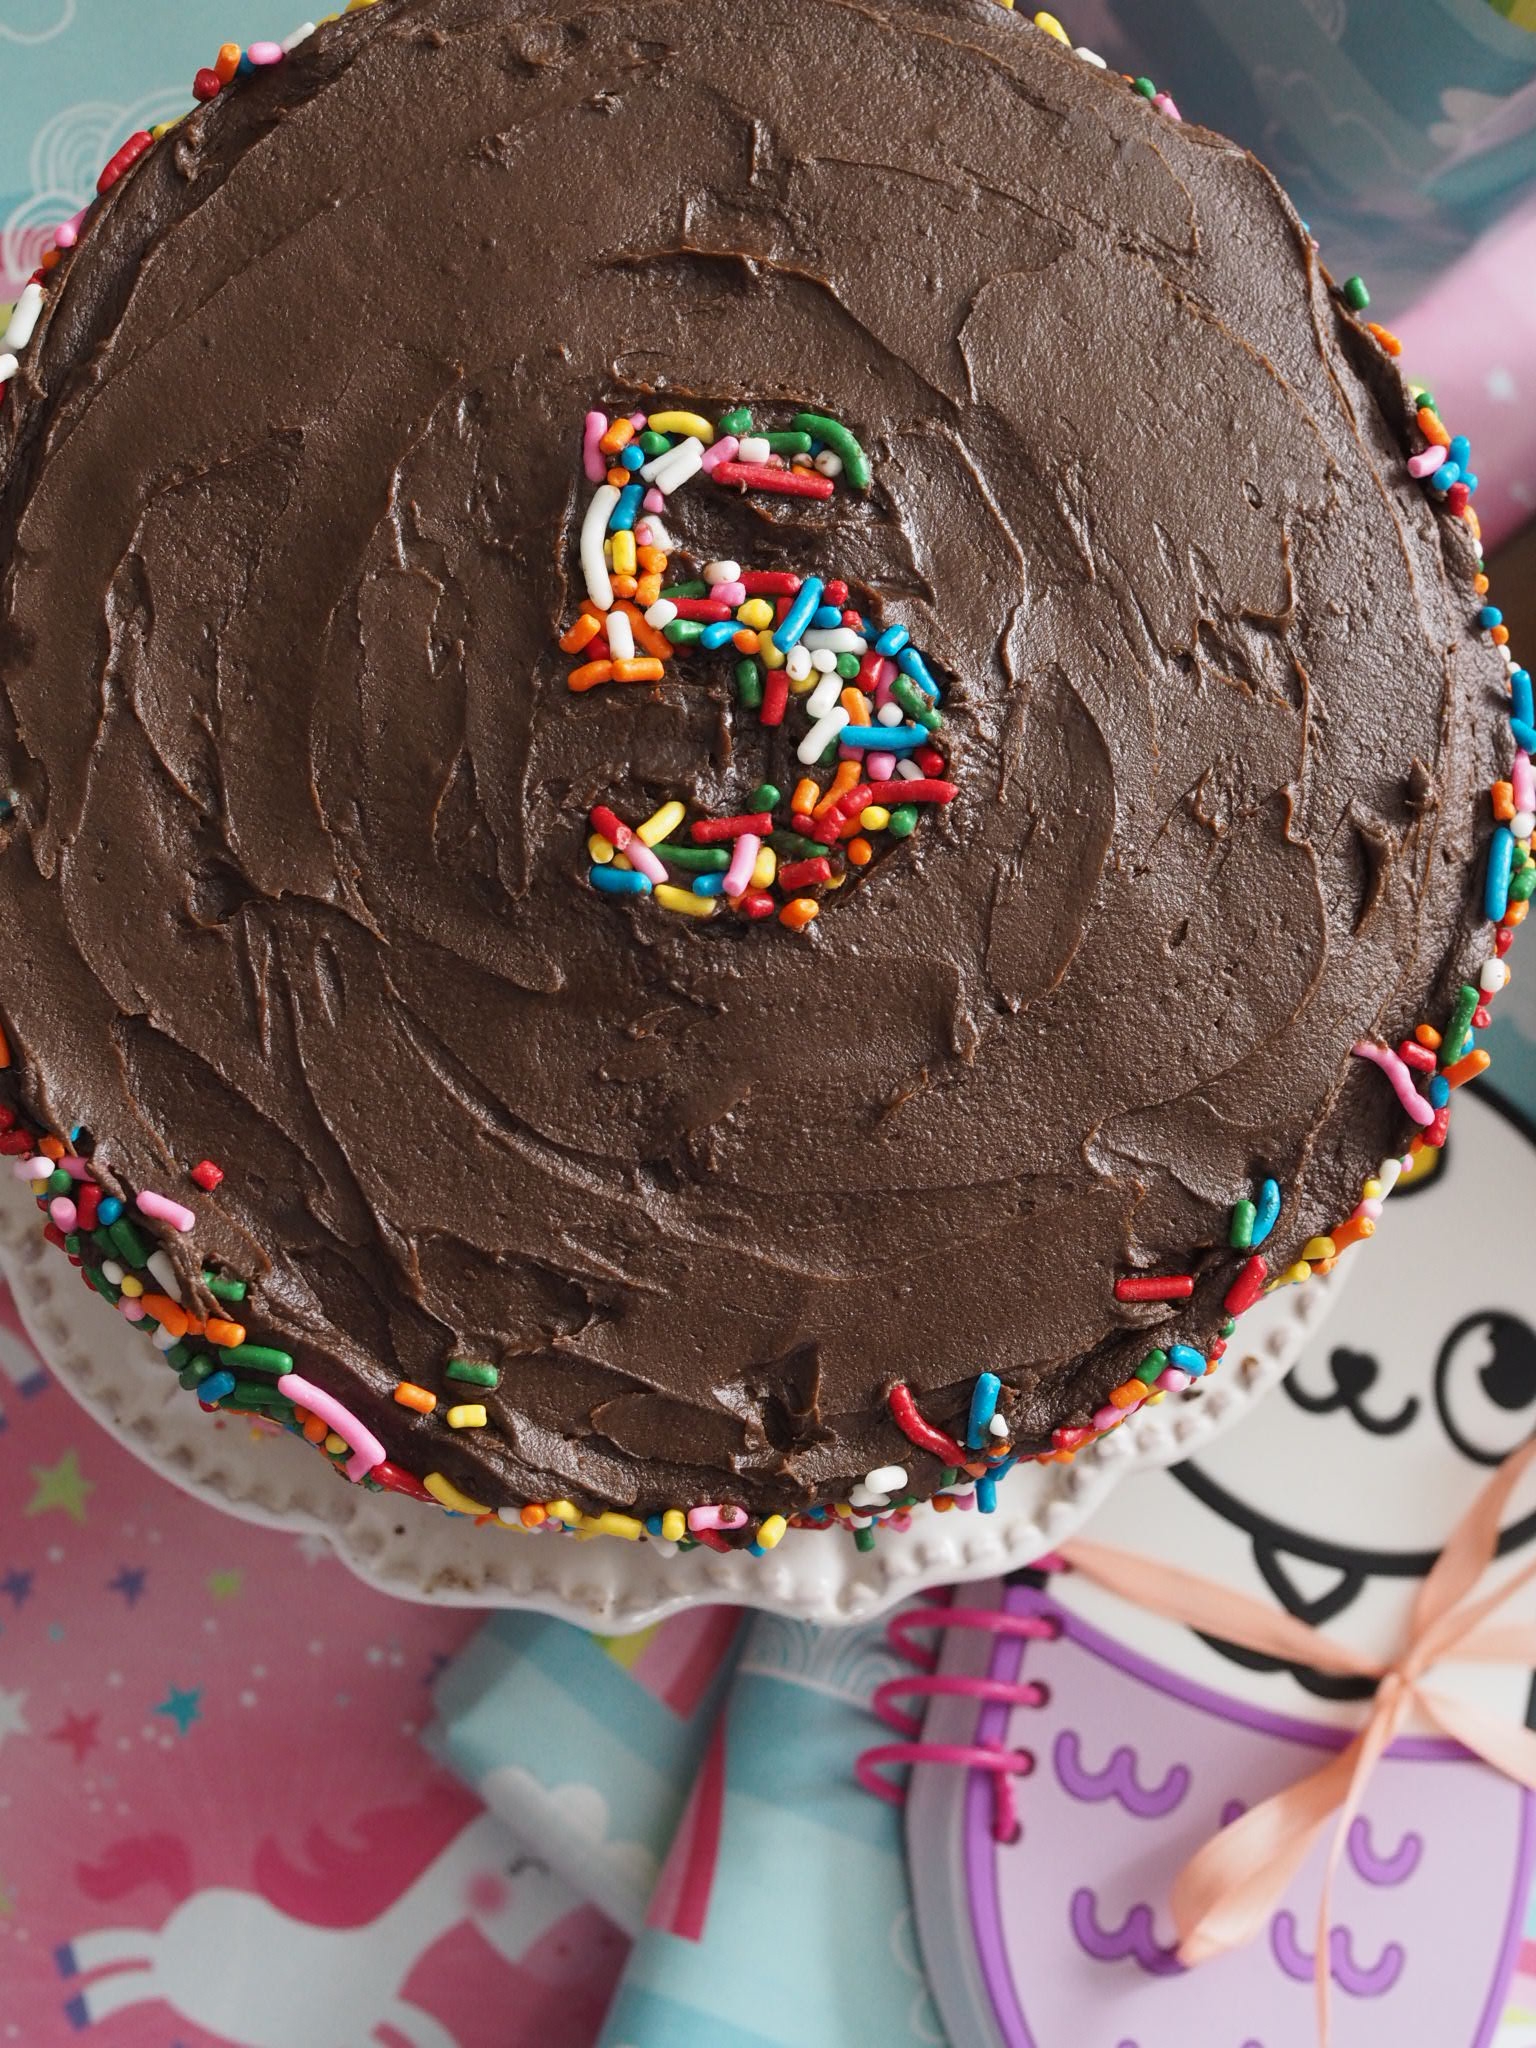
To decorate as shown: Place a large amount pf sprinkles into a pie pan or rimmed baking dish. Frost sides, but not top of cake. Being very careful, tilt the frosted cake into the pie pan and roll until sides are coated with sprinkles. Gently place cake unto serving dish or stand and press sprinkles into the side as needed. Frost top of cake. To make number, print out number of choice in a very large font (I think I used Impact here) in the center of a 5" circle. Cut out number with sharp scissors or an craft knife. Place template gently on top of cake, trying not to stick it to the frosting. Pour sprinkles into your template, mushing them into the frosting gently with you fingers and carefully remove template. 

Goes excellently with a glass of milk.

Adapted from Ghirardelli's Grand Fudge Cake (aka the one on the back of the cocoa powder bag).

To print, see button at bottom of post.

Six Inch Chocolate Cake 2.png

Small and Simple (-ly Delicious) Chocolate Cake

Serves 9 Ingredients: 1 cup all-purpose flour 1/2 cup plus 3 Tbl unsweetened cocoa powder 1/2 tsp baking powder 1/2 tsp baking soda 1/4 tsp salt 1/2 cup salted butter, softened 1/2 cup plus 2 Tbl sugar 1 tsp vanilla 1 large egg 1/2 cup plain Greek yogurt 3 Tbl cold coffee 3 Tbl milk Frosting 4 Tbl salted butter, softened 1 1/3 cups powdered sugar 1/4 cup unsweetened cocoa powder up to 3 tbl milk 1/2 tsp vanilla extract 1 1/2 teaspoons salt,

Print Friendly and PDF Follow
follow us in feedly

Croque Monsieur Handpies

Croque Monsieur Handpies v1.png

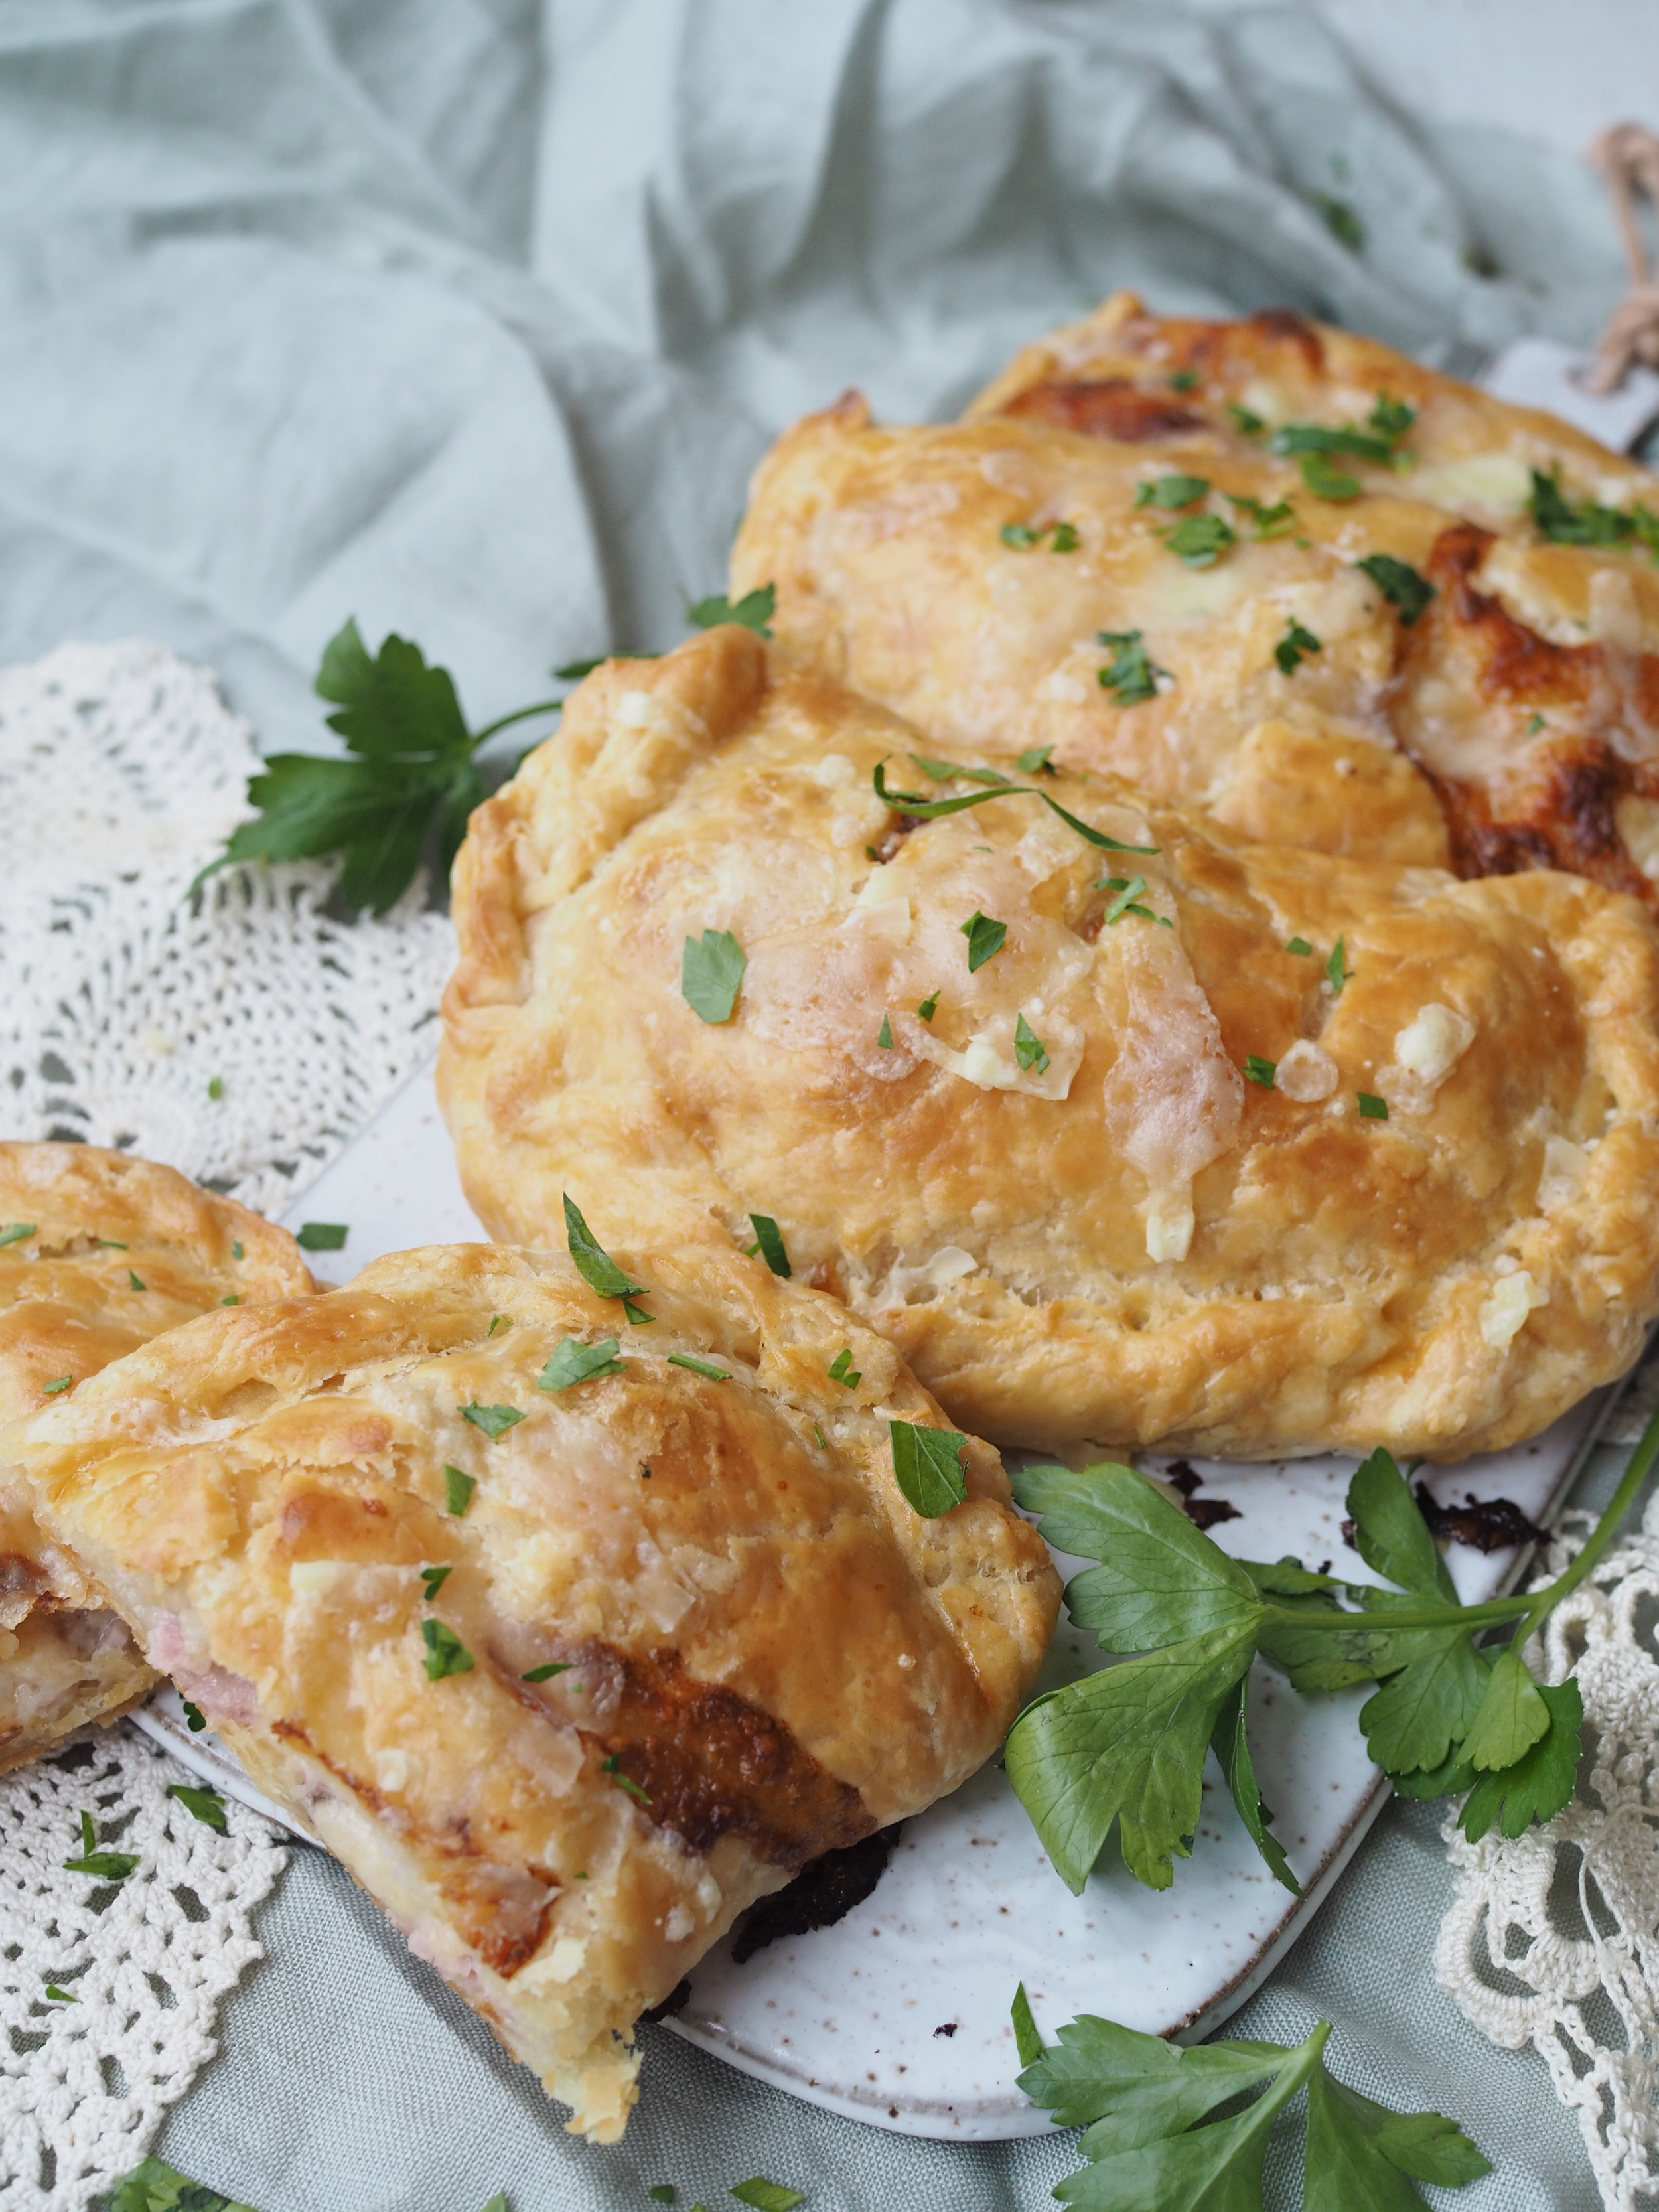
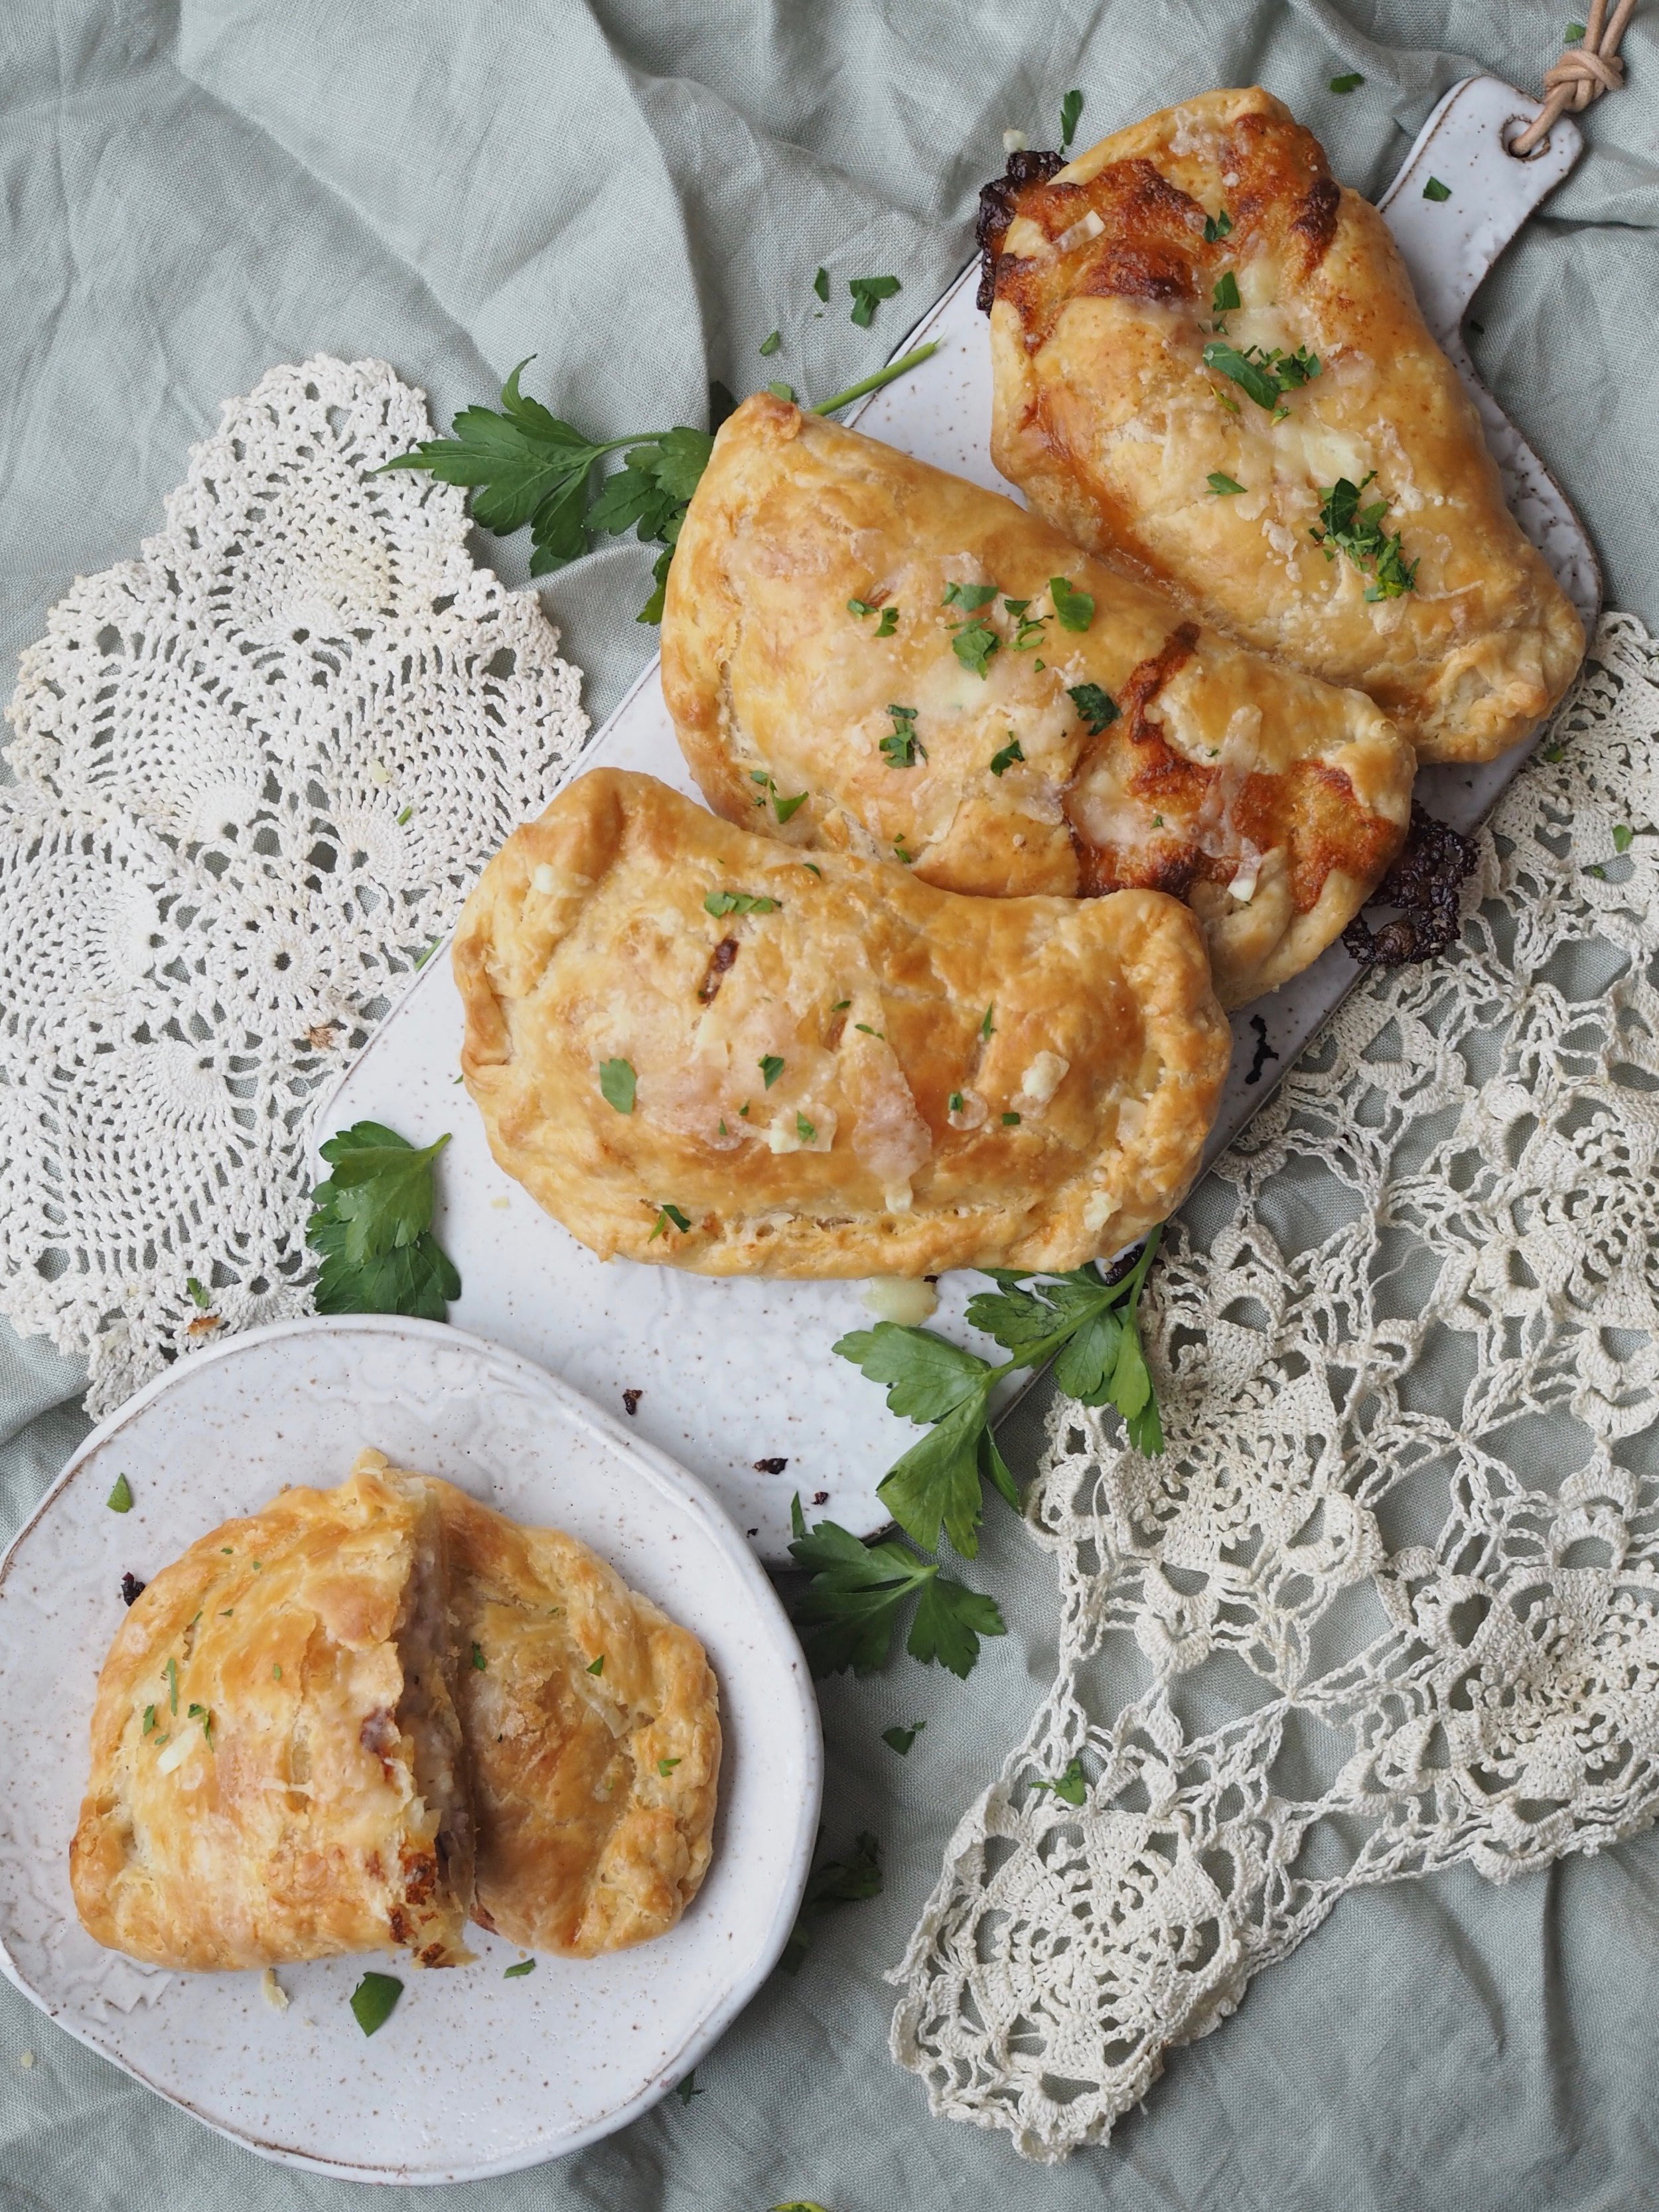
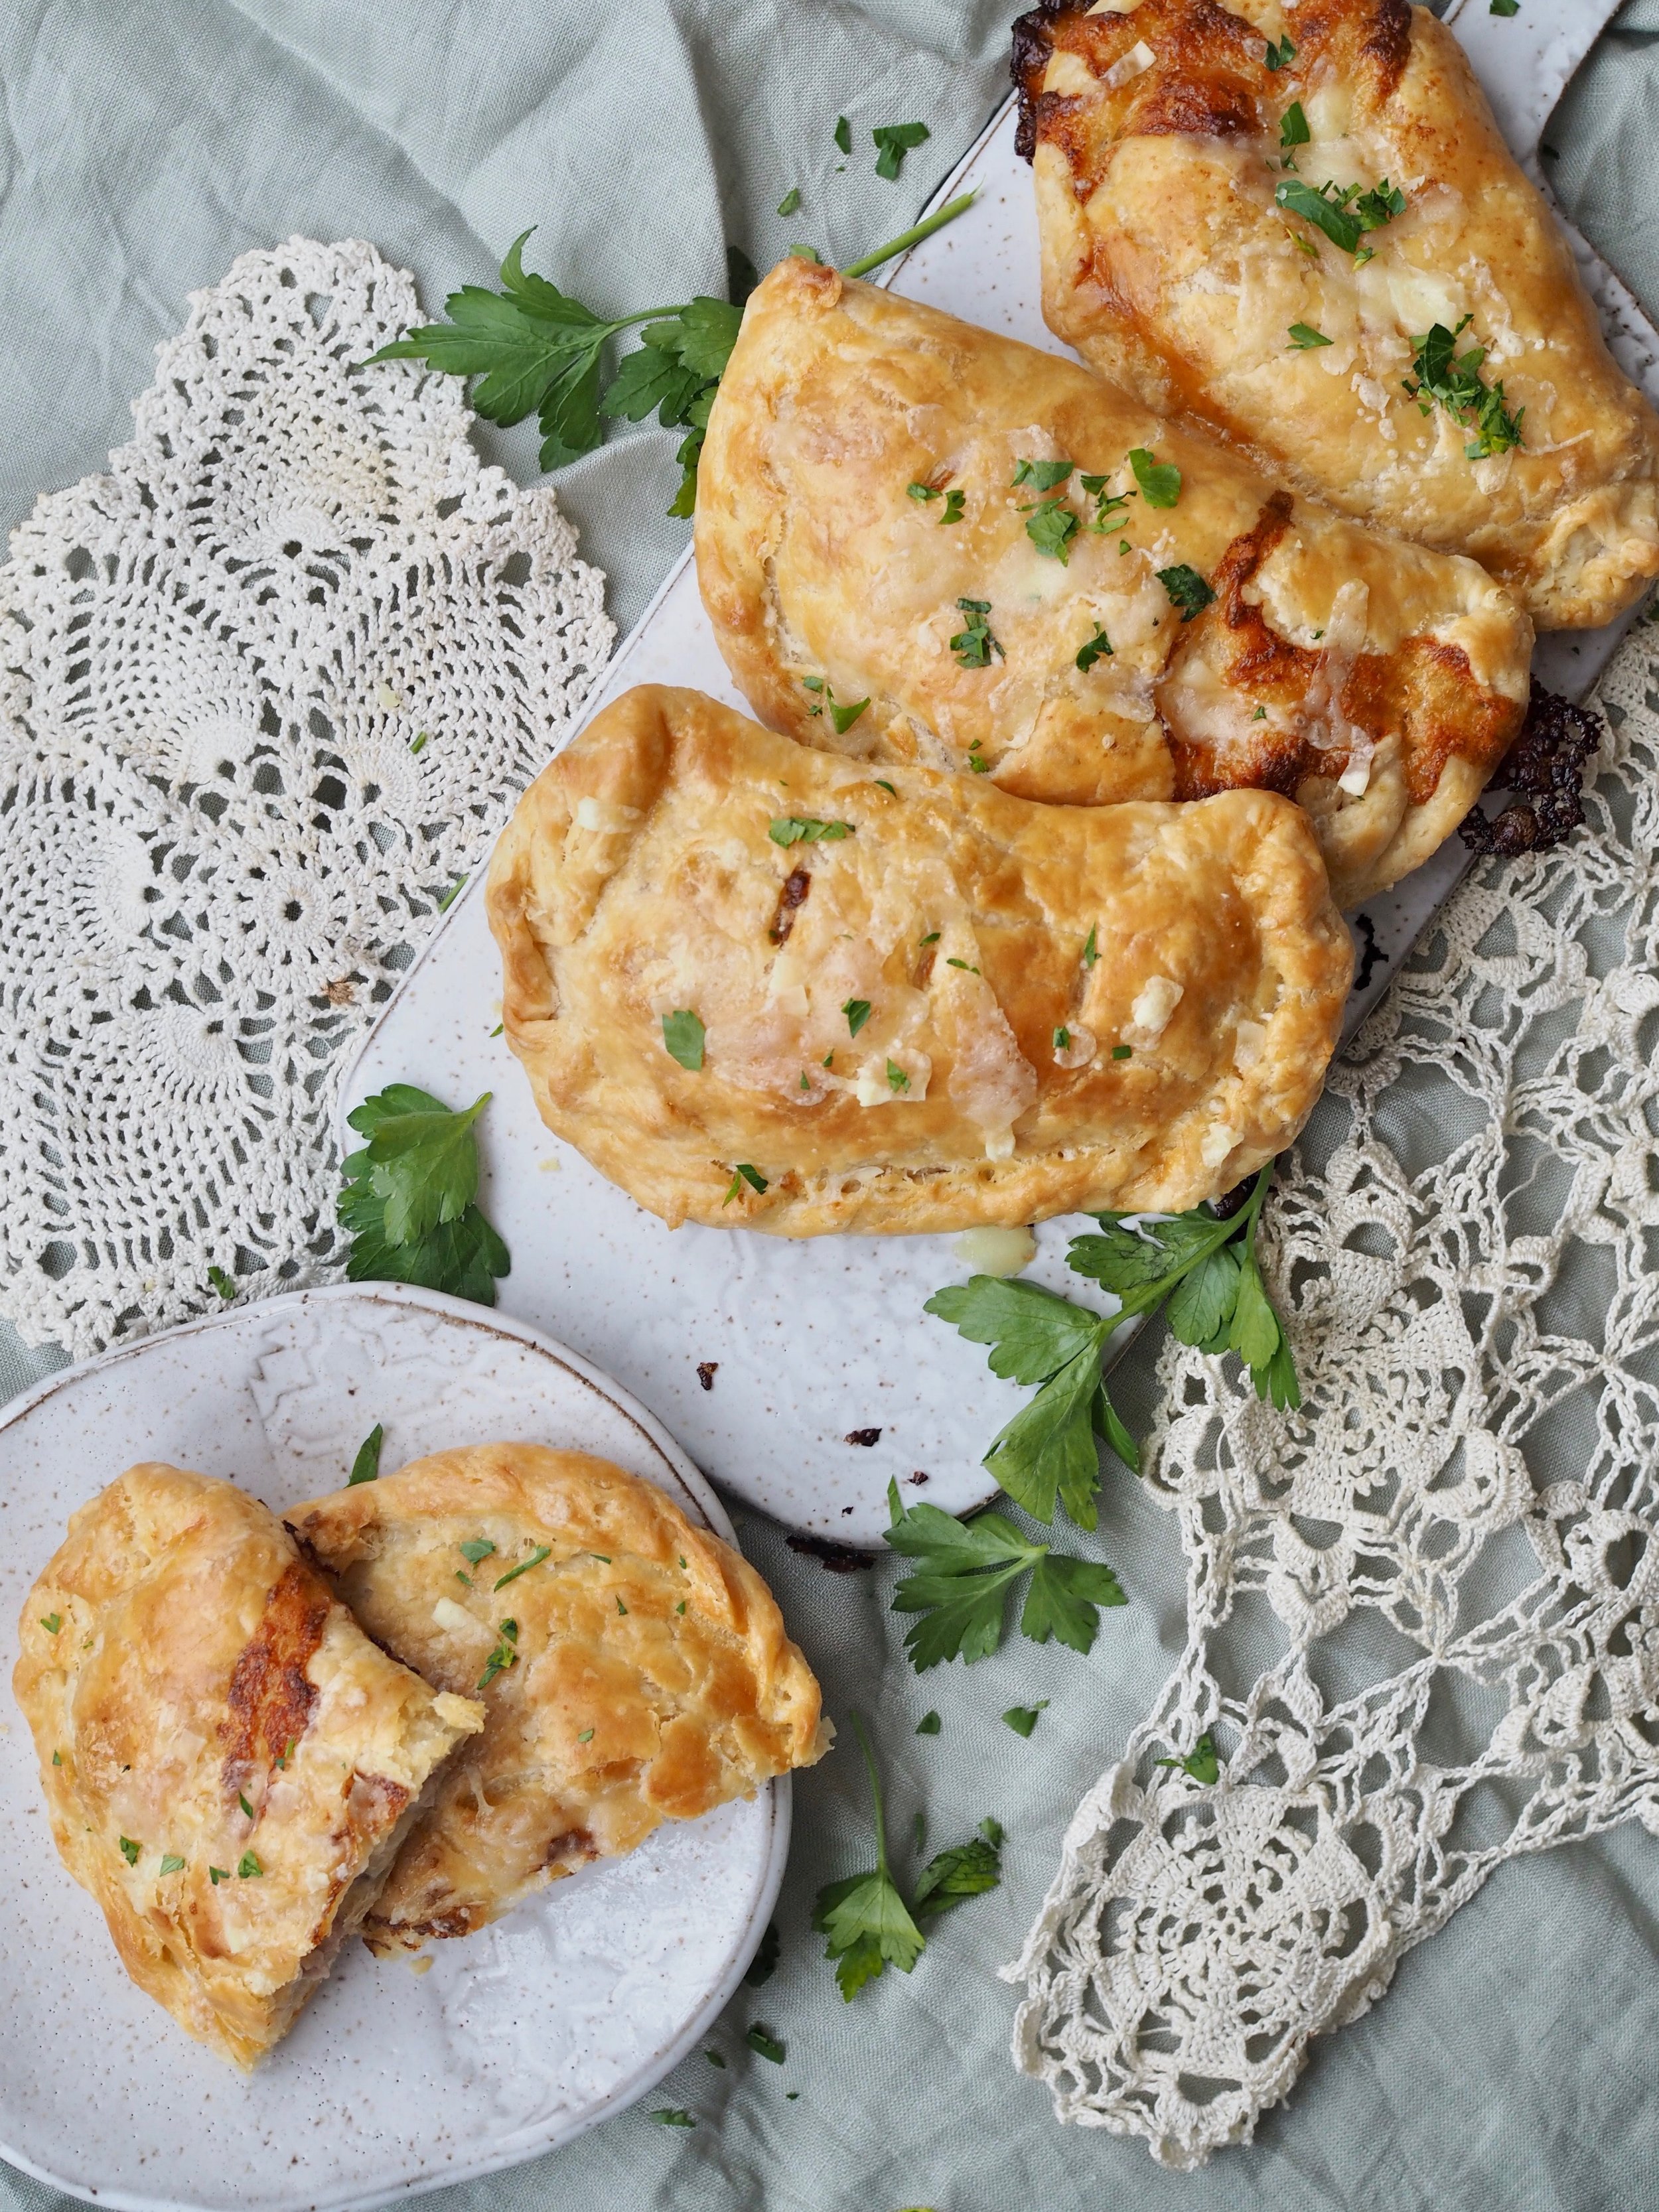
We've fallen in love with the croque monsieur in our household. The croque monsieur, a grilled sandwich featuring ham, Gruyere cheese and béchamel sauce originated in the brasseries of France as a hearty snack or light meal. You can turn the sandwich into a croque madame with the addition of a fired egg on top (health food, this is not). For the Cleaver family, the addition of ham and sauce take the grilled cheese to a dinner-worthy level, so when it came time to come up with a savory pie for my annual pie-luck, rec-creating this sandwich in pie form seemed like a no-brainer.

Typically, I use shortening in my pie crusts for it's ease of use, but for a French inspired recipe, I had to use butter. Instead of fully incorporating the butter into the dough ("the damp sand" look), I suggest leaving a few beads of butter intact, which, when rolled flat into the rounds, leaves pockets of butter to create an almost puff-pastry like crust. Make sure to chill the dough before rolling for maximum flakiness.

Since I originated this recipe for an event were there was 11 pies for 7 people, I went light on the filling. To use as a main dish, simply double the ham and cheese. The béchamel sauce should be sufficient to cover both amounts. 

Croque Monsieur Handpies

Crust

  • 3 cups all-purpose flour
  •  1 1/2 teaspoons salt
  •  2 sticks unsalted butter (cold)
  •  2/3 to 3/4 cup cold water

Filling*

  • 6 oz sliced ham, diced into small pieces*
  • 6 oz Gruyere cheese, shredded*
  • Fresh parsley (optional)

*filling sized for appetizer portions, for a meal-sized pie, double the filling

Béchamel Sauce

  •  1 1/4 cup milk
  • 3 Tablespoons all-purpose flour
  • 2 Tablespoons butter
  • 1 pinch nutmeg
  • 1 pinch pepper
  • salt to taste

Directions

Preheat oven to 350 Degrees F.

Make crust. In a large mixing bowl, combine flour and salt. Using a pastry cutter or food processor, cut in shortening until mixture mostly resembles damp sand, leaving a few small pea-sized chunks of butter. Add water, a little bit at a time, until dough sticks together. You will want it slightly more elastic than crust for a pan pie. Break dough into two evenly sized pieces, wrap in plastic wrap, and place in refrigerator up to a day in advance.

Make béchamel sauce. Melt butter in a saucepan over medium heat. When butter starts to bubble, add flour and whisk until combined, mixture will be clumpy. Cook flour mixture (roux) for 2 minutes. Slowly add milk, whisking constantly to break up any clumps and prevent scalding for approximately 8 minutes, or until sauce is a thick consistency. Pour into a bowl and set aside to cool.

Make filling. IN a bowl, combine 3/4 of the shredded cheese, the diced ham, and enough béchamel sauce to thoroughly coat the filling. 

Line two rimmed cookie sheets with parchment paper.

Remove crust from refrigerator. Cut each ball of dough into four equal pieces. On a well-floured surface, roll each piece of dough into a 7 to 8 inch square. Place dough on cookie sheet. Scoop filling into the center of the square making sure to avoid the edges.

Fold dough over filling, so top portion of crust is about 1/4 inch shy of the edge of the bottom. Fold up bottom crust to meet top crust and pinch/crimp to seal. Slice a few holes in the top to let steam escape. Repeat for remaining pies.

Whisk together 1 egg with 1 Tablespoon water. Brush egg wash generously over pies.

Place cookie sheets in oven and bake for 45-50 minutes, until filling bubbles and crust is golden brown, rotating pans halfway through cooking time.

To serve, sprinkle on remaining shredded cheese. Broil briefly to melt cheese. Sprinkle finely chopped parsley on top (optional) and eat warm.

To store, cool completely on a wire rack, wrap in tin foil and place in refrigerator for up to one week. To reheat for 10-15 minutes in a 350 degree F oven.

To print, see button at bottom of post.

Croque Monsieur Handpies v2.png

Croque Monsieur Handpies

Serves 8 Ingredients: 3 cups all-purpose flour, melted 1 1/2 teaspoons salt, 2 sticks unsalted butter, 6 oz sliced ham, 6 ox gruyere cheese, 1 1/4 cup milk, 2 tablespoons flour 2 tablespoons butter nutmeg pepper parsley
Print Friendly and PDF Follow
follow us in feedly

Gluten Free White Chocolate Raspberry Tart with Coconut and Lime

White Chocolate Raspberry Pie v3.png

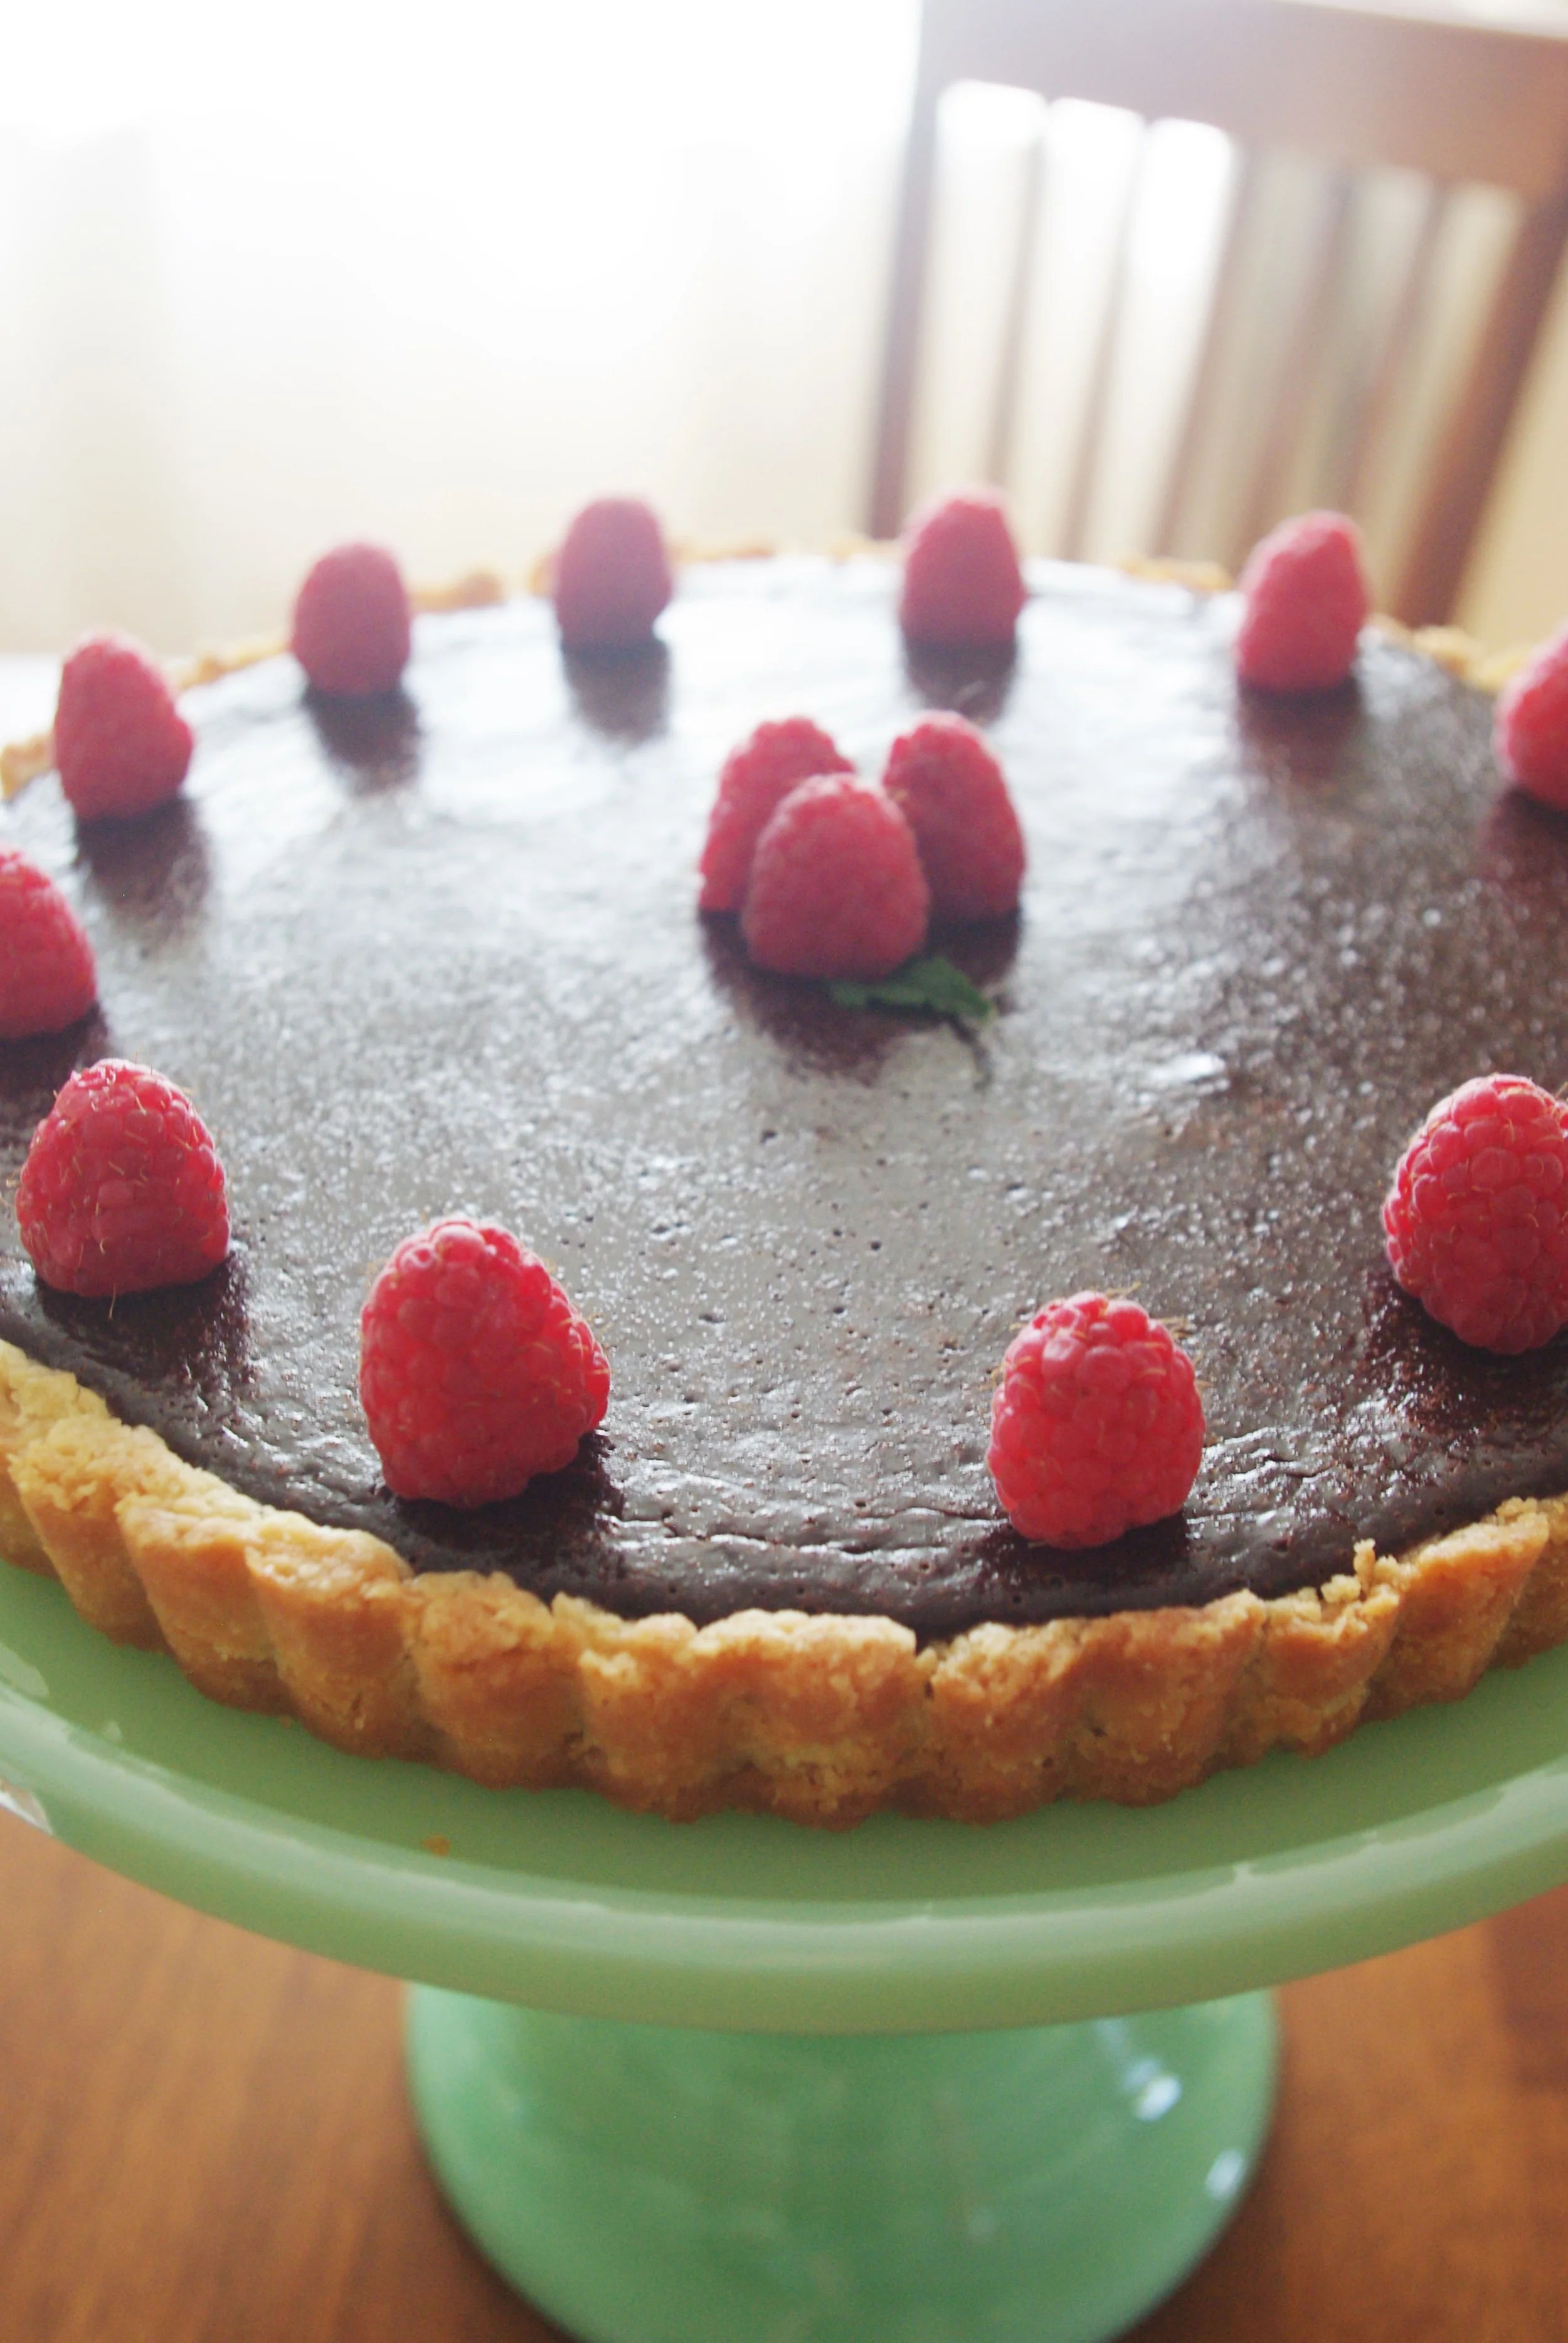
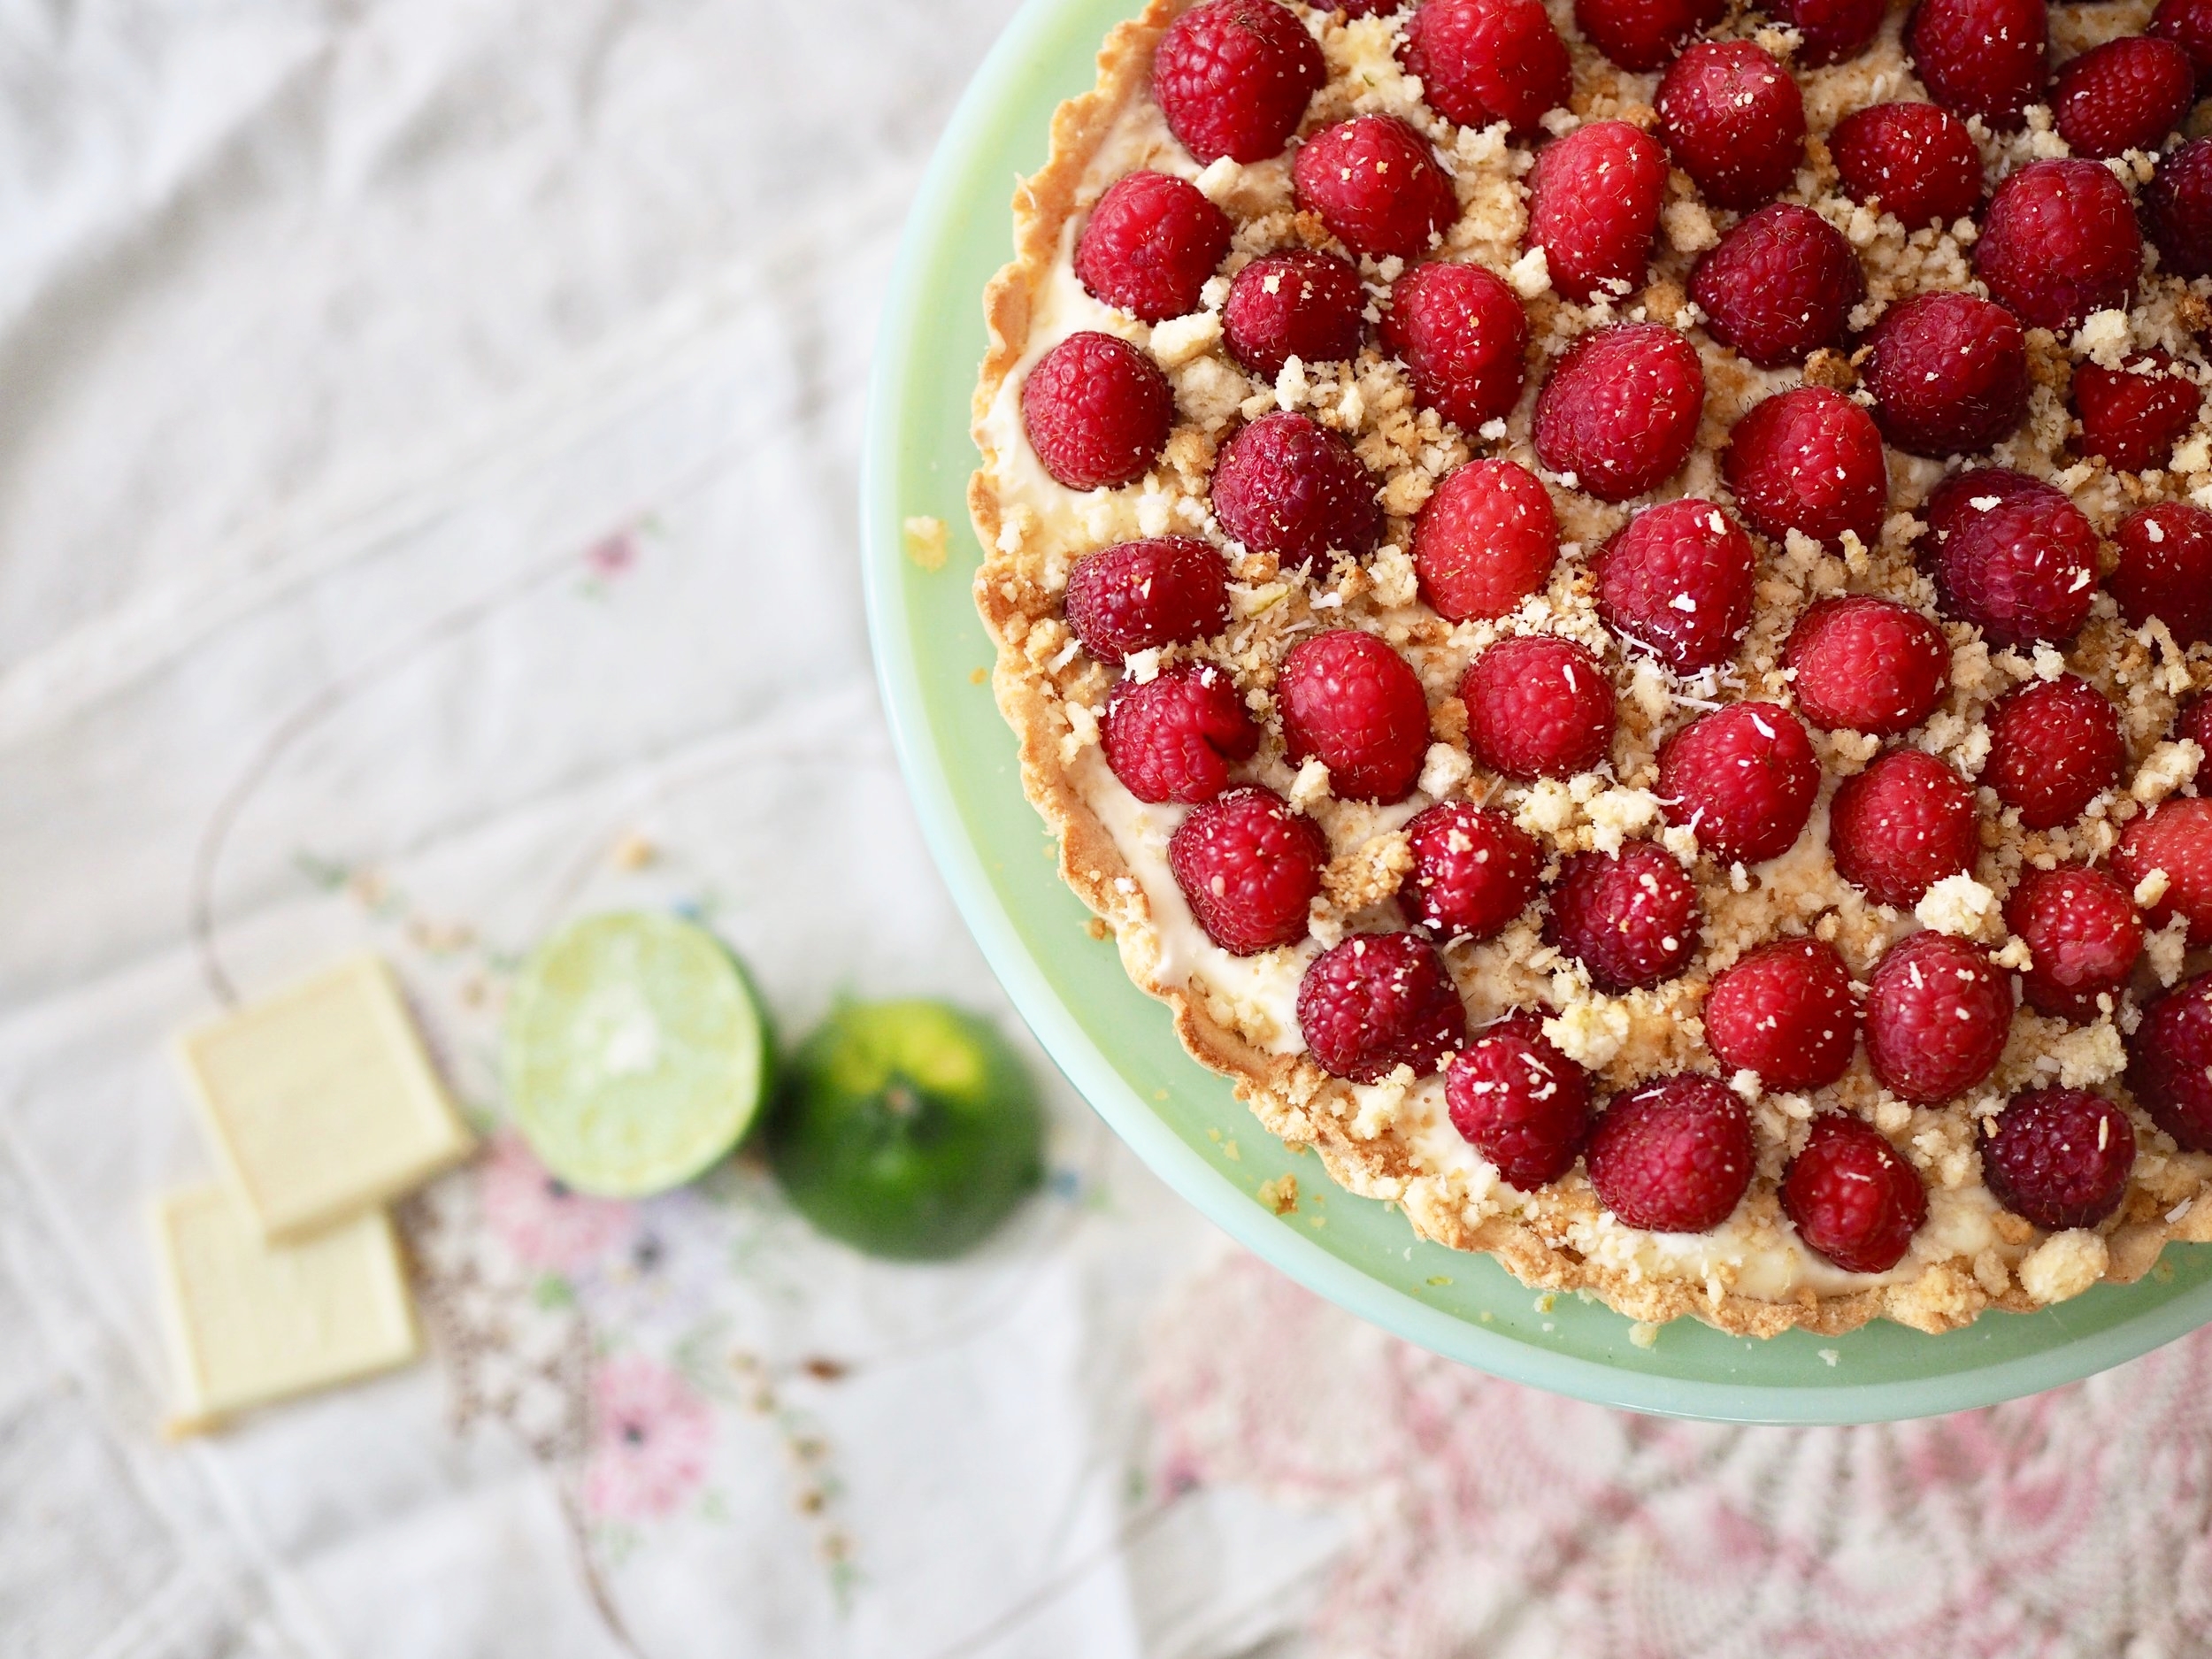
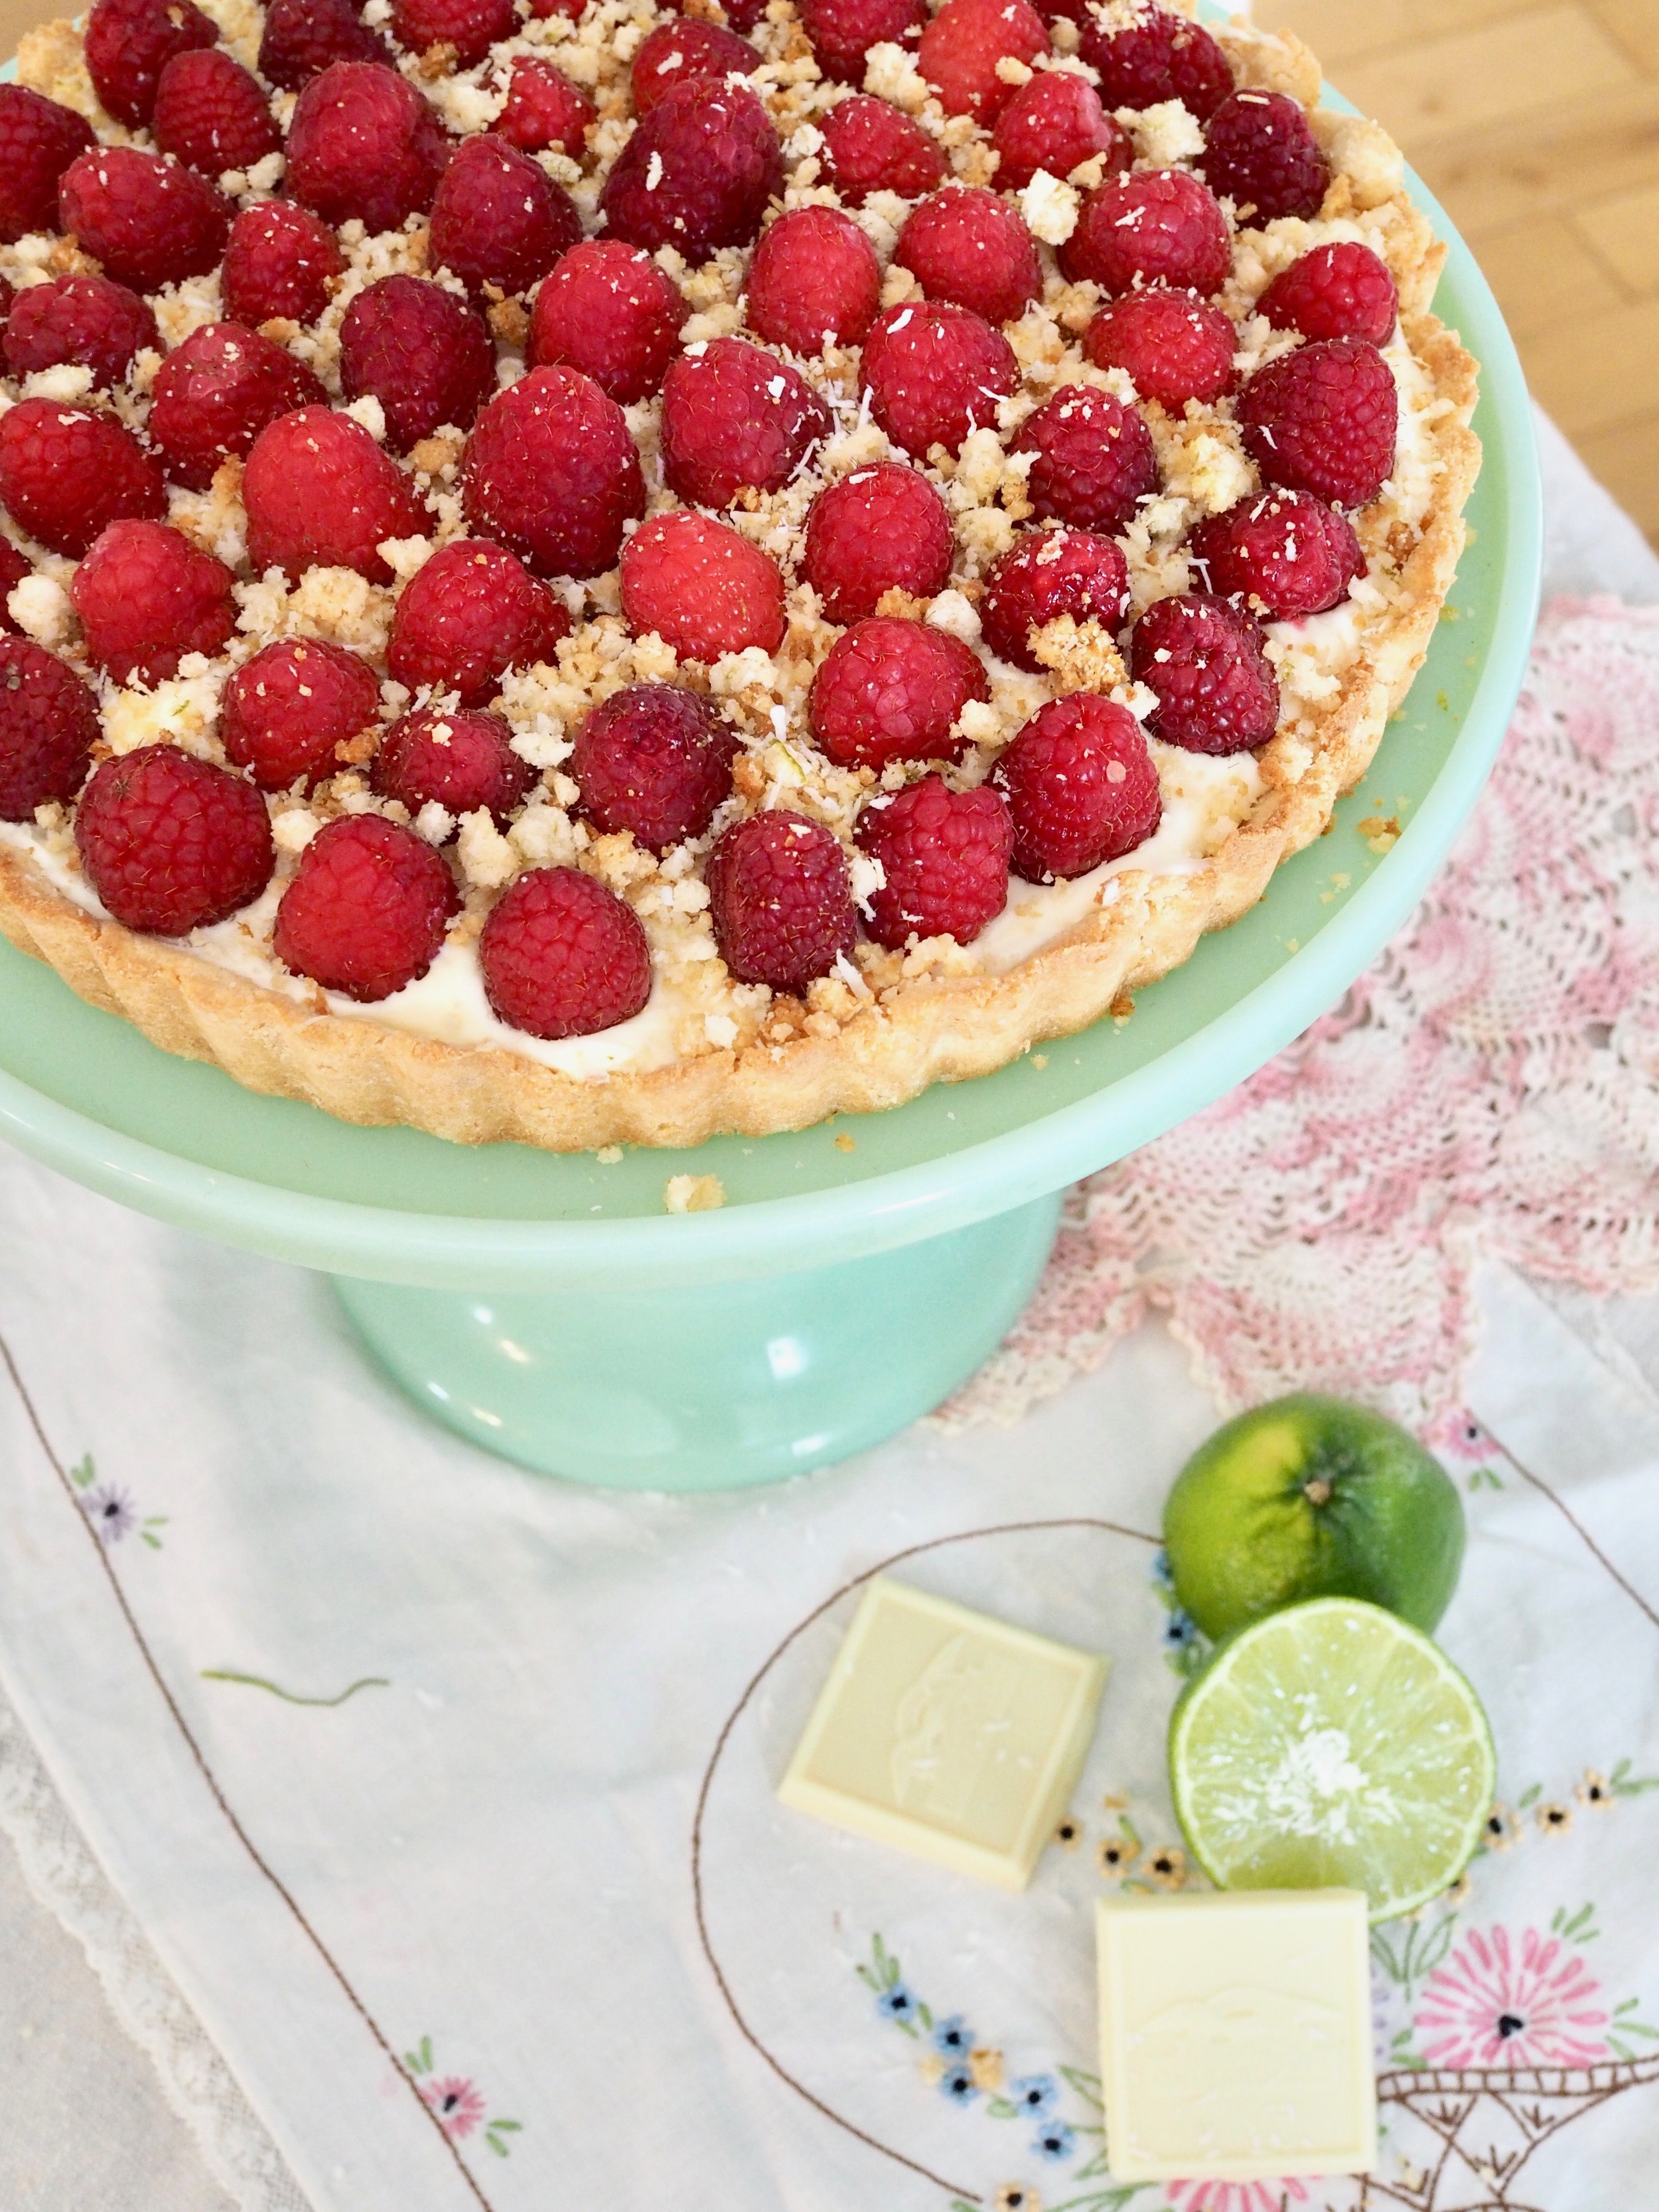
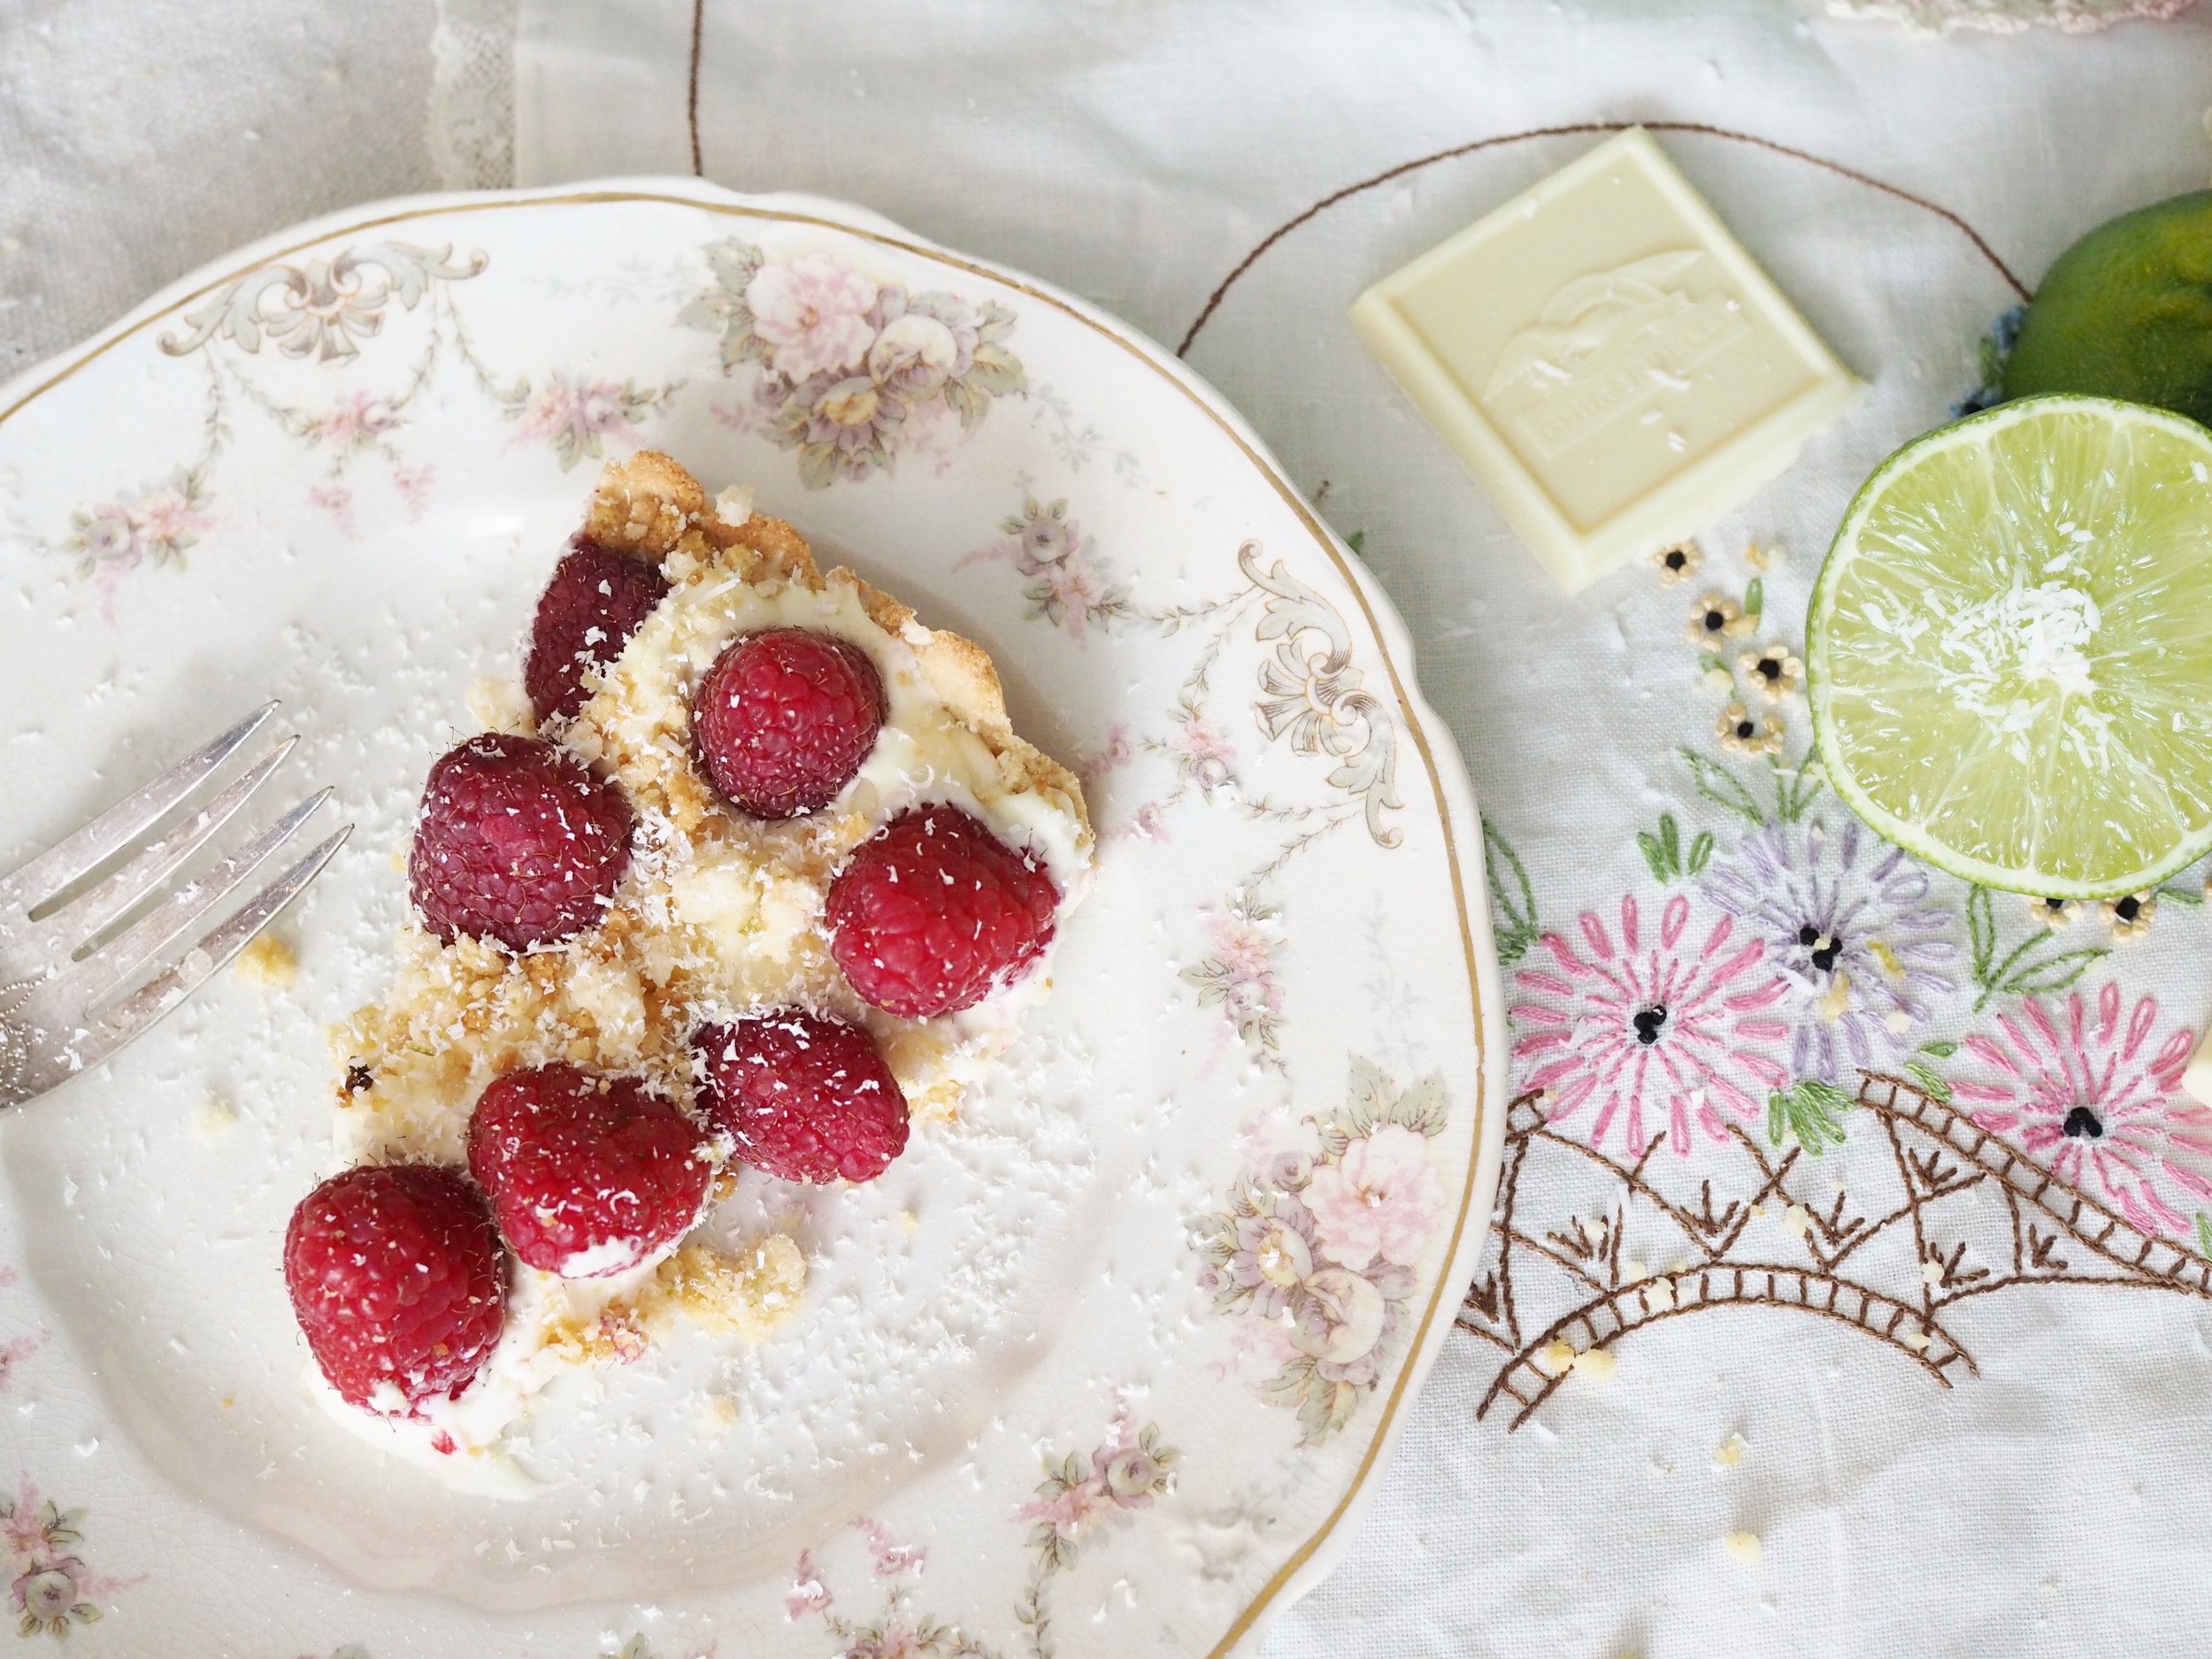
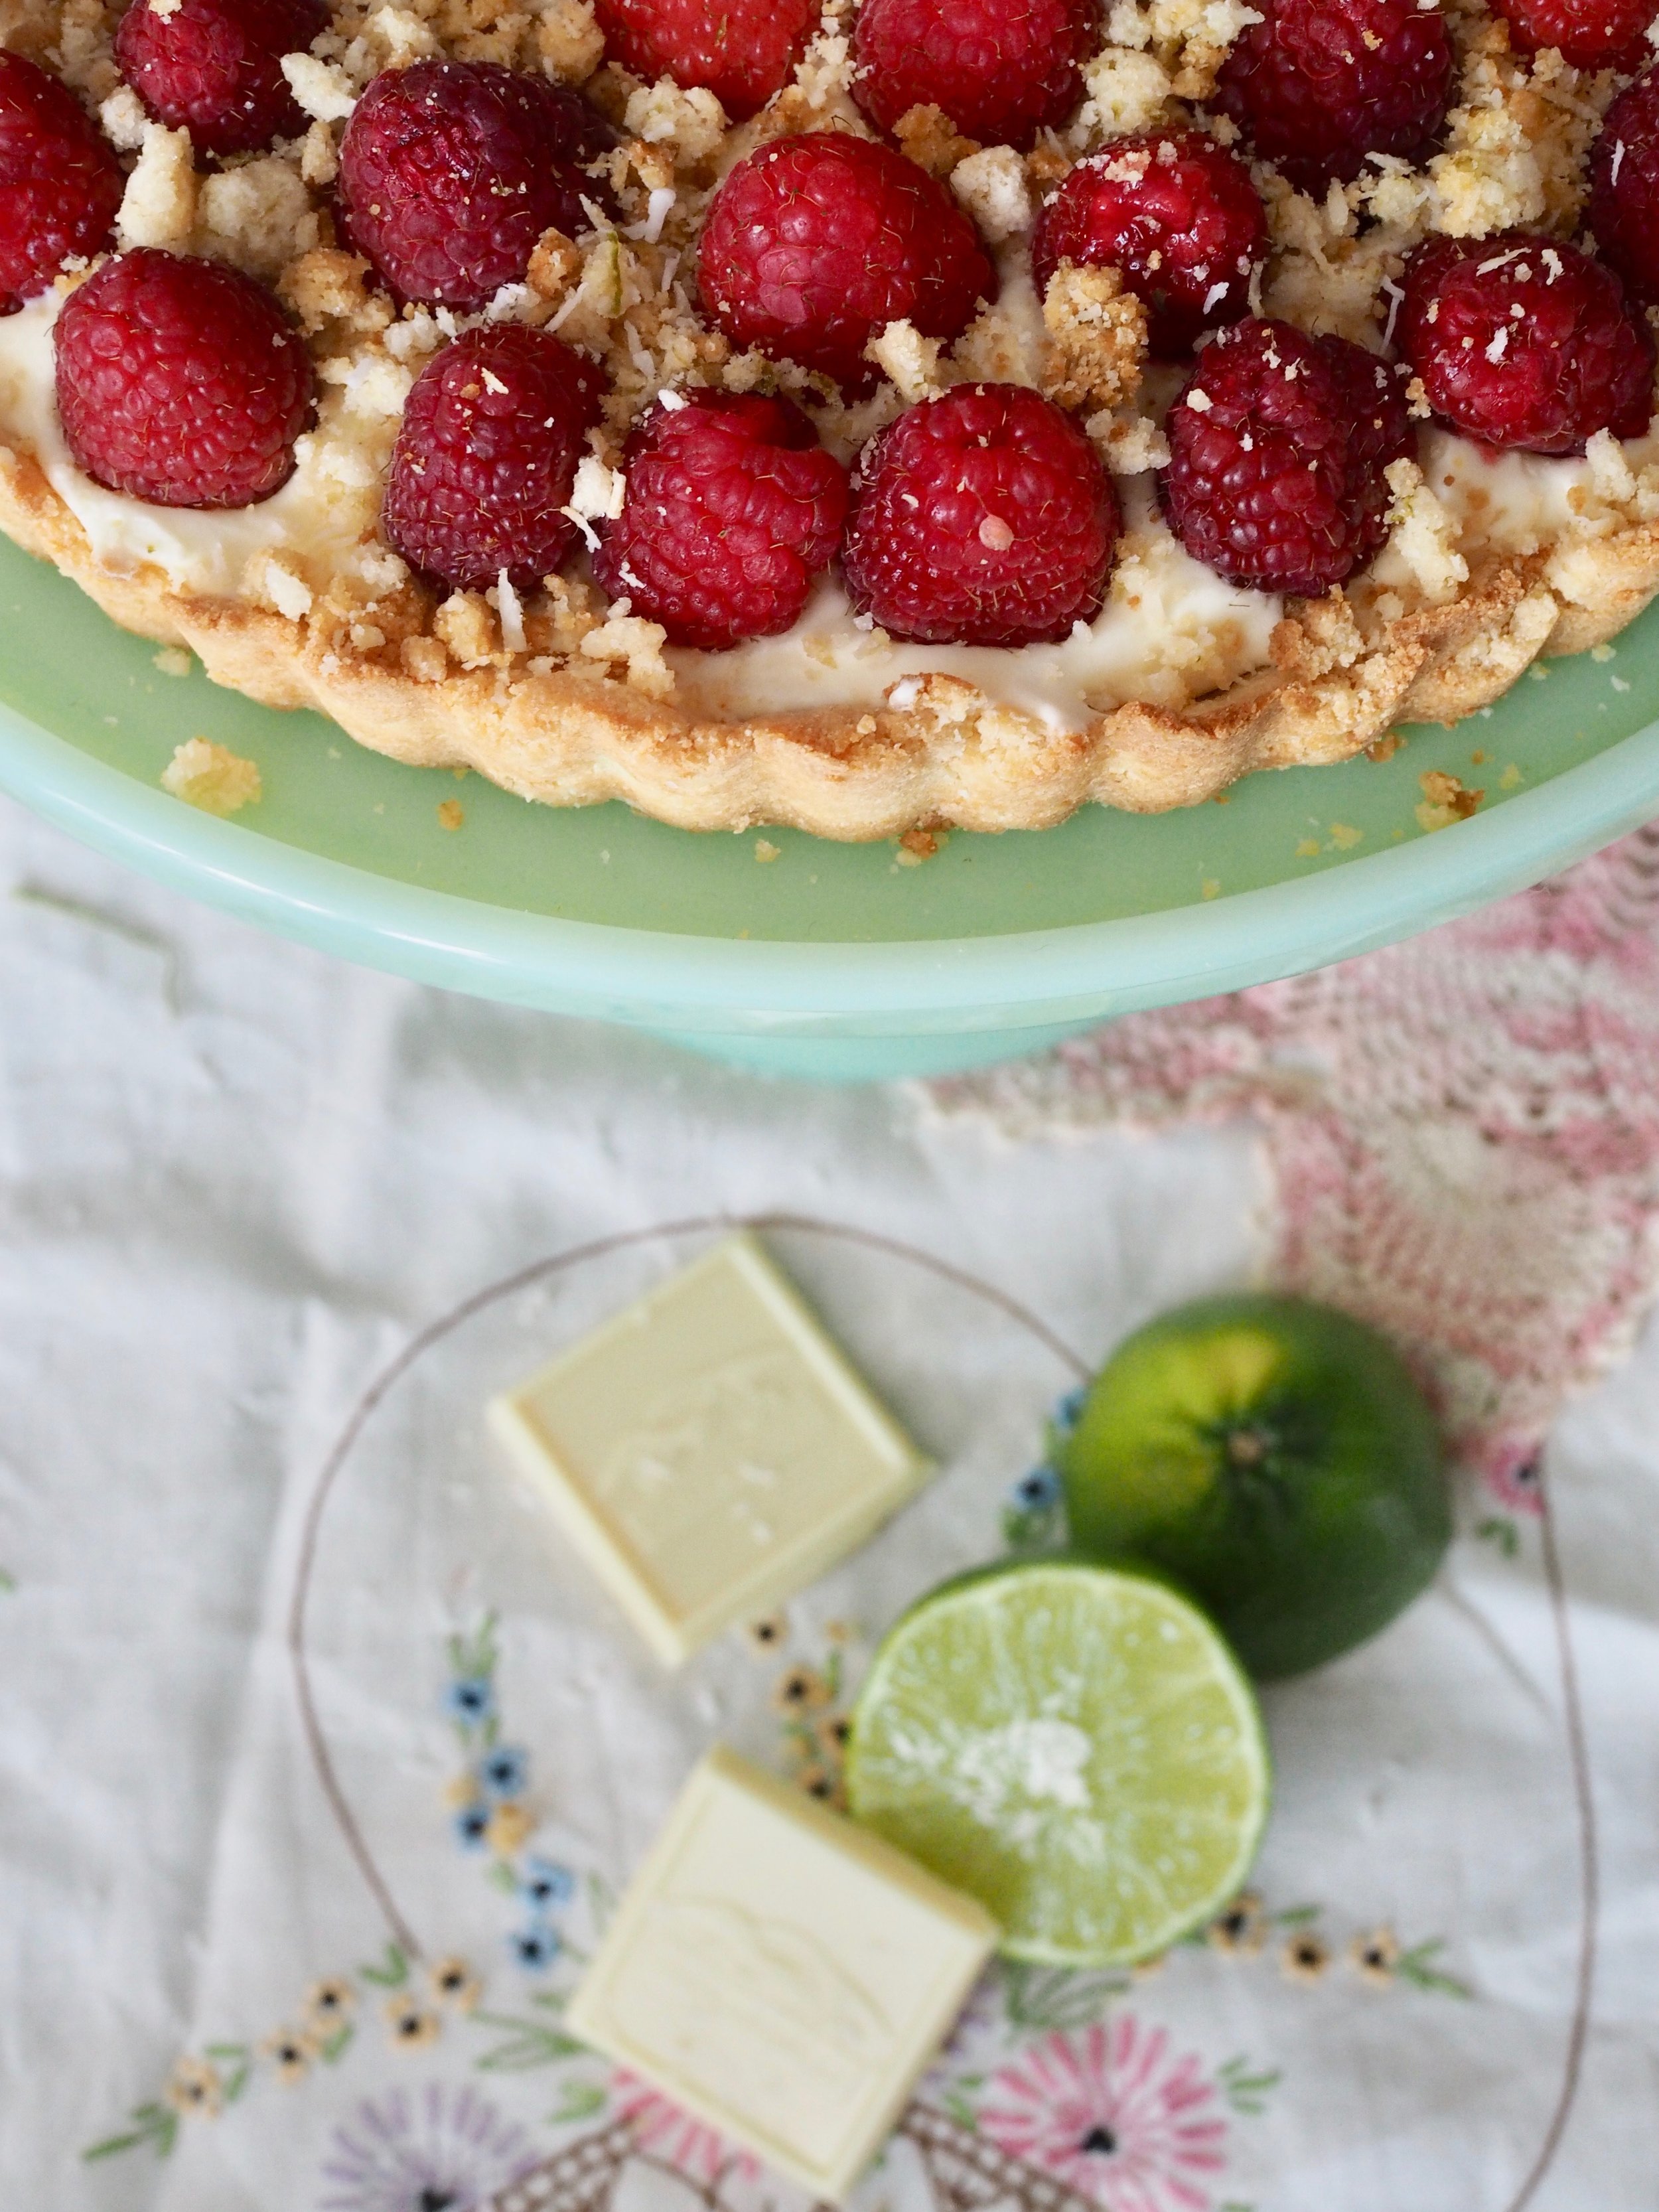
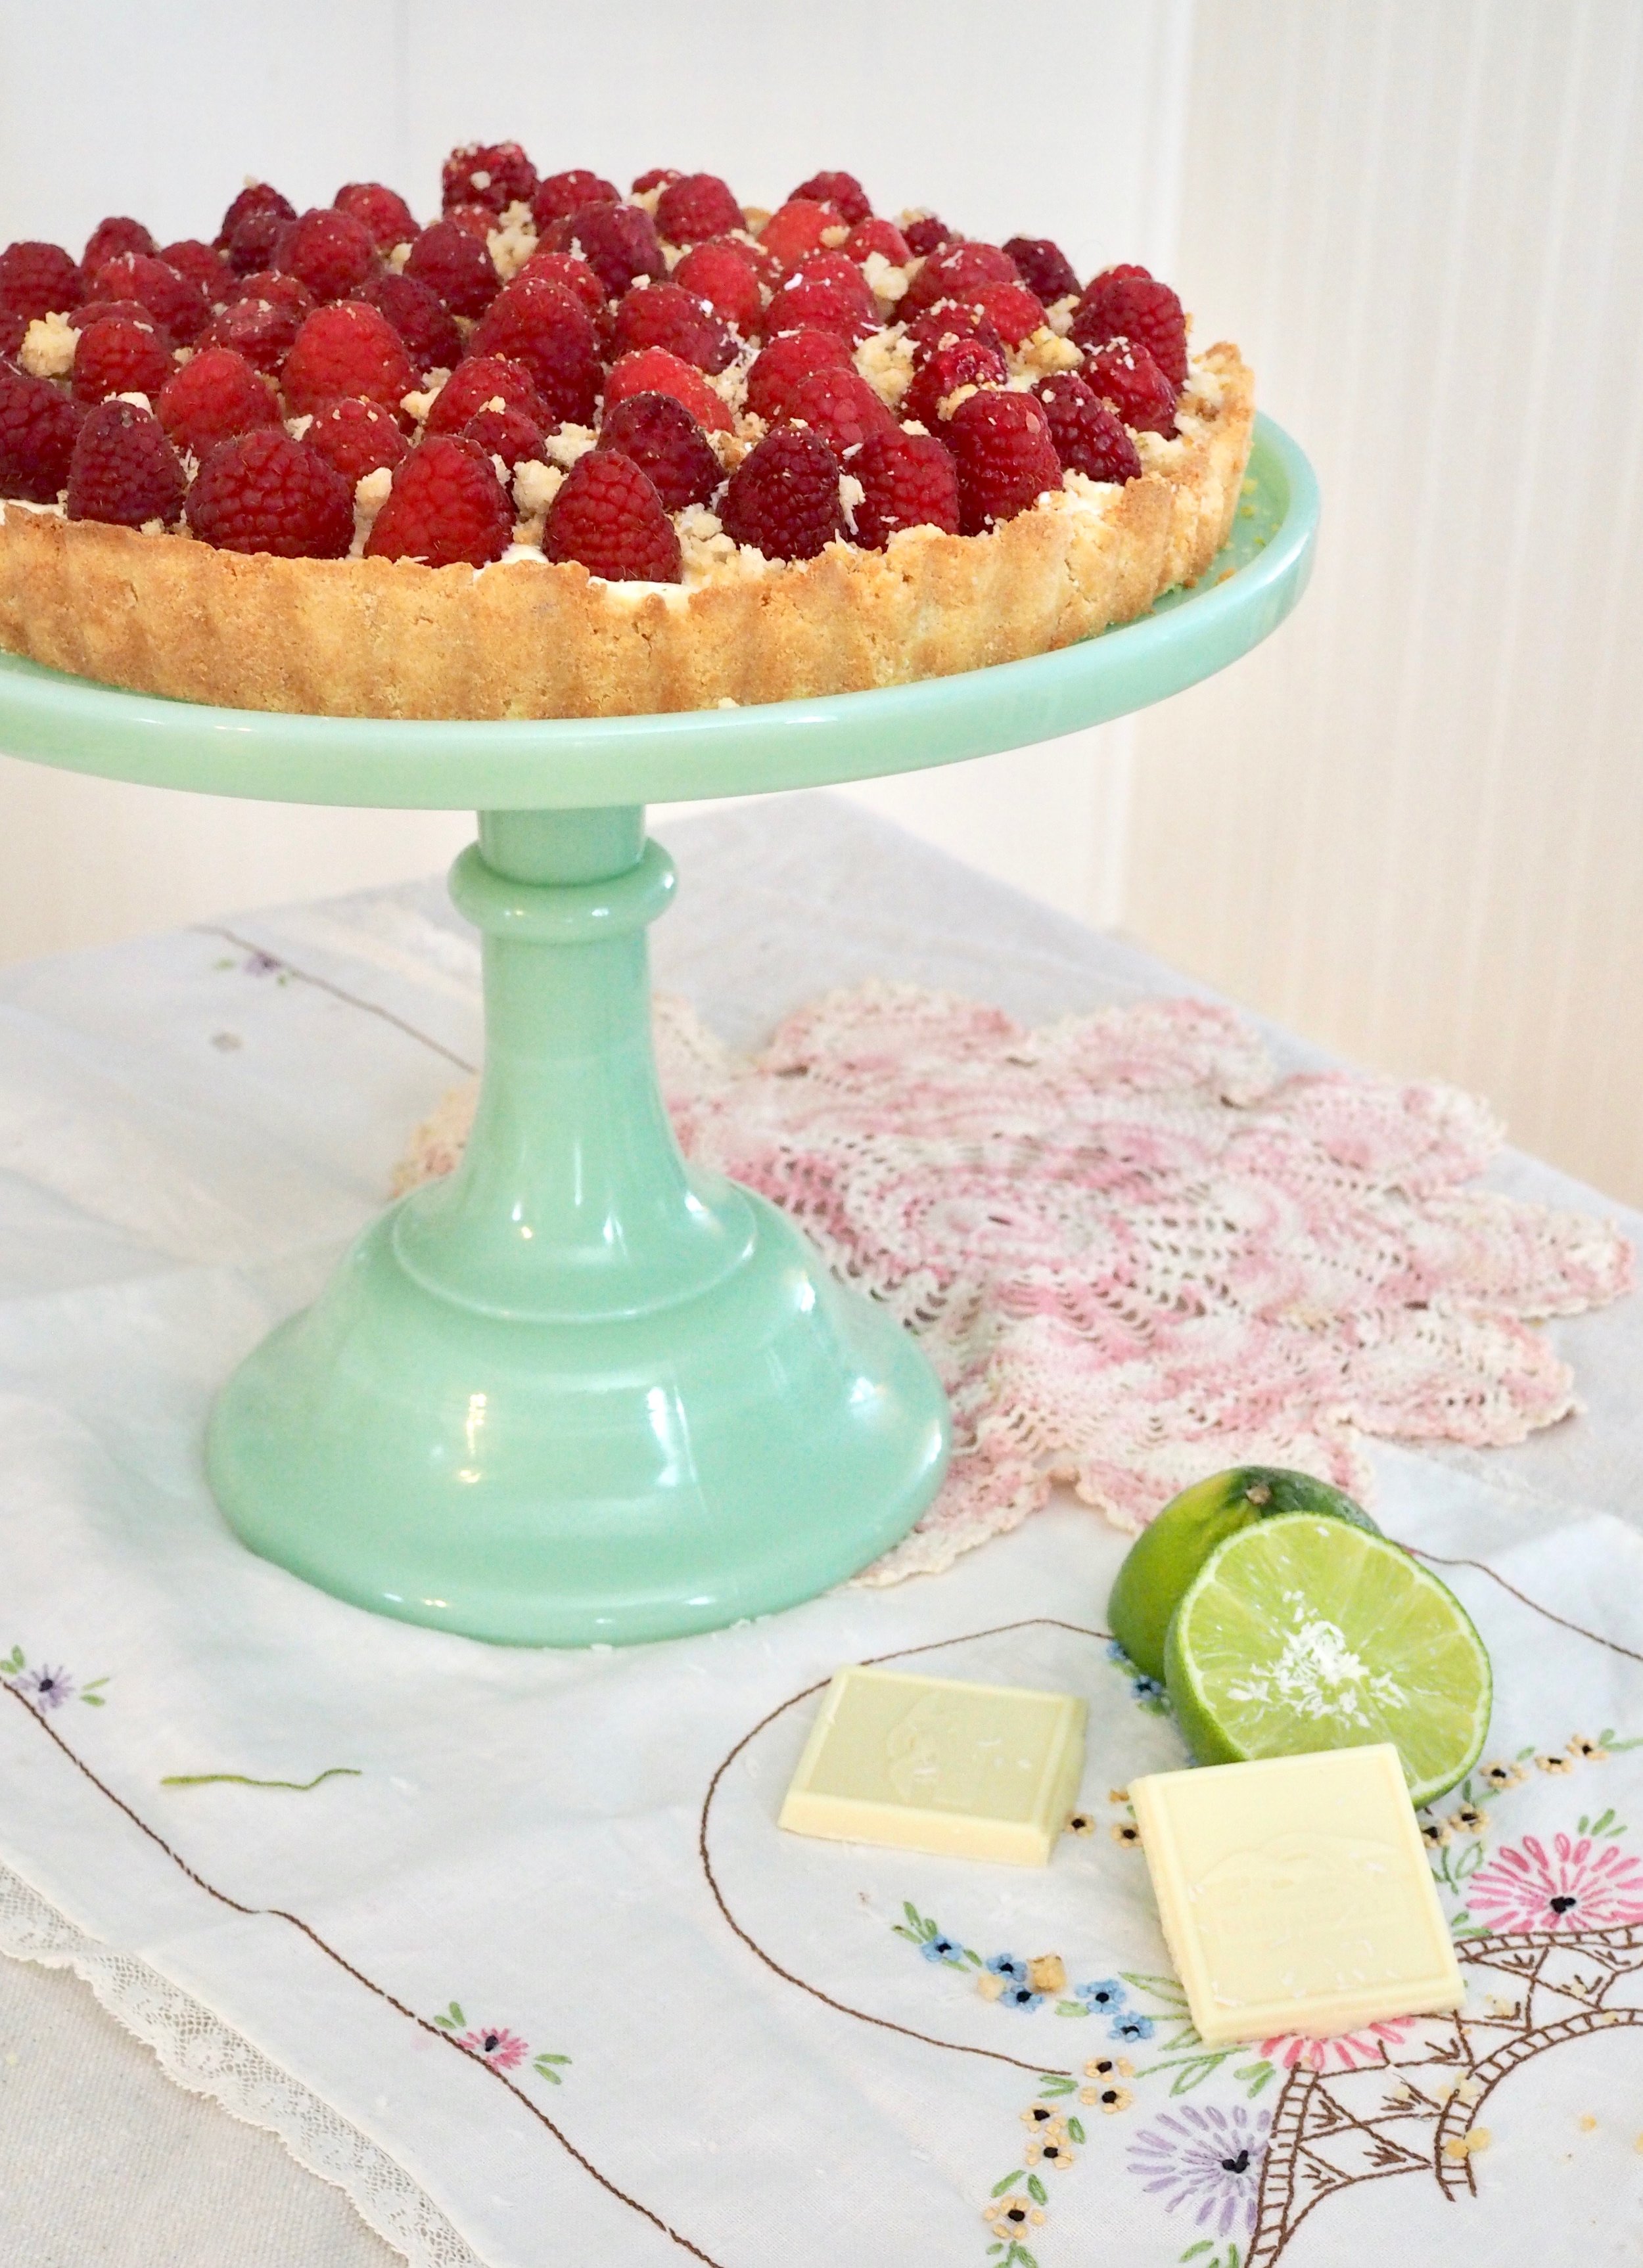
I use my annual National Pie Day potluck to expand my pie-making skills. Fueled by a desire to work with white chocolate, I came up with this show-stopping tart with a coconut flour crust, white chocolate mousse filling, and topped with fresh raspberries and a coconut lime streusel, which just happens to be gluten-free.

I'm not gluten-free myself, but I have many friends who are, and the pressed-into-the-pan crust used here is easy for a gluten-free beginner.  The coconut flour, with its subtle coconut flavor compliments the bright flavors of the lime and raspberries, even if you aren't gluten -free. 


White Chocolate Raspberry Tart with Coconut and Lime (Gluten Free)

Crust

  •  1/3 cup unsalted butter, melted
  • 2 eggs
  • 1/4 teaspoon sea salt
  • 3/4 cup coconut flour

Lime/Coconut Streusel

  •  1/2 cup coconut flour
  • 1/4 cup shredded, unsweetened coconut
  •  1/3 cup granulated sugar
  • 4 Tablespoons (1/2 stick) melted butter
  •  Zest and juice of one lime

White Chocolate Mousse

  • 7 ounces white chocolate, chopped into very small pieces
  • 2 egg yolks 
  • 2 tablespoons sugar 
  • 1 1/4 cup heavy cream 

Topping

·         12 oz Fresh Raspberries

Directions

Preheat oven to 320 Degree F.

Make crust. In a large mixing bowl, combine flour and salt. In a separate bowl, beat together eggs and melted butter. Combine wet and dry ingredients until a dough forms. Pat dough into a 9” greased pie or tart pan. Prick crust all over with a fork. 

Bake crust for 10 minutes, cover edges with foil and bake for another 10-15 minutes until golden brown. Remove crust from oven and cool completely before filling.

Make Streusel. Combine streusel ingredients, adding lime juice until mixture clumps nicely. Spread streusel on a lined cookie sheet and bake for 12-15 minutes, stirring occasionally, until evenly browned. Set aside.

Make Mousse. In a saucepan, whisk together 1/4 cup of the cream, eggs yolks and sugar. Cook over medium-low heat for 3-4 minutes, stirring constantly, until mixture is thick enough to coat the back of a spoon. Remove from heat and whisk in chopped chocolate. Strain through a sieve into a bowl and chill until cool.

Beat remaining cream until stiff peaks form. (If doing this by hand, chill your bowl, cream and whisk in the freezer before you start).  Stir half the cream into the chocolate mixture, then gently fold the remaining whipped cream in.

Scoop mousse into completely cooled pie crust, cover, and chill at least thirty minutes and up to overnight.

Bring pie out approximately 30 minutes prior to serving. Line top of pie with fresh raspberries and sprinkle  streusel on generously (you will use about half the streusel – use the rest to top yogurt, pancakes, etc.) Top pie with grated white chocolate (optional). Serve at room temperature.

To print, see button at bottom of post.

White Chocolate Raspberry Pie v2.png

White Chocolate Raspberry Tart with Coconut and Lime (Gluten Free)

Serves 8 Ingredients: 1/3 cup unsalted butter, melted 2 eggs 1/4 tsp sea salt 1 1/4 cup coconut flour 1/4 cup shredded unsweetened coconut 1/3 cup granulated sugar 4 tablespoons salted butter, melted lime 7 oz white chocolate 2 egg yolks 1 1/4 cup heavy creams 12 oz fresh raspberries
Print Friendly and PDF Follow
follow us in feedly

Hot Buttered Apple Cider - Cocktail Recipe

Hot Buttered Apple Cider.png

One of my favorite things to do in the fall is relax with a good movie, a big bowl of popcorn, and some hot apple cider. This drink is a more grown-up version that takes its cues from Hot Buttered Rum. The Demera sugar on the rim adds an additional caramel flavor (and looks pretty to boot!)

Hot Buttered Apple Cider

(makes 1 drink)

  • 2 Tablespoons Spiced Butter (see recipe below)
  • 1 1/2 oz rum
  • 3/4 cup apple cider, heated to boil. 
  • Juice from orange
  • Demera (raw) sugar
  • Apple slice

Wet the rim of a heat proof glass and sugar with the raw sugar. Place slice of spiced butter in bottom of glass and top with rum and hot cider. Mix until butter is dissolved. Top with a generous squeeze of orange juice (about a Tablespoon). Garnish with apple slice or fan and serve hot. 

Spiced Butter

  • 4 oz (1 stick) unsalted butter, at room temperature
  • 1/2 cup brown sugar
  • zest of one orange
  • 3/4 teaspoon cinnamon
  • 3/4 teaspoon ground ginger
  • 1/2 teaspoon nutmeg

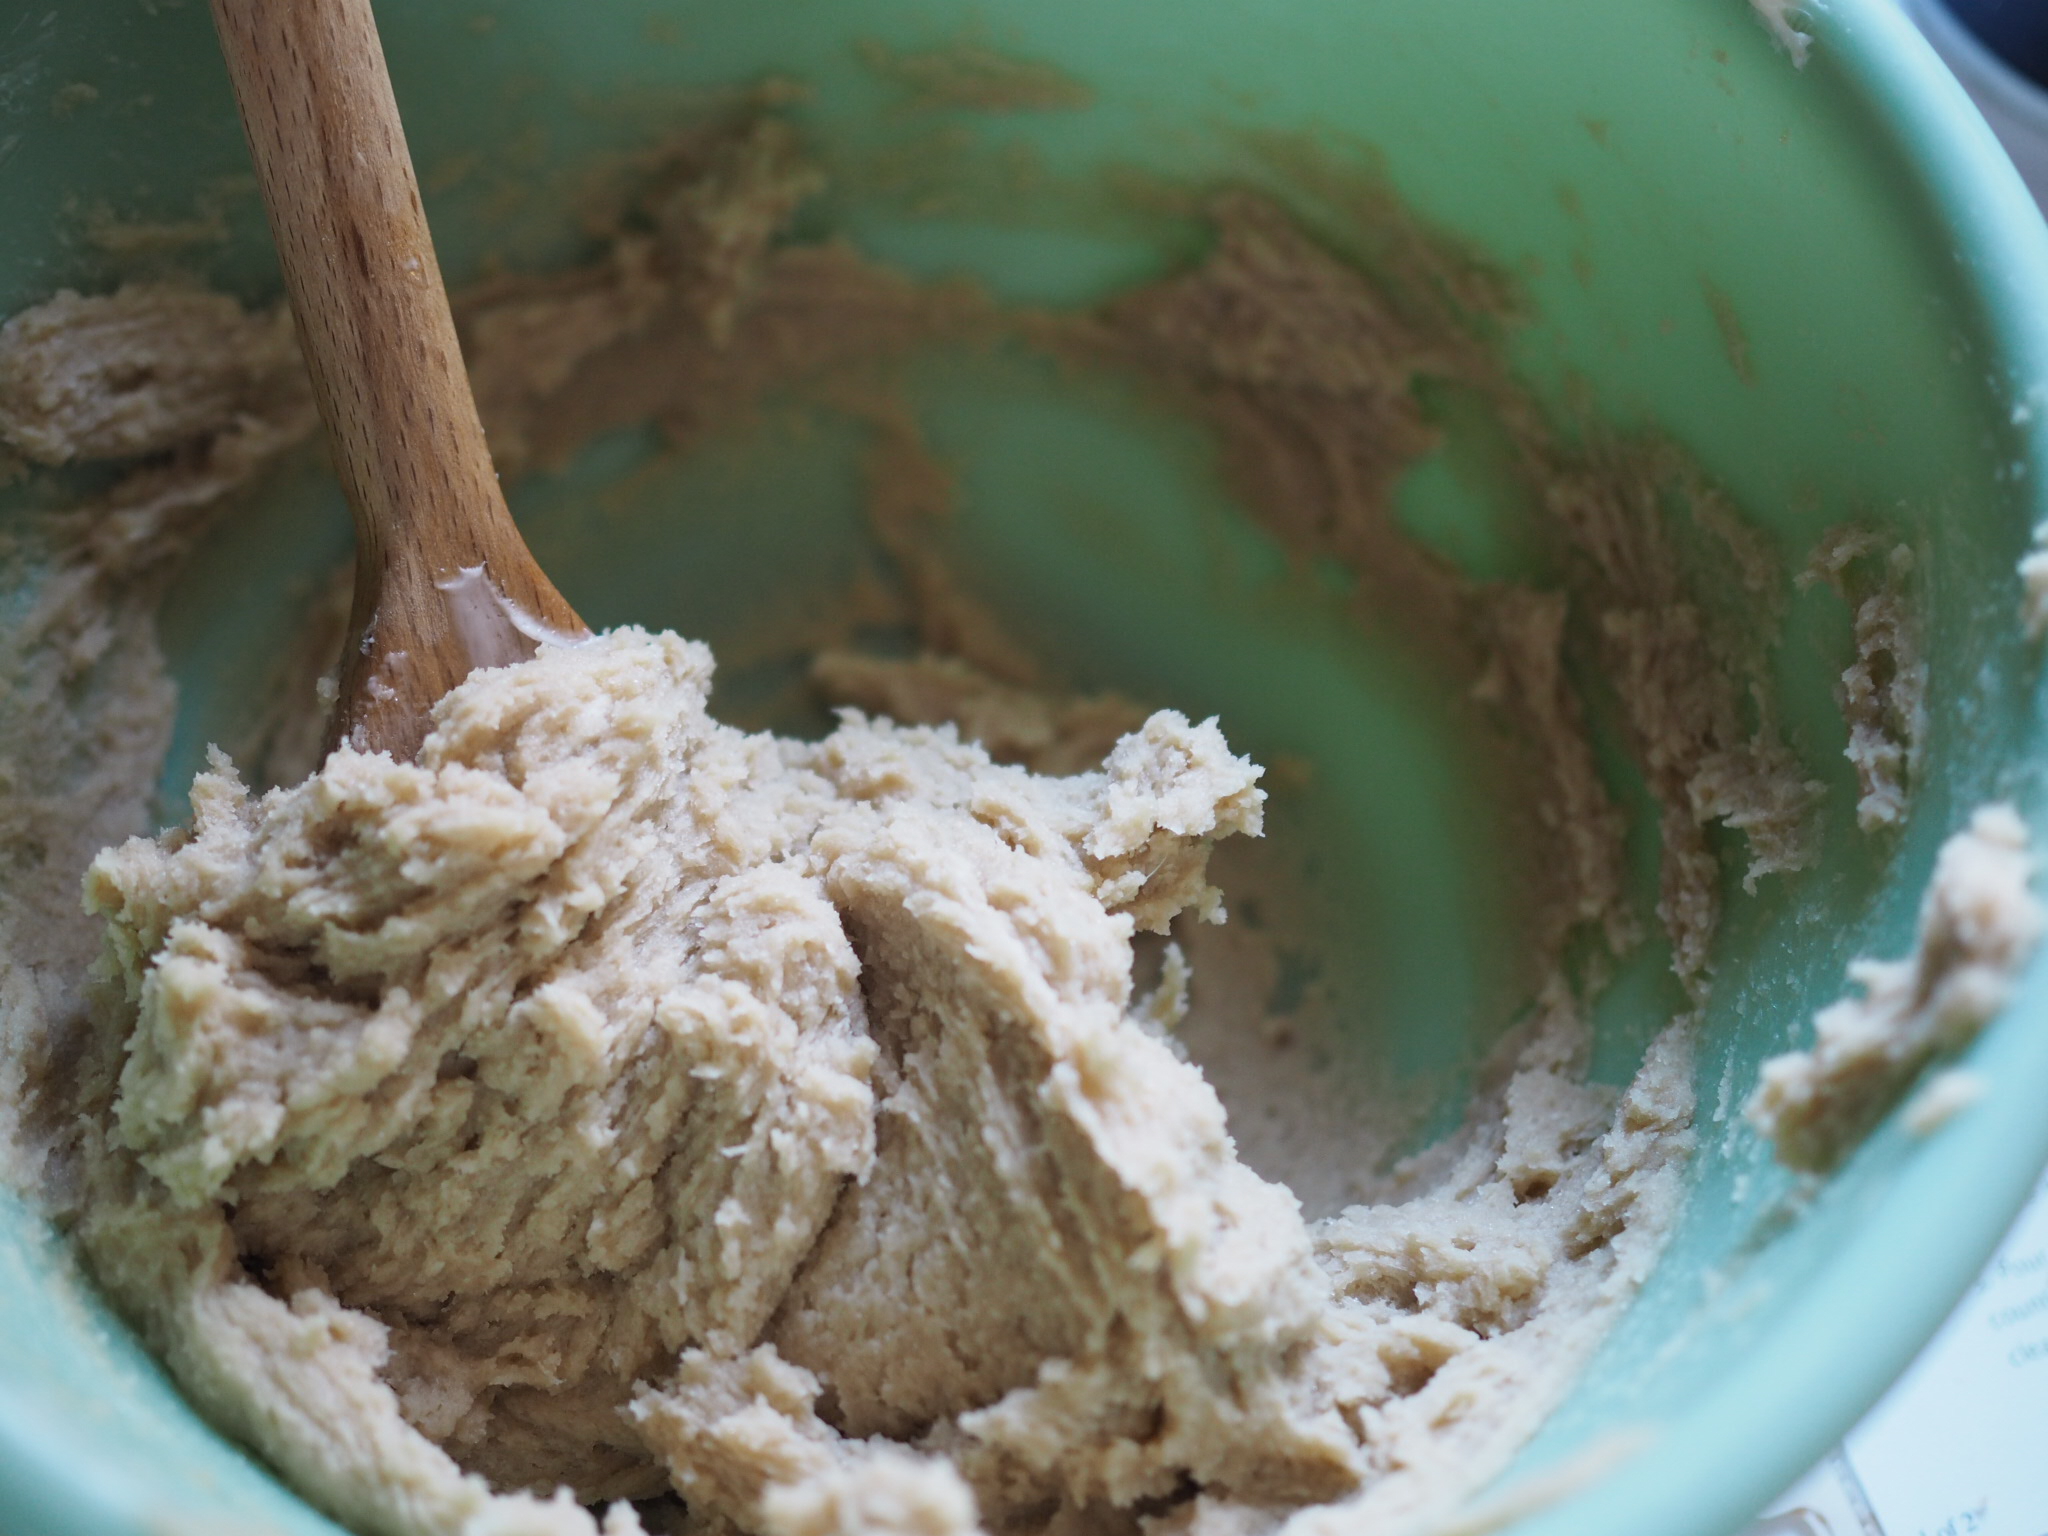
Combine all ingredients in a medium mixing bowl and mix with a wooden spoon until well combined. Transfer butter mixture to wax paper and roll into a log, approximately the size of a stick of butter (this will help to measure later). Wrap butter tightly in wax paper and plastic wrap and store in fridge, allowing to firm up. Can keep keep for up to two weeks. Also great on toast! 

To print, see button at bottom of post.

Hot Buttered Apple Cider

Hot Buttered Cider Cocktail Recipe

Makes 1 drink Ingredients: 2 Tablespoons Spiced Butter 1.5 oz rum 3/4 cup apple cider orange juice Demera (raw) sugar for rim apple for garnish
Print Friendly and PDF Follow
follow us in feedly

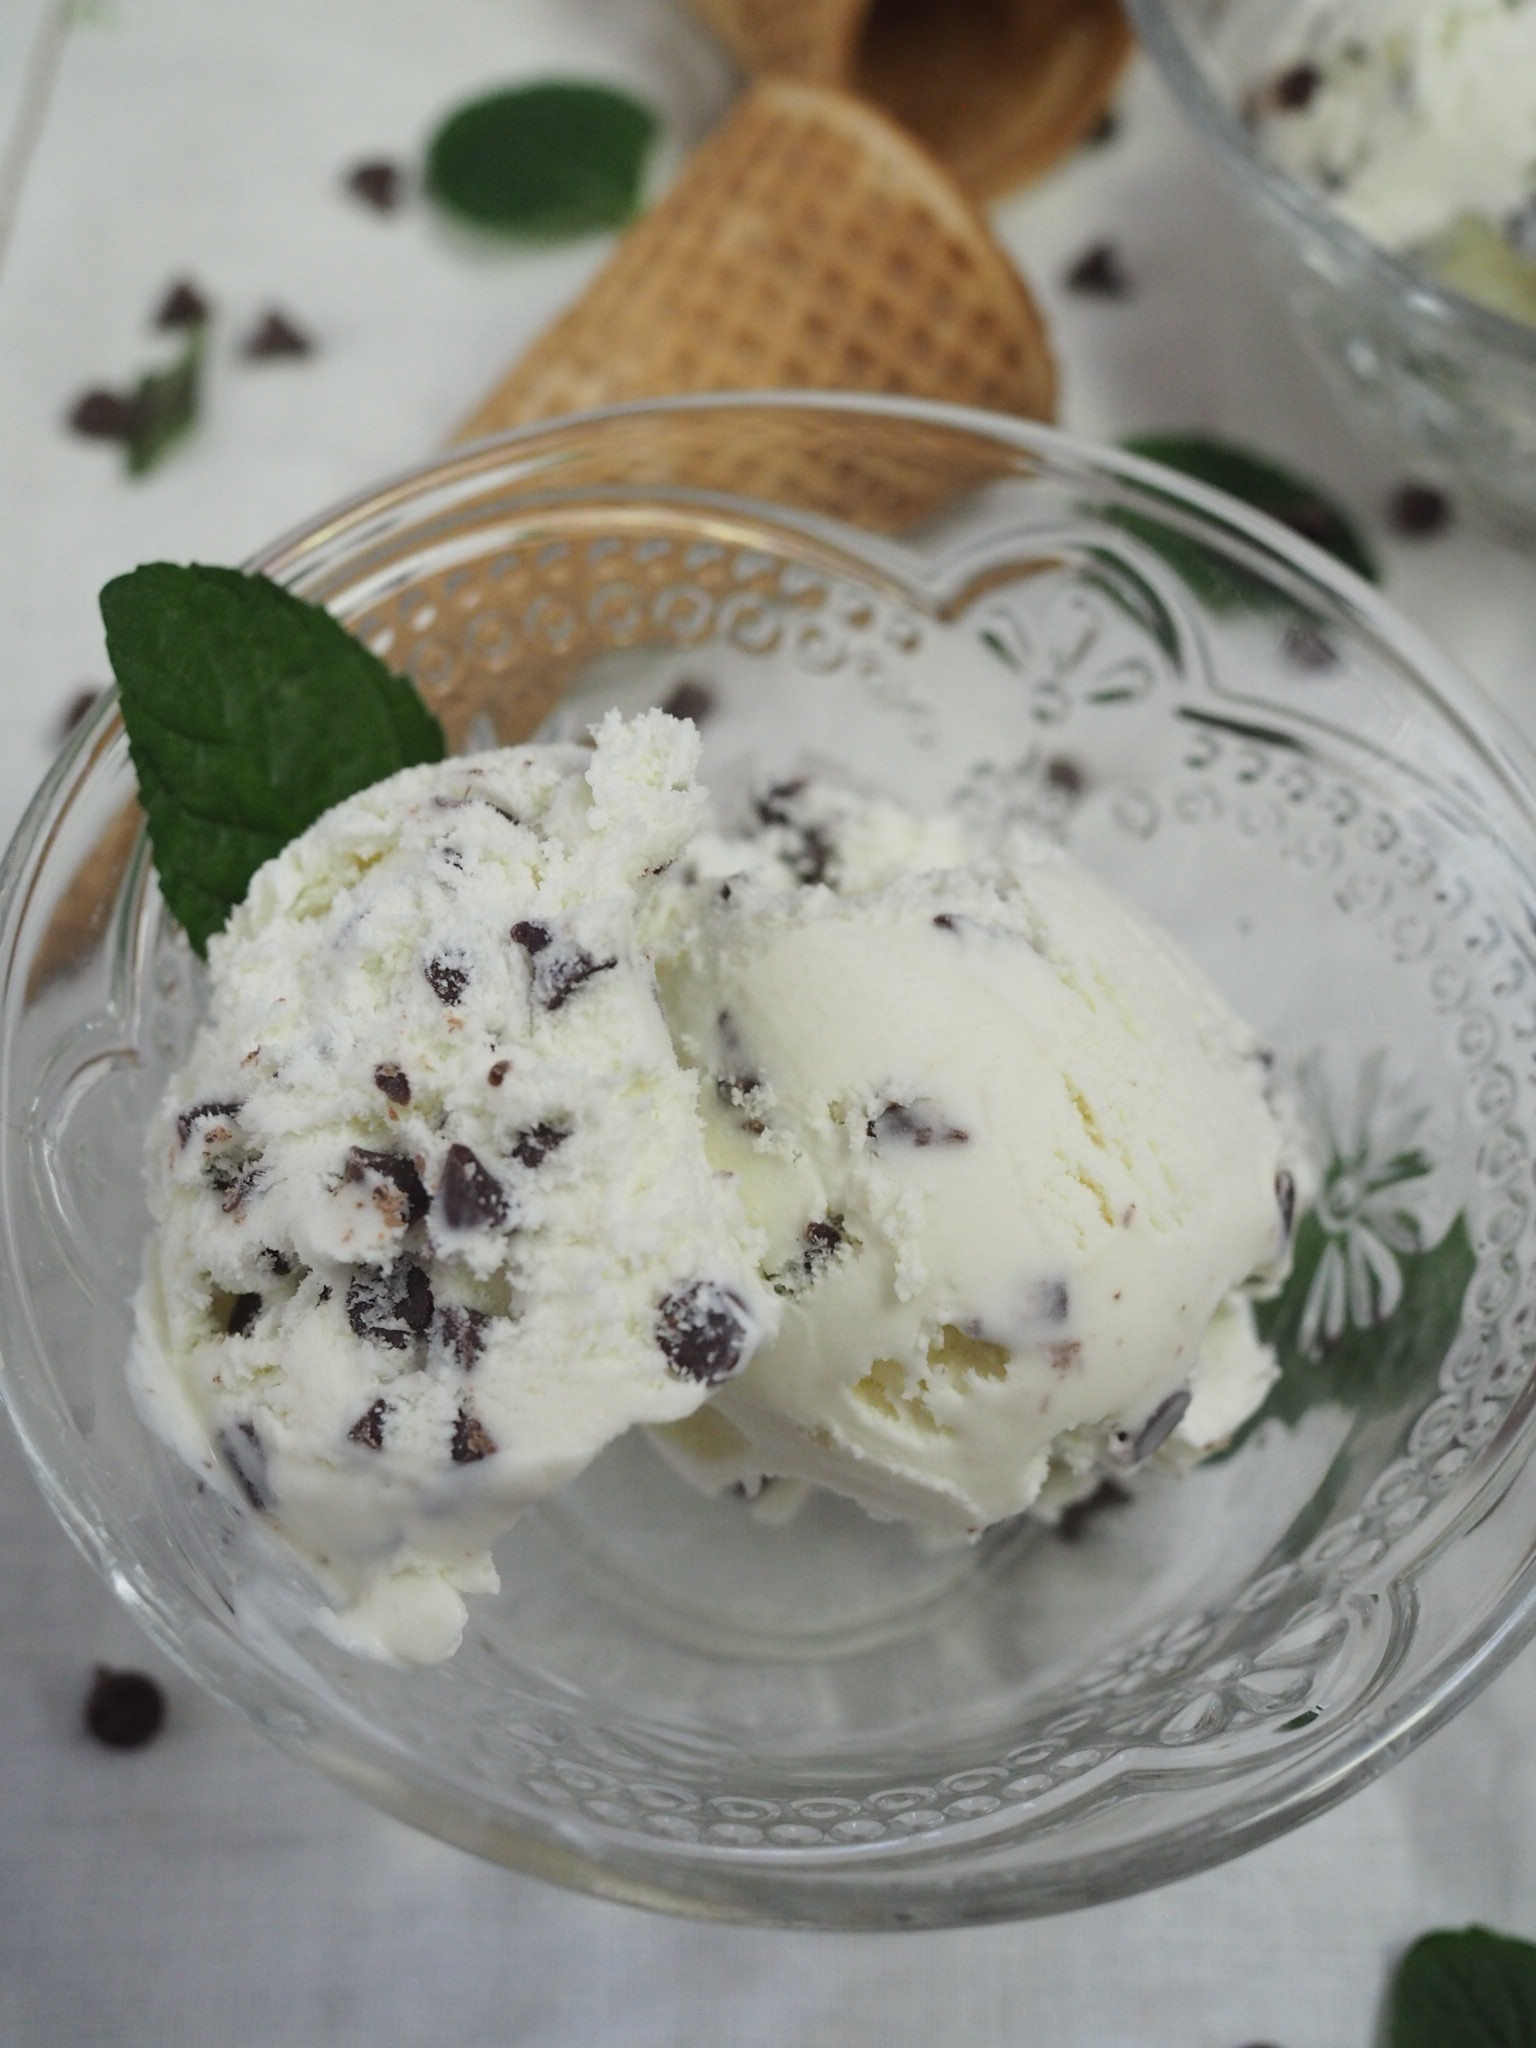
Fresh Mint Ice Cream Recipe (with Chocolate Chips)

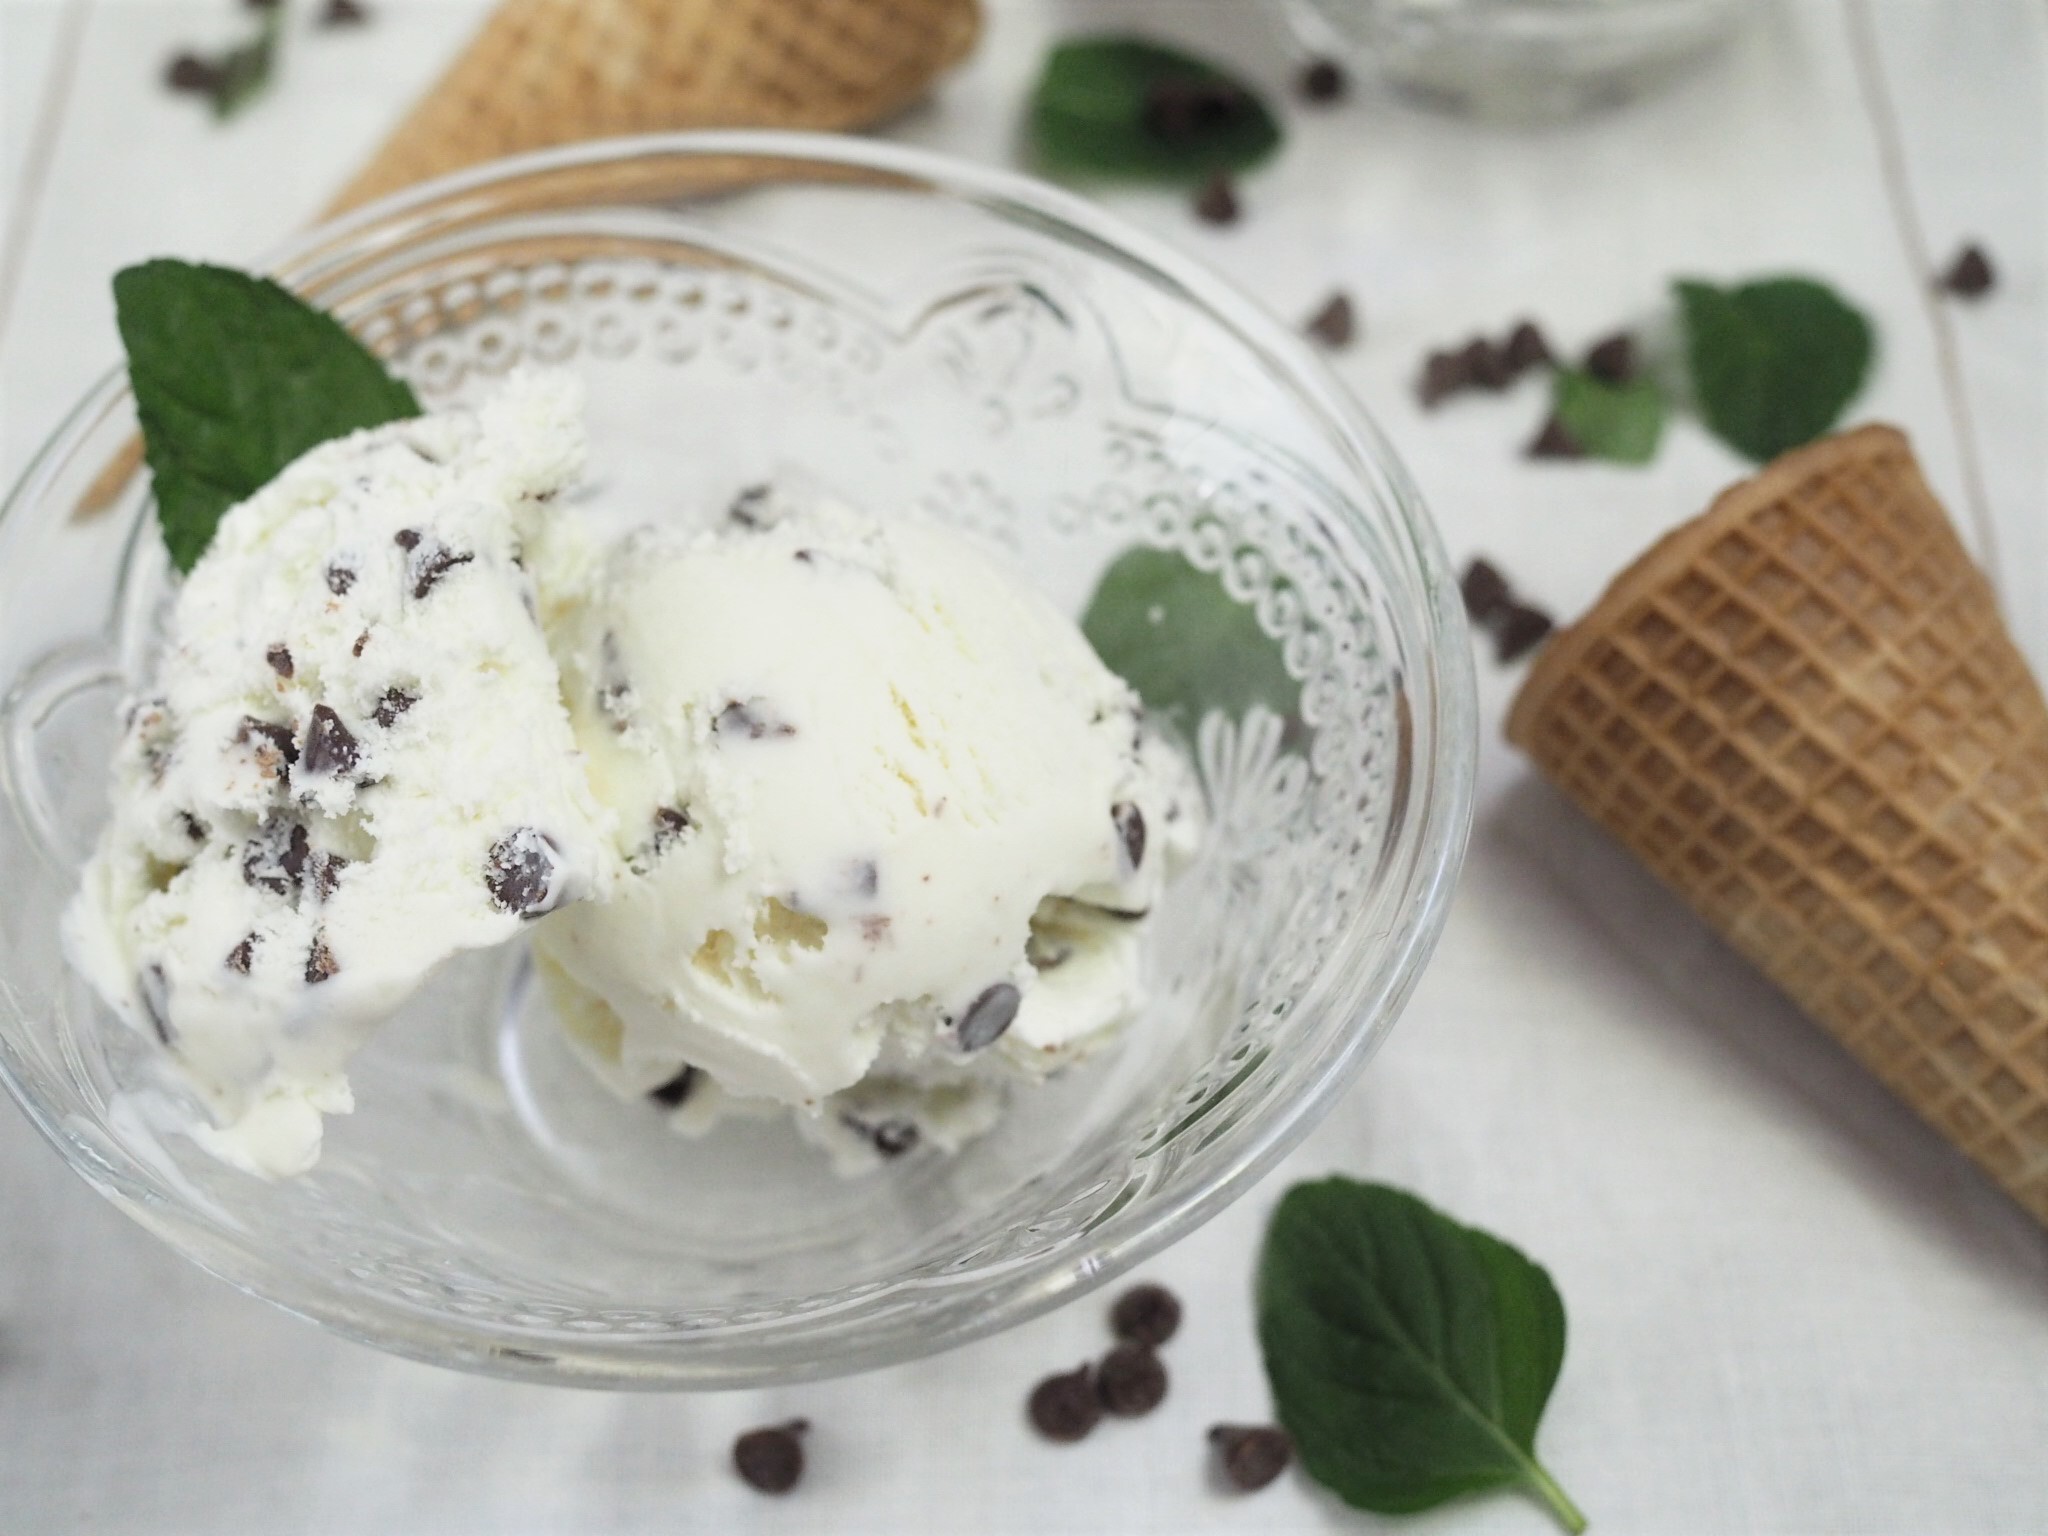
Fresh Mint Ice Cream with Chocolate Chips

Is there anything more summery than ice cream? 

Growing up, we had an ice cream maker. It was a behemoth of a thing, one of the old-fashion kinds that had an electric churn inside an outer container you had to fill with crushed ice and rock salt. We didn't use it much, rock salt and heavy cream weren't things we usually had sitting around the house, but once a summer it would make an appearance. The sound of the motor still rings clear in my mind, a sound of anticipation, the harbinger of deliciousness to come. When we did make it, it was always vanilla. I never recall getting any fancier than that, but to a kid, it was enough.

When Mr. Cleaver and I got married, we got a small, more modern ice cream maker as a wedding gift. It held about a quart and had a bowl you froze in the freezer, no rock salt required. I've tried making a dozen or so batches or ice cream and sorbet in that maker, with limited success. It never seemed to truly freeze/whip up properly and the ice cream would melt ridiculously fast. So this summer we decided to upgrade. Based on the recommendation of America's Test Kitchen, we purchased a Cuisinart ICE-21 (in pink of course!), and while we've only used it twice thus far, these results have been so much better that the bowl has earned a permanent spot in our freezer and heavy cream a regular spot on our shopping list.

My favorite part of homemade ice cream is using what's in season to make it really fresh ice cream. The obvious options - strawberries, raspberries, etc - all make delicious ice creams and sorbets,  but the herb garden is also a great place to turn to for ingredients. Especially in the early weeks of a garden before the berries ripen - and anyway, it doesn't get any more classic than Mint Chocolate Chip. Unless you count vanilla, of course.

Fresh Mint Ice Cream with Chocolate Chips 

Makes 1 1/2 Quarts (approx. 12 servings)

  • 3/4 cup granulated sugar
  • pinch salt
  • 2 cups fresh mint leaves (peppermint or chocolate mint preferred)
  • 1 cup 2% milk
  • 2 cups heavy cream 
  • 1 Tablespoon vanilla extract
  • 1 to 1 1/2 cups mini chocolate chips or chopped chocolate (optional)

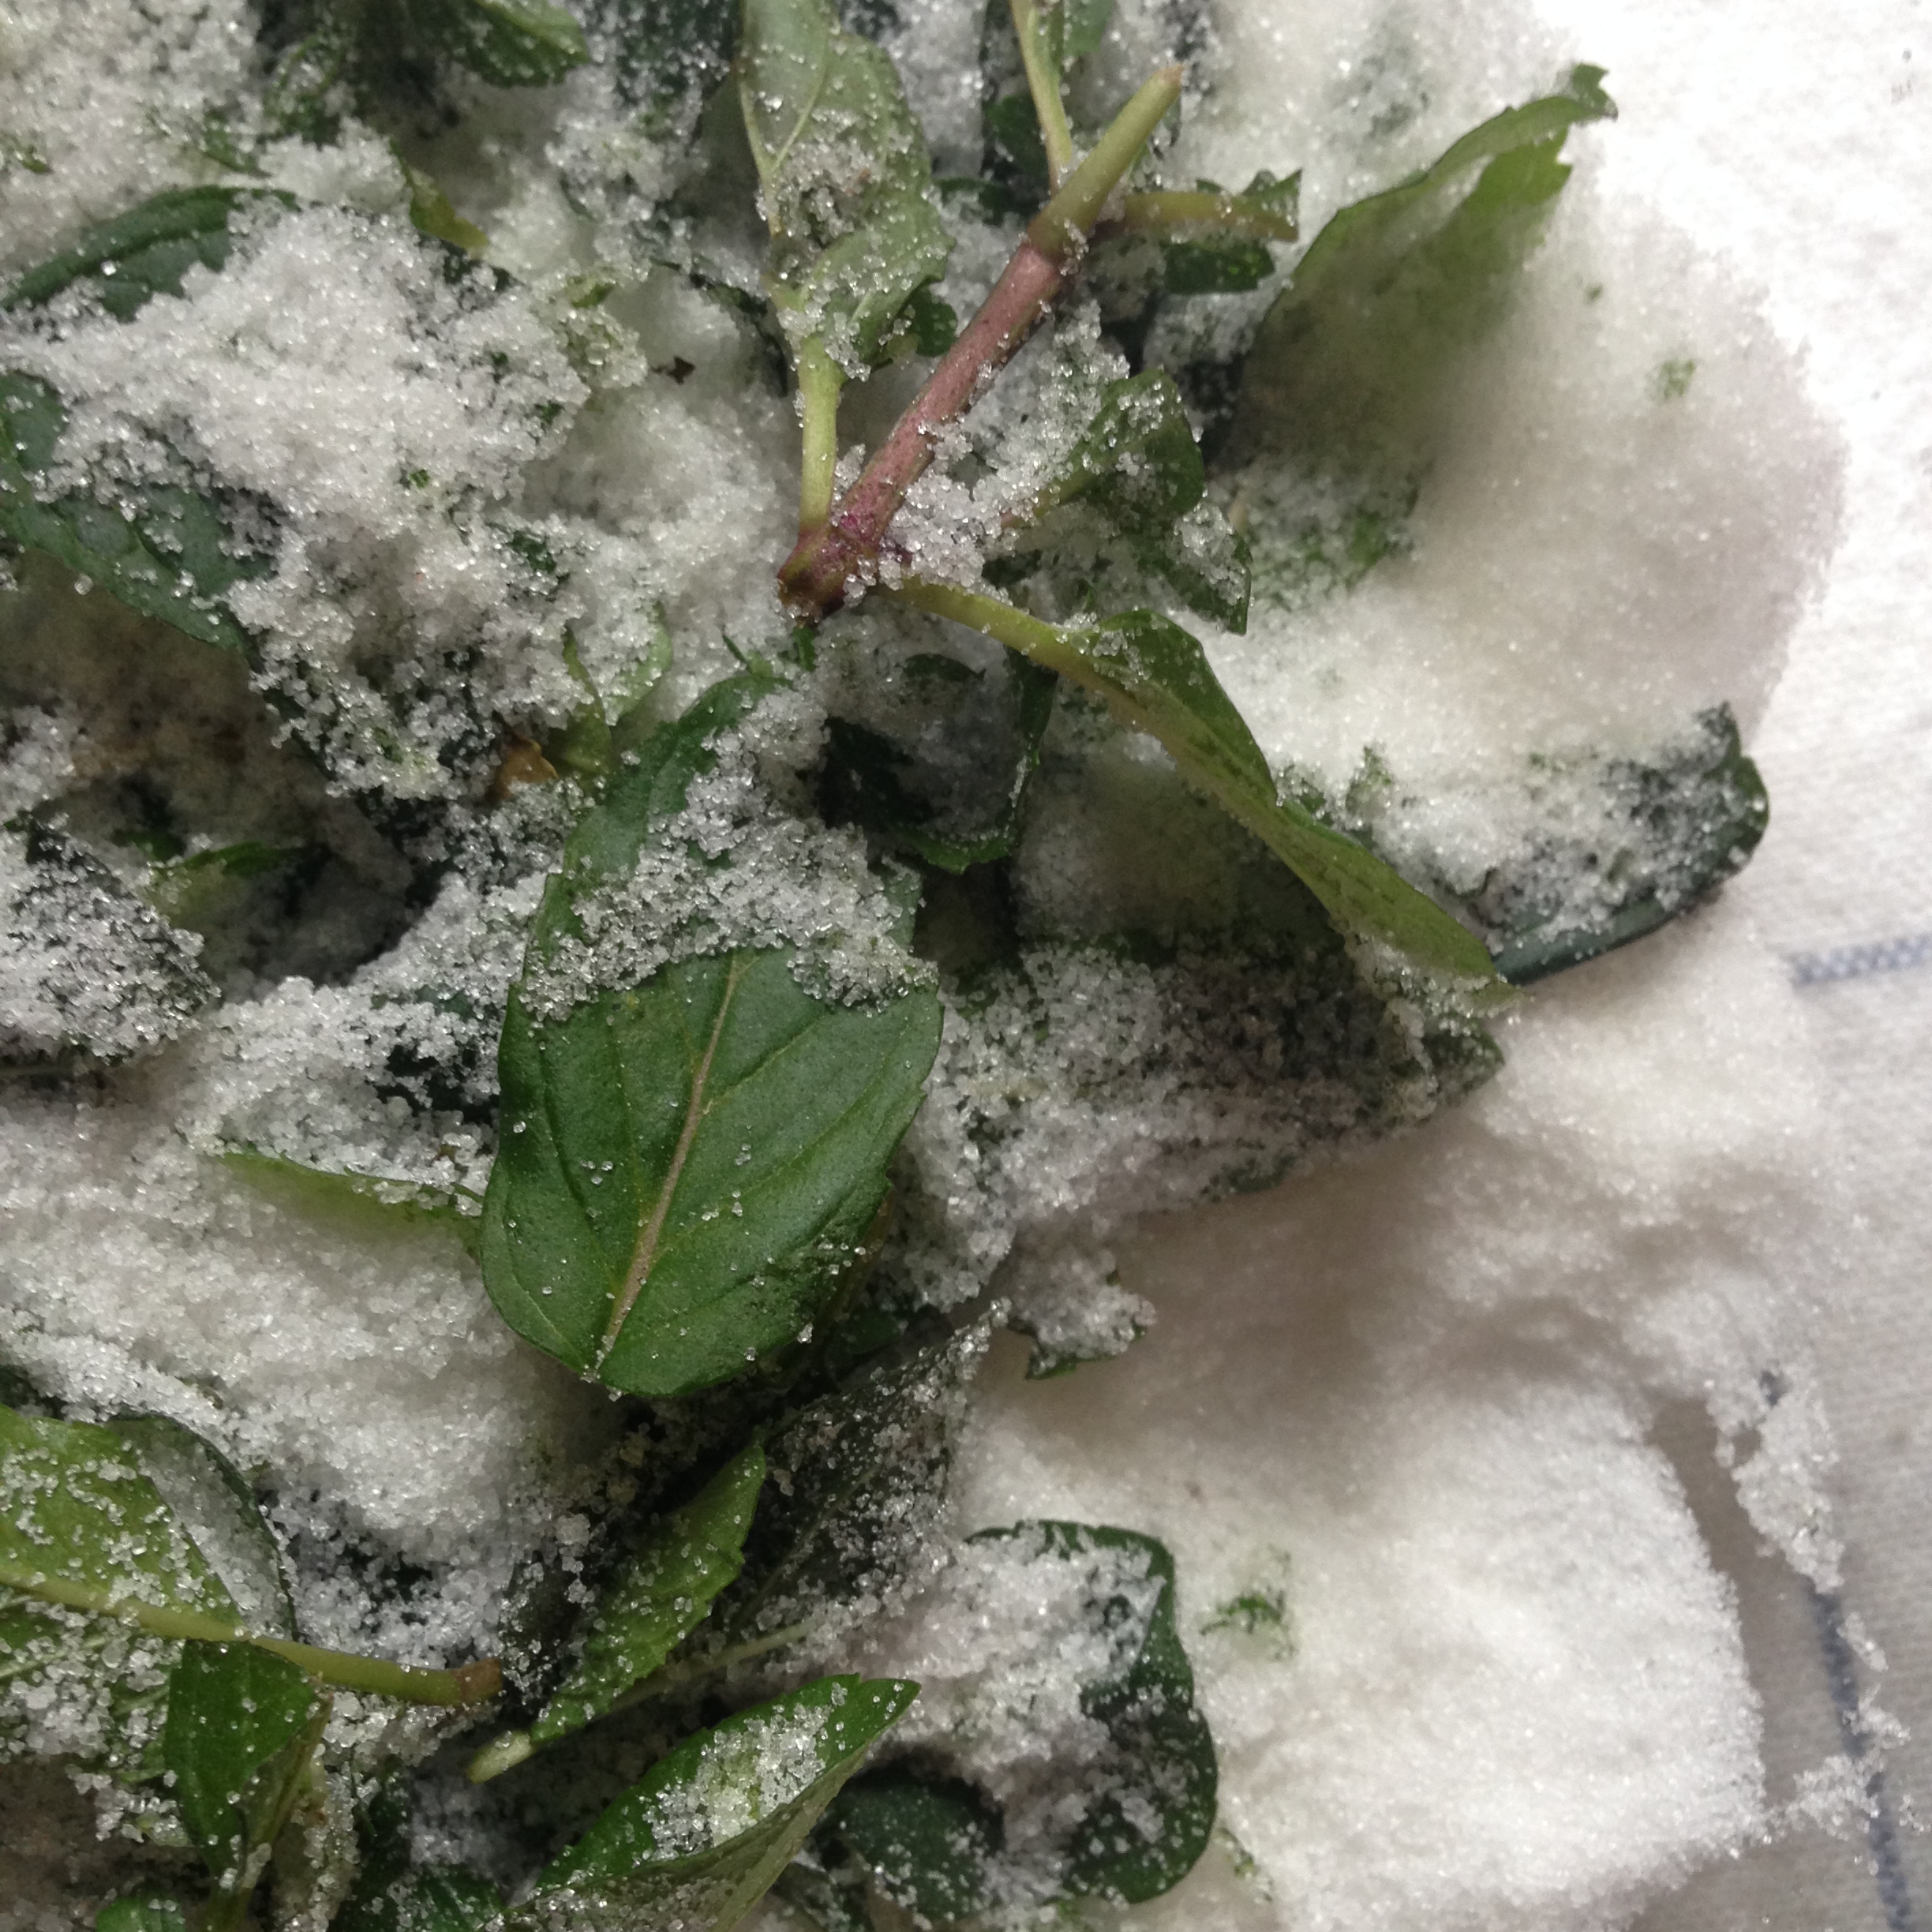
Combine sugar and salt in a large bowl and top with mint leaves. With a muddler or the bottom of a sturdy wooden spoon, crush mint into the sugar to release oils. Pour in milk and cream and stir until sugar dissolves. Cover bowl and place in back of refrigerator, preferably overnight, but a minimum of 3 hours until mixture is quiet cold.

Set up ice cream maker, per manufacturer's directions. Strain mint leaves out of milk/cream mix and pour into ice cream maker. When ice cream begins to appear firm, add chocolate. While tempting to eat directly out of the machine, taste a bit, and then scoop the rest into a reusable container and store in the freezer for several hours until firm. Serve in bowls or cones and enjoy!


Fresh Mint Ice Cream with Chocolate Chips

            Serves 12 (1 1/2 quarts)     Ingredients:         3/4 cup granulated sugar pinch of salt 2 cups fresh mint leaves (pepperment or chocolate mint preferred) 1 cup milk 2 cups heavy cream 1 Tbl vanilla extract 1 to 1 1/2 cups mini chocolate chips or chopped chocolate           
Print Friendly and PDF Follow
follow us in feedly

Gingerbread Cake and Glühwein

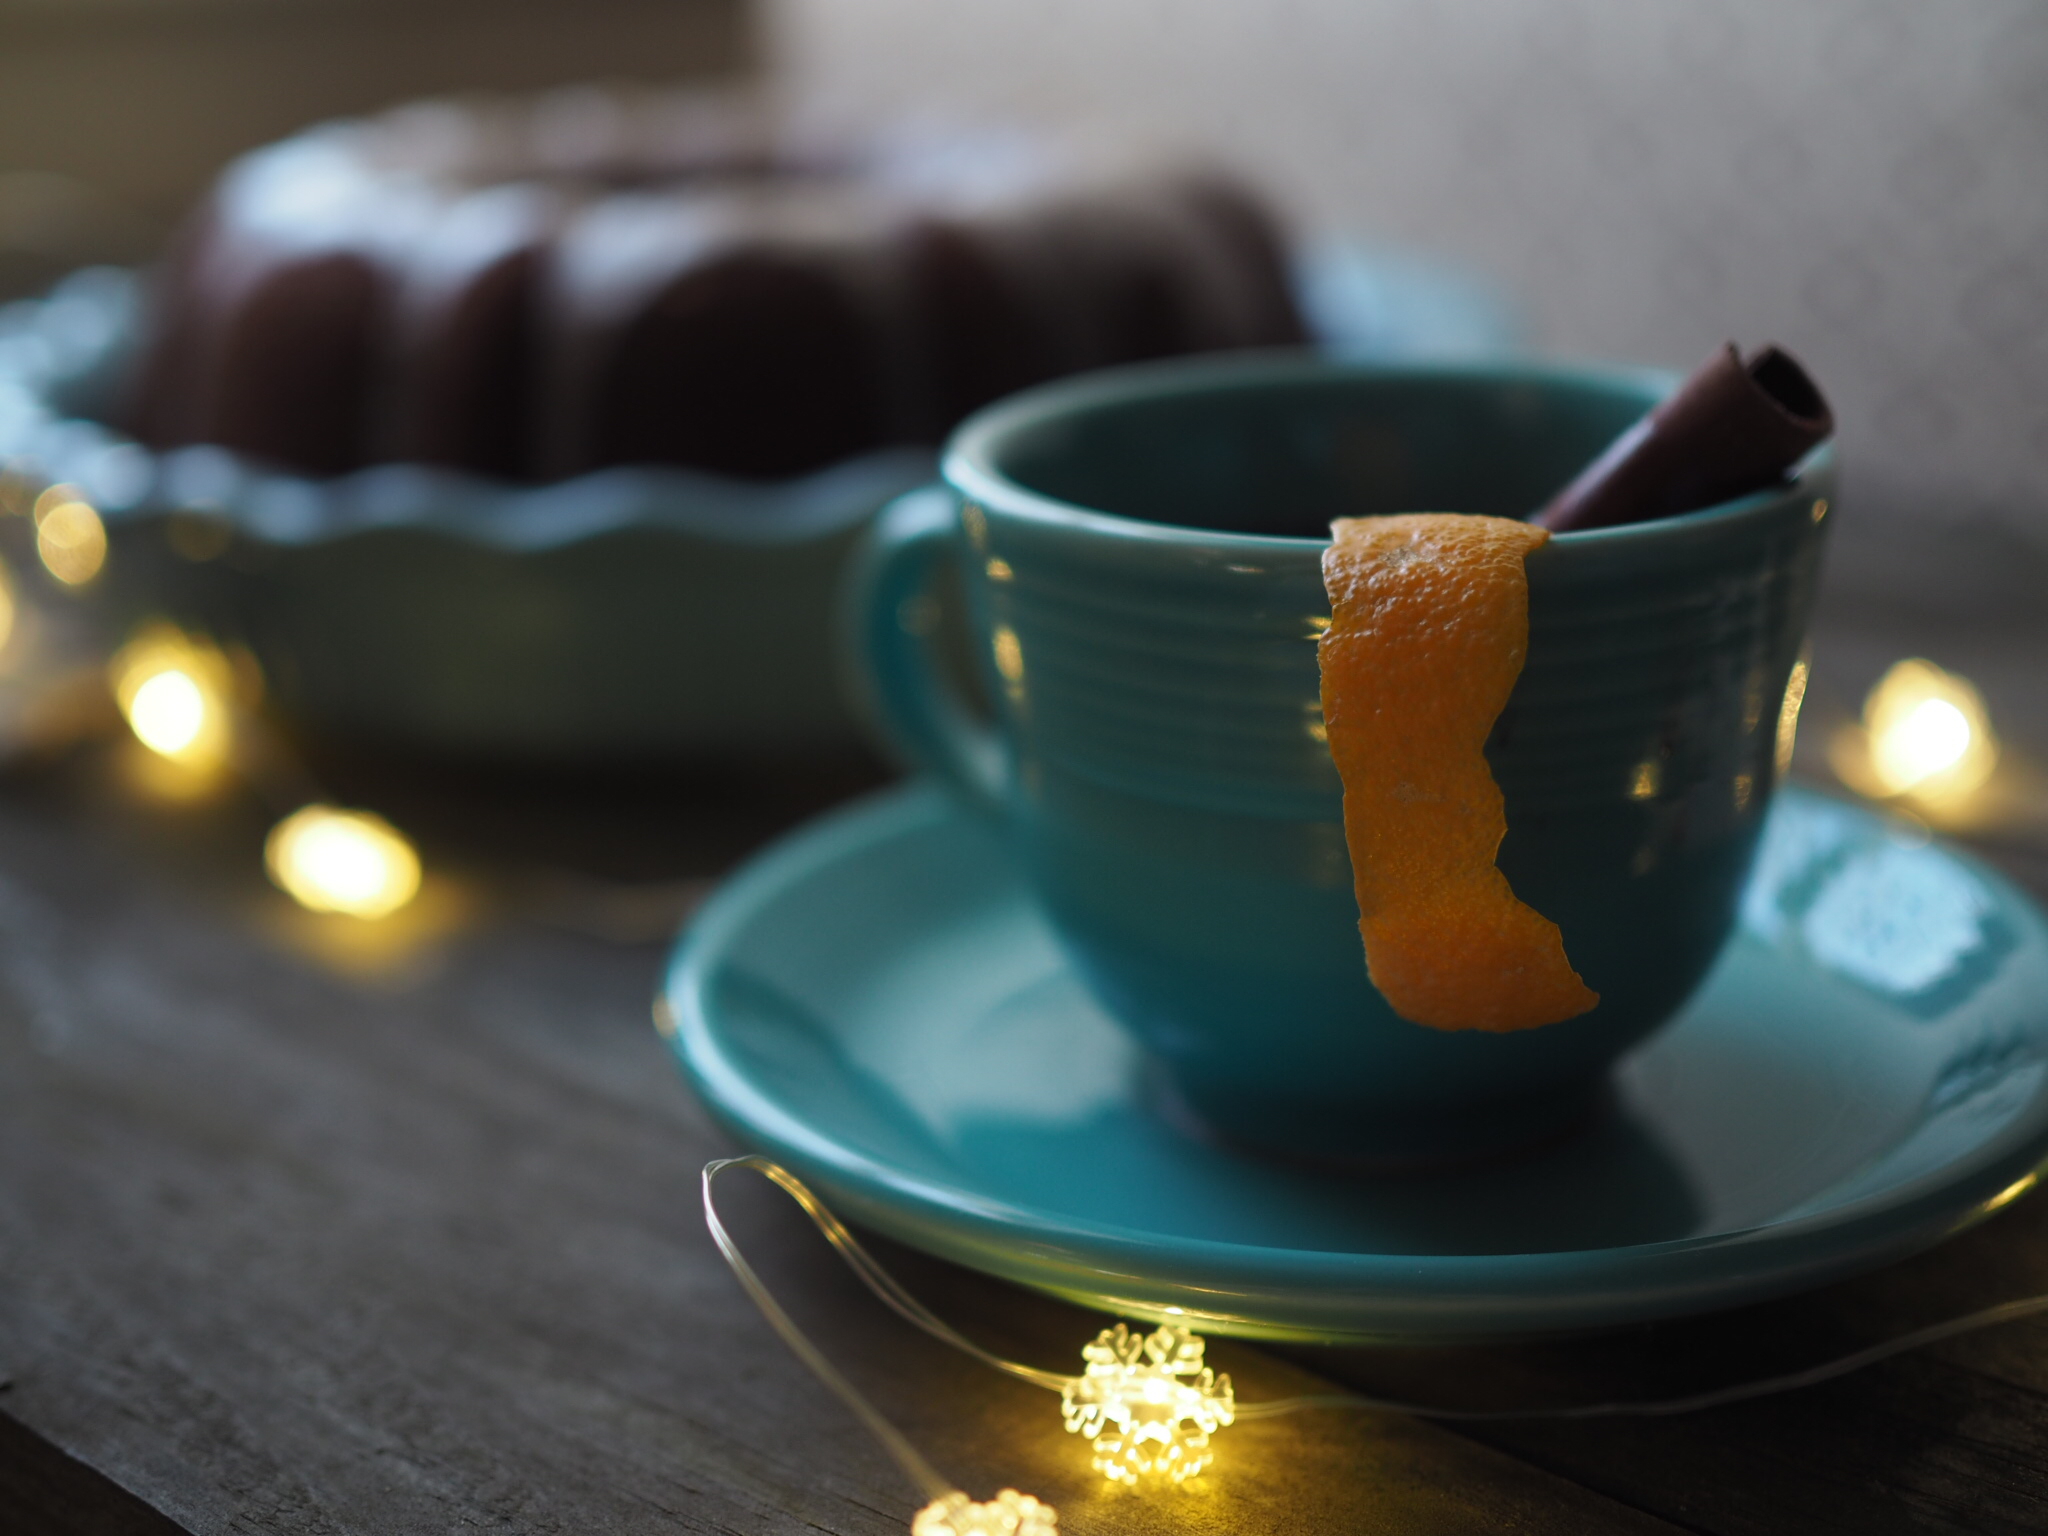
I love baking for the Holidays.  There's just something about the flavors of winter I find so appealing , the combination of nutmeg and cinnamon and citrus. The depth of molasses and wine. That's why this pairing is perfect combination for any winter gathering, and since there's a lot of overlap in ingredients, they're easy to make together. 

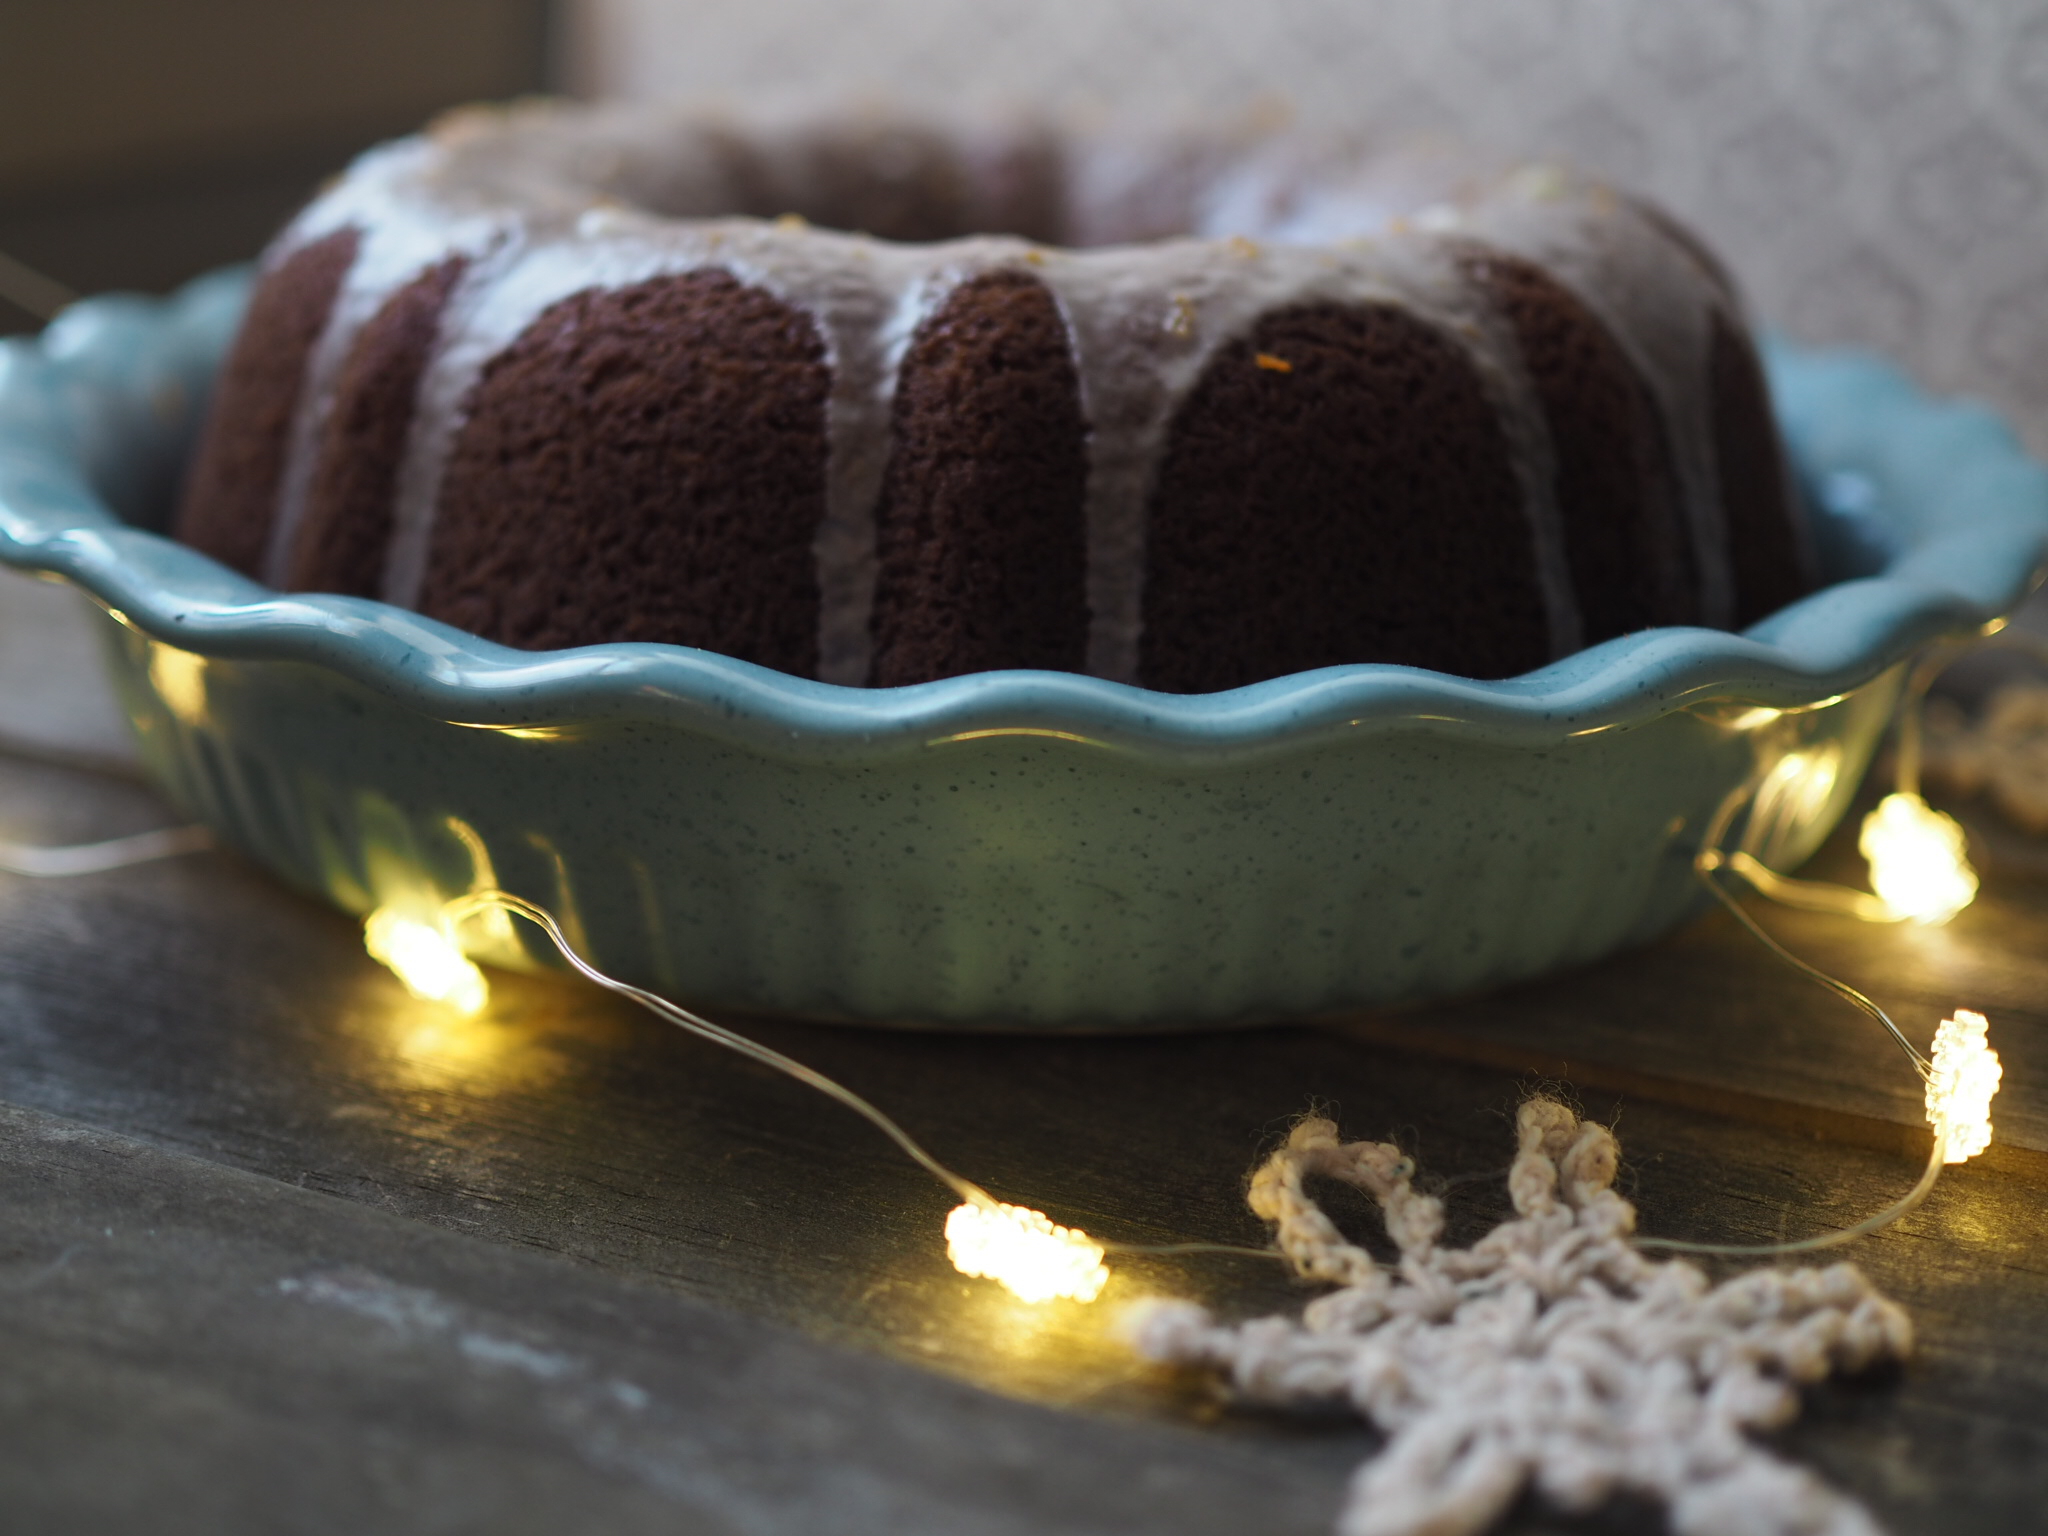
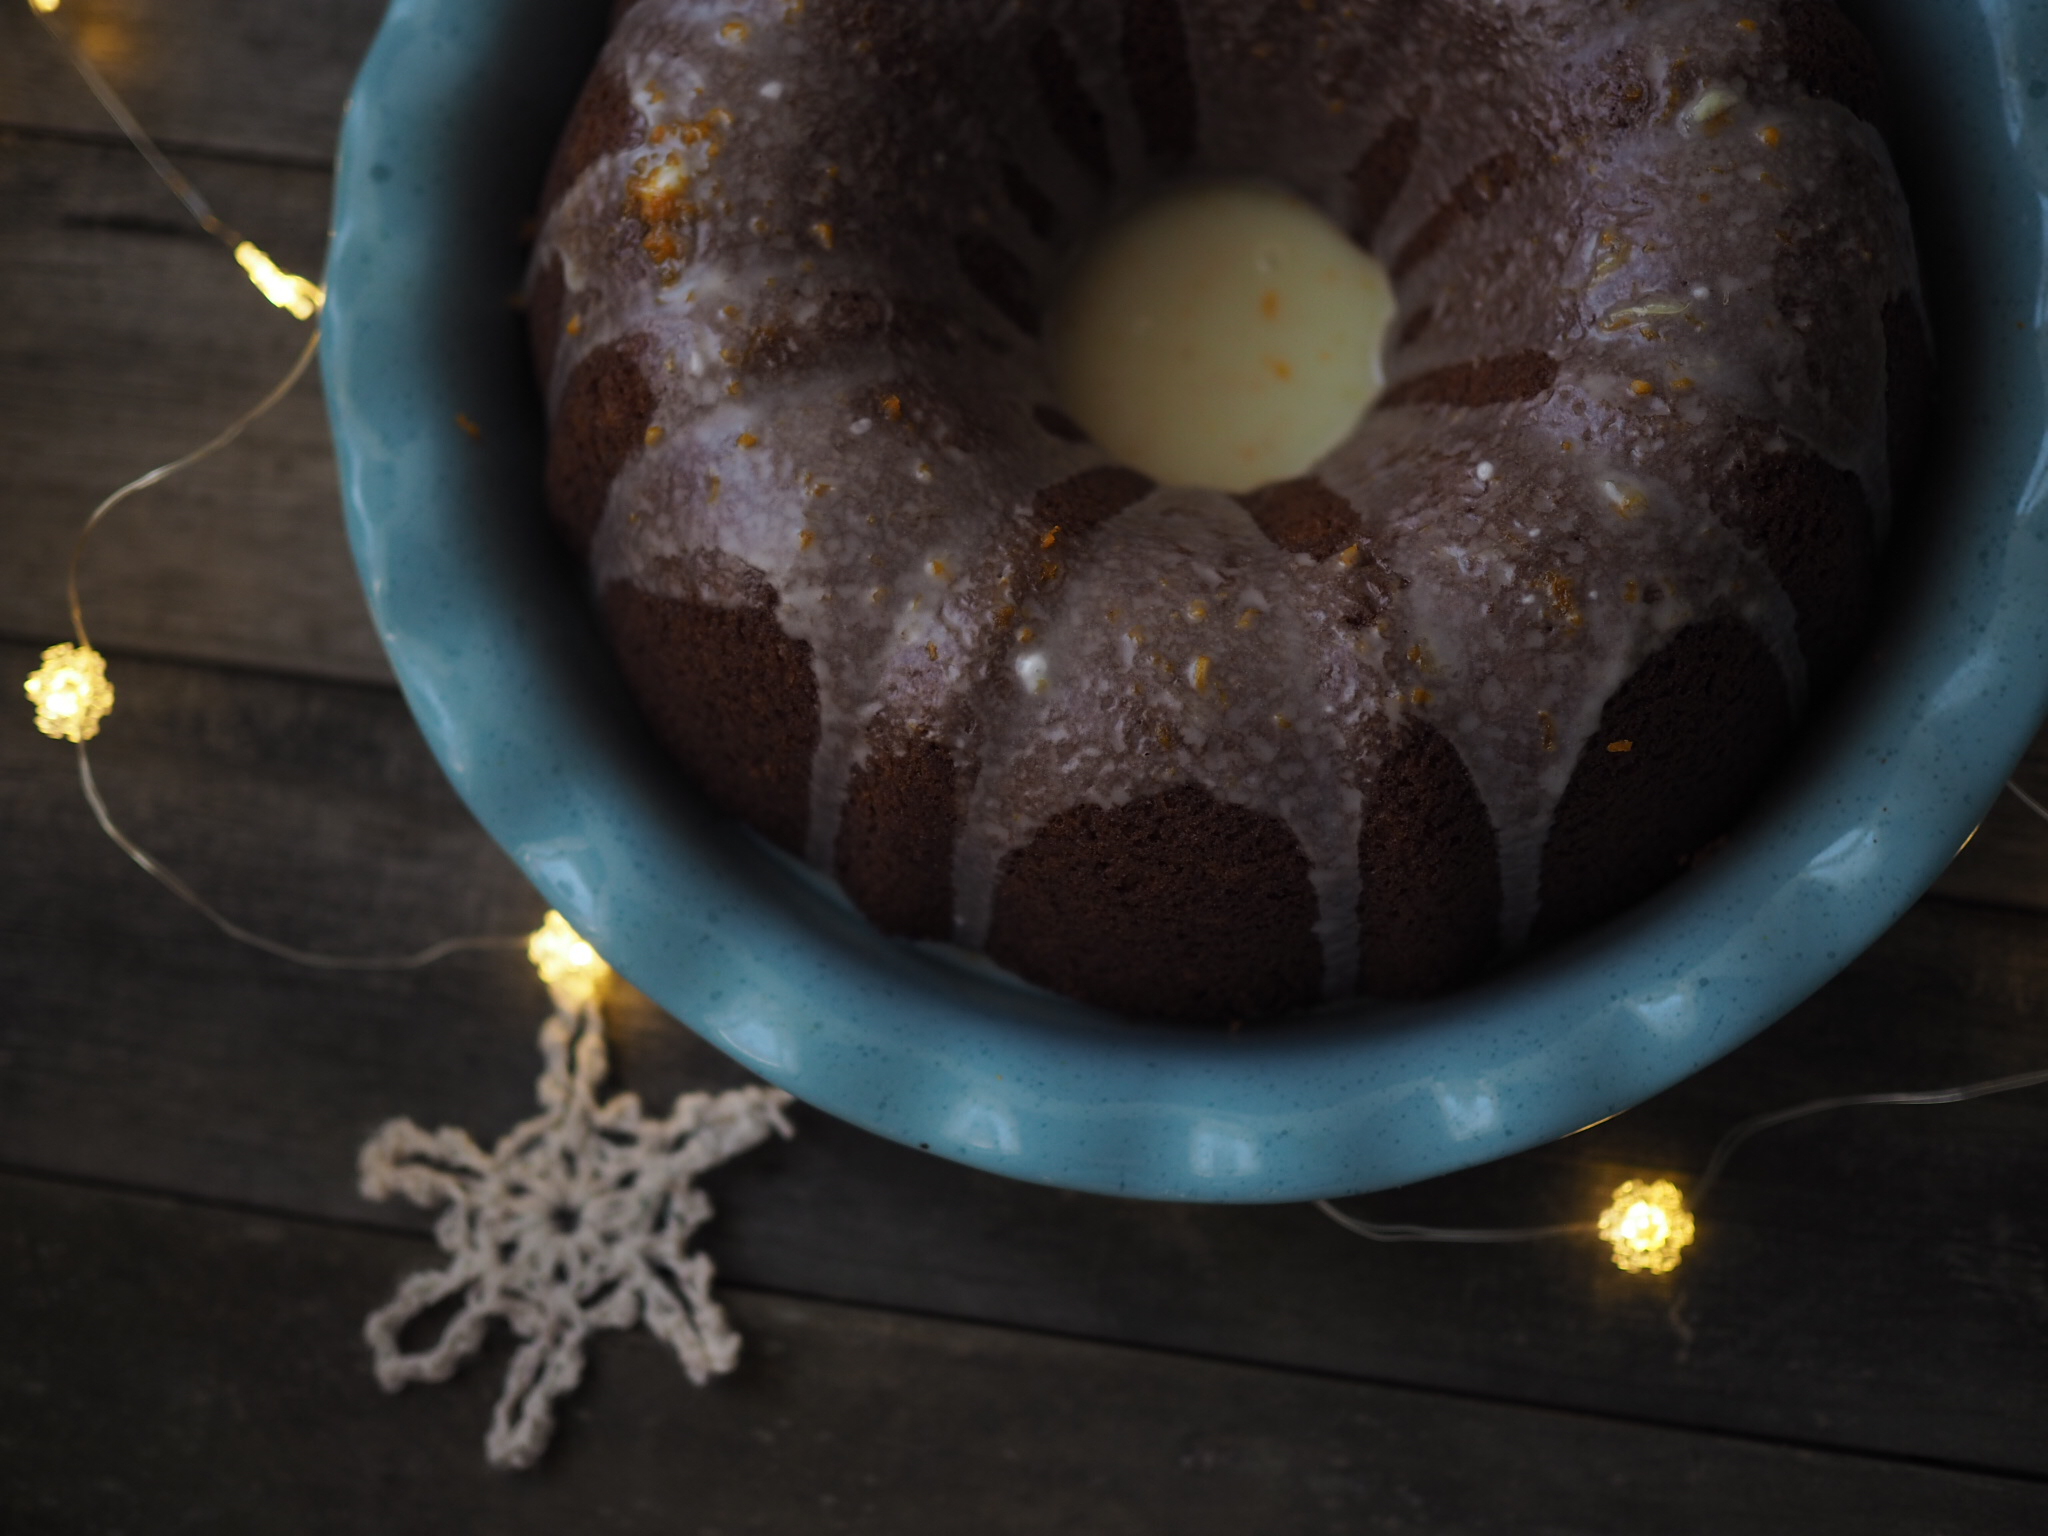
Gingerbread Cake with Orange Glaze

Serves 8-12

Gingerbread is an obvious choice for the holidays, but this take on the classic has a soft and light crumb, and isn't overly dense or spicy, as I find some gingerbread to be. The cake is best when the spices are allowed to meld for a bit, so make the day ahead, if possible. For a spicier cake, increase the amount of ginger, or replace powdered with fresh. You may also increase the amount of molasses, as desired.

For the Cake:

  • 2½ cups all-purpose flour
  • 2 teaspoons baking powder
  • ¼ teaspoon baking soda
  • ½ teaspoon salt
  • 2 teaspoons ground ginger
  • ½ teaspoon ground cinnamon
  • ¼ teaspoon allspice
  • ⅛ teaspoon freshly grated or ground nutmeg
  • ½ cup molasses
  • ½ cup brewed coffee, at room temperature
  • 1½ sticks ( 1¼ cups) unsalted butter, at room temperature
  • 1¼ cups light brown sugar
  • 3 eggs + 2 egg yolks, at room temperature

For the Glaze:

  • 1½ cups powdered sugar
  • 2 Tbl milk
  • 2 Tbl orange juice
  • Zest of 1 orange
  • pinch of salt


Preheat oven to 350 degrees F. Grease and flour or spray a 10-cup Bundt pan (I find Pam with Flour works the best for those tricky Bundt pans). 

In a large mixing bowl, cream butter until smooth using a wooden spoon or mixer. Add brown sugar and cream until light and fluffy, making sure butter is fully integrated and there are no visible chunks. Add eggs to butter mixture one at a time, mixing in completely before adding the next egg.

In a separate bowl, shift together flour, baking powder, baking soda, salt, and spices.

In a small bowl or cup, mix together room temperature coffee with the molasses.

Add the 1/3 of the flour to the egg/butter mix, then 1/2 the molasses, 1/3 of the flour, the remaining molasses, then the remaining flour. Mix until just combined. 

Pour batter into prepared pan and snap against the counter to remove any large bubbles. Smooth out the top with a rubber spatula.  Place in center of oven an bake for approximately 50 minutes, or until a toothpick inserted into the center of the cake comes out clean. 

Let cake cool in pan for about 7 minutes, then turn onto a cooling rack. Let cake cool completely, transfer to serving plate, and then glaze.

To make glaze: mix all ingredients, adding liquid slowly until desired consistency is achieved. Pour over cooled Bundt cake, making sure to allow glaze to drip down both sides. Scoop extra glaze out of cake center and re-drizzle as desired.

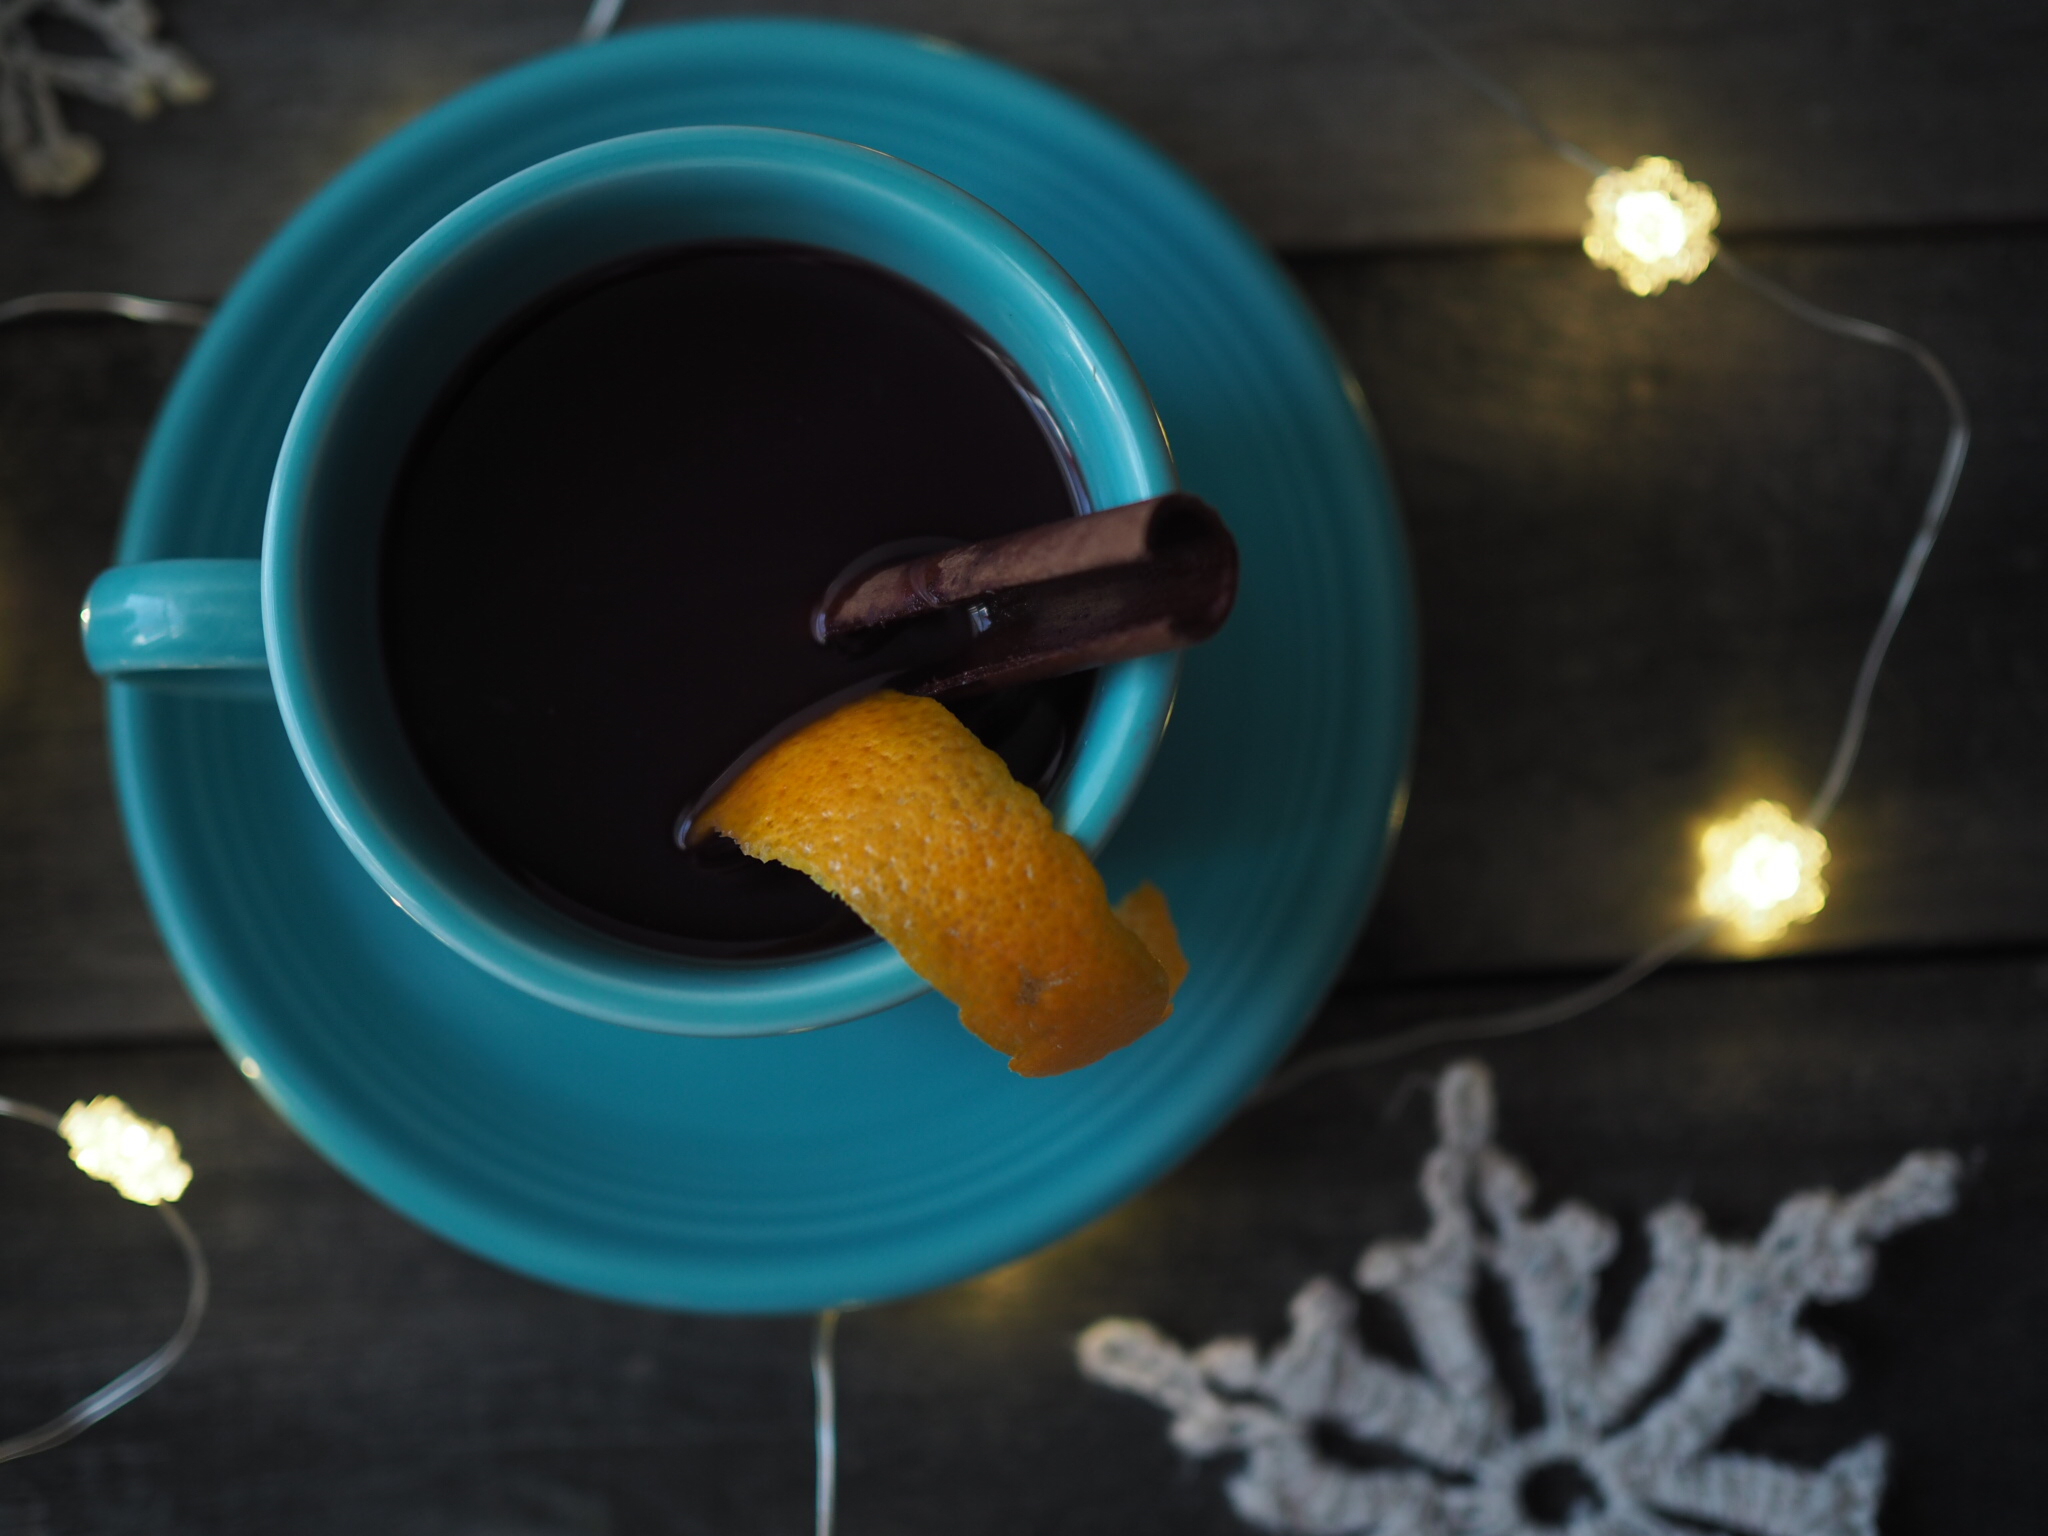
Glühwein, or German Mulled Wine, is perhaps less familiar, but a wonderful addition to winter gatherings. I discovered Glühwein when searching for mulled wine recipes, and then immediately emailed a German friend for her take on the tradition. I've merged her recipe with some I found online, but mulled wine is something that is easy to vary to meet your own tastes. Throughout my wine-mulling process, I kept running to Mr. Cleaver with a hot mug and saying "taste this." We quickly ran through the batch at my knitting group's annual Christmas fête, so I think my test-taster served me well.

Glühwein - German Mulled Wine

  • 1.5 L dry red wine
  • 2 1/3 cup orange juice (juiced oranges + pre-made orange jucie)
  • 2/3 cup brandy
  • 4-5 oranges, peeled (see instructions below) and juiced
  • 1 lemon, peeled and juiced
  • 4 cinnamon sticks
  • 20 cloves
  • 1/8 tsp freshly ground nutmeg
  • up to 1/3 cup sugar, to taste

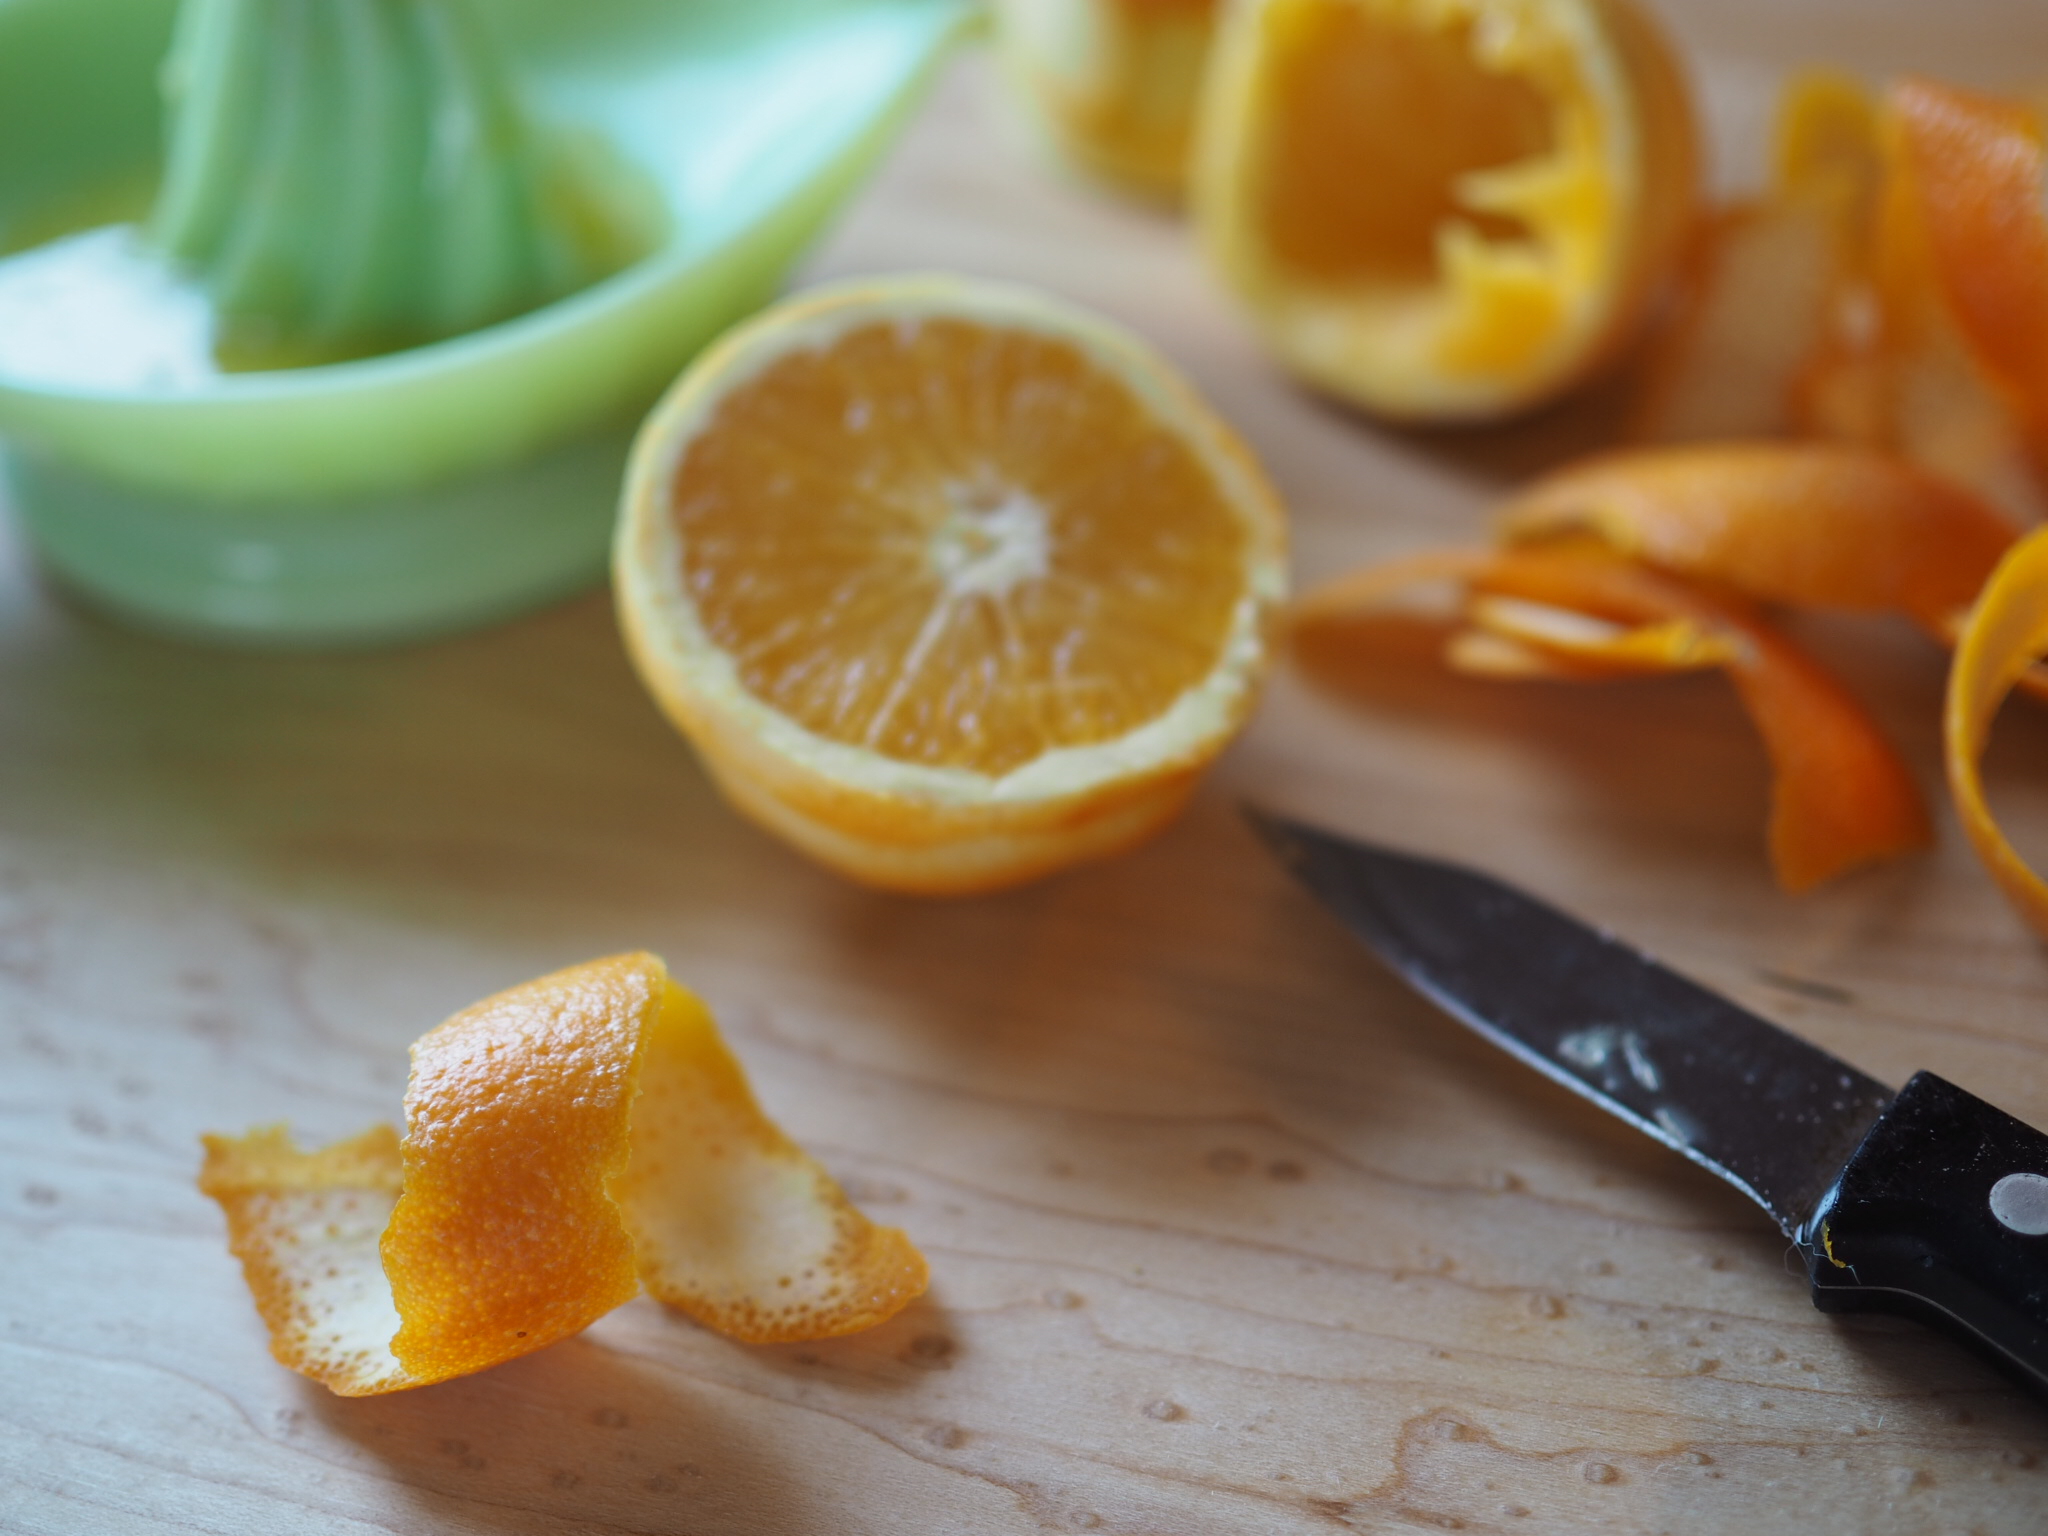
Using a paring knife or vegetable peeler, peel all citrus into wide strips, avoiding as much of the bitter white pith as possible. Juice all fruit, making up the difference with pre-made orange juice as needed.  Reserve some peels for garnish.

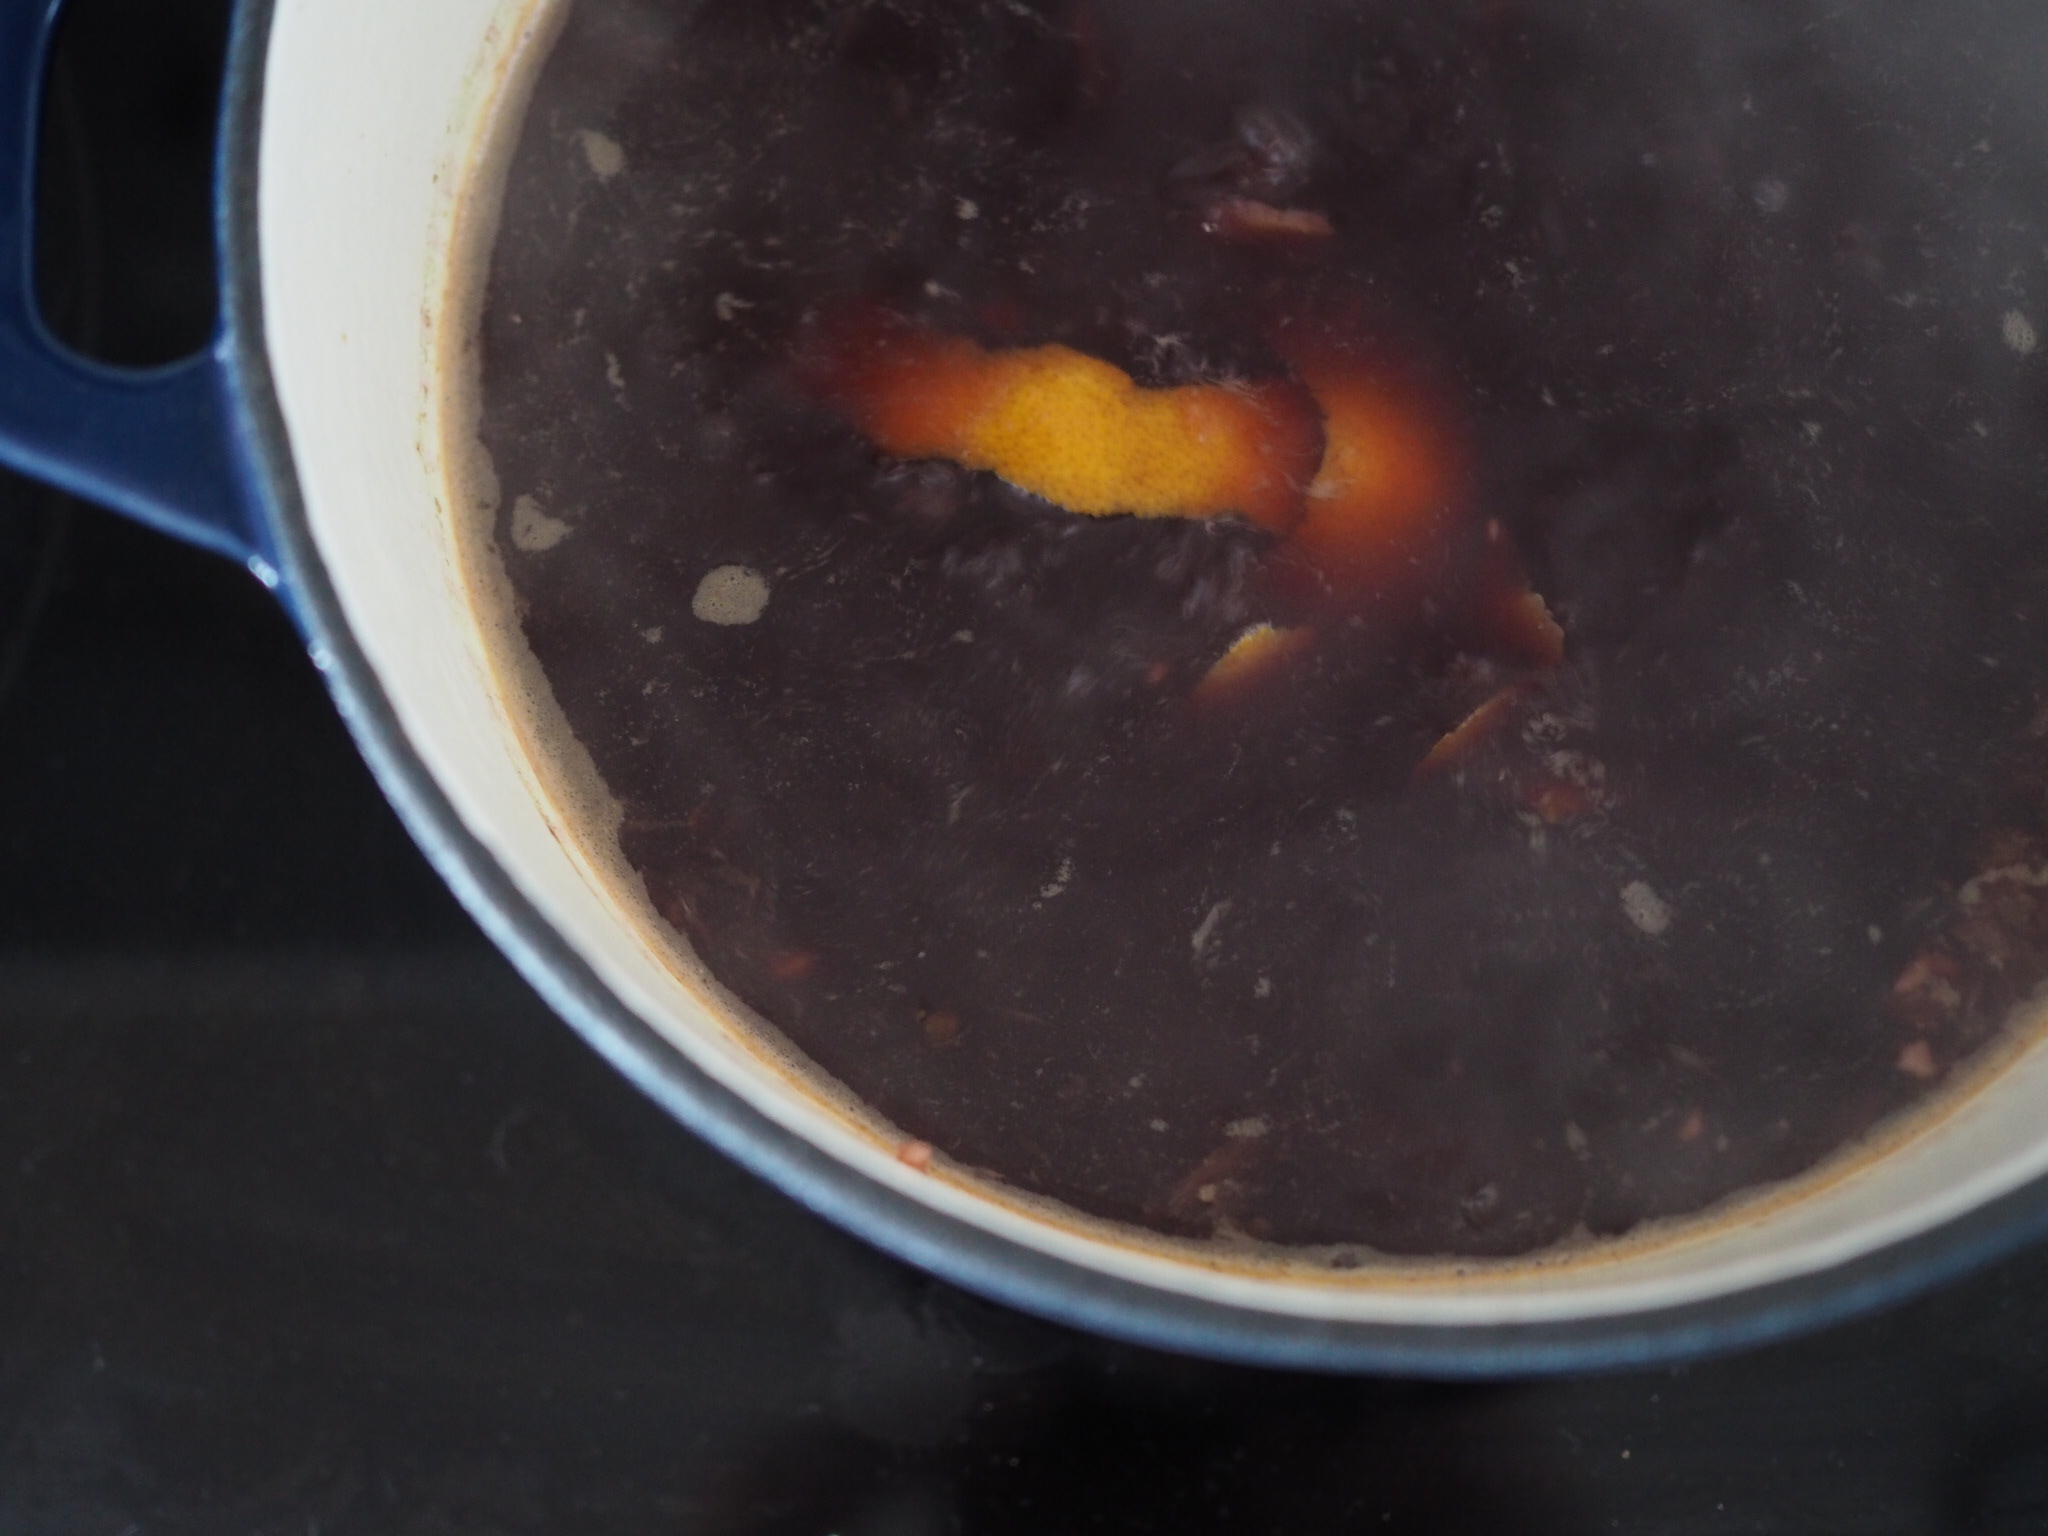
Combine wine, juice, remaining peels, and spices in a heavy covered stockpot. Bring pot to a low simmer. Add Brandy and continue to simmer. Add sugar to taste. 

Serve hot, not warm.

What are your favorite holiday recipes? Share links below!!


Print Friendly and PDF Follow
follow us in feedly

Thoughts on being a Lenten Vegetarian

2012-A-Year-in-Food.gif On Sunday I wrapped up my 40+ days of vegetarianism with some french toast and bacon, but I thought I ought to do a wrap up of sorts.

Over the course of this year's experiment I got a lot of questions about it from people, mostly the real vegetarians in my life, so while I don't really have any new photos for this post, I do have a Vegetarian Q&A.

Q: Did you miss meat?

A: Yes and no. No, in that I never at any point was craving meat, as in "man, I need a burger," but I did miss it when substitutions were less tasty to me. Like my attempt at making falafel was less successful than my ability to make chicken gyros, or when my substitution of veggie stock in risotto made for a very odd tasting meal. But in other cases, the vegetarian option was just as good or better (like restaurant-made falafel). I also missed meat when some restaurants had a limited/poor selection of vegetarian options (Ri-Ras, I'm looking at you!)

Q: Did you feel better/healthier?

A: I didn't feel better, or less sluggish or anything physically, but mentally I did feel that I was introducing better food choices into my world.

Q: What was the hardest part?

A: Cooking without a doubt. I'm not a great and/or particularly enthusiastic cook to begin with, so there's that. But mostly when I started this whole thing I didn't have a much of a vegetarian cooking repertoire. So there was a big shift in having to change the way I grocery shop, and find recipes, and trying out 2-3 new recipes a week, with mixed results.  Though I wouldn't say my repertoire is huge now (I had more failures than successes methinks), but I do have more options, as well as an ever expanding Pinterest board of recipes to try and an expanding feed-reader full of vegetarian cooking blogs, so I expect that to continue to grow. I did find that when all else fails, make a pizza.

Q: What was the best part?

A: Discovering new foods. I'm particularly a fan of quinoa now, which I'd never had before, and I forgot how much I like spinach. I like veggie-burgers. And I'm surprised at the number of recipes that called for parsley, which I had always thought of more as a garnish, but no more!  It also made me look beyond the same old some old at the grocery store and on menus. I could still expand my range of vegetables though.

Q: Would you consider staying a vegetarian/doing it again?

A: I don't think that I will permanently be a vegetarian, I like keeping my options open, and for me, it's about health more than any moral imperative. But I would like to continue to incorporate more vegetarian eating into my diet going forward.

Q: Any favorite recipes?

A: Yep! Here's a few I'm definitely be making again (or already have):

There's also a few improvisations, like the aforementioned pizzas and some veggie masala that was quite tasty.

There you have it!


Print Friendly and PDF Follow
follow us in feedly

Sunlight and Spring

Untitled The light in the evening is coming back in spades theses day, for which this California transplant is grateful. It makes me feel so much for active and productive in the evenings, which is great, because it's been a busy week and it's going to be a busy spring.

Untitled

Because with all the bright happy sunniness of spring comes new responsibility - probably a day a late and a dollar short, but I've started thinking about all the stuff I need to do to get  vegetable garden in the ground this year, not to mention spring cleaning, repainting the peeling deck, and all that sewing I want to do as soon as it starts getting warmer.

Untitled

But for today, I'm taking it easy (as much as that's possible on a work day) and not worrying about all the work that's to come.

Deep breaths, and one day at a time.

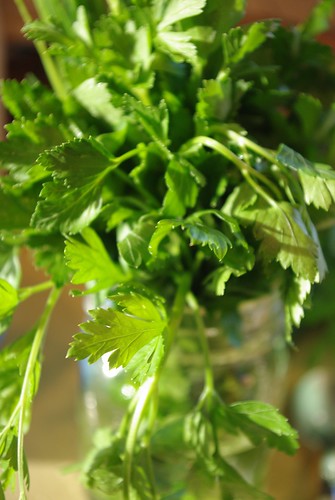
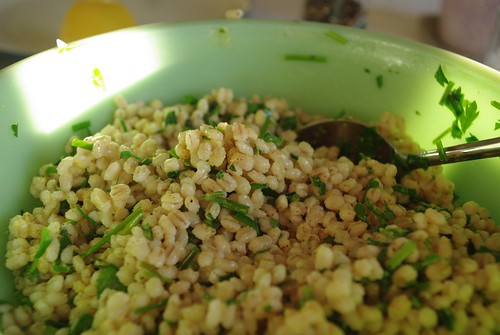
All photos of Barley Herb Salad from Martha Stewart Living. Which is totally delicious, especially if you add extra mustard.

Print Friendly and PDF Follow
follow us in feedly