Recipe: Chocolate-Raspberry Tart with Shortbread Crust

Chocolate Raspberry Tart with Shortbread Crust

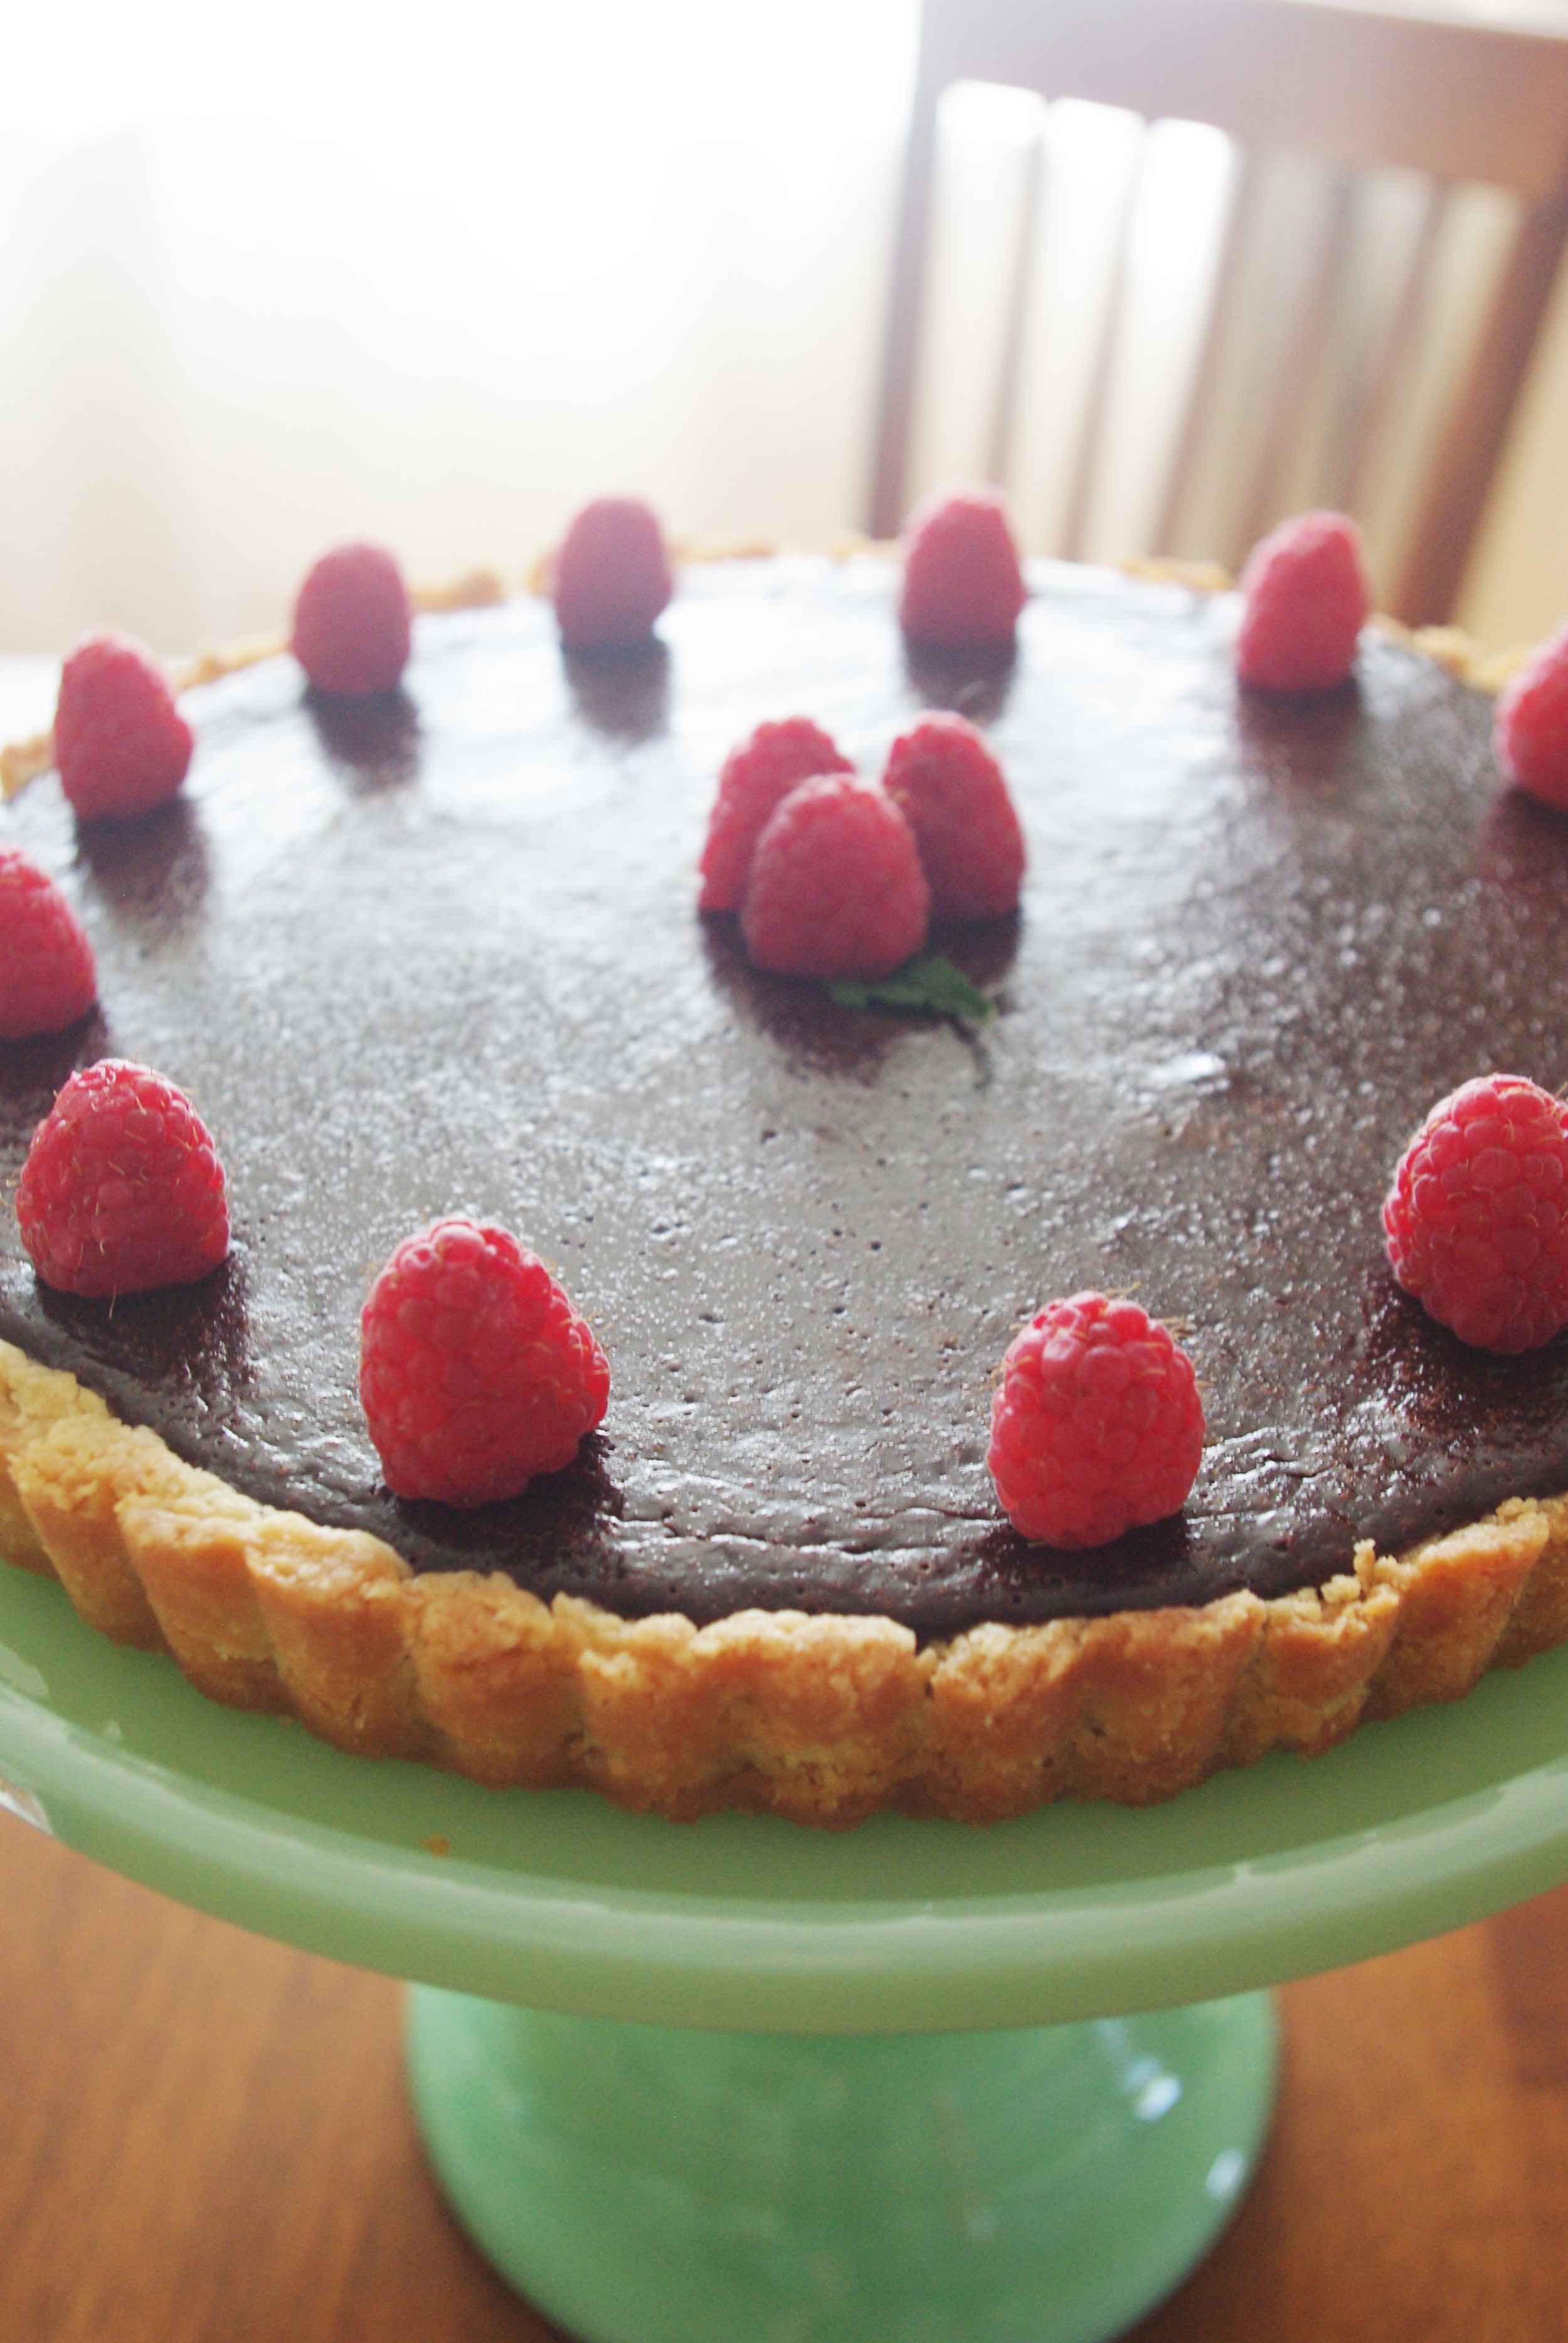
I was recently discussing my s'more pie with a friend who had made it sans marshmallows. We were talking about how the filling could work well with a variety of different toppings/fillings and I mentioned that I thought it would be particularly good with crushed raspberries and a shortbread crust. 

A few pints of raspberries and one satisfied taste-tester later, here we are.  :)

Chocolate & Raspberry Tart 

Shortbread crust

  • 1 ½ cups all-purpose flour
  • 1 cup powdered sugar
  • ½ teaspoon salt
  • 1 ½ sticks cold butter, 6 ounces, cut in small pieces
  • If your dough isn't holding together, you can add up to 1 egg

Chocolate filling

  • 1 1/4 cups (10 oz.) heavy cream
  • 9 ounces bittersweet chocolate chips (not more than 65% cacao if marked)
  • 2 large eggs
  • 1 teaspoon pure vanilla extract
  • 1/4 teaspoon salt
  • 1 1/2 pints fresh raspberries, plus more for decoration (~2 pints in total)

NB: depending on the size of your pan(s) you may not need all the dough or filling.

Make and "Blind Bake" Tart Shell

Make and Blind Bake Tart ShellSpray a tart pan, or several mini tart pans with cooking spray. Combine crust ingredients with a pastry cutter or food processor, until the mixture clumps, if needed, add up to one egg. Using fingers, press dough evenly into tart pan bottom and up sides past edge of pan. Prick the dough with a fork, line crust with foil and fill with pie weights/rice/beans etc.

Cover crust and chill for 1 hour. Preheat oven to 375˚F.

Place tart pan(s) on a baking sheet and bake for 10-15 minutes or until golden brown. Cool completely.

Make Filling

Bring cream to a boil, then pour over chocolate in a bowl and let stand 5 minutes. Gently stir until smooth. Whisk together eggs, vanilla, and salt in another bowl until frothy, then fold into melted chocolate.

Set aside about dozen raspberries for decorating (or 1 per mini tart ) Crush the remaining raspberries in a sieve to drain the excess juice and spread crushed berries along the bottom of the cooled crust and then pour filling on top.

Bake until filling is set about 3 inches from edge but center is still wobbly, 20 to 25 minutes. (Center will continue to set as tart cools.) Cool completely in pan on rack, about 1 hour.

Remove from tart pan and decorate with remaining raspberries.

If kept at room temperature, chocolate will have a mousse-like texture, chilling the tart in the refrigerator will give it a firmer texture.

Print Friendly and PDF Follow
follow us in feedly

Raspberry Picking and Pie

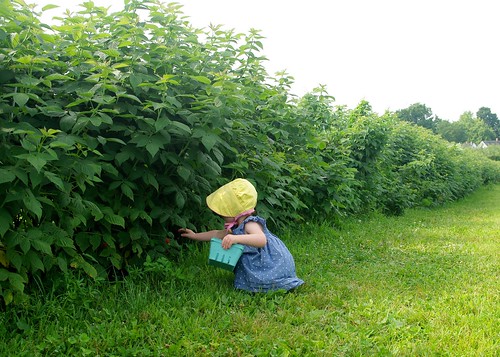
Picking Raspberries
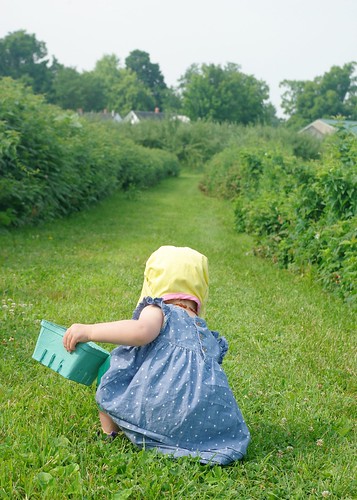
Down the Path
Picking Raspberries
Picking Raspberries
Picking Raspberries
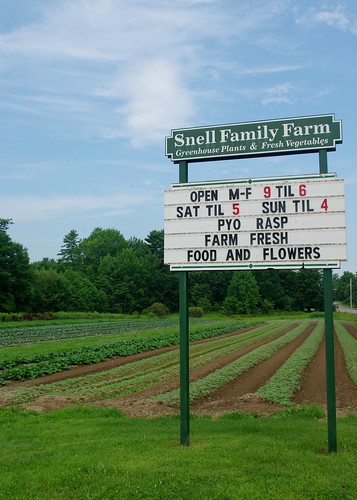
Snell Family Farm
Picking Raspberries
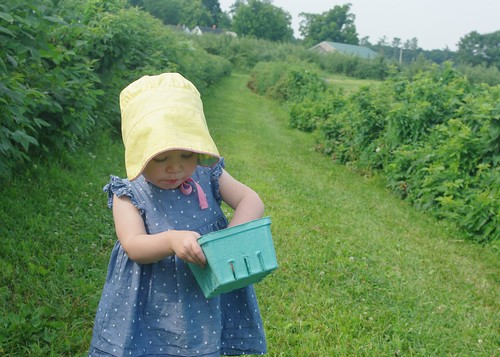
Checking for More
Tasting the Bounty
Picking Raspberries
Raspberry Pie
Raspberry Pie
Untitled
Raspberry Pie and Ice Cream
Eating Pie

What can I say? I love pick your own (PYO) farm adventures!

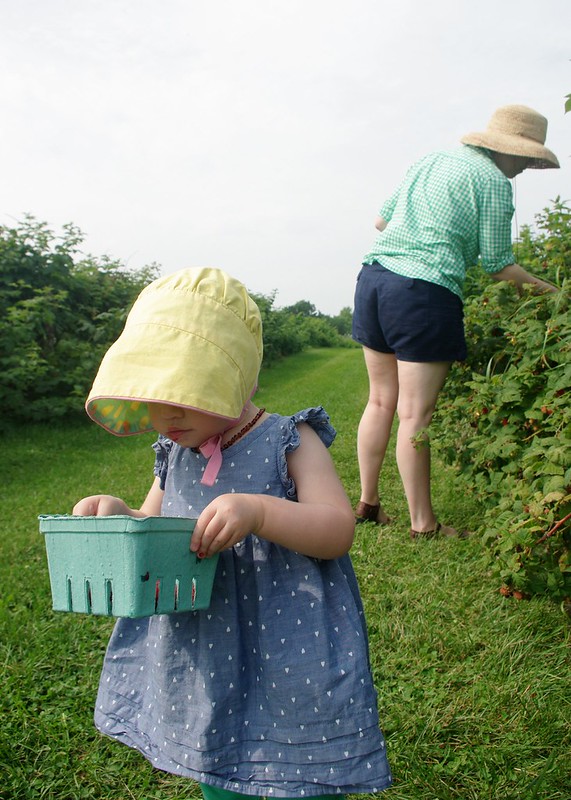
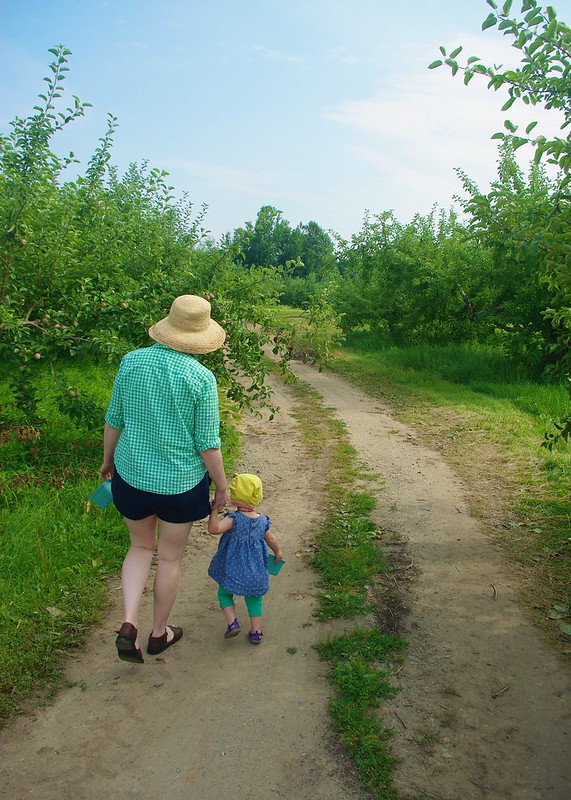
Last week at the farmer's market we discovered that Snell Family Farm did PYO raspberries (they do apples too). So on a sunny Saturday morning Mr. Cleaver, LMC and I loaded up the wagon (no pets allowed, unfortunately) and took the short drive out to Buxton/Bar Mills.

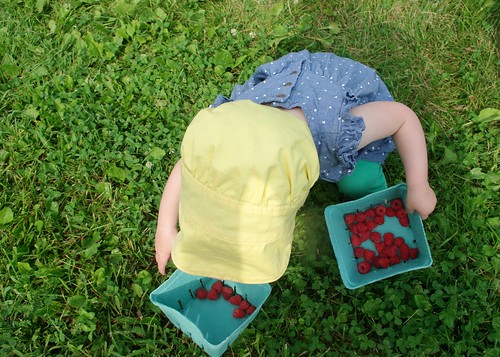
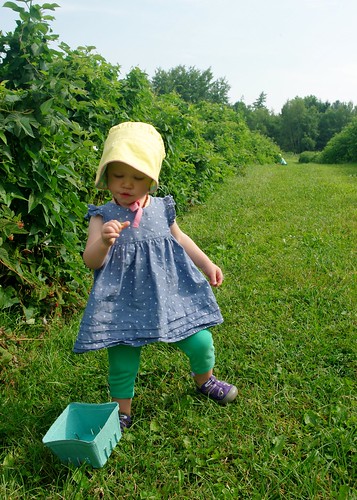
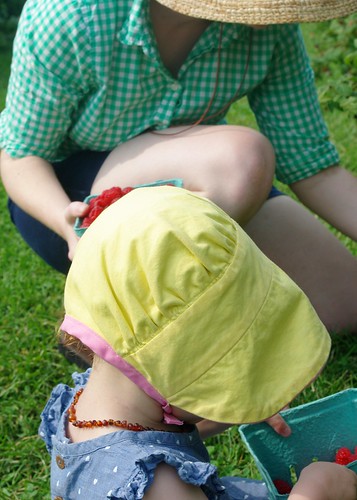
We had a fabulous picking experience. The raspberry fields are orderly and the picking rows are wide, so you don't have to worry about backing into thorns/stepping on fruit. There were plenty of ripe berries on the bushes, mostly down low, which meant that LMC could pick berries on her own (though she doesn't quite get the concept of ripe/not ripe yet).

I highly recommend bringing a picking assistant- twice the picking, half the fruit! I'm pretty sure LMC ate at least 1/2 pint of raspberries while we were picking, but as the kind cashier said, "I didn't weight her when she came in, I'm not weighing her on the way out." (We gave them some extra cash anyhow).  We were also able to pick up some carrots and green beans from the farm stand and they have huge greenhouses full of flowers. So if you're in the mood for picking fruit, I'd highly recommend our Snell experience.

Also, can I say that Mr. Cleaver did an awesome job as field-trip photographer? With the exception of the pie close-ups, he took all of these. And he says he doesn't know how to use my camera- ha!

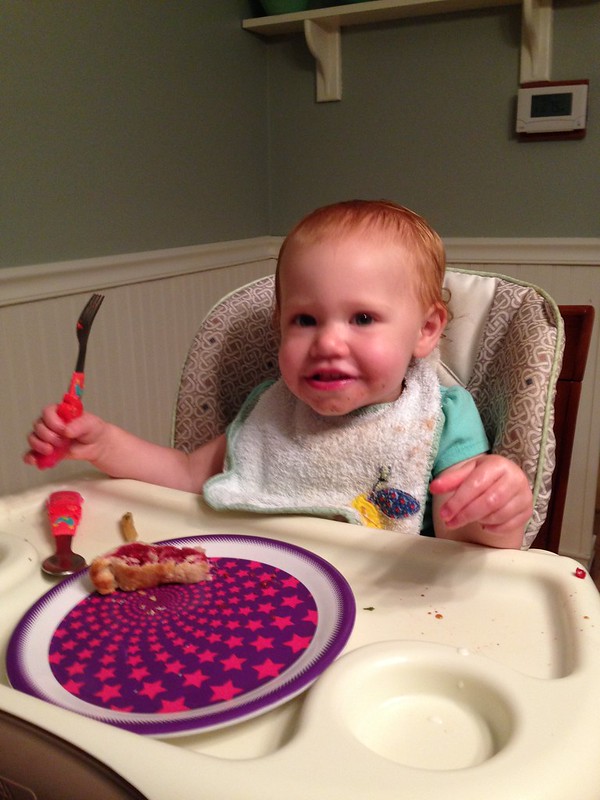
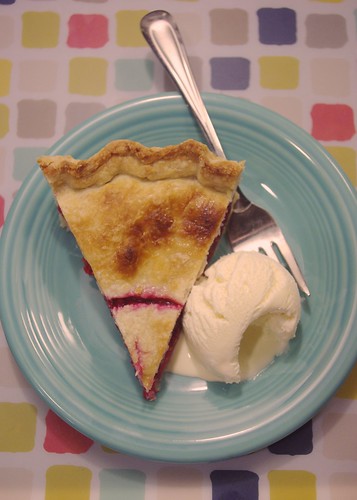
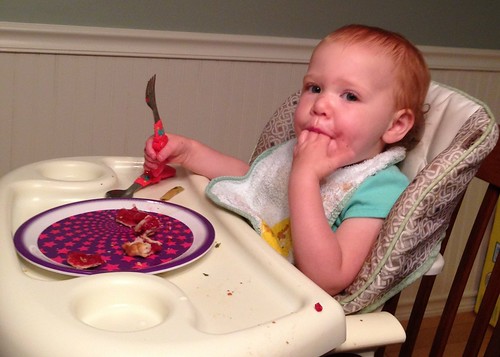
We ended up with two full quarts of berries, half of which we're in the process of eating fresh and the other half made their way into a raspberry pie. While LMC has assisted in the baking portion before, this was her first slice of pie, of which she left no crumb uneaten, so I think I'm safe to say she liked it.

LMC-Approved Raspberry Pie

Preheat oven to 375 °F

Crust

  • 2 cups flour, plus more for rolling surface/rolling pin
  • 1 tsp salt
  • 2/3 cup shortening
  • 1/4 cup very cold water
  • Small amount of milk
  • Small amount of sugar

Mix together flour and salt then “cut in” shortening with a pastry cutter or knives.

Add up to 1/4 cup of very cold water a few Tablespoons at a time, until dough holds together.  Form into two equal-sized balls of dough and wrap in plastic wrap. Chill in the refrigerator (at least while you make the filling, preferably at least an hour). Flour working surface and roll out crusts, using half the dough for each. Makes one top and one bottom crust for a 9″ pie tin.

Filling

  • 4 cups fresh (or thawed frozen) raspberries
  • 3 Tbl cornstarch
  • 2/3 - 3/4 cup of sugar (to taste, based on the sweetness of your fruit)

Mix filling ingredients together, trying not to smush the berries too much.

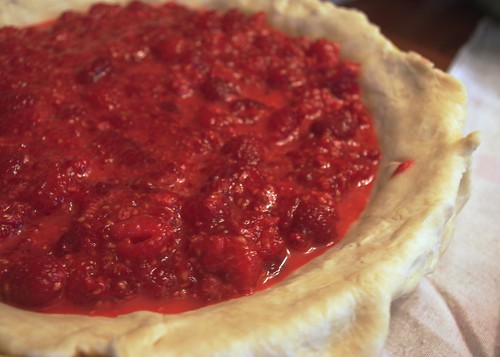
Place lower crust into a 9-inch pie pan and pour in filling. Use a small amount of milk or water around the edge of the lower crust to help seal.  Cut vents in top crust and place over filling, cut off overhanging crust (save them for cinnaminninies!) and crimp the edges to the lower crust to seal.  Brush top crust with milk and sprinkle with a light dusting of cane sugar.

Place in center of oven and bake for approximately 55 minutes, or until filling bubbles and crust is golden brown. If needed, cover the edges of the crust with tinfoil during the final stages of baking to prevent scorching.

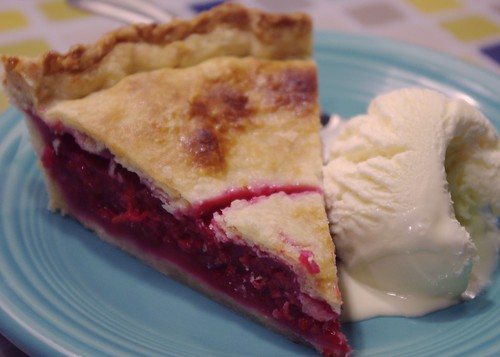
Cool on the windowsill of your choice (nothing burns like hot fruit!) and enjoy with ice cream.

Print Friendly and PDF Follow
follow us in feedly