I love a good button-up, and if it's got that classic shirt-tail hem? All the better! But as much as I love the look of the sweeping shirt-tail hem, it can be a bit fiddly to actually hem all those curves, so here's a little trick I use to make sewing them just a little bit easier.
Minoru Jacket and Cargo Pocket Tutorial
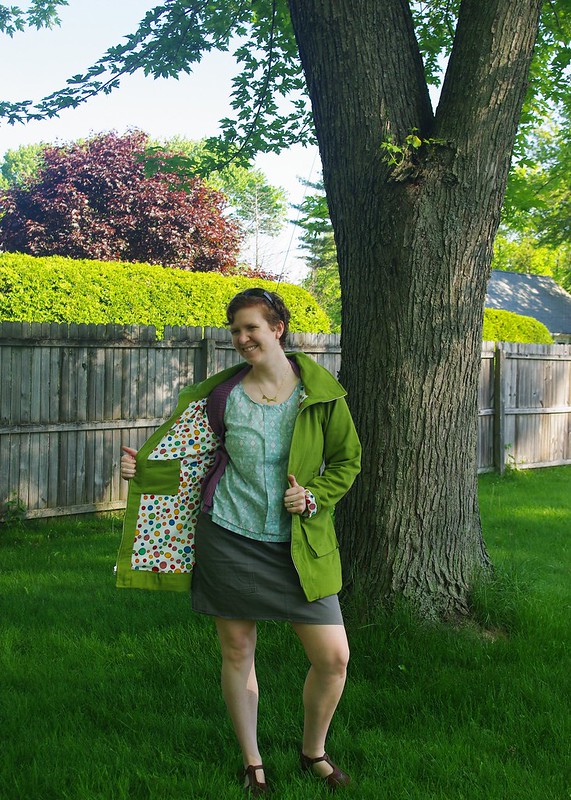
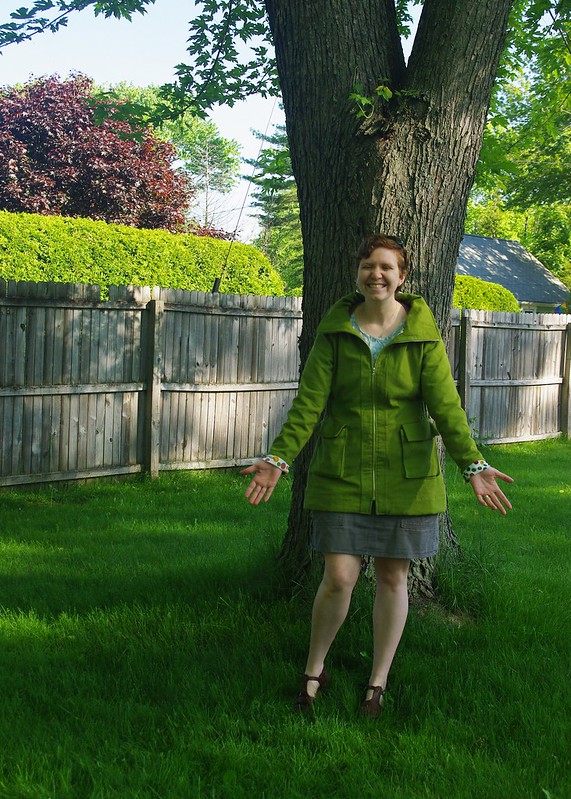
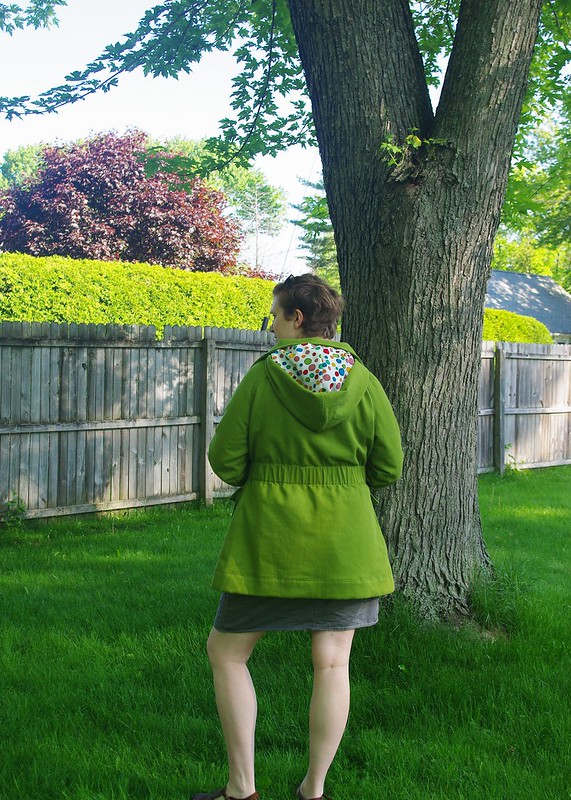
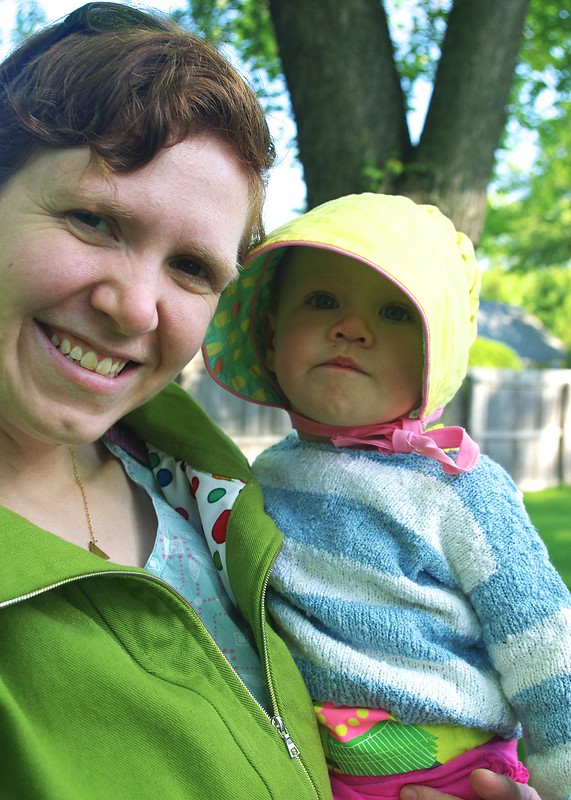
I finally made something for myself and it's a doozy! I loved the Minoru Jacket pattern from the moment it came out (back in late 2011), so much so that I bought the pattern, the fabric, the lining, and special ordered the zippers shortly after it came out.
Three years of sitting in my stash and five weekends of sewing later, I have a bright and beautiful new jacket that does some much-needed filling of a long-outstanding hole in my wardrobe. Of course I finished it just in time for summer, but being as I live in Maine with it's often cool nights and mornings, I'm sure it'll still get plenty of wear before getting a real workout in the Fall and Spring.
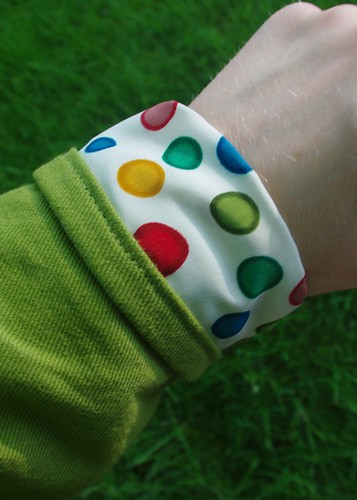
The jacket is a spring green twill of forgotten origins, lined with some silky polka dots purchased at JoAnn's, and riri metal zippers. I made the pattern in a straight size 14, which is a little bit roomy, but it means I can wear it over sweaters come Fall. It's comfy and the right amount of warm for the in-between seasons. I found the instructions clear and concise (though missing a few metric to imperial measurement conversions in the text and there's something funky about the placket length/hem length). I pretty much made it exactly as described, with the exception of the following modifications:
- Flat felled all the seams noted as top-stitched in the pattern - seam finishing and top-stitching in one!
- Lined the hood
- Moved the waist elastic up 1"/2.5 cm from pattern marking
- Removed the cuffs
- Made the hood zipper opening shorter
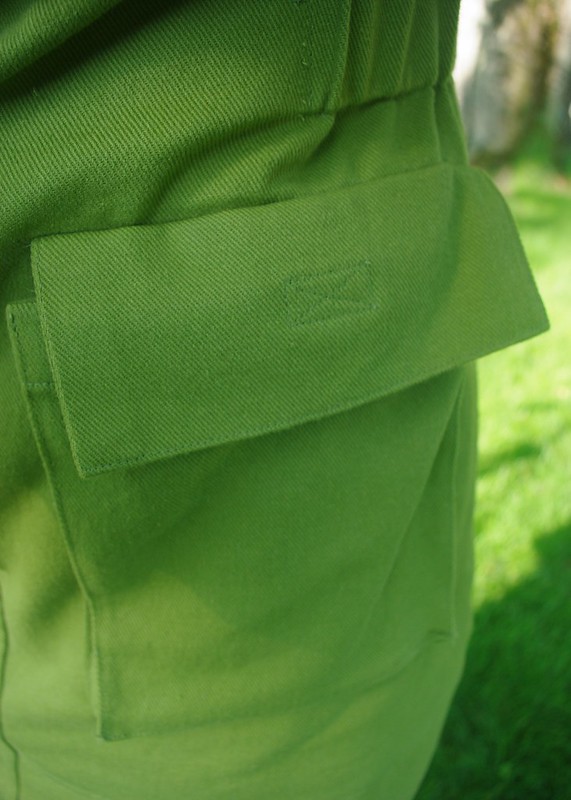
- Added cargo pockets
- Accidentally placed the interior pockets about 5/8 inch too low
One of the great things about sewing a pattern three years after it came out is that by then, a ton of other people have made it and you can steal their ideas and learn from their problems. About half these mods were inspired by other blogger. Case in point, I can no longer remember the blogger who mentioned it, but the hood zipper opening was indeed too long for my zipper, which I was able to check, before cutting it out. I do wish I had headed the warnings to reduce the hood, as it is overly large. Some more direct copy-cats include borrowing Lladybird's idea to lose the cuffs (which were way long, even on me) and after I flat-felled my side seams before I inserted the side seam pockets I had planned on, I stole cutcutsew's cargo pockets idea.
The cargo pockets were a happy accident, as I love the way they turned out and they really make the jacket. I constructed my pockets largely based on this tutorial by 21 Wale. Should anyone want to copy me in my copy-catting, I've made up a PDF Cargo Pocket Pattern and Instruction Sheet (tiled for US Letter-sized printing).
As with any coat/jacket, this was a time-consuming project. All said, it probably took me somewhere in the realm of 16 or so hours to complete, but I love the outcome and consider it time well-spent as I can see myself wearing this coat all the time.
Speaking of wearing me-made things, I've completely missed Me-Made May, but I realized after I took the photos that everything in my outfit in these shots (not including underthings) was handmade either by me (cardigan, skirt, tank) or someone else (necklace, shoes). The fact that I didn't realize it until I took the photos is a nice nod to how the right handmade items can really become an intrinsic part of our wardrobes.
Continuing on the theme of handmade wardrobes, there's a neat little story behind the striped sweater LMC's wearing. When we first moved back to Maine, my mother-in-law gave me a bag with some random knitting stuff in it: a few sets of straight needles, some old yarn, and all the pieces to a blue and white striped baby sweater. When I was pregnant, one of the first things I did was seam the otherwise complete sweater together, so now LMC has a Memere-made sweater, even though her Memere hasn't knit in years. The original yarn and ball bands (Reynolds Giselle) came with the sweater, but I've been unable to definitively date them and my MIL has no recollection of making the thing, so my best guess is that it was originally made for either one of her three sons, or my nephew - meaning it could be anywhere from 20 to 50 years old (quite the range, I know). The best my google-fu can find is that the yarn was at a minimum available from 1981-1984. Doesn't look too shabby for some never-worn 30 year old yarn, does it?
When Hobbies Collide! - DPN Holder Tutorial
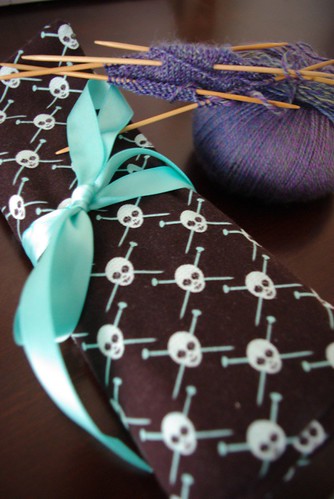
The day before I started my new job, I sat down at the machine and sewed. In preparation for my soon-to-be-condensed crafty scheduled. I designed, cut and sewing this little project in about an hour (research time not included). This is a new land-speed sewing project record for me.
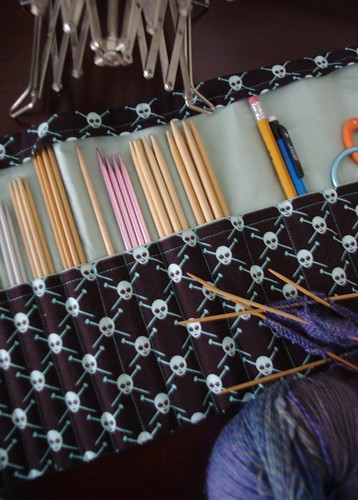
I had picked up a 1/2 yard of this amazing Michael Miller fabric several month ago thinking to make something knitted-related in the future. I wasn't sure what, but with my growing frustration with my growing doubled-pointed needle collection, I knew I had to make a DPN roll.
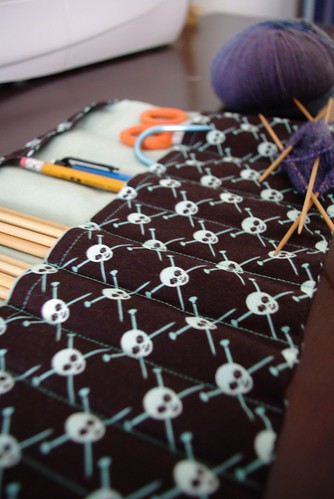
I trolled blogs, etsy, and flickr looking for inspiration and then dumped out all my needles on the bed, pulled out a ruler, made a few guesses and came up with this:
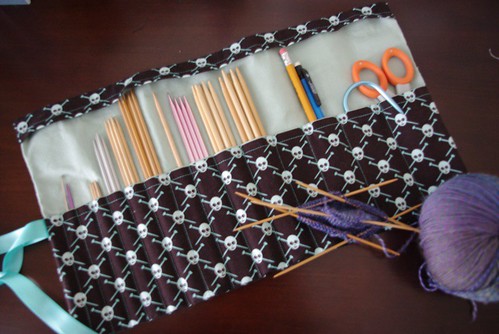
I didn't take pictures while I was making it because it was too dark ad I was speedy along, but here's a somewhat tutorial for the roll.
Materials:
- 1/3 yd main fabric (in this case, the skulls)
- 1/3 yd contrasting fabric
- 1/3 yd fusible interfacing
- 1/3 yd ribbon
- note: I had a 1/2 yd of each and could make two from that amount.
Cut List (all measurements in inches):
Main Fabric
- 1 - 9.5"x16.5" - body
- 1 - 5.5" x 16.5" - pocket
- 1 - 2.5"x 16.5" - upper flap
Contrasting Fabric
- 1 - 9.5"x16.5" - body
- 1 - 5.5" x 16.5" - pocket
- 1 - 2.5"x 16.5" - upper flap
Interfacing
- 1 - 9.5"x16.5" - main body
Directions:
All seam allowances are 1/2". Press after each seam.
- Iron fusible interfacing to the back of the contrasting body piece.
- With right sides facing, sew together top of pocket. Turn piece right side out and top-stitch the edge. Do the same with the upper flap pieces.
- With the right side of contrasting body and the main fabric of the pocket of facing you, baste sides and bottom of pocket unto the contrasting body.
- Stitch divisions into the pocket. Make sure to begin measuring 1/2" away from the fabric edge. The pocket widths from left to right are as follows (there will be 15 pockets total):
- 5/8"
- 5/8"
- 5/8"
- 5/8"
- 3/4"
- 3/4"
- 7/8"
- 7/8"
- 1"
- 1 1/8"
- 1 1/4"
- 1 1/4"
- 1 1/2"
- 1 3/4"
- With the right side of contrasting body and the main fabric of the pocket of facing you, baste sides and top of upper flap unto the contrasting body.
- Fold ribbon in half and pin center of ribbon to the left side of the pocket, alining with the top of the pocket (see photos above). Pin the ribbon unto the pocket so you don't accidentally stitch it down.
- With right sides facings, sew the main body piece and the contrasting body piece together, leaving a gap out to turn right side out.
- Turn piece right side out, making the corners nice and sharp and hand stitch the gap closed. Un-pin ribbon and trim length if necessary.
- Fill with needles and enjoy!
(PS - if you have any issues with this tutorial feel free to email me with questions : ms.cleaver(at)gmail.com)



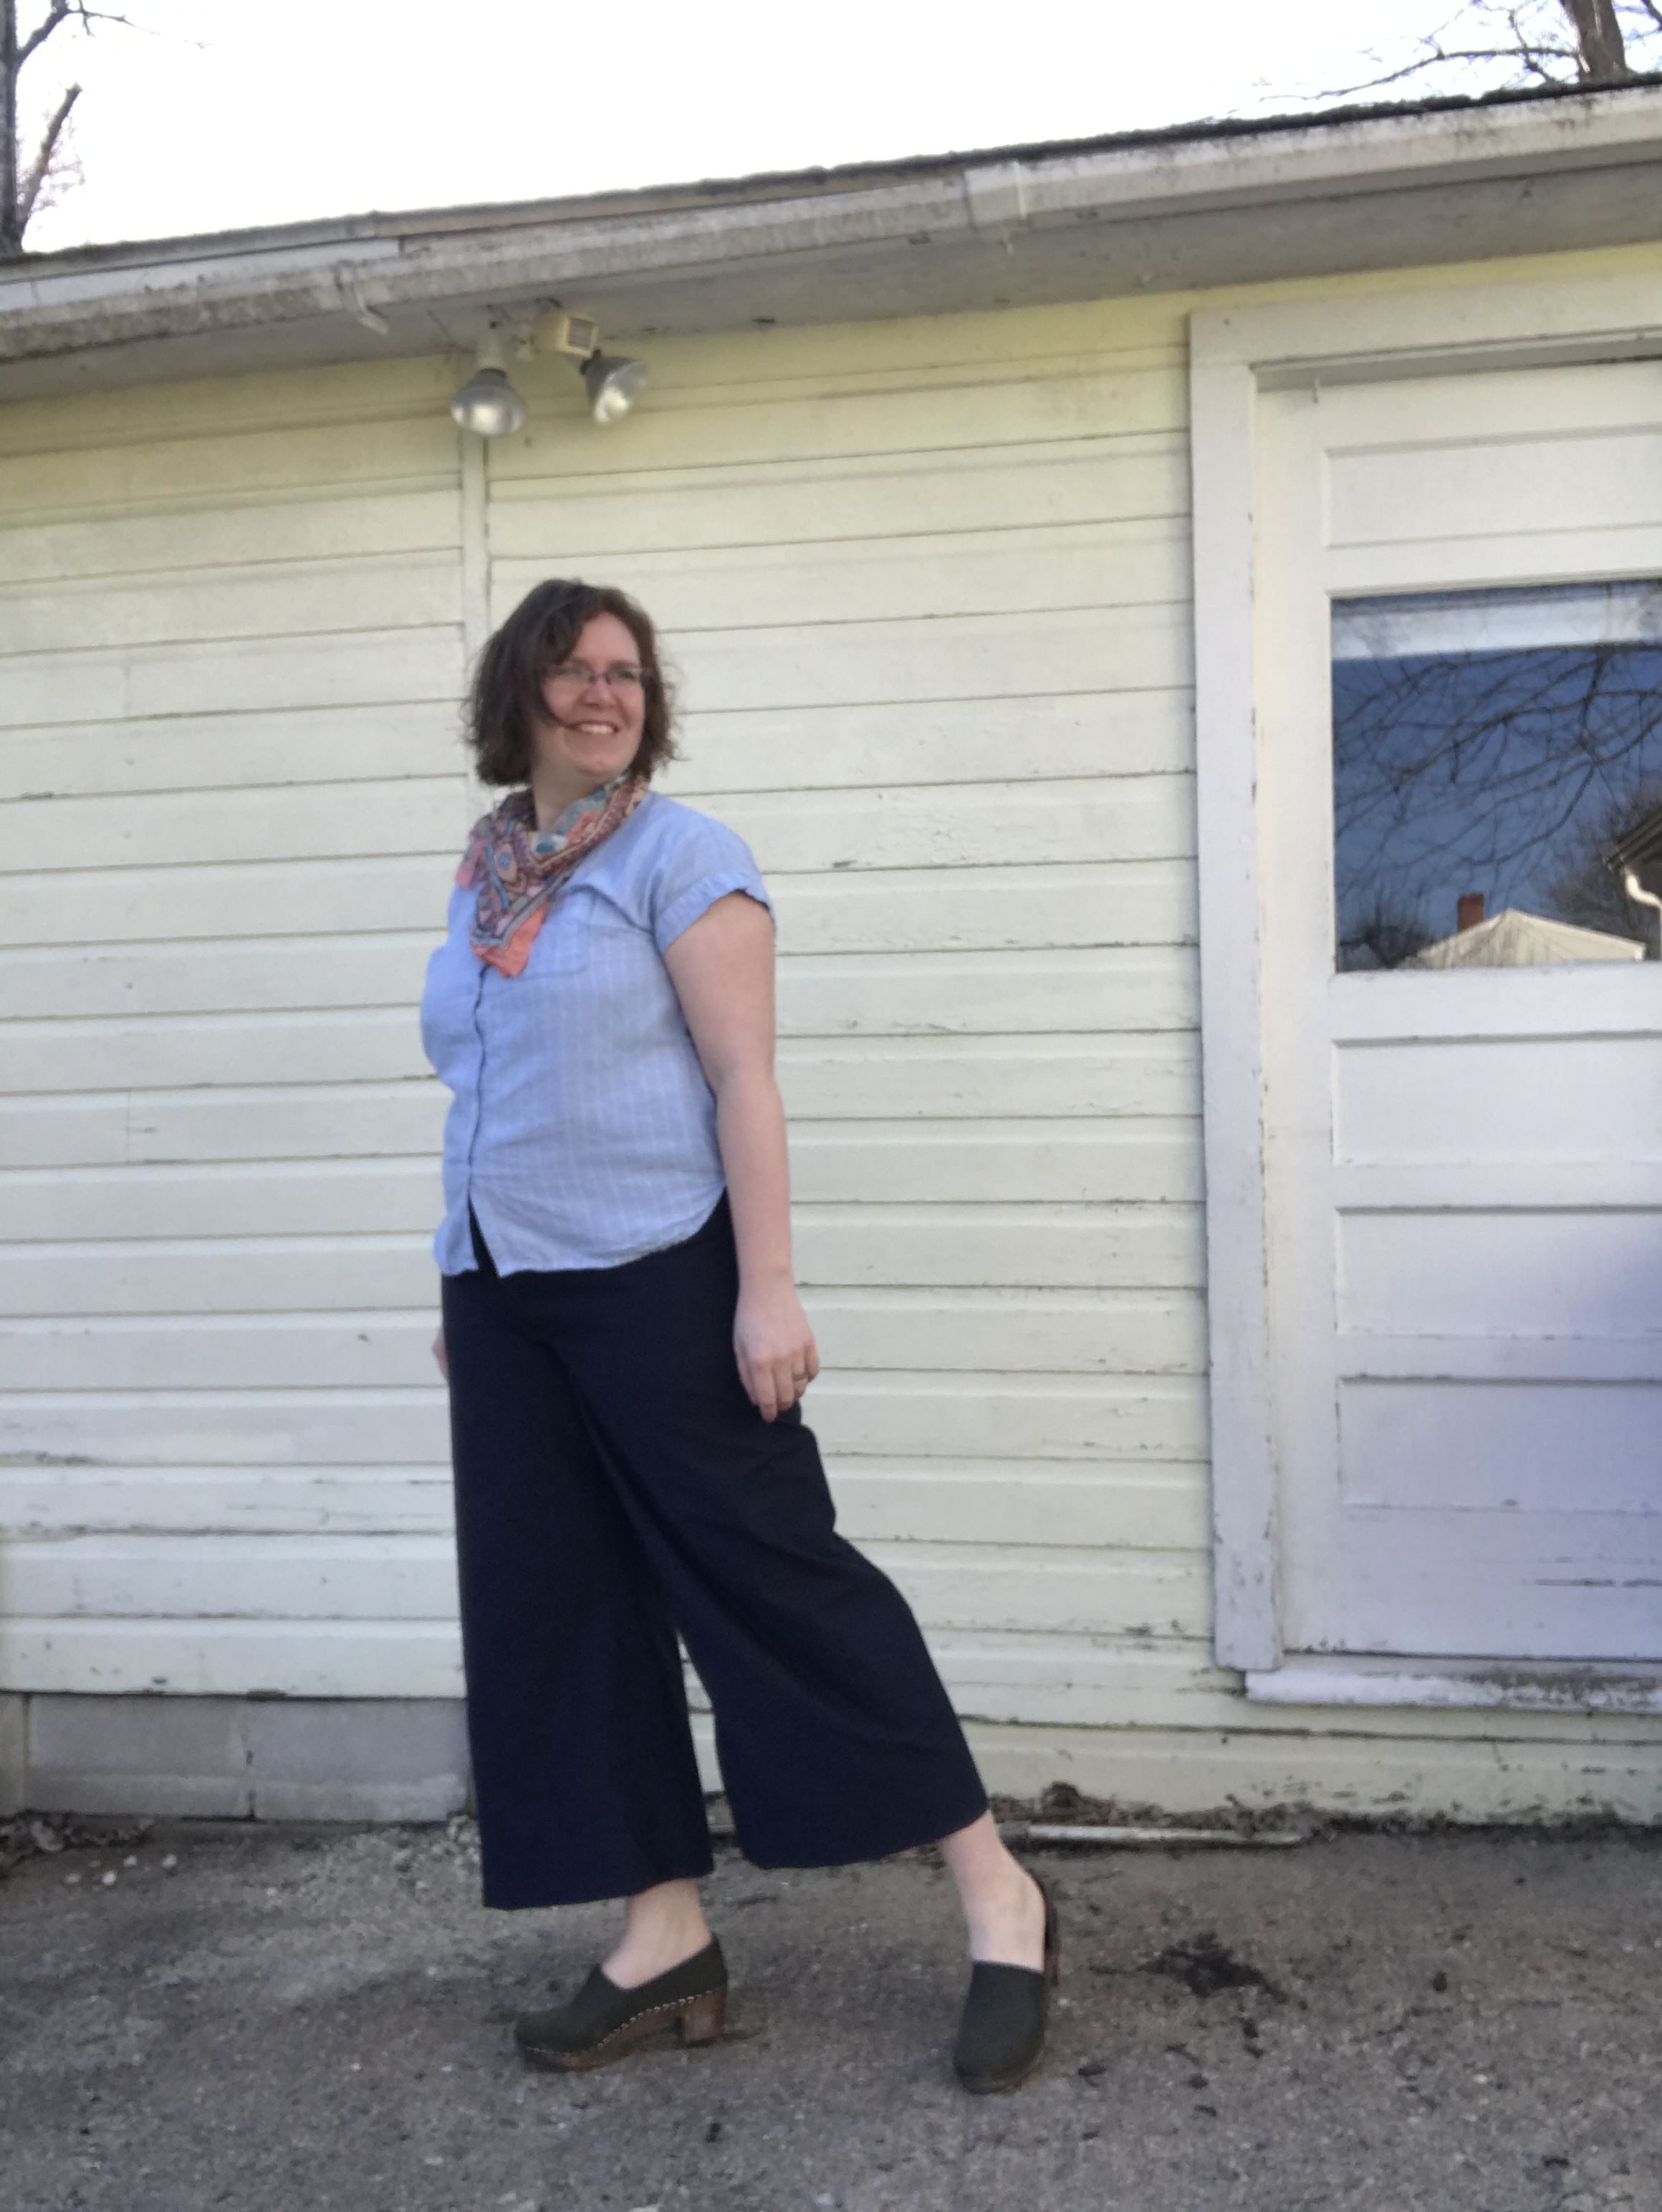


Wherein I talk about body image, mental health and making your own clothes, one year later...