Indie Design Gift Along 2015

Indie Design Gift Along 2015
Indie Design GAL Stats

Knitters!

This year I'm participating in the Indie Design Gift-Along.

What is that you ask?

It's a massive pattern sale + knit-along featuring the work of 335 designer from 30 countries, with over 5,500 knitters from around the world participating! It's all hosted over on Ravelry, and here's the official description.:

What is Gift-A-Long? It’s a multi-designer promotion to help you kick your holiday gift-making into high gear!

The Indie Design Gift-A-Long is a 6 week long KAL/CAL of holiday gifts made from patterns designed by a rather extensive list of independent designers. From Thursday, November 19th at 8:00 pm US EST - Friday, November 27, 2015 at 11:59 pm US EST tons of indie designers will be discounting between 5 - 20 of their patterns 25% for this event. Use coupon code: giftalong2015. 

Once you’ve got your Gift-A-Long patterns, we encourage you to join a relevant KAL/CAL! (For instance, if it is a cowl, please join the cowl KAL/CAL.) To join, simply write a post in the KAL/CAL thread you want to join, including the pattern name you will be knitting and a link to your project page. KAL/CAL participants are eligible for lots of lovely prizes but you gotta post to win!

KAL/CALs will run from Thursday, November 19th at 8pm (US-EST) through our New Years Eve party, Thursday, December 31 at midnight (US-EST), plenty of time to knock out all your holiday knitting and crocheting. We have games, tons of prizes, great conversation, and a lot of fun, so pull up a chair and join us! Please use #giftalong2015 to tag your social media-ing!

On your mark…get set…. GIFT!!

I've got 13 patterns for sale as part of the Gift-A-Long, all specially selected as quicker knits, perfect for gift giving. You can get them for 25% off in my Ravelry shop from Thursday, November 19th at 8:00 pm US EST - Friday, November 27, 2015 at 11:59 pm US EST - just use the code giftalong2015

The Gift-A-Long is a great way to kick your holiday knitting into high gear (and you can win tons of awesome prizes) so head on over to Ravelry and sign up!

(Stats infographic courtesy of 80skeins)

Print Friendly and PDF Follow
follow us in feedly

Gingham Archer

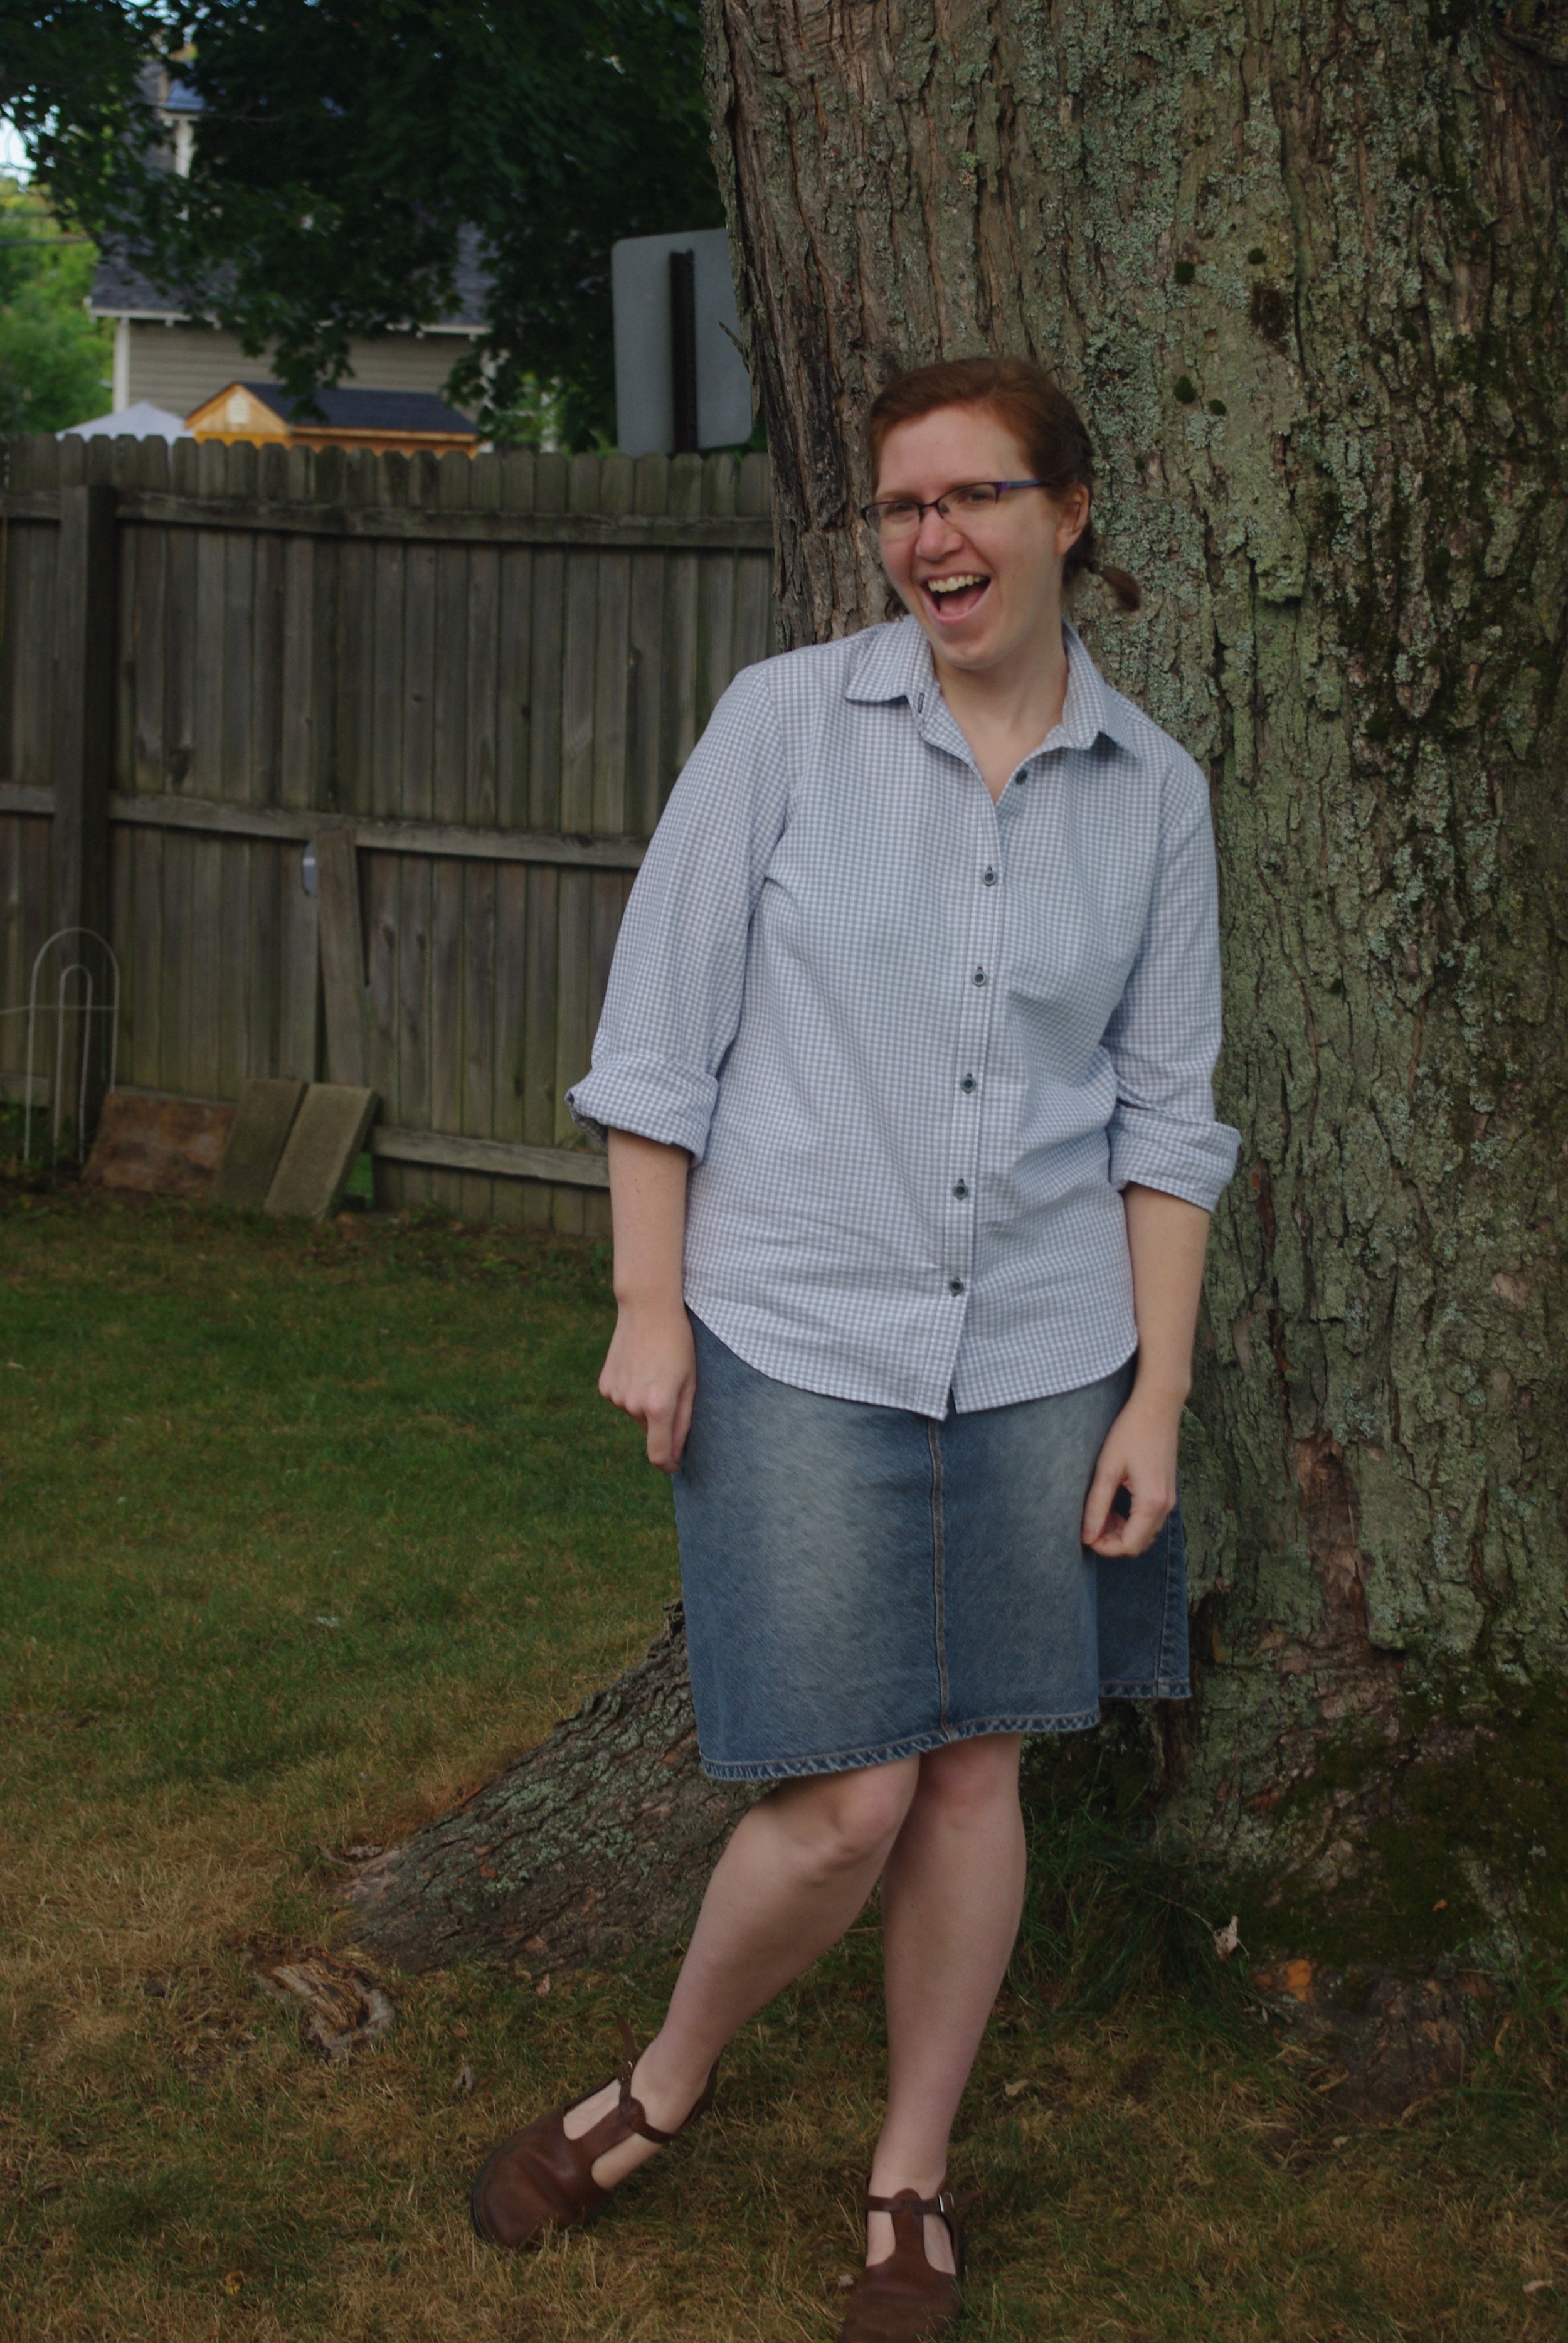
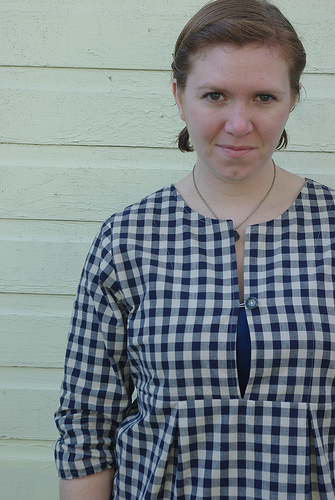
Gingham Archer, sewn by Ms. Cleaver

So before I got sucked into the depth of Halloween sewing and prep, I actually finished a pretty major sewing project for me. I love a good button-up, especially a gingham button-up, but I don't often sew them because of all the pieces/time required.

But I've been seeing all of the beautiful Archer shirts popping up over the sewing blogosphere since it's release, and I had some beautiful grey gingham in stash so I put sewing an Archer for me on my list of goals for the year, and there you go.

This was my first experience with a Grainline pattern, and while I wish I had sprung for the printed pattern (not a big fan of the printing and taping), I found the drafting and instructions solid. I've only made a few button-ups, but this was my best go at a collar stand yet, which was a good thing, because I had zero fabric to spare. As I said, I was using fabric from my stash and I had 3/4 yard less than recommended. By scrapping the pocket, I managed to fit everything, just barely, onto my yardage. Leaving me only with teeny tiny scraps left over. Even so, I still did some pretty decent pattern matching. Thank goodness the gingham was small scale!

Most the interior seams are covered nicely by the yoke, but open ones I just kept simple and zig-zagged. I'd probably go for flat-felting on another version. 

Would I make another? I think yes. I like this version, but I don't love it. But I think most of my issues could be easily rectified in version two.

 I didn't make a muslin and the fit isn't quite right. I cut a straight size 12, but ended up grading out my seams for more room in the hips. The finished fit is good in the hips and bust, but I find that there is way too much fabric in the waist. I'm not sure if it's just a boxy cut, or the heaviness of the fabric, but especially in the back, it's too much.  Fortunately, because I didn't flat fell my seams, I can take it in pretty easily, which I haven't gotten around to yet.

But even as is, it's super comfy and looks good under a sweater, so it'll get a lot of wear.


Print Friendly and PDF Follow
follow us in feedly

Tried and True Review: Slow Fashion October Edition

School House Tunic and Pas de Valse
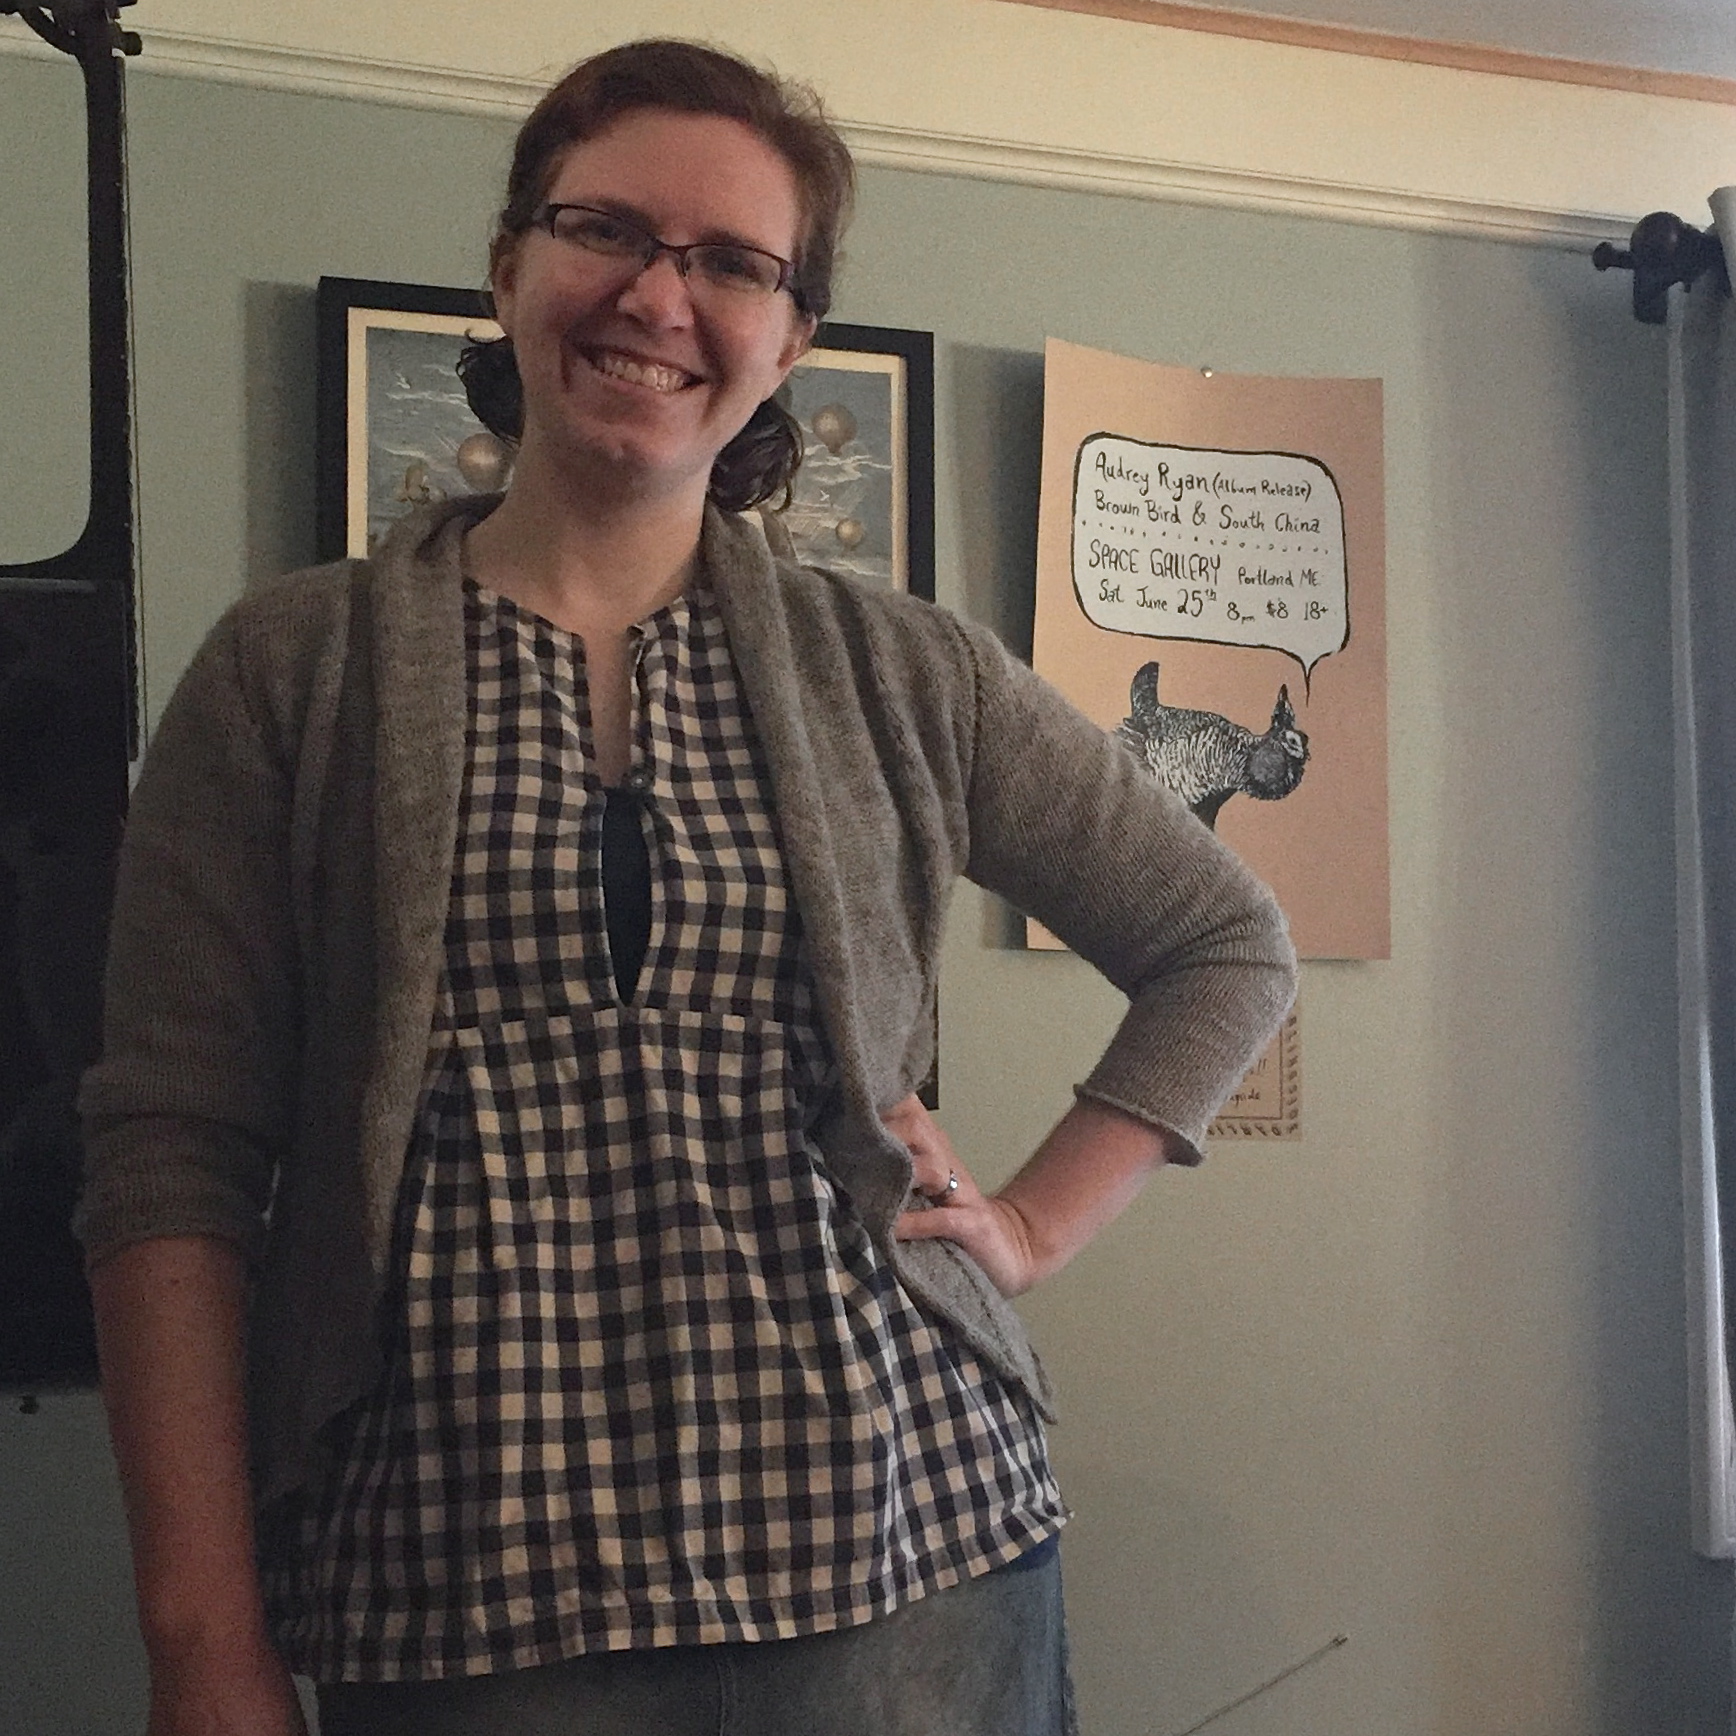
School House Tunic #1
Pas de Valse

A Tried & True Review, where I look back at old project and discuss how it's held up since I made it, both successes and closet rejects, in an attempt to show how my projects have stood the test of time and/or to learn from the mistakes of my yesterdays.

The Original:  Waltz in Grey and School House Tunic

Made: June 2011 (4.25 years old) and September 2011 (4 years old) (you'd also think my hair doesn't change much either...)

Update: If you follow along in the sewing or knitting social media worlds, you've probably heard of Slow Fashion October by now. If not, the short version is that it's taking the month of October to think consciously about our wardrobes, how do we add to them?, what is enough?, how does making your own clothes influence that? etc.

I've been thinking about a lot of these topics for a while both in these Tried & True Reviews and in my post on Ethical Fashion and why I started making my own underthings.

It's week three of Slow Fashion October now, with the theme of LOVED: proudest accomplishment / most loved item / most frequently worn item / thing you saved up for / investment pieces / thing you worked a long time on / oldest thing that’s still in rotation. And I thought it would be as good a time as any to feature my two most frequently worn makes in a Tried and True Review.

If it's fall or winter and that top is clean, there's a good chance I'm wearing it and even if it's not clean, I'm probably still wearing the cardigan anyway.

Fit: In truth, I really should have knit the next size of the cardigan up, so the collar doesn't really fold back as far as it should, but I just give it a firm blocking whenever I wash it and it's an open cardigan anyway, so it doesn't matter too much. The tunic fits well, though sometimes the armband elastic feels a bit snug.

Style/Materials: The cardigan was knit out of an undyed alpaca/nylon sock yarn. It takes a licking and keep on ticking (as they say). It's a bit itchy on bare arms, but the beautiful natural grey color goes with pretty much anything, which is why is gets worn so very much. The fabric for the tunic is in gingham (my favorite) and is a thick cotton that feel almost like a dish towel, it's just ridiculously cozy. As for style, I still feel like the tunic looks vaguely like maternity wear (and I made a bunch during my pregnancy), but if I throw a more fitted cardigan over it, it doesn't matter as much.

Construction: The tunic was a simple sew, but the cardigan took forever to knit. I've had to replace the thread button loop on the tunic once and the yarn is starting to pill a bit, but both these pieces have survived four years of hard wear and will last for many more. Well worth the effort.

Lesson(s) Learned: Positive ease is a good thing in a cardigan.

Final Verdict: Something doesn't have to be perfect to be your favorite.


Print Friendly and PDF Follow
follow us in feedly

Adding A Ribbon Backing to Your Knit Button Band

Adding Ribbon to a Knit Buttonband.png

Why Reinforce A Button Band?

Both of my recent pattern releases, Lady Heartrose and Prairie Wife, suggest that you use ribbon to reinforce the button bands. If you're one of those knitters who hates finishing, you may think why bother?  You certainly don't have to, most of my sweaters to date don't have any kind of reinforcement, but there are several reasons to consider it. 

  1. It will keep your fabric from curling (though ribbing may already take care of that).
  2. It will help prevent gaping at the bust if you intend to button up.
  3. It will help prevent the button band and button holes from getting stretched out over time.
  4. If it's a steeked piece, it can cover up the cut ends of yarn. 
  5. It's a nice little surprise inside the cardigan and looks really pretty!

What Supplies Do I Need?

  1. Your blocked cardigan.
  2. Approximately 2 yards of a sturdy ribbon, such as Petersham, Grosgrain, or other firmly woven ribbon, that just as wide or slightly less wide than your knit button band. If you're doing something like a long sweater coat, measure the length first. (The ribbon used in this post is from Vintage Ribbons on Etsy). 
  3. A sewing machine with buttonhole capabilities. (You could always sew the buttonholes by hand, but this tutorial won't cover that).
  4. The buttons you are planing to use. 
  5. Needle and thread to match your yarn.
  6. Pins or clips.
  7. Seam ripper or button hole cutter.
  8. Fray Check (optional).
Adding A Ribbon Backing to Your Knit Button Band

Measuring and Marking your Ribbon

The first thing to do is measure, cut and mark your ribbon. To measure, lay your finished and blocked cardigan on a flat surface. It's very important that the piece is blocked, otherwise the band may be too short. Match the length of your ribbon to the length of the knit band and add an extra inch or so to each side, enough that you can fold it under to make a neat edge (as seen above). Cut a second piece of ribbon to the same length and set aside. The unmarked ribbon will be used to back the button side of the cardigan. Now we'll mark the buttonhole side.

With the ribbon flat against the buttonhole side. Place a pin at the top of each knit buttonhole. If you have a patterned ribbon, you may be able to use the pattern to make your placement more exact/even, but it's more important that the pins line up with the actual knit buttonholes.

Adding A Ribbon Backing to Your Knit Button Band

Testing the Buttonhole Size

Using a scrap piece of ribbon and the buttonhole feature on your machine, test out your buttonhole size to make sure the button can fit through easily. The ribbon button hole is likely to be a lot longer than the knit one. 

Once you have confirmed the proper size, mark the ends of the buttonhole on your ribbon (the top being the pin you already put in). 

Use your machine and sew the buttonholes on the ribbon.

Adding A Ribbon Backing to Your Knit Button Band

Finishing the Buttonholes

Before you slice into them, double check that your buttonholes still line up. If they do use a seam ripper or buttonhole cutter to open up your buttonholes. Adding a drop of fray check to the buttonhole as desired. Set aside to dry if using fray check for the recommended amount of time. 

Adding A Ribbon Backing to Your Knit Button Band

Attaching the Ribbon to the Sweater

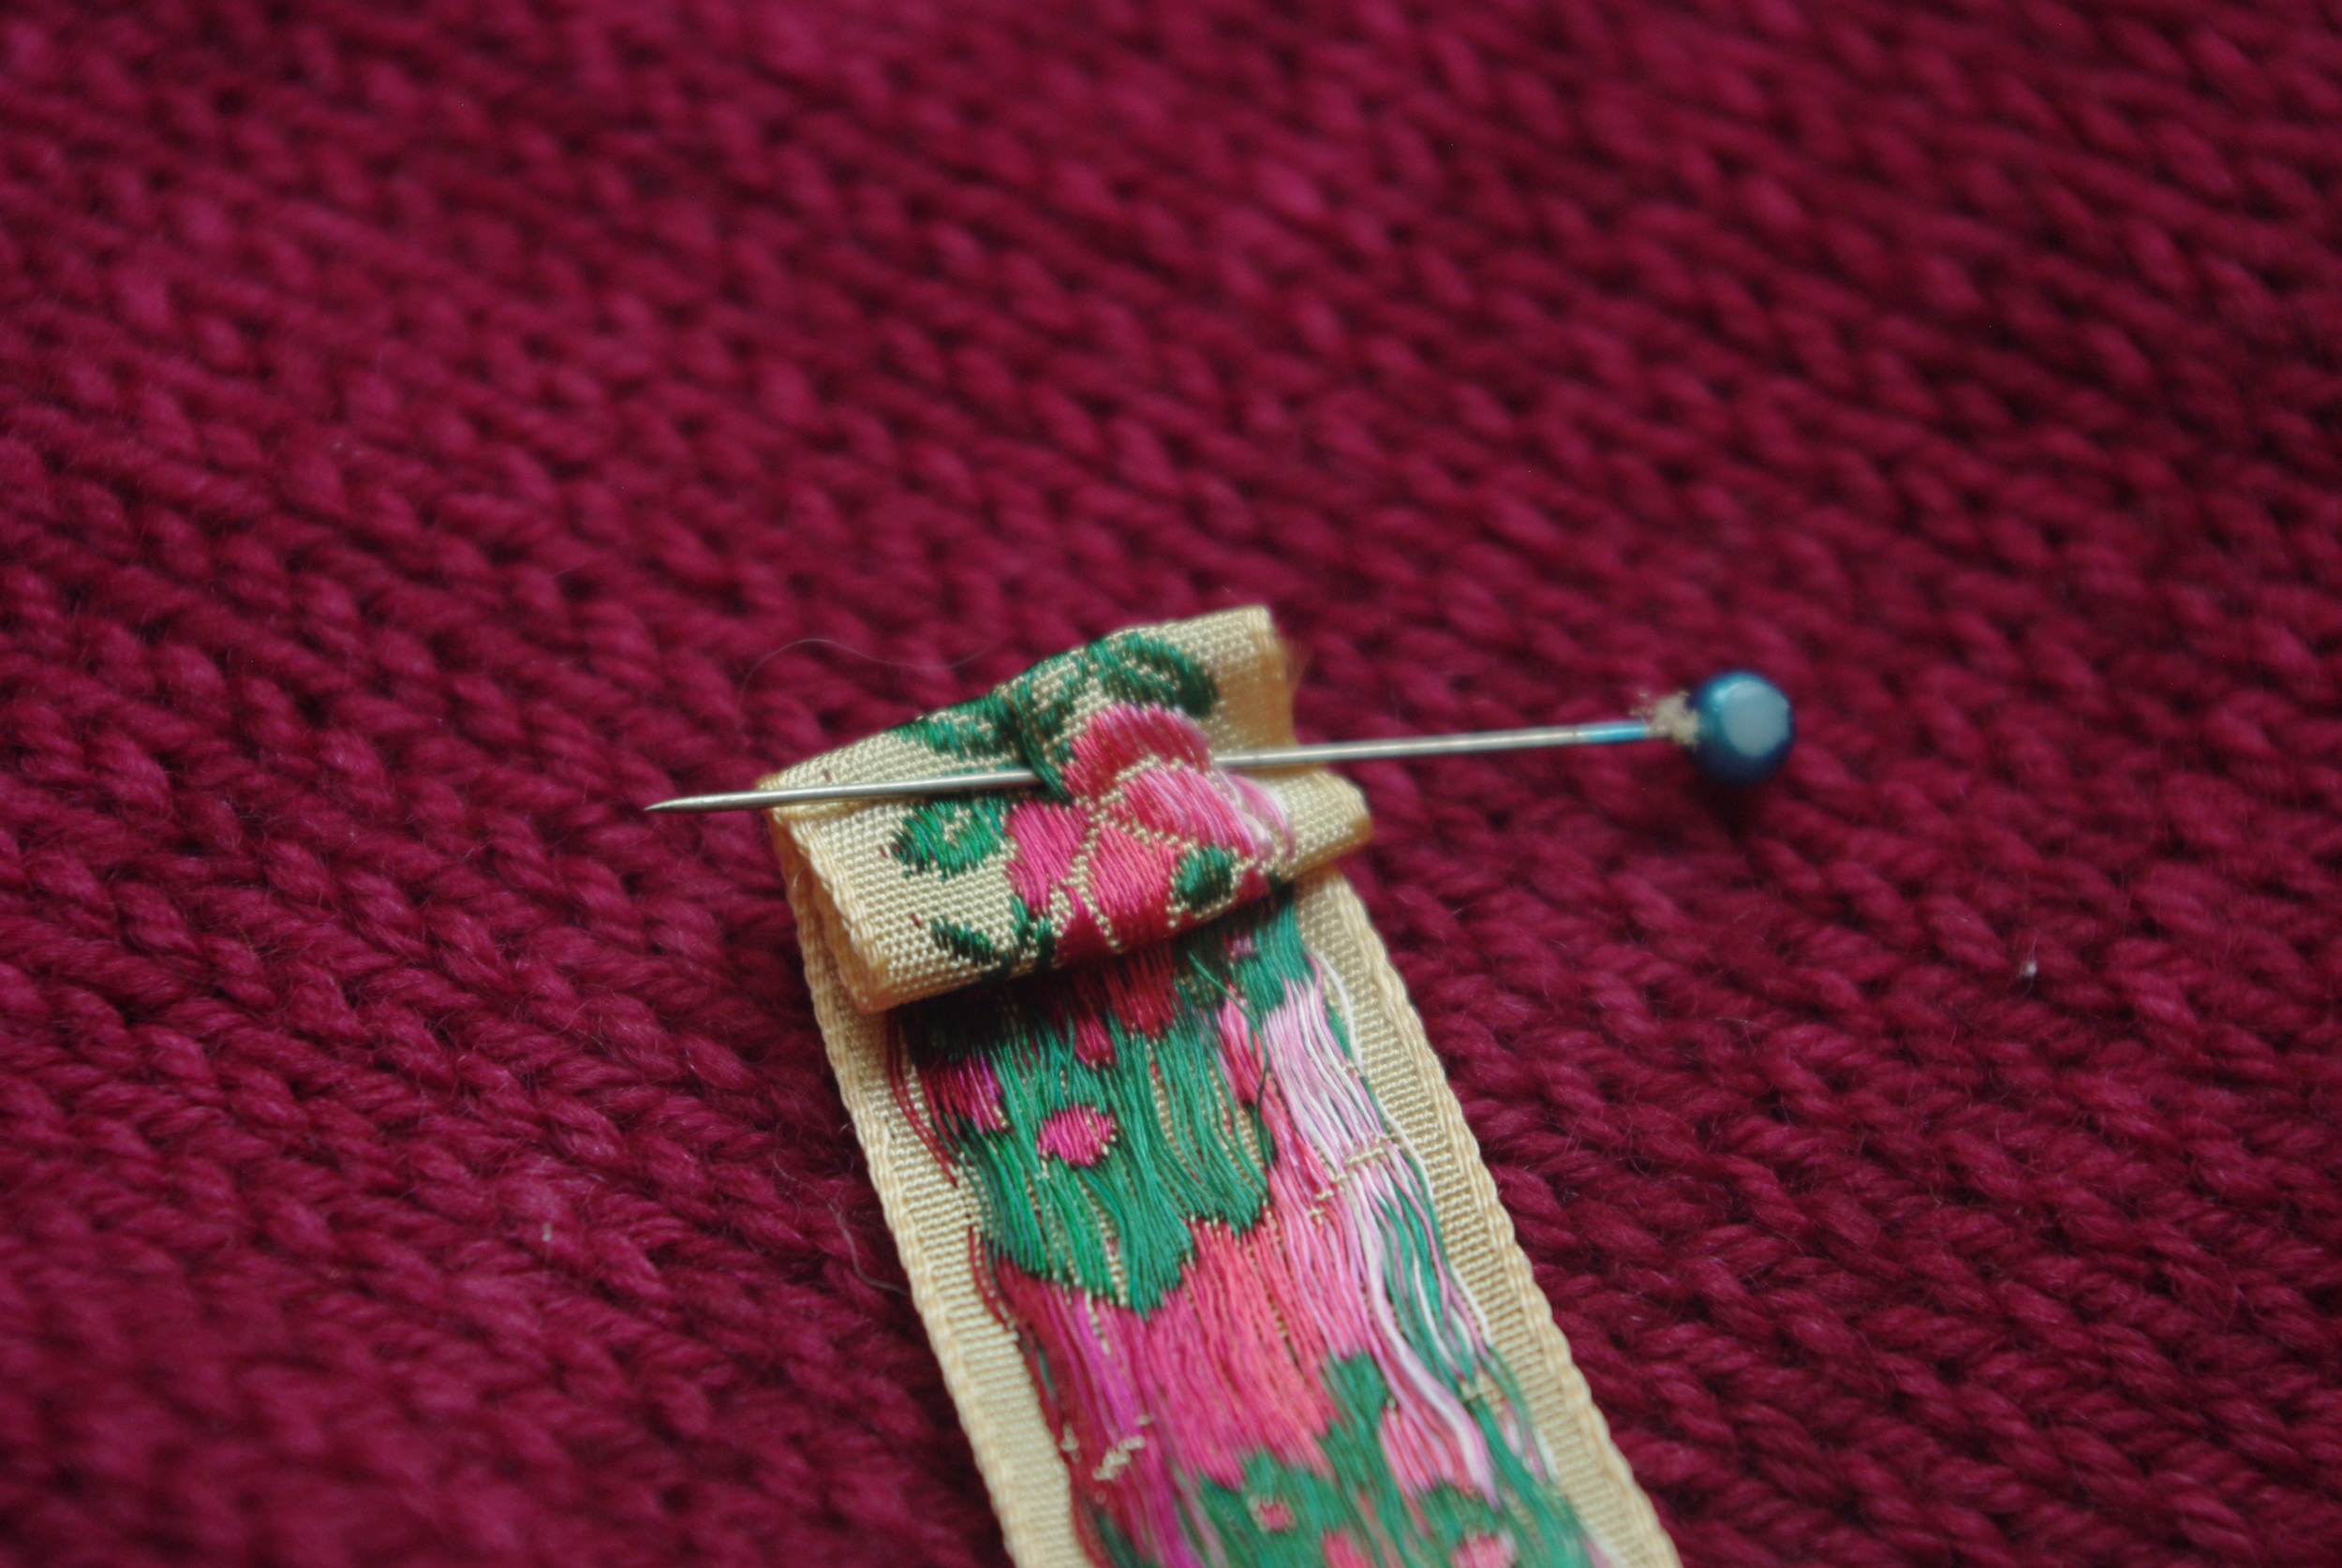
Fold over the top and bottom of the ribbon, whip-stitching closed as desired, then making sure that the buttonholes line up and both the ribbon and the button band are flat, pin or clip the ribbon to the inside of the button band. Starting on the outside edge, whip-stitch ribbon to knit fabric. To help keep the stitches even, use the knit fabric as your guide, here I did one stitch per knit row. Work your way down the outside edge and up the inside edge, making sure the ribbon lays flat. Unless your button band is very wide, there's no need to tack down the ribbon buttonhole around the knit buttonhole beyond securing the ribbons at the edges.

For more detailed instruction on how to whip-stitch see DMC's embroidery guide).

Repeat process for button side. 

Sew on buttons on across from buttonhole and you're done! Enjoy wearing your snazzy-looking and sturdy button bands!

Adding A Ribbon Backing to Your Knit Button Band


Print Friendly and PDF Follow
follow us in feedly

Introducing: Prairie Wife

Prairie Wife design by Leah B. Thibault for Ms. Cleaver Creations

Sometimes, a yarn and a design just come together like toast and jam. This, for me, is one of those designs. Earlier this year I was contacted by Shalimar Yarns to see if I'd like to do some work with their yarn. A week or so later, I had a sweater's worth of Breathless DK in Silver Sage to work with. This is a ridiculously beautiful yarn, and an utter joy to work with, so I wanted to do it justice with the design. I ended doing way more swatching than usual to get the drape just right. 

I've long been collecting images of pioneer women with the intent of doing some designs around it, and that came to the fore here. I've been especailly entranced by the work of South Dakota painter Harvey Dunn, and the western painting of N.C. Wyeth. Prairie Wife was specifically influenced by Wyeth's The Homesteaders (left) and Dunn's The Prairie is My Garden (right). 

The Homesteaders
The Prairie is My Garden

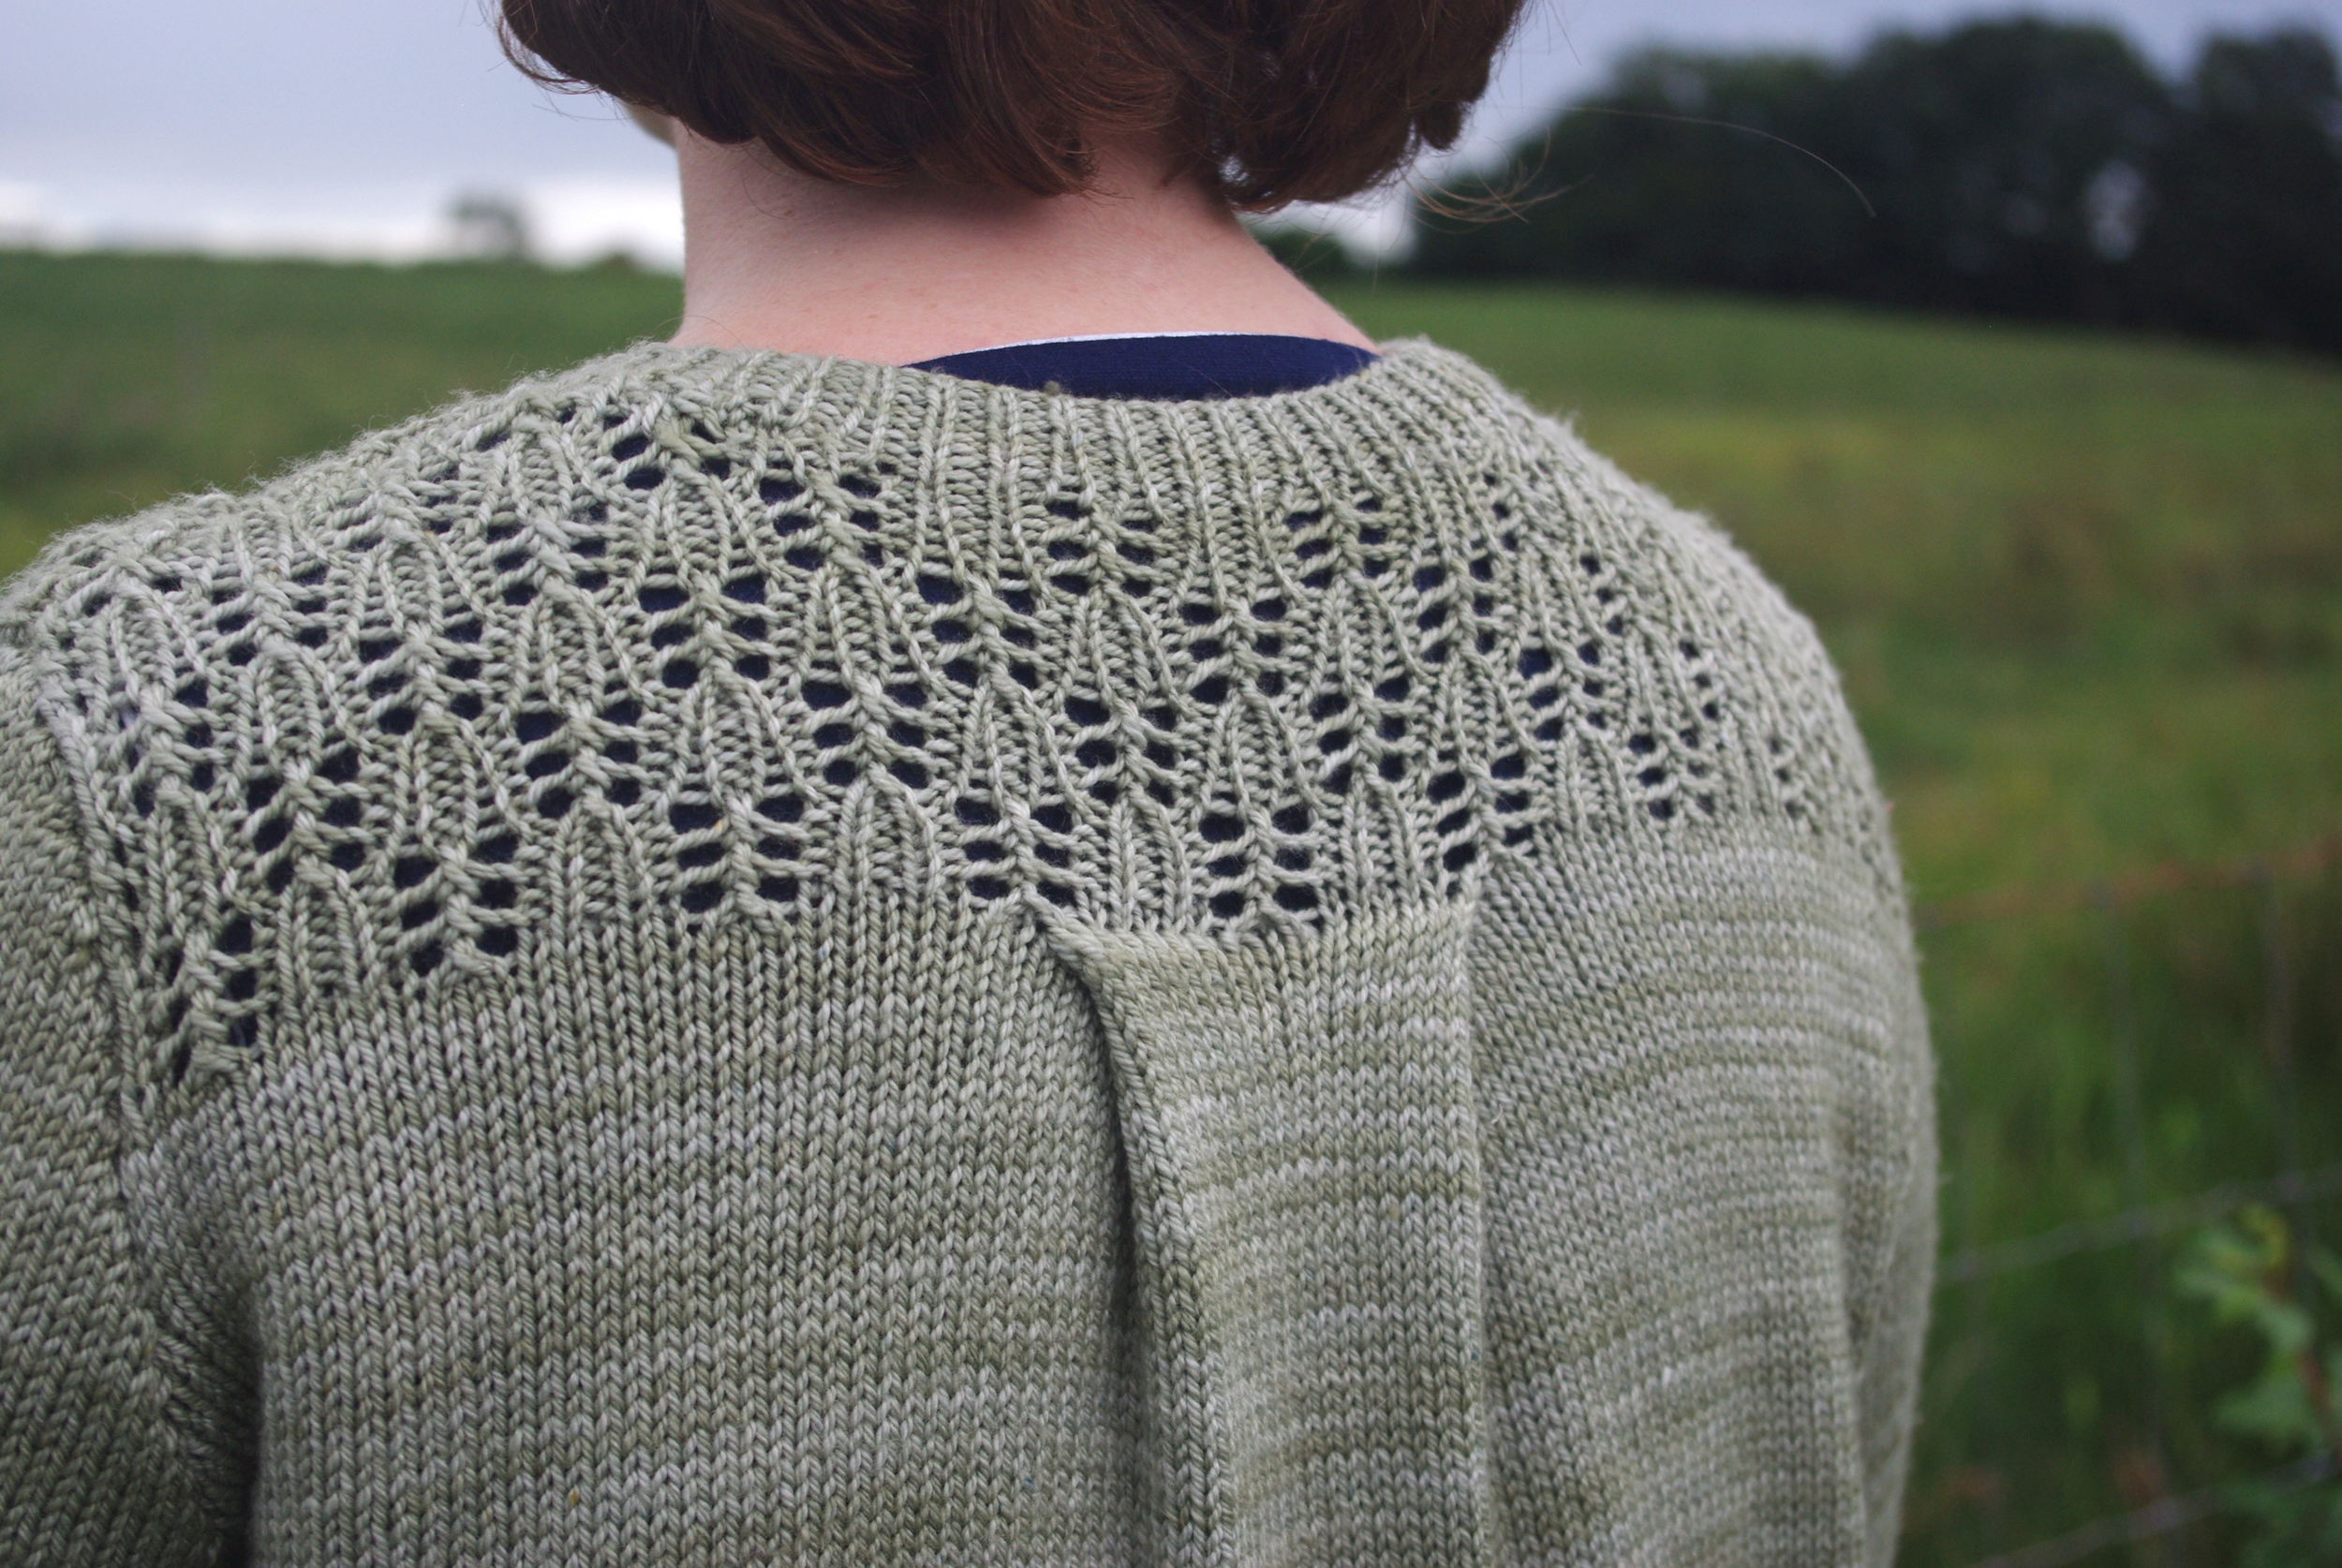
I wanted to capture the feel of these images, do homage to the grace and strength of these pioneer women,  as well as make some nods to western fashion. So I started off the design with the yoke and back box pleat, which is borrowed from Western/cowboy shirts, but made it knitterly and feminine by the inclusion of a floral-inspired lace motif. The pleats and loose-knit fabric keeps its breezy and swingy, while 3/4 sleeve keep your hands free for work. 

I don't know if I'm allowed to say this about my own patterns, but I adore the way this one turned out, which was even better than it originally was in my head. 

Prairie Wife is worked in pieces from the bottom up, with the collar and button bands picked up and worked after seaming. The shaping is all done with the pleats, so the body is simple back and forth Stockinette stitch, until you get to the armsceye/yoke. 

Again, a big thanks to Bristol Ivy for the lovely photos (complete with cows!) and Martha Wissing for the technical editing. 

Pattern Details 

Sizes

Bust Circumference: 33¼ (34 ¾, 36 ¼, 39 ¼, 44 ½, 46 ¼, 50, 53 ¾)”/ 84.5 (88.5, 92, 99.5, 113, 117.5, 127, 136.5)cm. To be worn with 2-3”/5-8 cm of positive ease.

Sample knit in size 39 ¼, with approximately 2”/5 cm of positive ease. (Wondering about ease?- Check this post out!)

Yarn

4 (4, 4, 5, 5, 5, 5, 6) skeins Shalimar Yarns Breathless DK in Silver Sage [75% Merino, 15% Cashmere, 10% Silk]; 270 yds (247 m) per 141g or approximately 1042 (1088, 1145, 1217, 1307, 1336, 1422, 1489) yards of DK weight yarn.

Purchase

Prairie Wife is available for purchase for $7.00 USD via the following methods:

Ravelry  //  Ms. Cleaver Creations  //  Love Knitting (coming soon)

Really love swingy A-line sweaters? FOR ONE WEEK ONLY - get both Prairie Wife and Lady Heartrose for $10.50 (Discount automatically applied to Ravelry purchases. Already have Lady Heartrose? The discount will still apply! Offer good until 10/8/15)

Ravelry  //  Ms. Cleaver Creations


Print Friendly and PDF Follow
follow us in feedly

Introducing: Lady Heartrose

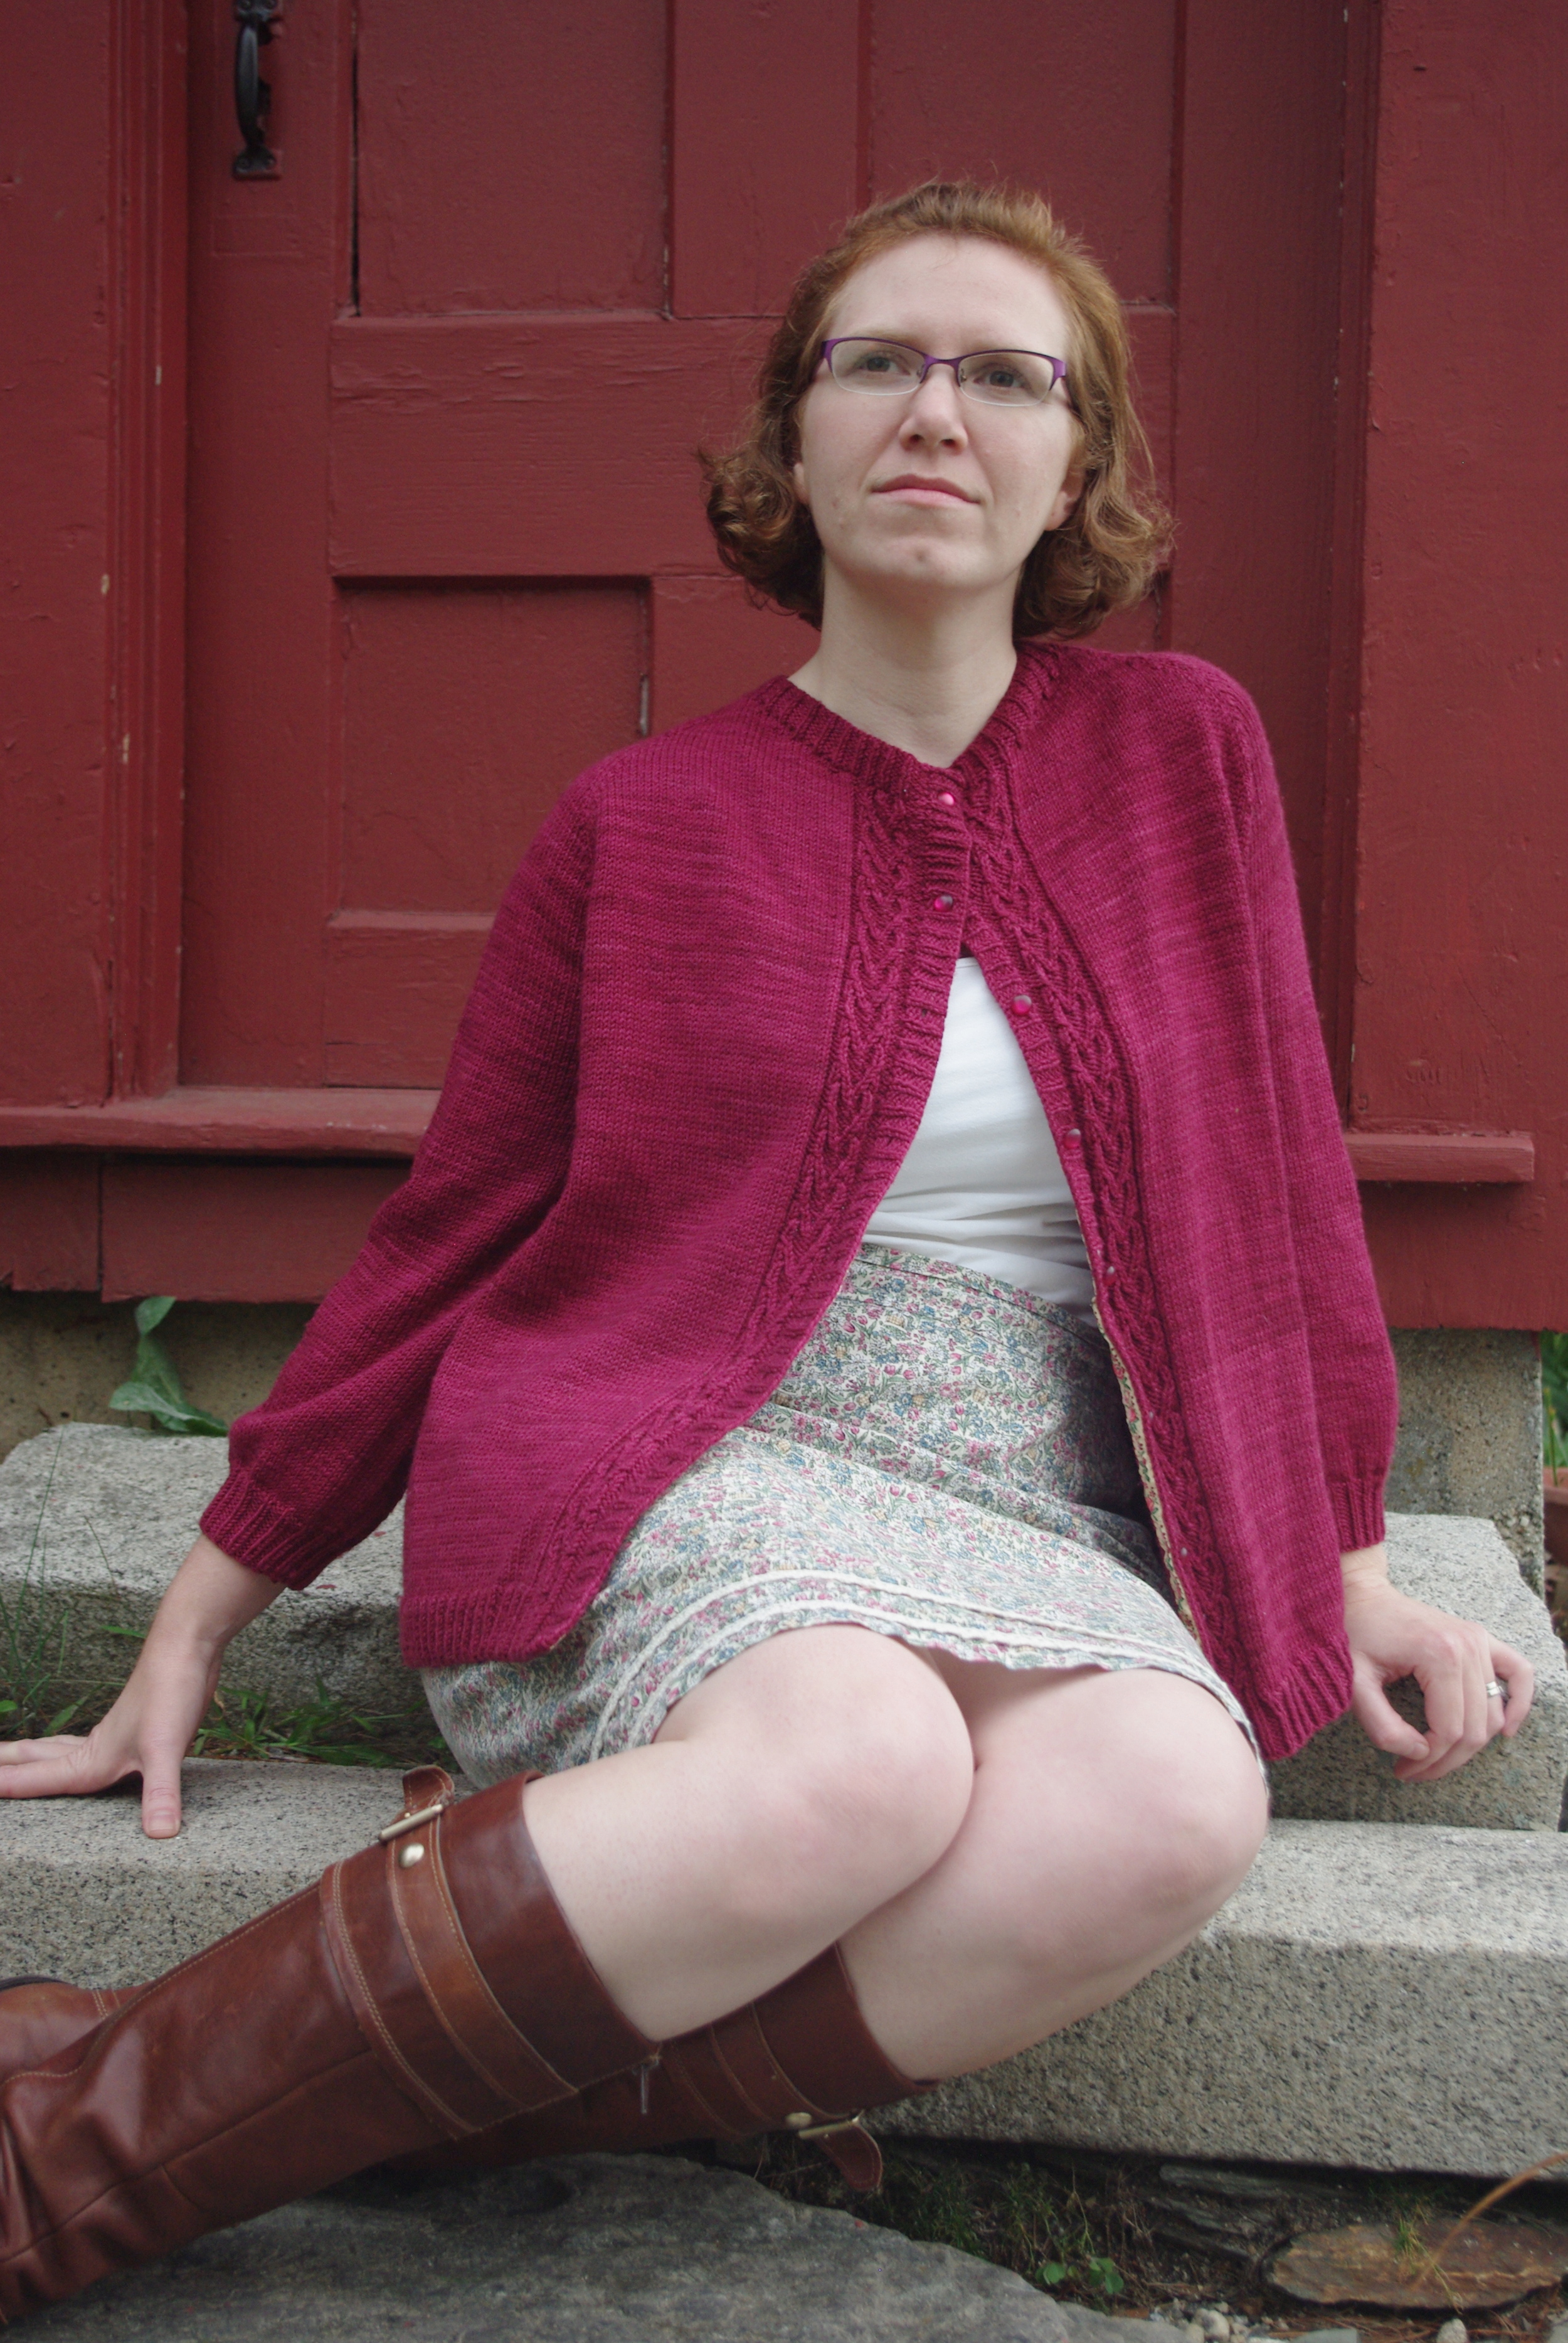
Lady Heartrose designed by Leah B. Thibault for Ms. Cleaver Creations

I've already written a fair amount about Lady Heartrose, which has been way too long delayed by other deadline knitting, but I'm pleased to finally release it out into the world!

A companion to the pint-sized Heartrose, the grown up version is a ladylike A-line cardigan with slighty puffed 3/4 to bracelet length sleeves and the same sweet heart cable down the front. It buttons all the way down if you wish, but can also be worn buttoned at the top-only for maximum swing, as shown here. 

The pattern is knit from the bottom-up seamlessly, with raglan-style sleeve. The button band is then picked up and worked last. The cable elements are confined to the starts and rends of rows, which,  when combined with the simple, seamless construction, would make this a great beginner/car/ tv-knitting sweater. 

The sample is knit up in the soft and drapey Swans Island Washable Wool DK in Malbec, a rich wine-like color, that suits this more grown-up version. 

A big thanks to Bristol Ivy for the photos and Martha Wissing for the technical editing. 

If you really love A-Line sweaters, wait for a second pattern announcement and special discount coming later this week! (Don't want to miss a pattern? Sign up for the newsletter!)

Pattern Details 

Sizes

Bust Circumference: 34 (36, 37 ¾, 39 ¼, 40 ½, 42 ½, 46 ½, 50)”/ 86.5 (91.5, 96, 99.5, 103, 108, 118, 127) cm. To be worn with 1-2 inches of positive ease.

Sample knit in size 39 ¼, with approximately 2”/5 cm of positive ease. (Wondering about ease?- Check this post out!)

Yarn

9 (10, 10, 11, 11, 12, 13, 14) skeins Swans Island Washable Wool DK in Malbec/EWS205 [100% Washable Organic Merino Wool]; 140 yds [128 m] per 50g or approximately 1210 (1310, 1390, 1450, 1515, 1600, 1775, 1940) yards of DK weight yarn.

Purchase

Lady Heartrose is available for purchase for $7.00 USD via the following methods:

Ravelry  //  Ms. Cleaver Creations  //  Love Knitting (coming soon)

Want to knit a matching adult/kid set? Get the pair for $3.oo off the individual prices! (Discount automatically applied to Ravelry purchases. Already have Heartrose? The discount will still apply!)

Ravelry  //  Ms. Cleaver Creations


Print Friendly and PDF Follow
follow us in feedly

Coming Soon....

Lady Heartrose
Prairie Wife Cardigan

Two new sweater patterns coming soon.  Want to find out when they do? Sign up for the mailing list below!


Print Friendly and PDF Follow
follow us in feedly

Mini Makes

I just finished knitting/finishing two adult sweaters and my next big sewing project is a button up Archer shirt for myself, but before I dive into what is going to be another involved project, I wanted to bang out a few quick mini-makes for some more instant gratification.  

Darlingside Tee
Darlingside Tee

Band Tee for LMC.

To say that we are fans of the band Darlingside in the Cleaver household would be a massive understatement. We love this band. Ever since Mr. Cleaver and I saw them on 207 back in 2012, we've been hooked and have seen them in as many local shows as possible. Our household also probably counts for 5% of the hits on their youtube videos. And thus, through frequent exposure, they have become Little Miss Cleaver's favorite band too. If we ask her what she wants to listen to, she will almost always say "Darlingside." Unfortunately, they don't make band shirts in size 4T. Fortunately, I know my way around an exacto knife, a stencil sponge, and a sewing machine. 

The image is from the cover of their album Pilot Machines, and I thought the balloons would be perfect for a kid. So I traced the image unto a file folder and cut it into two stencils, one for the balloons/ strings and one for the body. I cut up an old shirt of mine into a Made by Rae Skinny Tee, stenciled it on, sewed it up, and there you go! A mini Fangirl tee. We're seeing the band at a show in September and I'm hoping to get them to sign it for extra cool factor.  

While I'm at it, here's a video of my current favorite Darlingside song. LMC's favorite is this one or this one

Dying Playsilks
Dying Playsilks

Playsilks

LMC and I recently dyed some playsilks with Kool-Aid and managed not to accidentally dye anything else except our fingers- success!  The silks came from dharma trading company and I used this tutorial from Knitty to pick my Kool-Aid packets. I had made a blue and green one a while back that get heavy use as ballet skirts and super-capes, so it's nice to have the full rainbow to choose from now.

Hobby Horse
Hobby Horse
Hobby Horse

Hobby Horse

Lastly, a few weeks ago, we picked up a bunch of books at Goodwill to refresh our collection, which included a pop-up version of the Nutcracker. In one panel, one of the children had a Hobby Horse. I said something along the lines of "I could make that,"  resulting in daily requests from LMC  for Mommy to make her a horse.  Fortunately, I had a free pattern already pinned on Pinterest, and all the supplies I needed in my stash. Except for a dowel, which means that LMC can sweep and play at the same time!  Of course now, Little Miss Cleaver thinks that I have the magic ability to just make anything (which kinda cool), but I can't mention that I'm considering making anything for her, because she demands I sew it now (even if the fabric is still uncut). 

What have you been making?


Print Friendly and PDF Follow
follow us in feedly

Pintucks and Popscicles

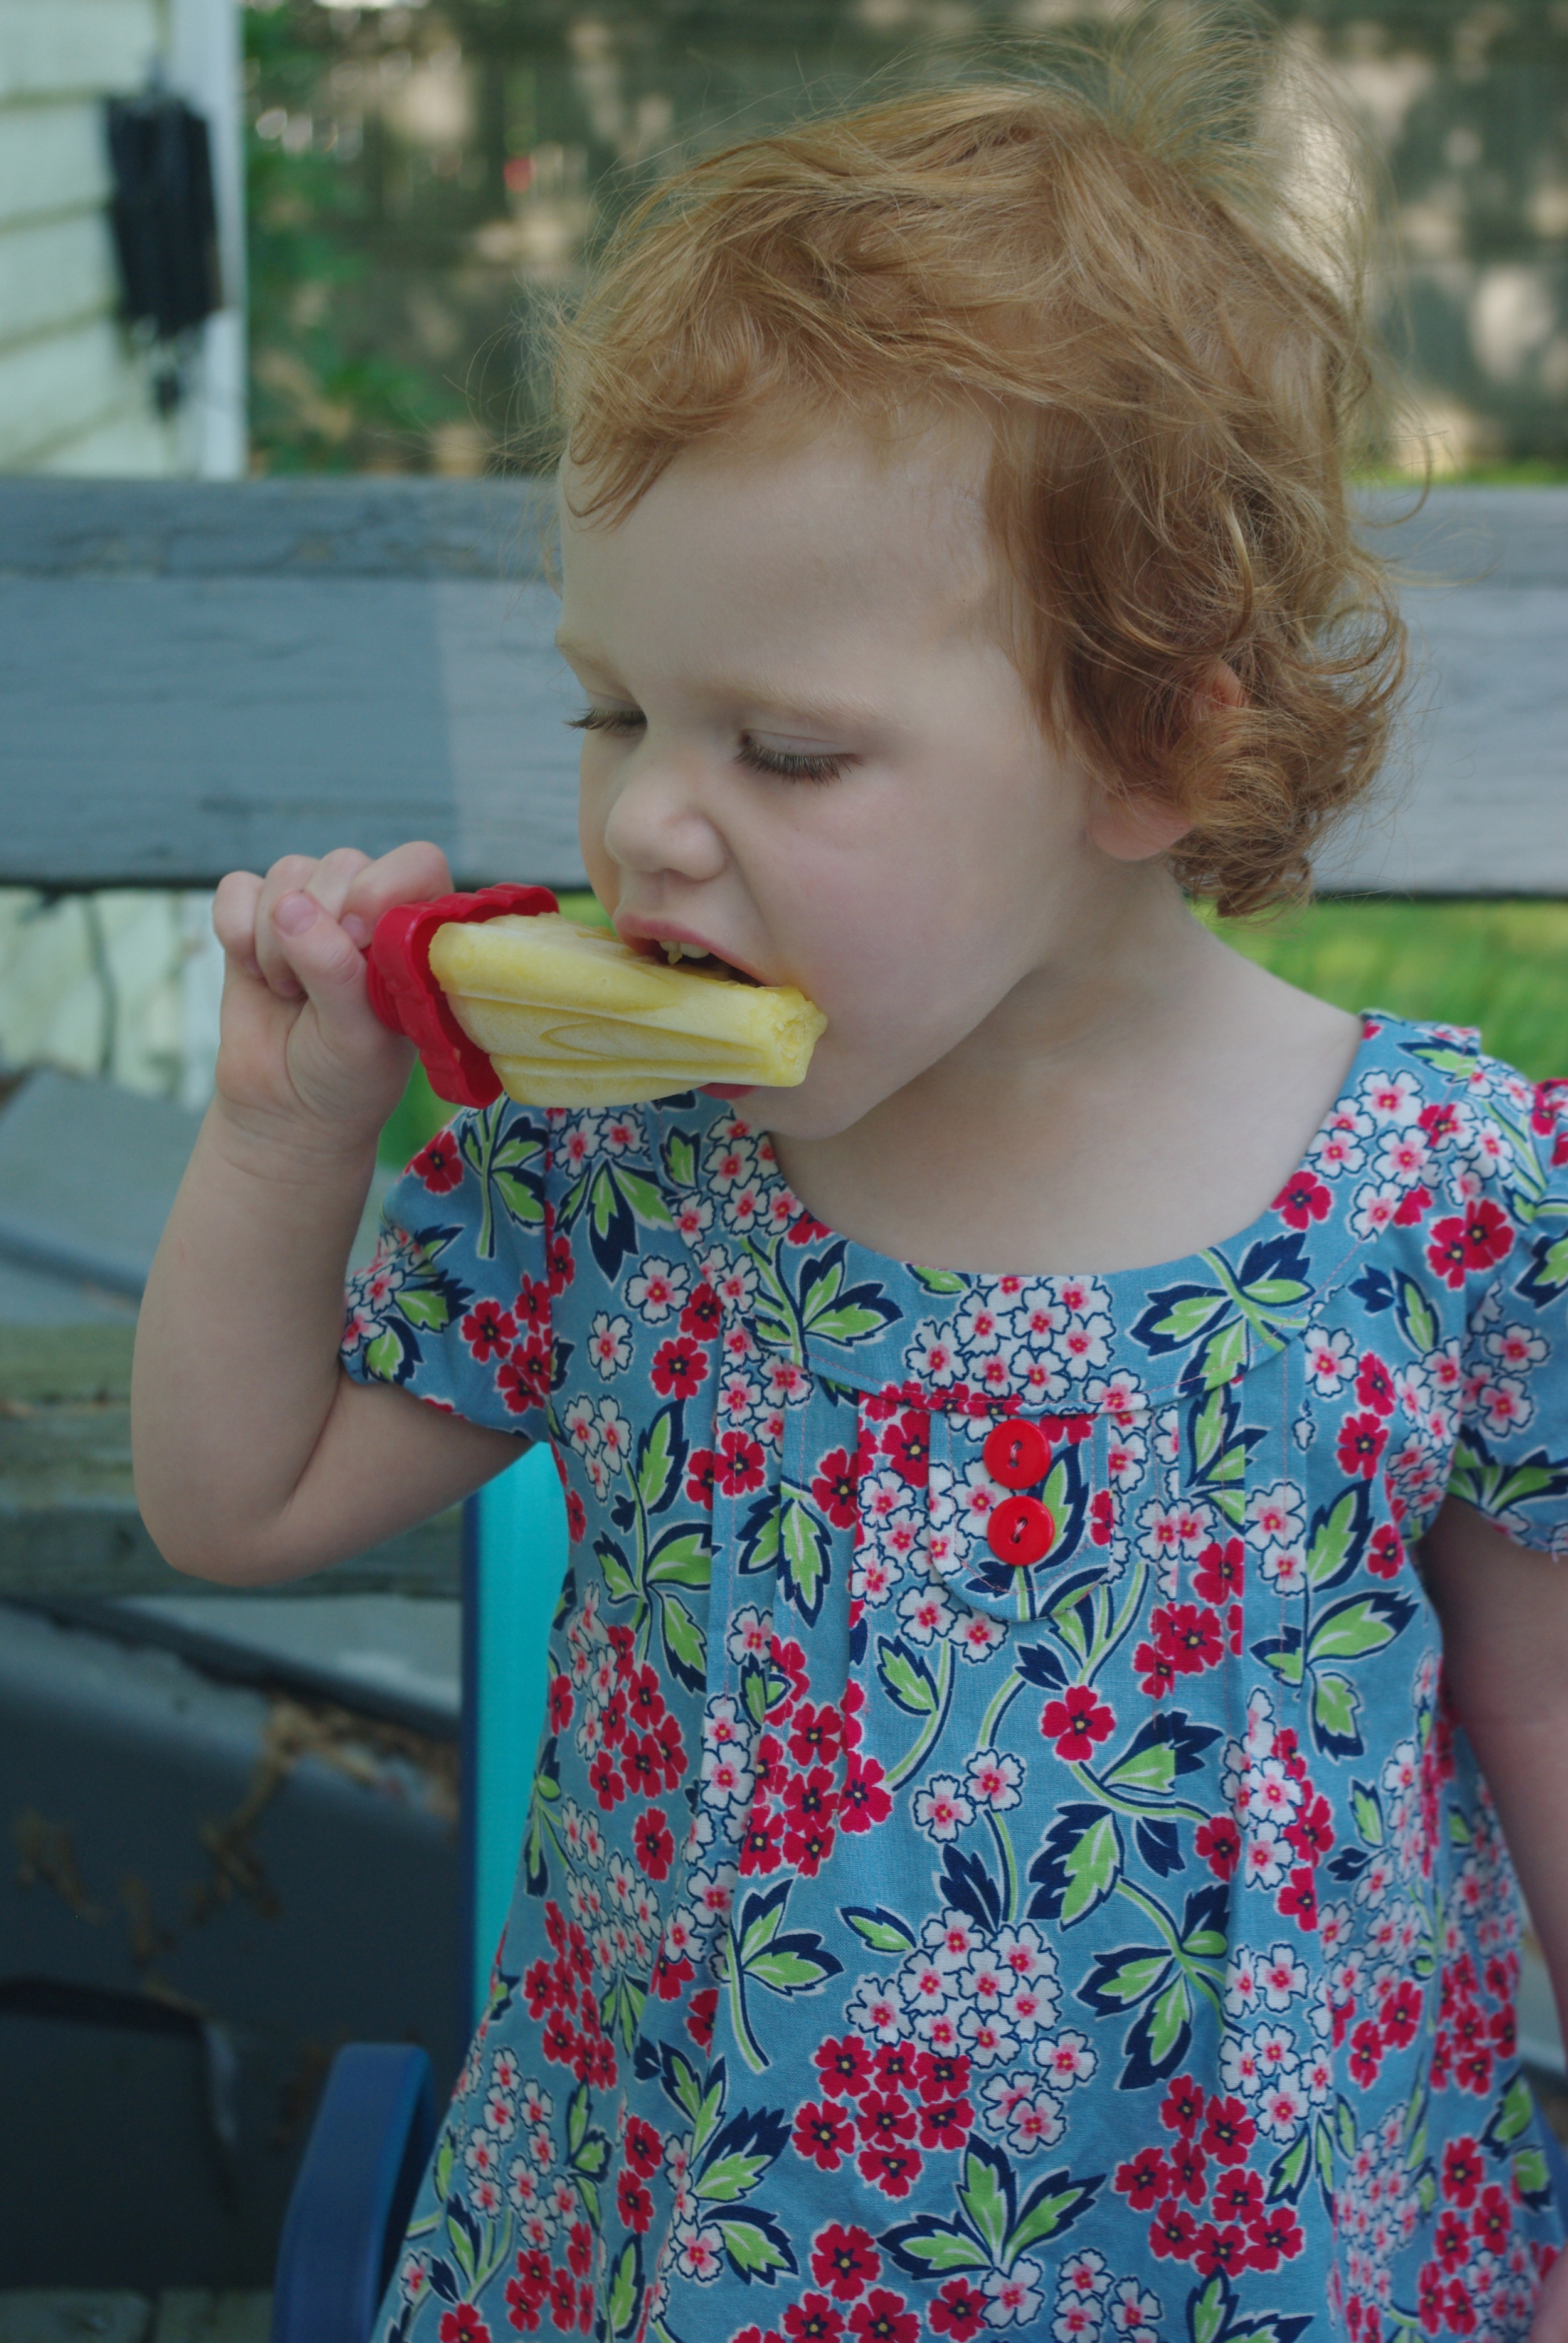
Oliver + S Family Reunion Dress sewn by Ms. Cleaver
Popsicle Sticks
Oliver + S Family Reunion Dress sewn by Ms. Cleaver

I don't sew as much for Little Miss Cleaver as I thought I would, or would like to really. I've made a number of little "ballet skirts" that get plenty of wear, but not too much beyond that.

I'll admit that some of it is hesitation on my part. LMC is developing strong feelings about what she wants to wear (yes to tutus and leopard print pants), and more often than not, when I pull out a mama-made dress, her response is, "I don't like that." Of course other days, she totally wants to dress up like Olivia. So there's a balance, but I'm a little gun shy about spending a bunch of time making something she won't wear. 

This dress however was motivated by the fact that my 2.5-year-old is crazy tall for her age, and is solidly in 3T tops and some 4T bottoms and I have a number of adorable Oliver + S patterns that cap out at size 4. So I felt like I needed to get sewing. 

This fabric/pattern combo has been sitting on my to-cut pile for quite some time and I thought now was the time to do it. The fabric was one of the fancy quilting cottons from JoAnn's and the pattern is Oliver + S's Family Reunion Dress. I cut it out in a 3T, with the 4t length, and it's actually fairly big on her, so it looks like I have a little more leeway to sew these patterns up than I thought. 

My only previous experience with a paid Oliver + S pattern was the Birthday Party Dress I sewed for LMC's first birthday (so long ago - sniff!). I thought the end result was lovely, but the construction was a bit fiddly. And I'd say the same for this one, there are certain parts of the directions you just have to trust and "go with it" and hope that it works out in the end.

For example, in this dress you sew half the shoulder seam right sides together and the other half wrong sides together. The odd half ends up getting covers up the collar facing. The folding plackets/attaching hem facing is a bit confusing too, but works if you follow the directions. The only place I ran into a construction issue was when I clipped the corners after attaching the hem facing to the button plackets. I over clipped, and had to re-seam, meaning my bottom edges are slightly curved instead of square.  

In the end, it came together nicely. I finished my inside seams with zig-zagging and added a little Miss Cleaver tag. The only change I'd make is that I wish I had done my top-stitching in a deep pink/red instead of the pale pink I used.

When I had the pieces cut out LMC insisted I sew it right then (which, not happening kiddo) and when I had it sewn but didn't have the buttons attached, she asked me to finish it so she could put it on, so I have hope that she'll actually like this one. She did wear it this weekend, but then changed into her Wonder Woman t-shirt halfway through the day, so you never know. At least Mr. Cleaver thinks it's cute, he told me so.


Print Friendly and PDF Follow
follow us in feedly

A Drawer-full of Accomplishment

More underwear!!!

When I said sewing your own underthings was addictive, I wasn't kidding - because now I have a drawer full of shiny new me-made underwear. Laundry takes a bit more diligence, but other than that, I'm pretty thrilled with the outcome.

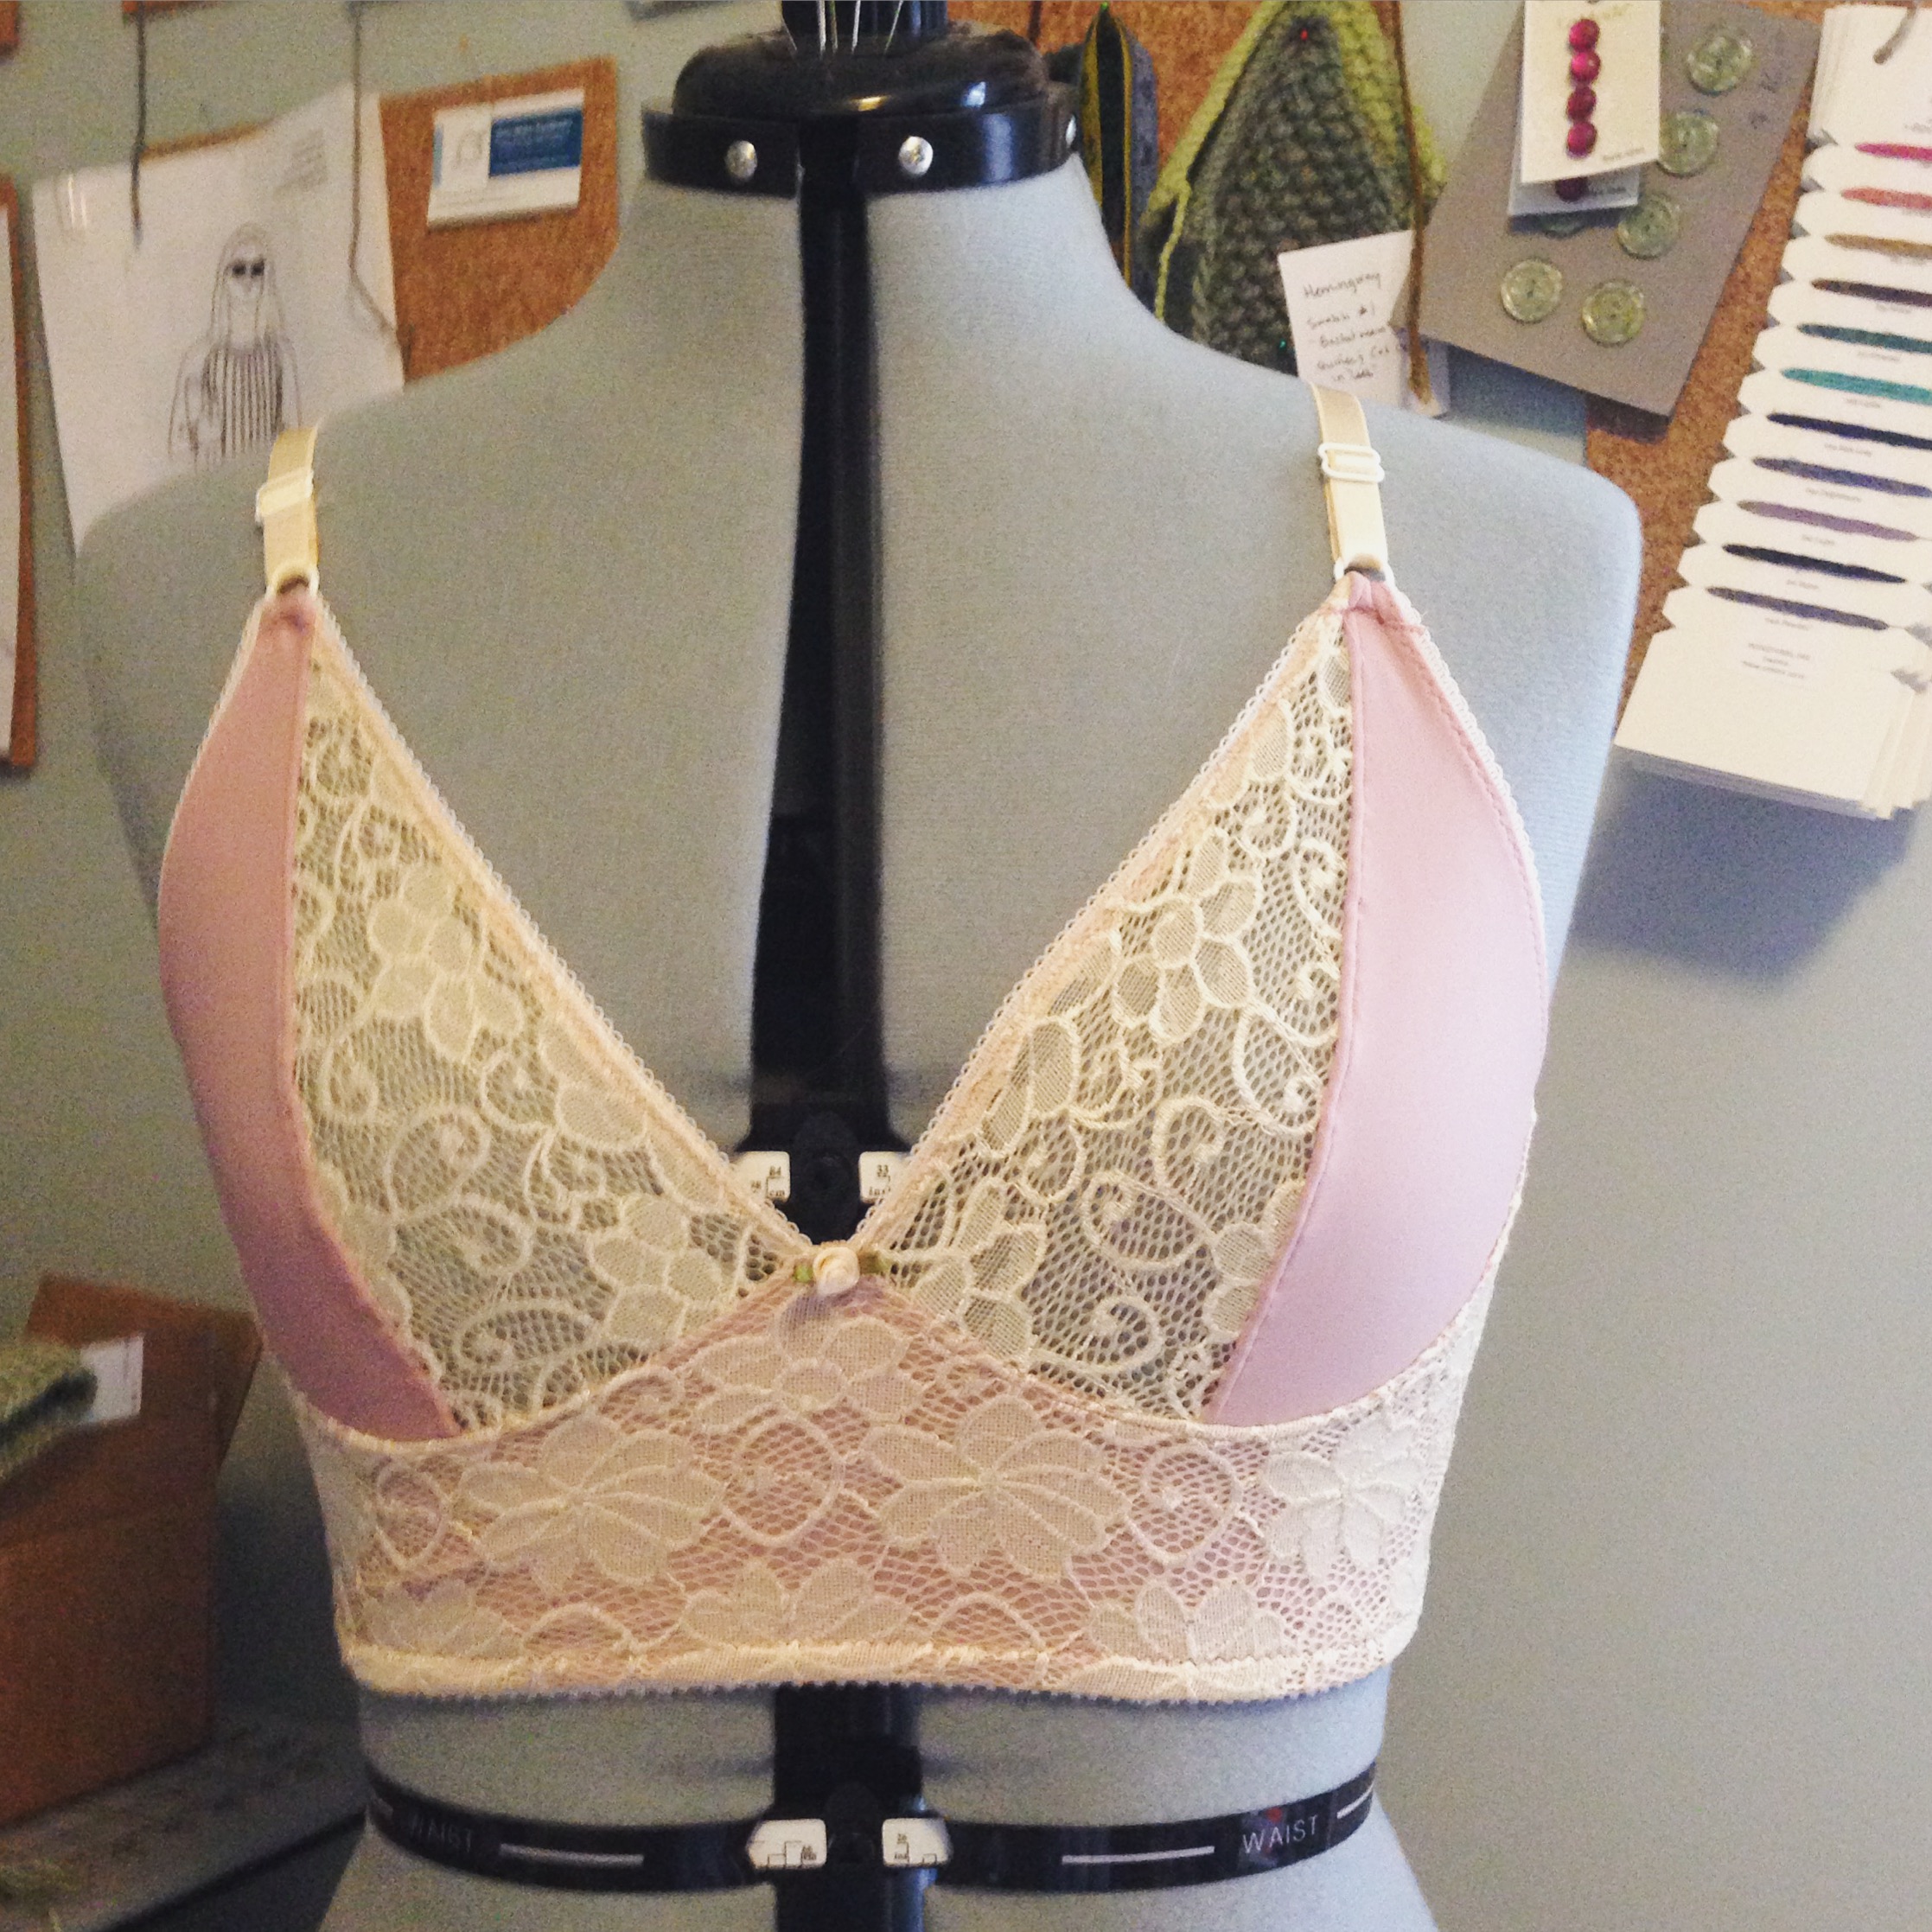
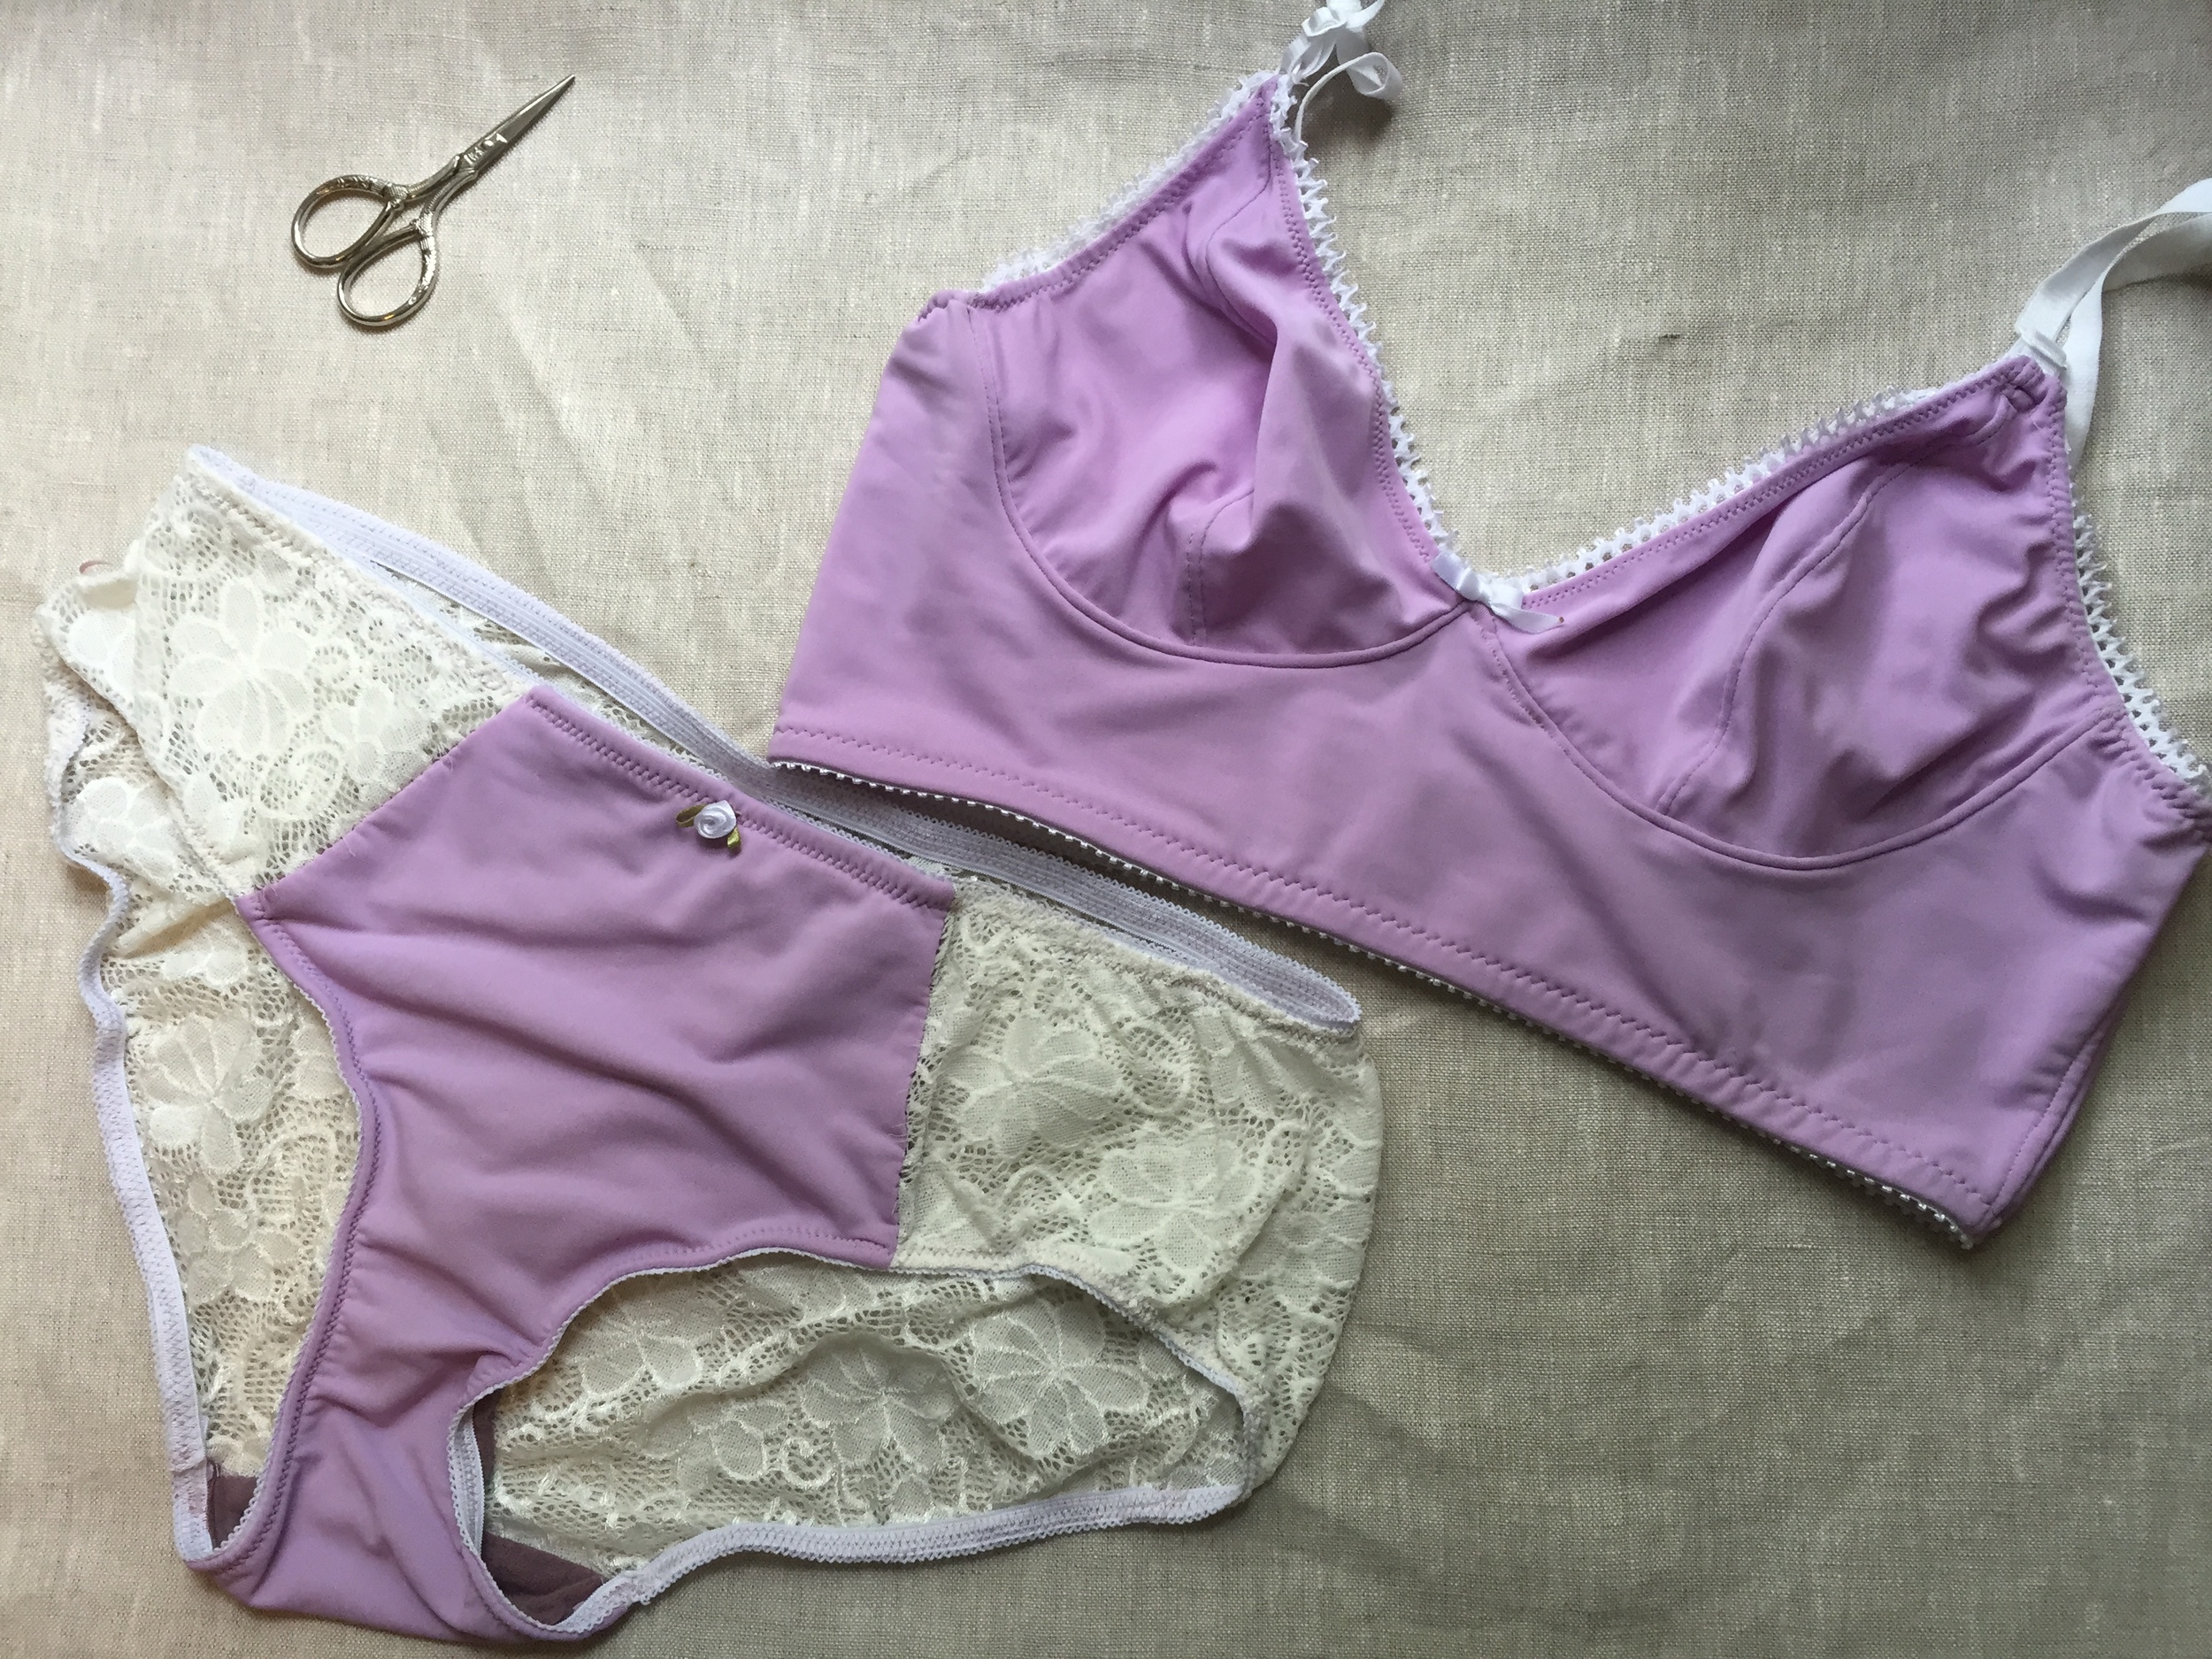
All in all, it's three Watson Bras with two matching pairs of undies for each bra. The undies started from the Watson pattern, but I've hacked it up enough now to pretty much call it my own. It takes me about 2 hours to sew up a bra and less than 30 for the undies (if I'm paying attention). Even after all this sewing though, I still haven't quite got my elastic tension down. I think it could be more snug around the leg and for the last bra, I went down a band size, which fits better. I've cut out my patterns on cardstock for future use, though everythign is so dependent on the fabric, that you never know.

The purple version you've seen. I sewed the sporty turquoise one next and the lace version last. For the lace version, which is my absolute fave. I tea-dyed the lace and elastic with good-old Lipton's, about 8 bags or so worth. It make we want to buy a cheap pot and do some more dying in the future. For the lace band I underlined it with the milliskin, but the lace stands on its own for the other parts. It's so comfy. 

I'm pretty well stocked up for now, but i would like to try my hand at an underwire bra next. But first I have some fall wardrobe sewing for me and LMC to do! (Dresses for her, buttons-up and jeans for me!)

Watson Bras and Undies sewn by Ms. Cleaver
Sporty Watson Bra and Undies
Mauve and Lace Watson Bra Sewn by Ms. Cleaver
Mauve and Lace Watson Bra and  Undies Sewn by Ms. Cleaver
Sporty Watson Bra sewn by Ms. Cleaver
Lilac Watson Bra and Undies Sewn by Ms. Cleaver
Print Friendly and PDF Follow
follow us in feedly